zum Warenkorb 0,00 €
0Nähanleitung /// How to sew: Jupiter
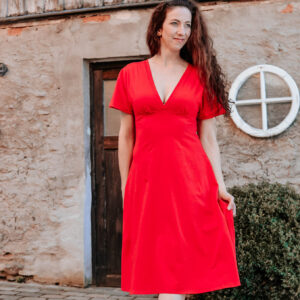
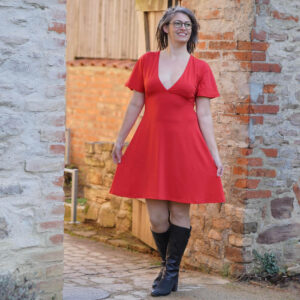
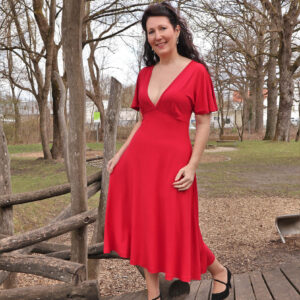
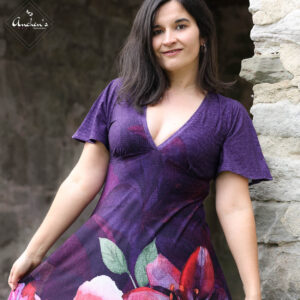
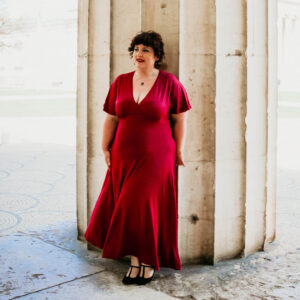
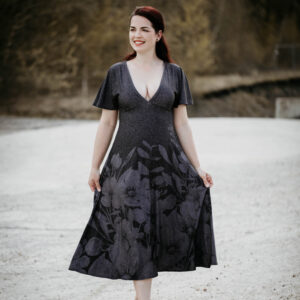
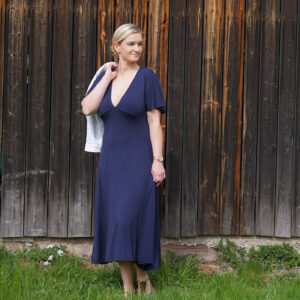
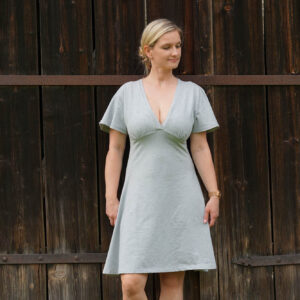
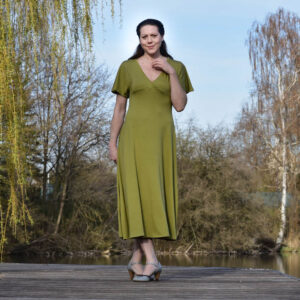
Sommerkleid Jupiter
Jupiter ist ein locker fallendes Sommerkleid mit überschnittenen Ärmel und zarten Raffungen unter der Brust. Ob in kurz oder in lang- mit überlappendem Ausschnitt oder ganz freizügig- Jupiter ist die perfekte Begleiterin für heiße Tage oder am Strand- besonders mit unserem weichfallenden Viskosejersey.
Das Schnittmuster ist für eine Person entworfen, die 170 cm groß ist und Körbchengröße B hat.
NEU: Bei Jupiter habt ihr die Wahl zwischen 2 verschiedenen Oberteilen: eines mit FBA (für Frauen mit großem Busen) und eines ohne.
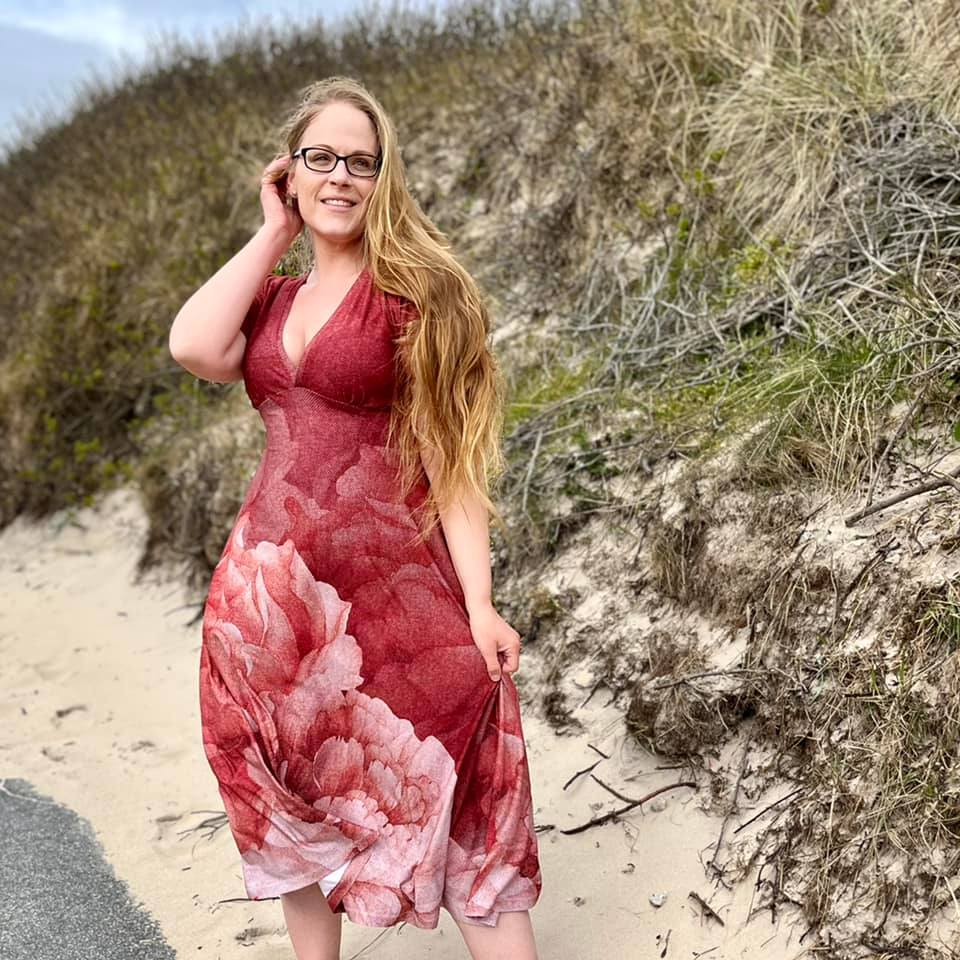
Summerdress Jupiter
Jupiter is a loosely falling dress with oversized arms and delicate ruffles under the bust. Whether short or long – with an overlapping neckline or revealingly – Jupiter is the perfect companion for hot days or on the beach.
The pattern is designed for a person who is 170 cm tall and has a B cup.
NEW: With Jupiter you have the choice between 2 different tops: one with FBA (for women with bigger breasts) and one without.
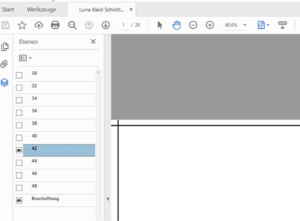
Richtige Größe drucken
Die gekauften Dateien haben zwei verschiedene Varianten: A4 und A0 Dateien. Die A0 kannst du online oder in einem Copyshop drucken lassen, A4 kann dein Drucker drucken. Bei beiden Varianten ist es dir möglich, nur die Größe zu drucken, die du tatsächlich benötigst. Oder zwei-drei Größen, falls du Anpassungen vornehmen musst.
Öffne die Datei im Acrobat Reader und klicke das Symbol in der linken Leiste am Rand an, das auf dem Bild blau dargestellt ist. Daraufhin klappt ein neues Menü auf, in dem du durch einen Klick auf das Auge die Größen ein- und ausblenden kannst. Die Ebene „Beschriftung“ sollte immer an bleiben. Beim oben gezeigten Beispiel würdest du Gr. 42 drucken.
Blende nun alle unnötigen Größen aus und drucke das Schnittmuster wie gewohnt. Auf dem Beispielbild ist es die Größe 42, die gedruckt wird.
Print the correct size
The purchased files come in two different variants: A4 and A0 files. You can have the A0 printed online or in a copy shop. Your printer can print A4. With both variants it is possible for you to print only the size that you actually need. Or two to three sizes in case you need to make adjustments.
Open the file in Acrobat Reader and click on the symbol in the left bar at the edge, which is shown in blue on the picture. A new menu then opens in which you can show and hide sizes by clicking on the eye. The „labeling“ layer should always remain on.
Now hide all unnecessary sizes and print the pattern as usual. Using the example above, you would print size 42 only.
Maßtabelle /// Size chart (cm)

Stoffbedarf alle Größen lange Version /// Fabric requirements all Sizes long version: 2,5 m
Stoffbedarf alle Größen kurze Version /// Fabric requirements all Sizes short version: 2 m
Anpassung
Das Kleid liegt unter der Brust eng an und fällt dann locker nach unten. Wähle deine Größe anhand des Brust und Taillenmaßes aus.
Sollte die Differenz zwischen deinem Oberbrust- und deinem Brustumfang größer als 5 cm sein, entscheide dich für die Oberteilvariante mit integrierter FBA (full bust adjustment). Mehr zum Thema FBA findest du in unserem Blog
Solltest du Hilfe benötigen, schau gern in der Mondstoff-Gruppe auf Facebook vorbei: Mondstoff-Gruppe
Adjustment
The dress fits snugly under the bust and then falls loosely down. Choose your size based on your chest and waist measurements.
If the difference between your upper bust and your bust circumference is more than 5 cm, take the top version with integrated FBA (full bust adjustment)
If you need help, feel free to join the Mondstoff group on Facebook: Mondstoff Group
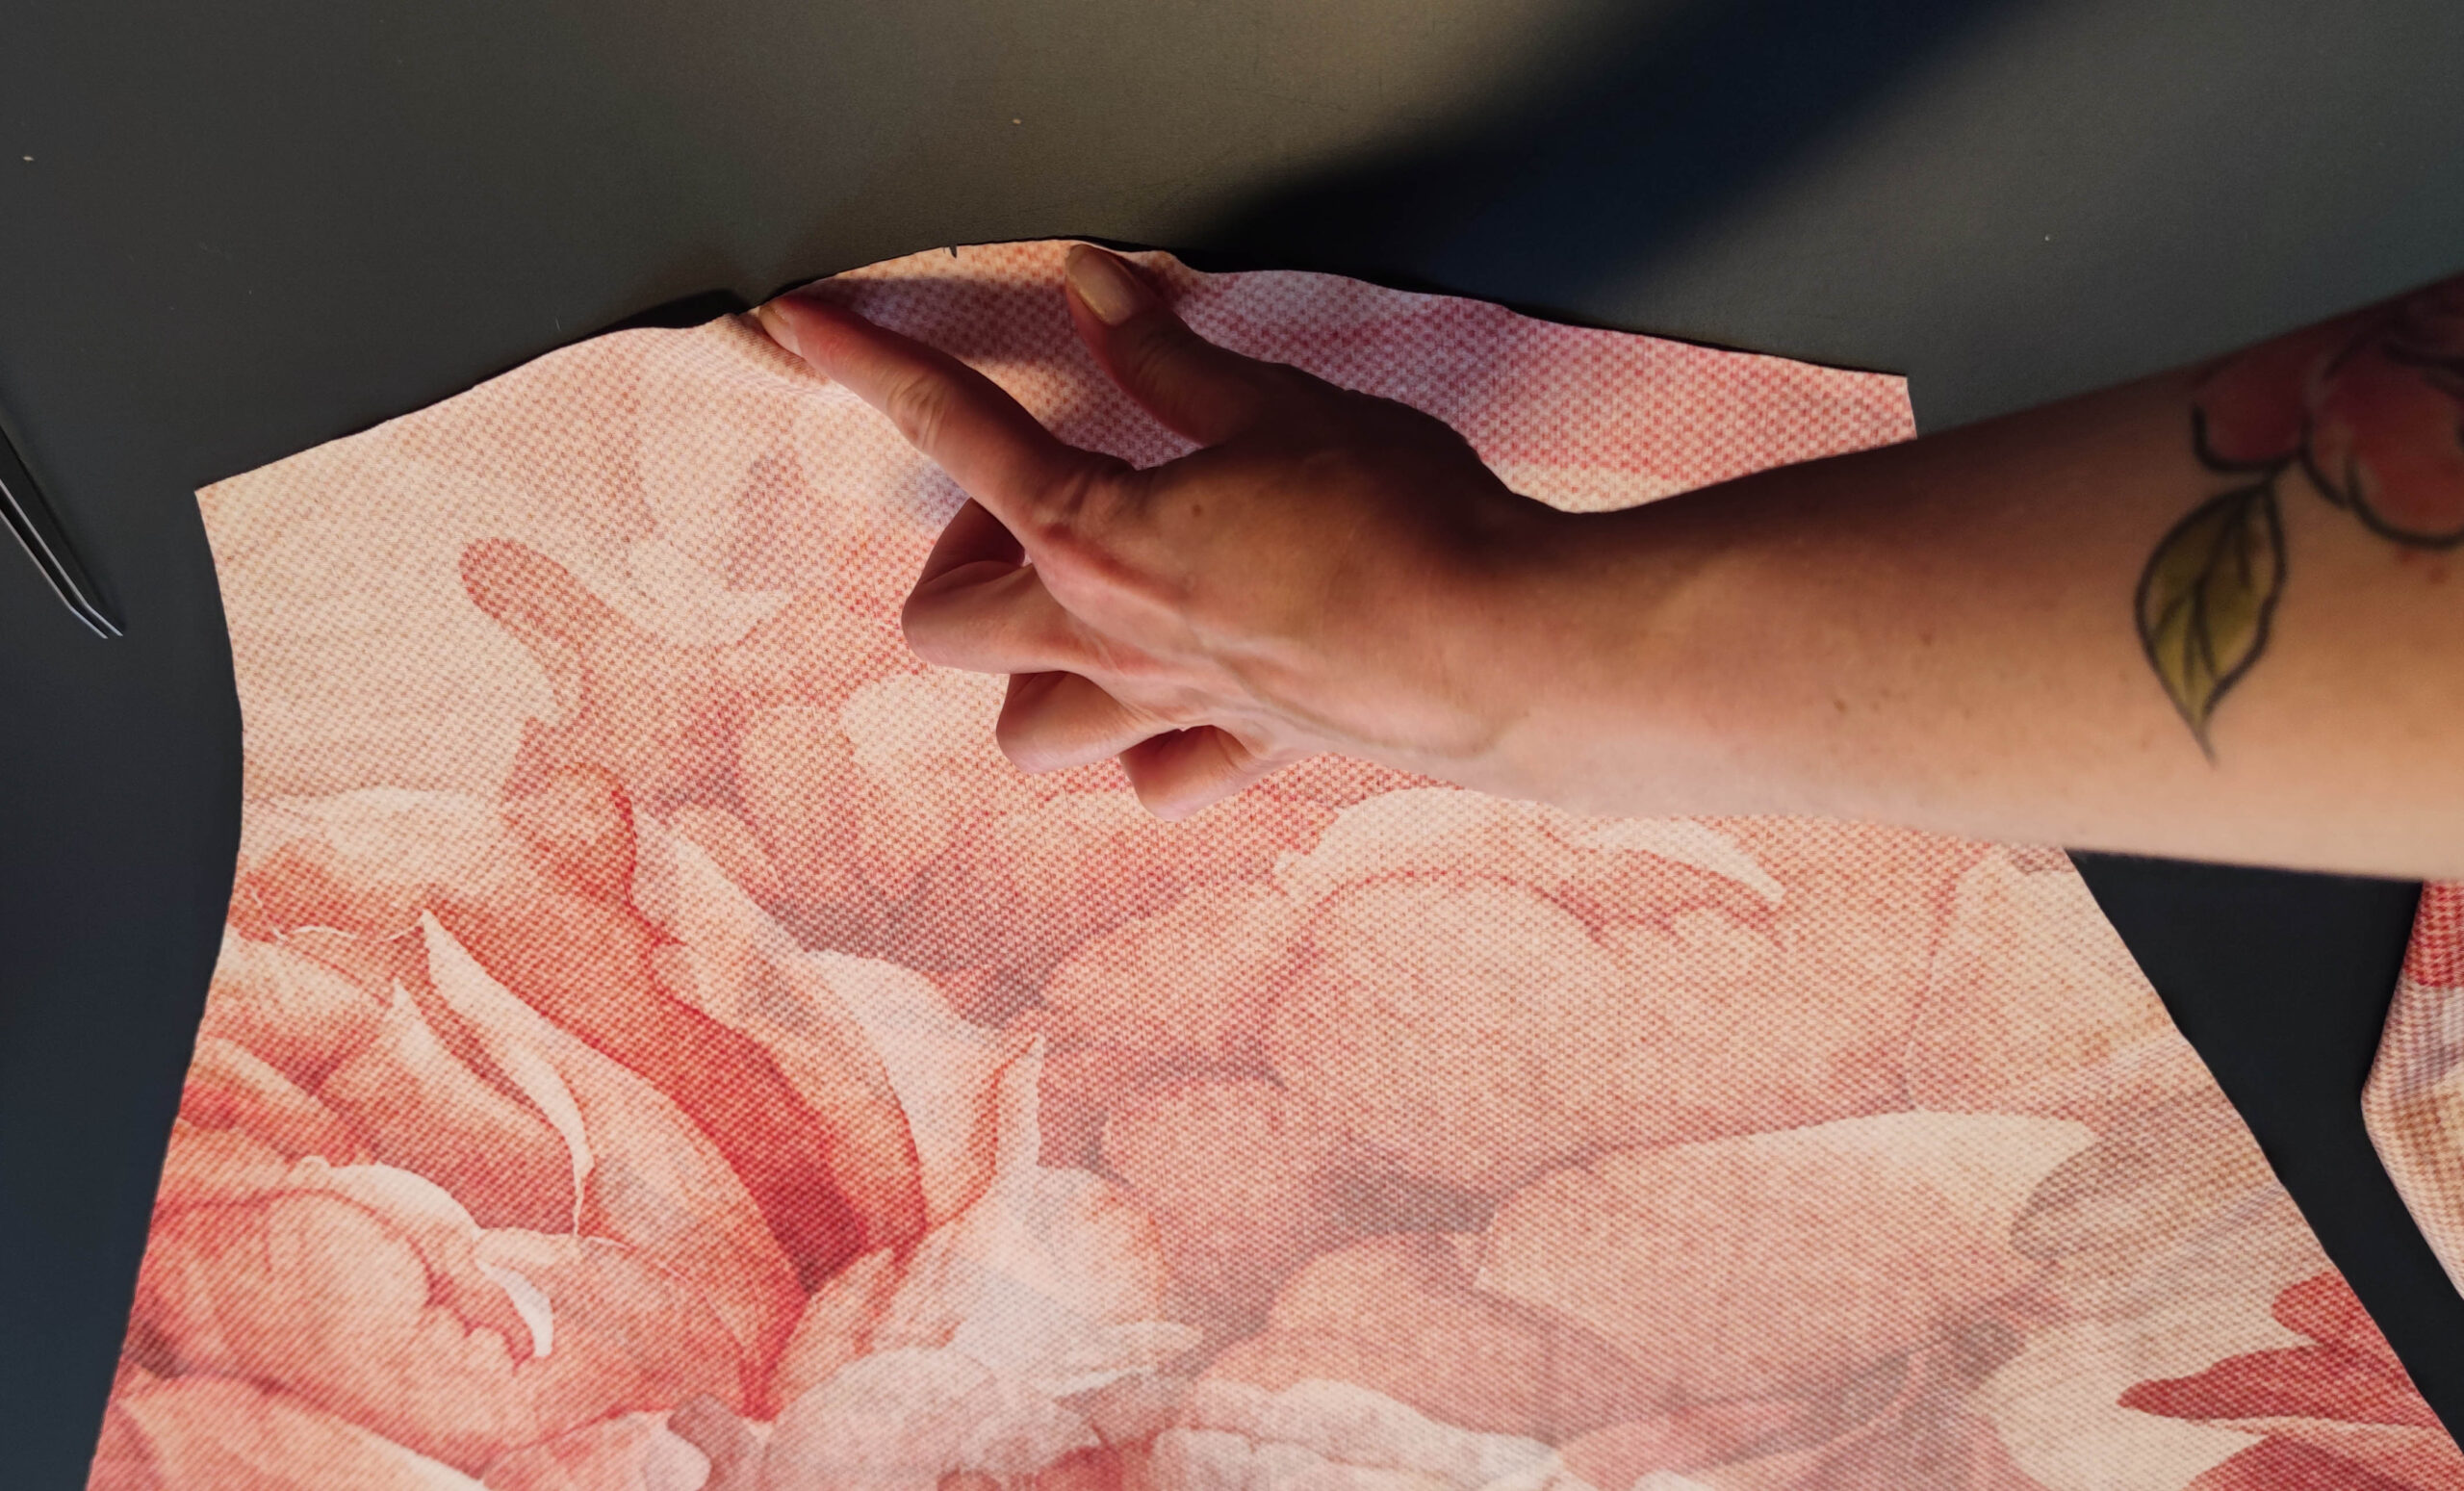
1. Zuschnitt
2x Vorderteil gegengleich (Variante mit oder ohne FBA)
1x Rückenteil im Bruch
1x Vorderrock im Bruch
1x Hinterrock im Bruch
1x Ausschnittstreifen im Bruch
Übertrage alle Passzeichen und Abnäher.
1. Cutting
2x front part (mirrored, choose the one with or without FBA)
1x back part on fold
1x front skirt on fold
1x back skirt on fold
1x Strip for the neckline on fold
Transfer all marks and darts.
2. Abnäher schließen
Schließe sowohl am Hinterrock als auch am Rückenteil die Abnäher indem du zur Mitte hin mit einem kurzen Gradstich nähst. Verriegele das Ende der Naht nicht und verknote die Enden gründlich.
2. Sewing the Darts
Close the darts on the back by sewing with a short straight stitch. Don´t lock at the end of the seam and knot the ends thoroughly.
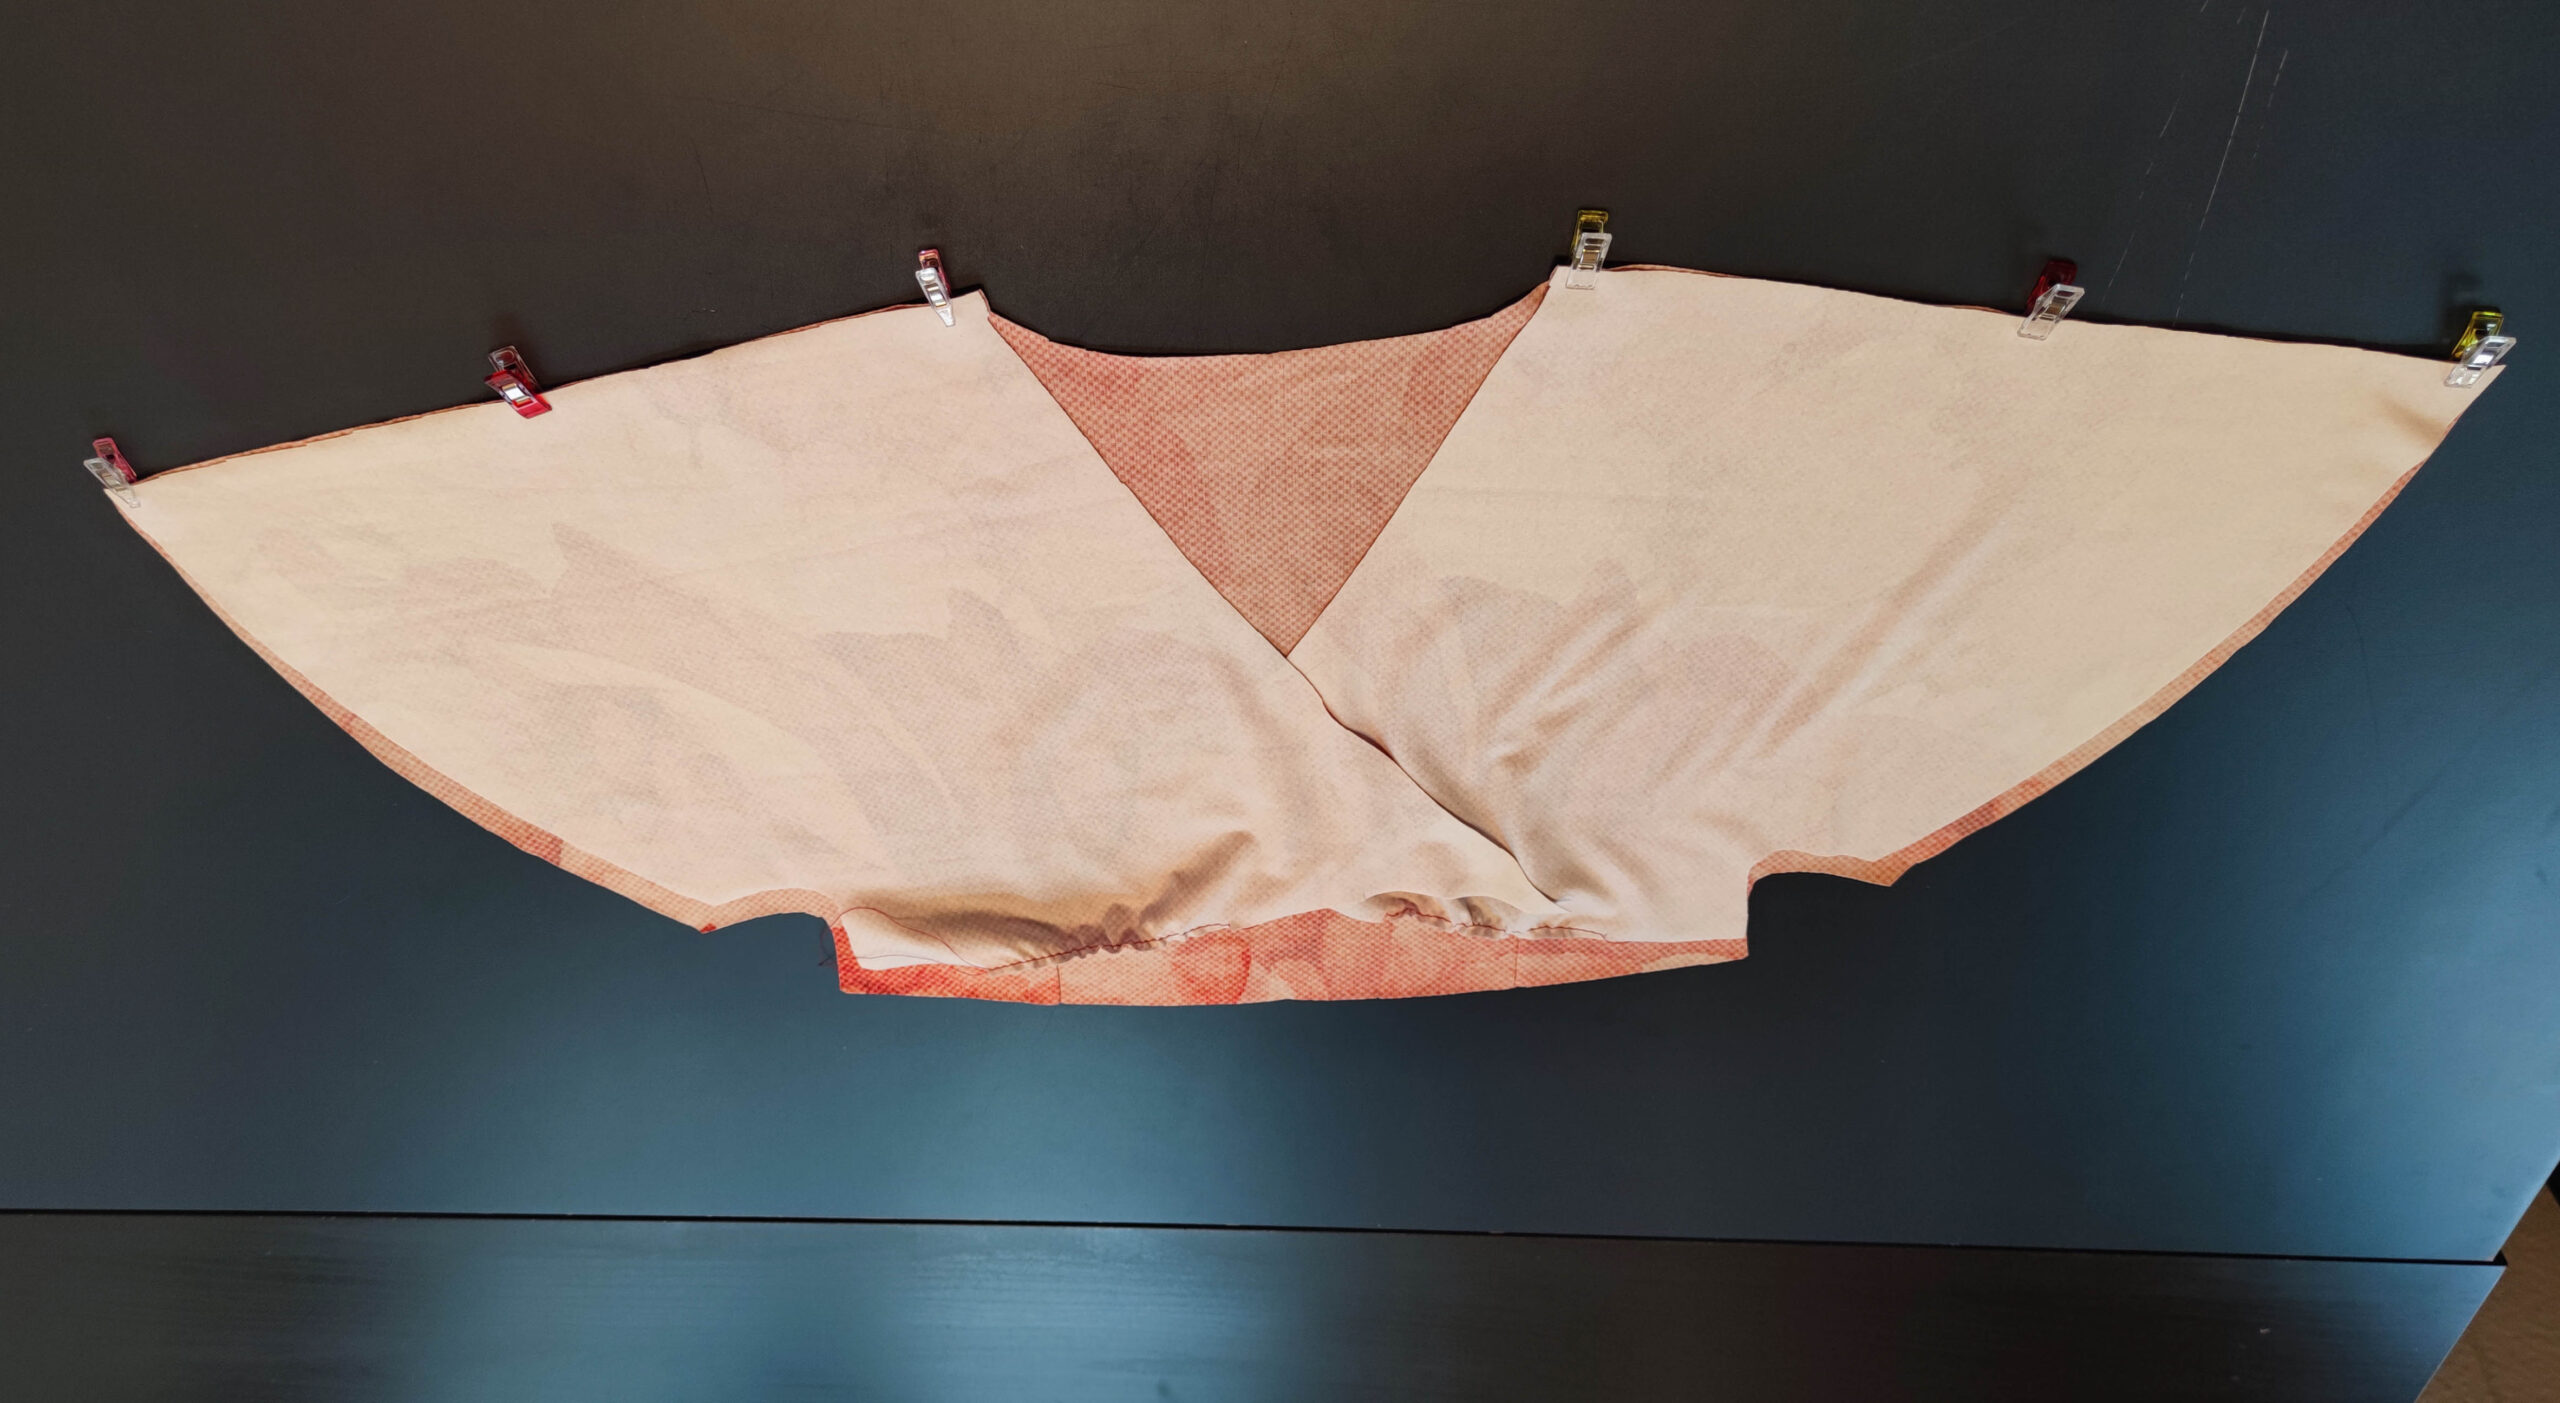
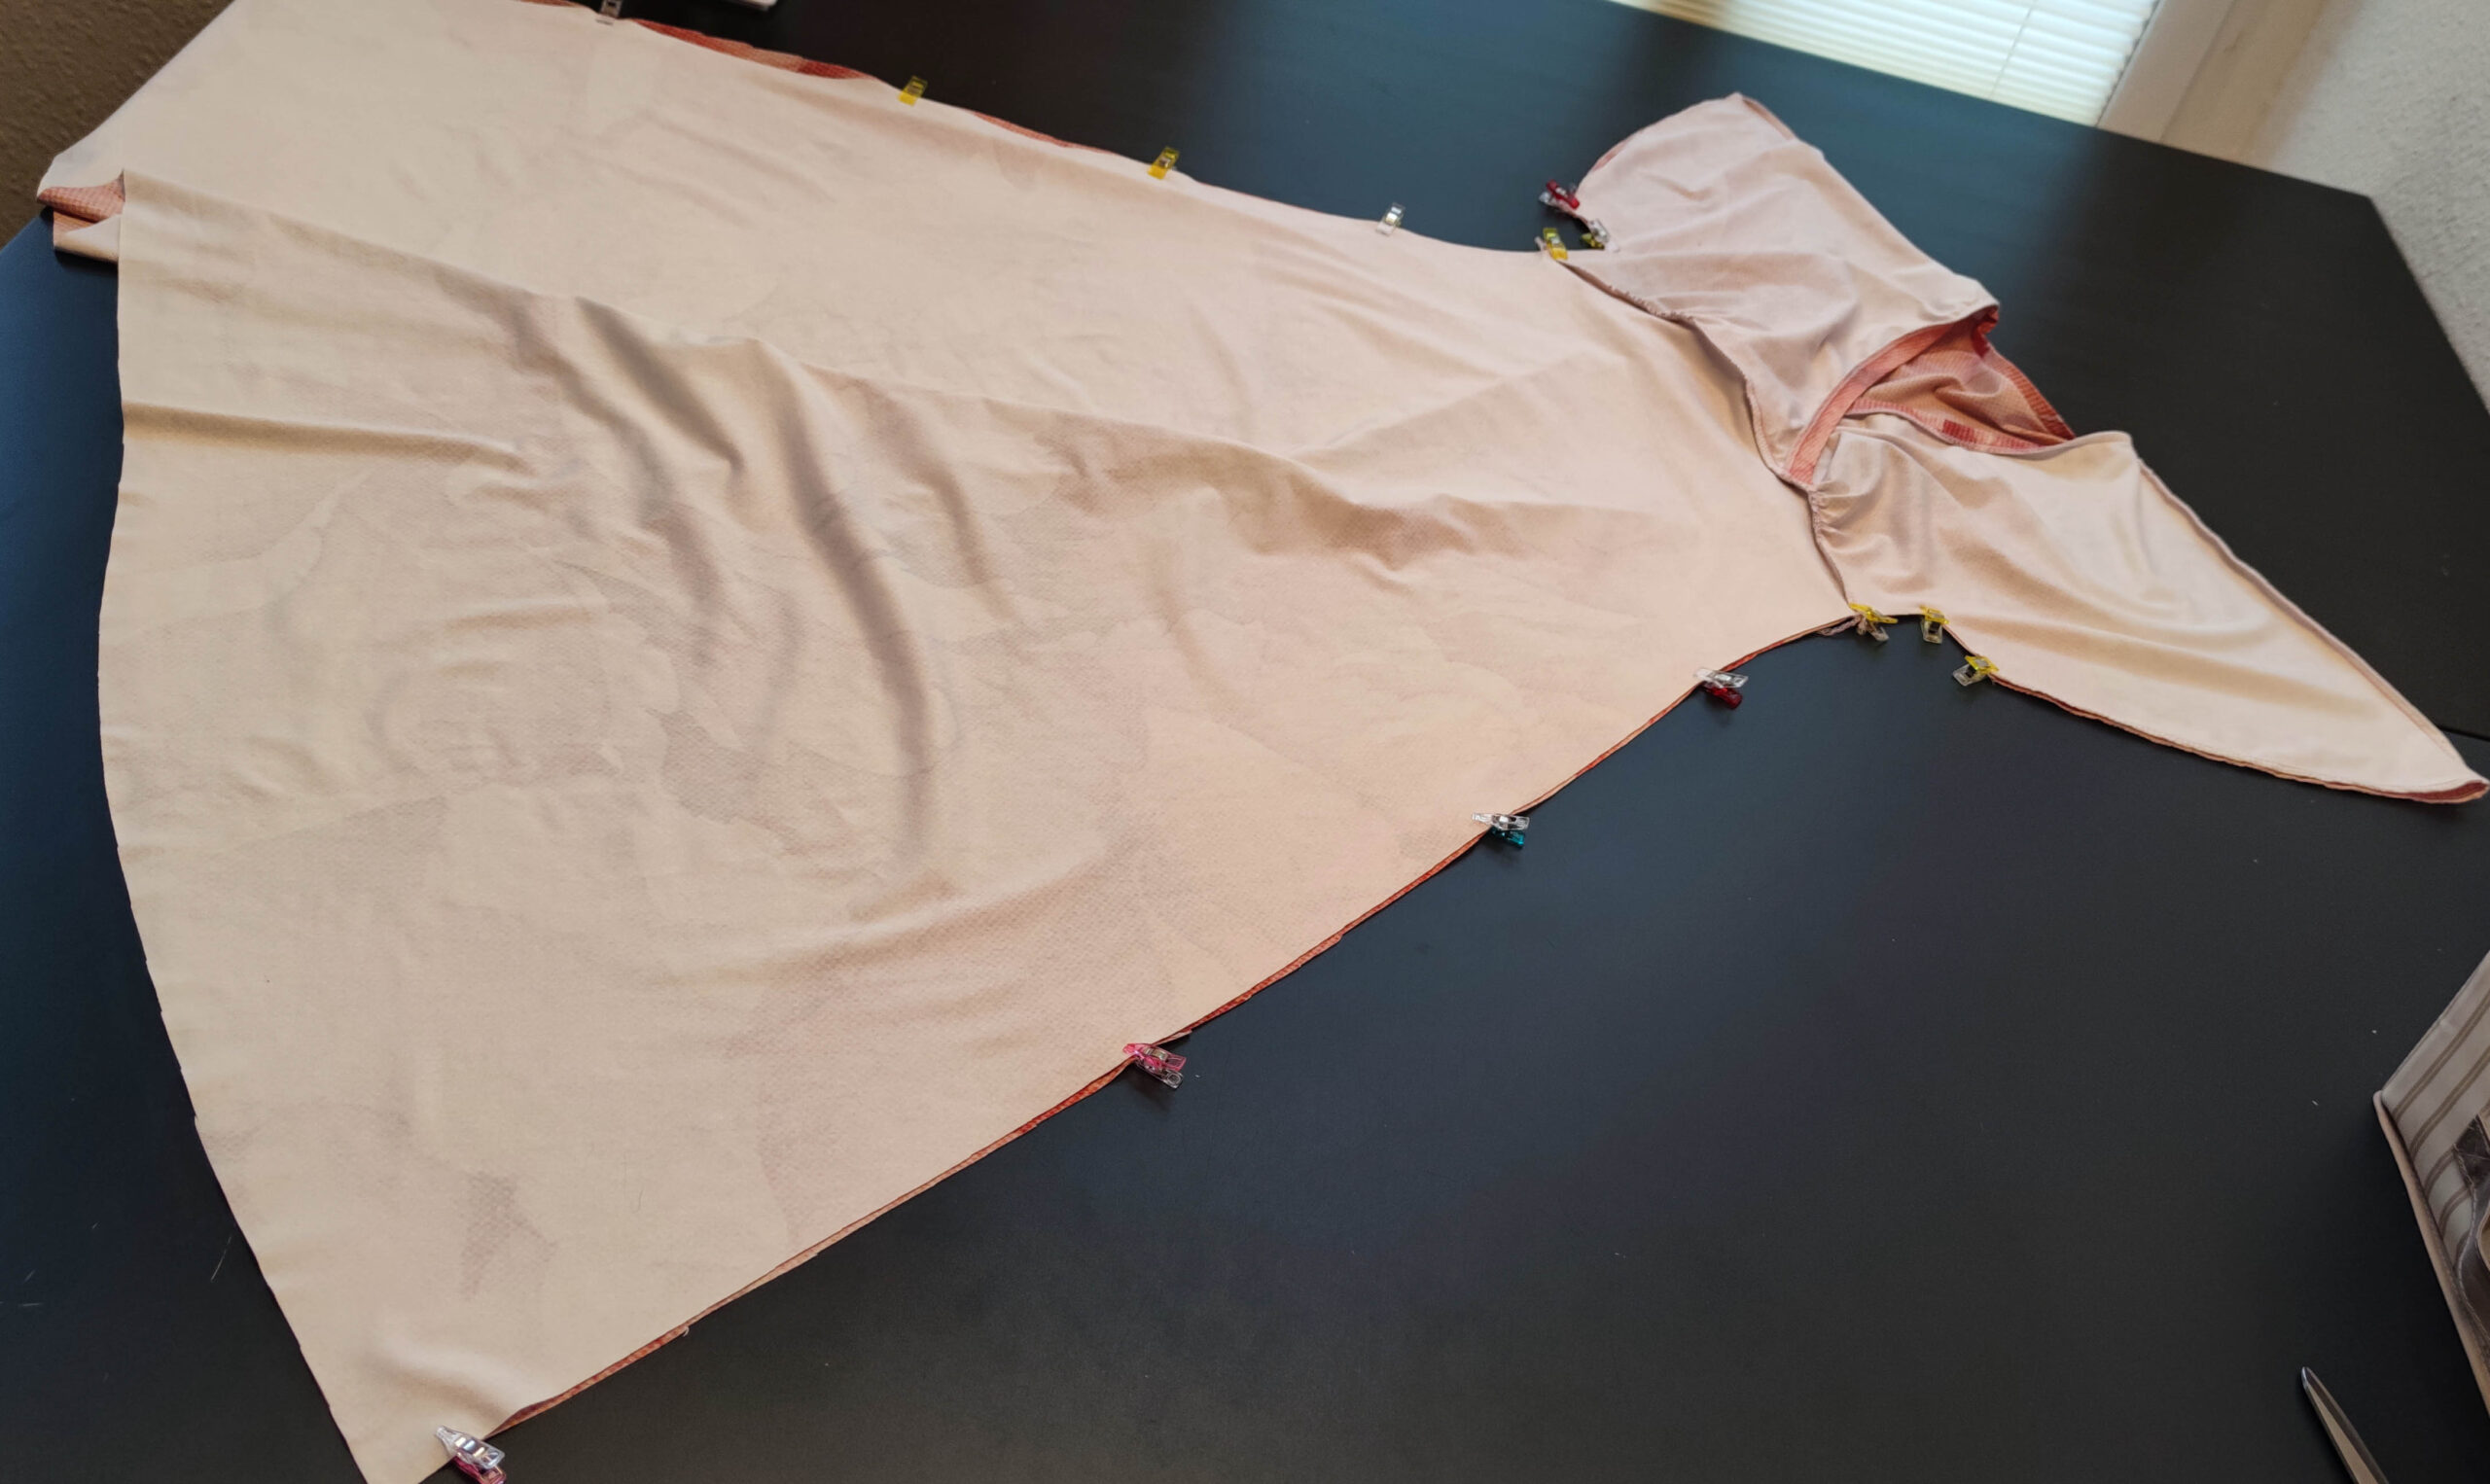
3. Oberteil nähen
Lege die beiden Vorderteile rechts auf rechts an das Rückteil und schließe die Schulternähte.
3. Sewing the upper Part
Place the two front pieces right sides together on the back piece and close the shoulder seams.
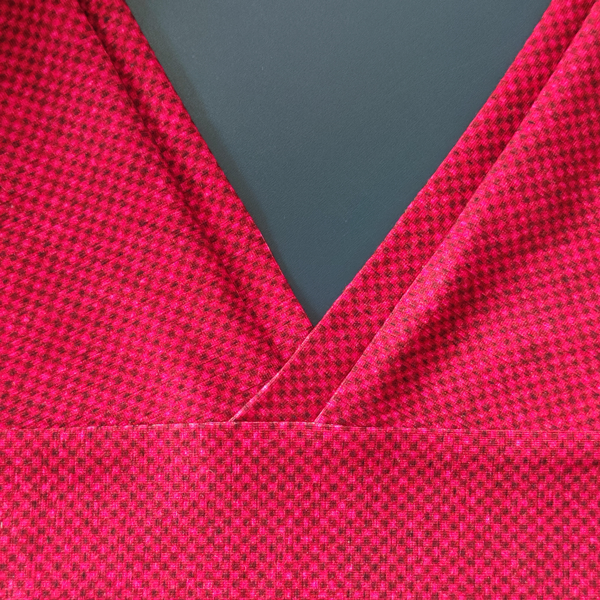
4. Ausschnittbündchen annähen
Falte den Bündchenstreifen links auf links und stecke ihn am Oberteil fest. Nähe ihn mit der Overlock an.
Tipp: Erhöhe den Differential deiner Overlock, um ein späteres Ausleihern zu verhindern.
4. Sewing the neckline
Fold the neckline strip wrong sides together and pin to the bodice. Sew it on with the serger.
Tip: Increase the differential of your serger so it won´t wear out later.
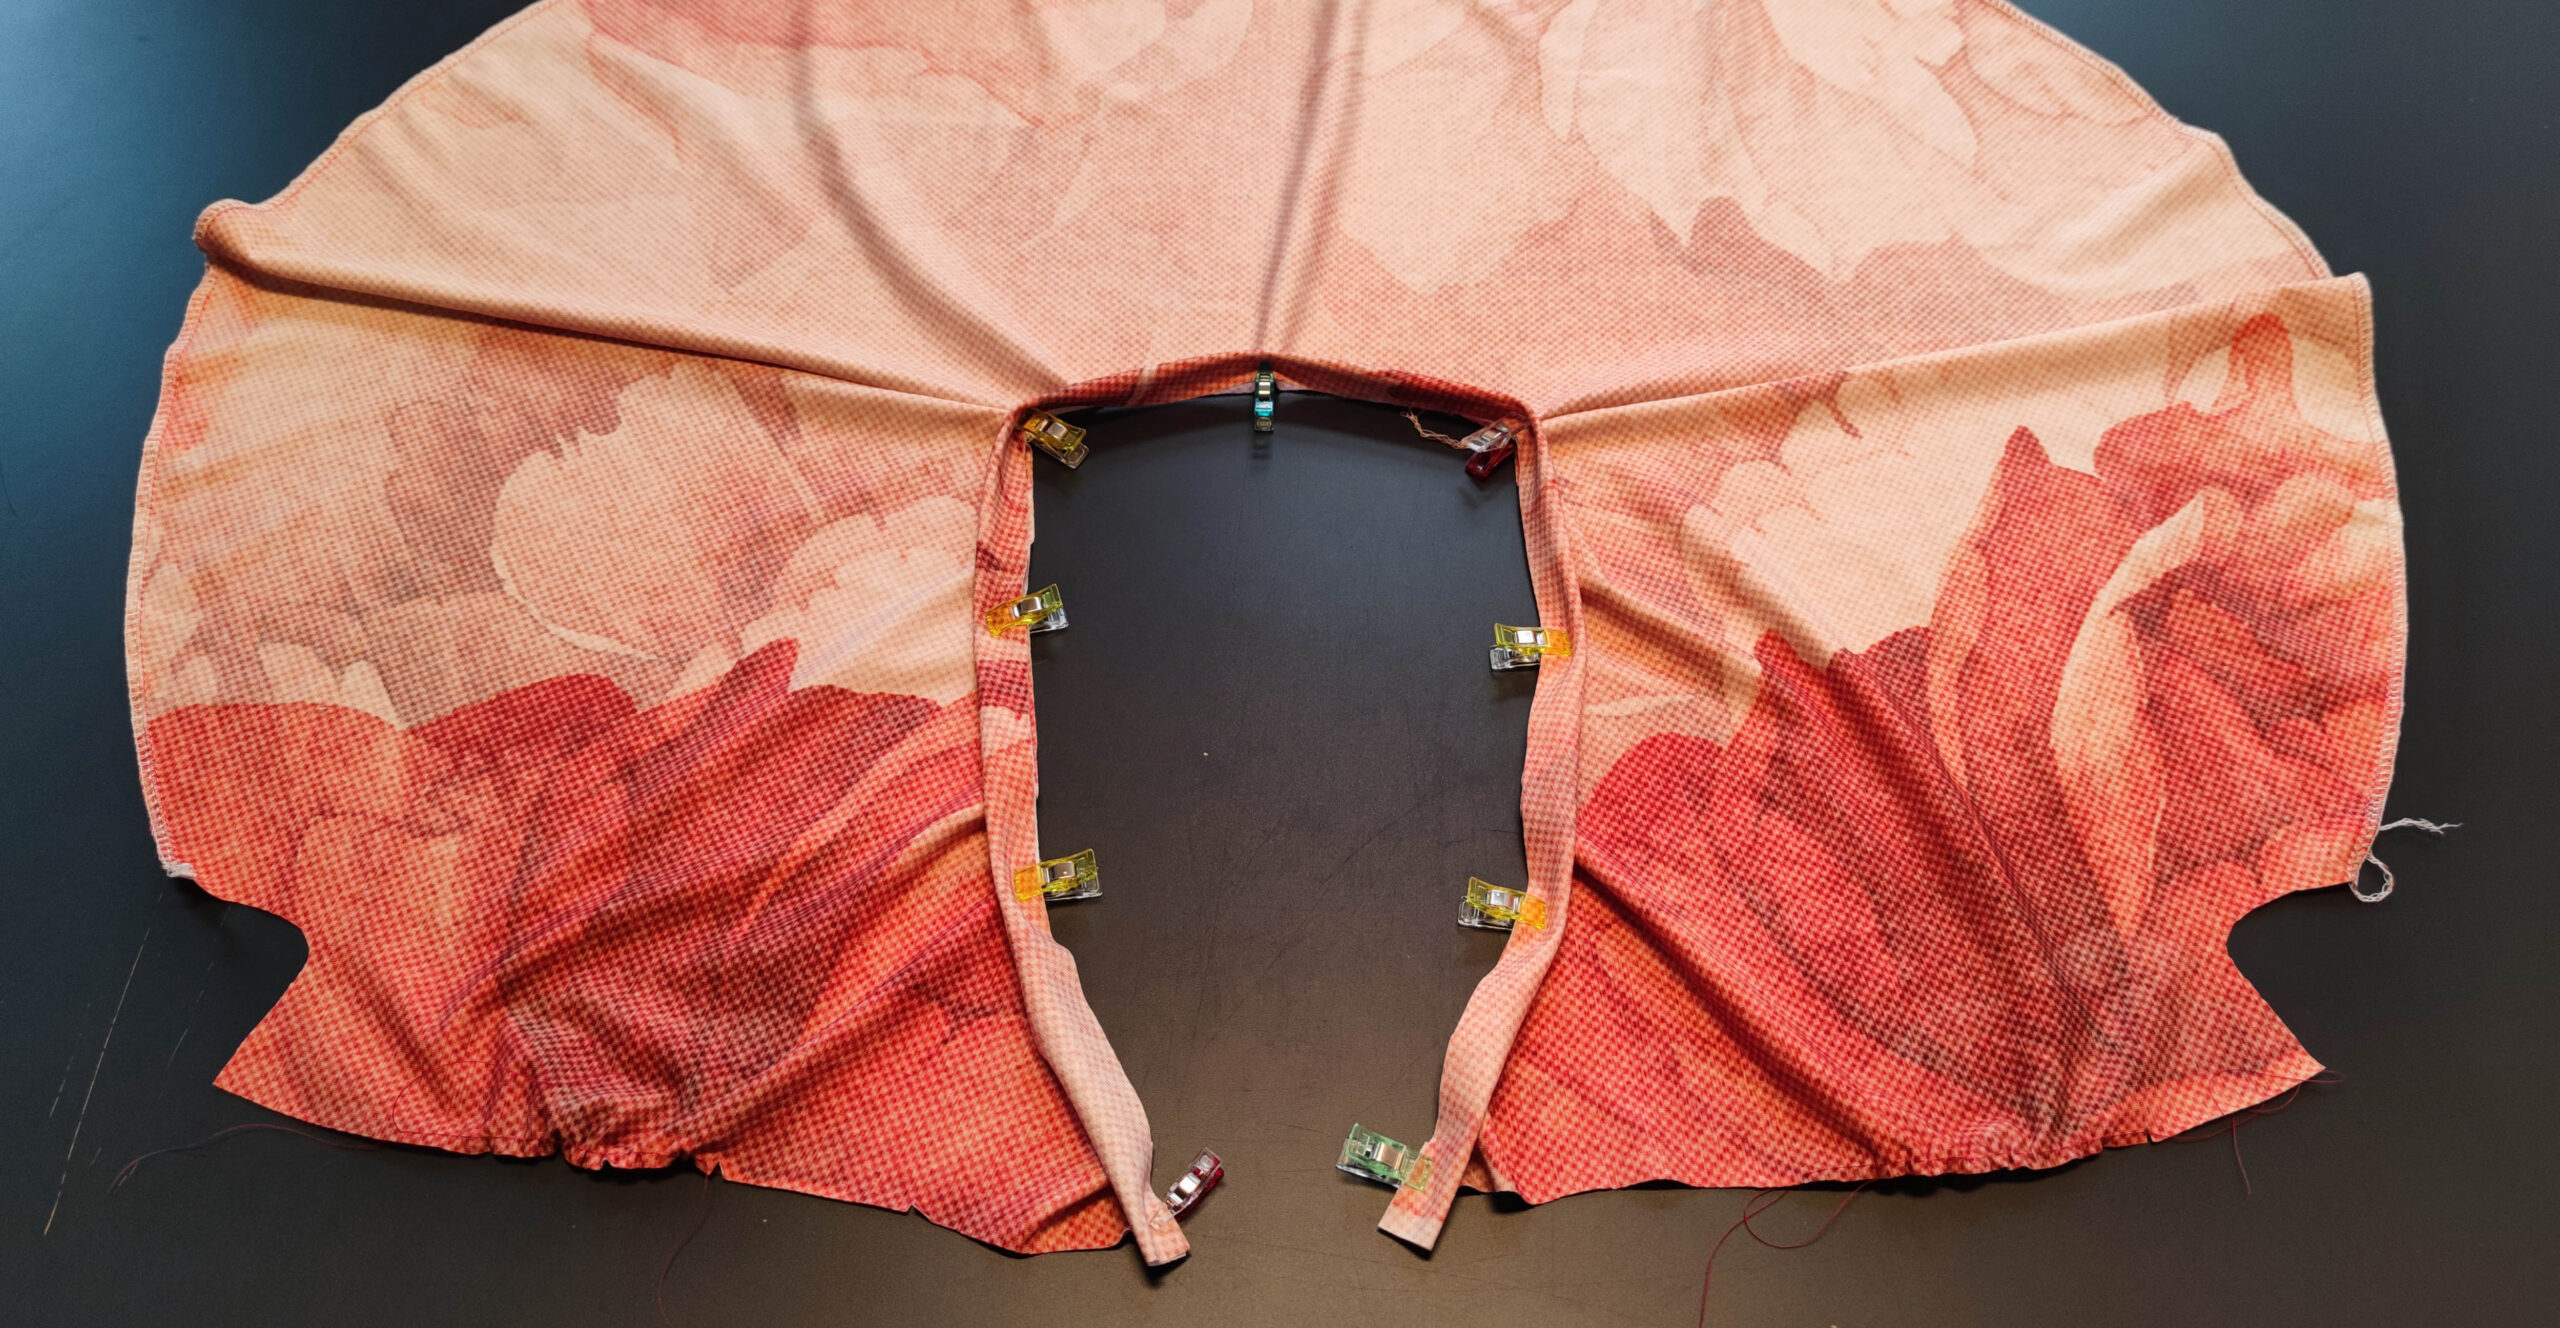
5. Vorderteil fixieren (hohe Ausschnittsvariante)
Stecke nun die Vorderteile anhand der Knipse aufeinander und nähe sie innerhalb der Nahtzugabe im Bereich der Überlappung zusammen.
5. Front Top (high neckline)
Now pin the front pieces together using the marks and sew them together within the seam allowance in the area of the overlap.
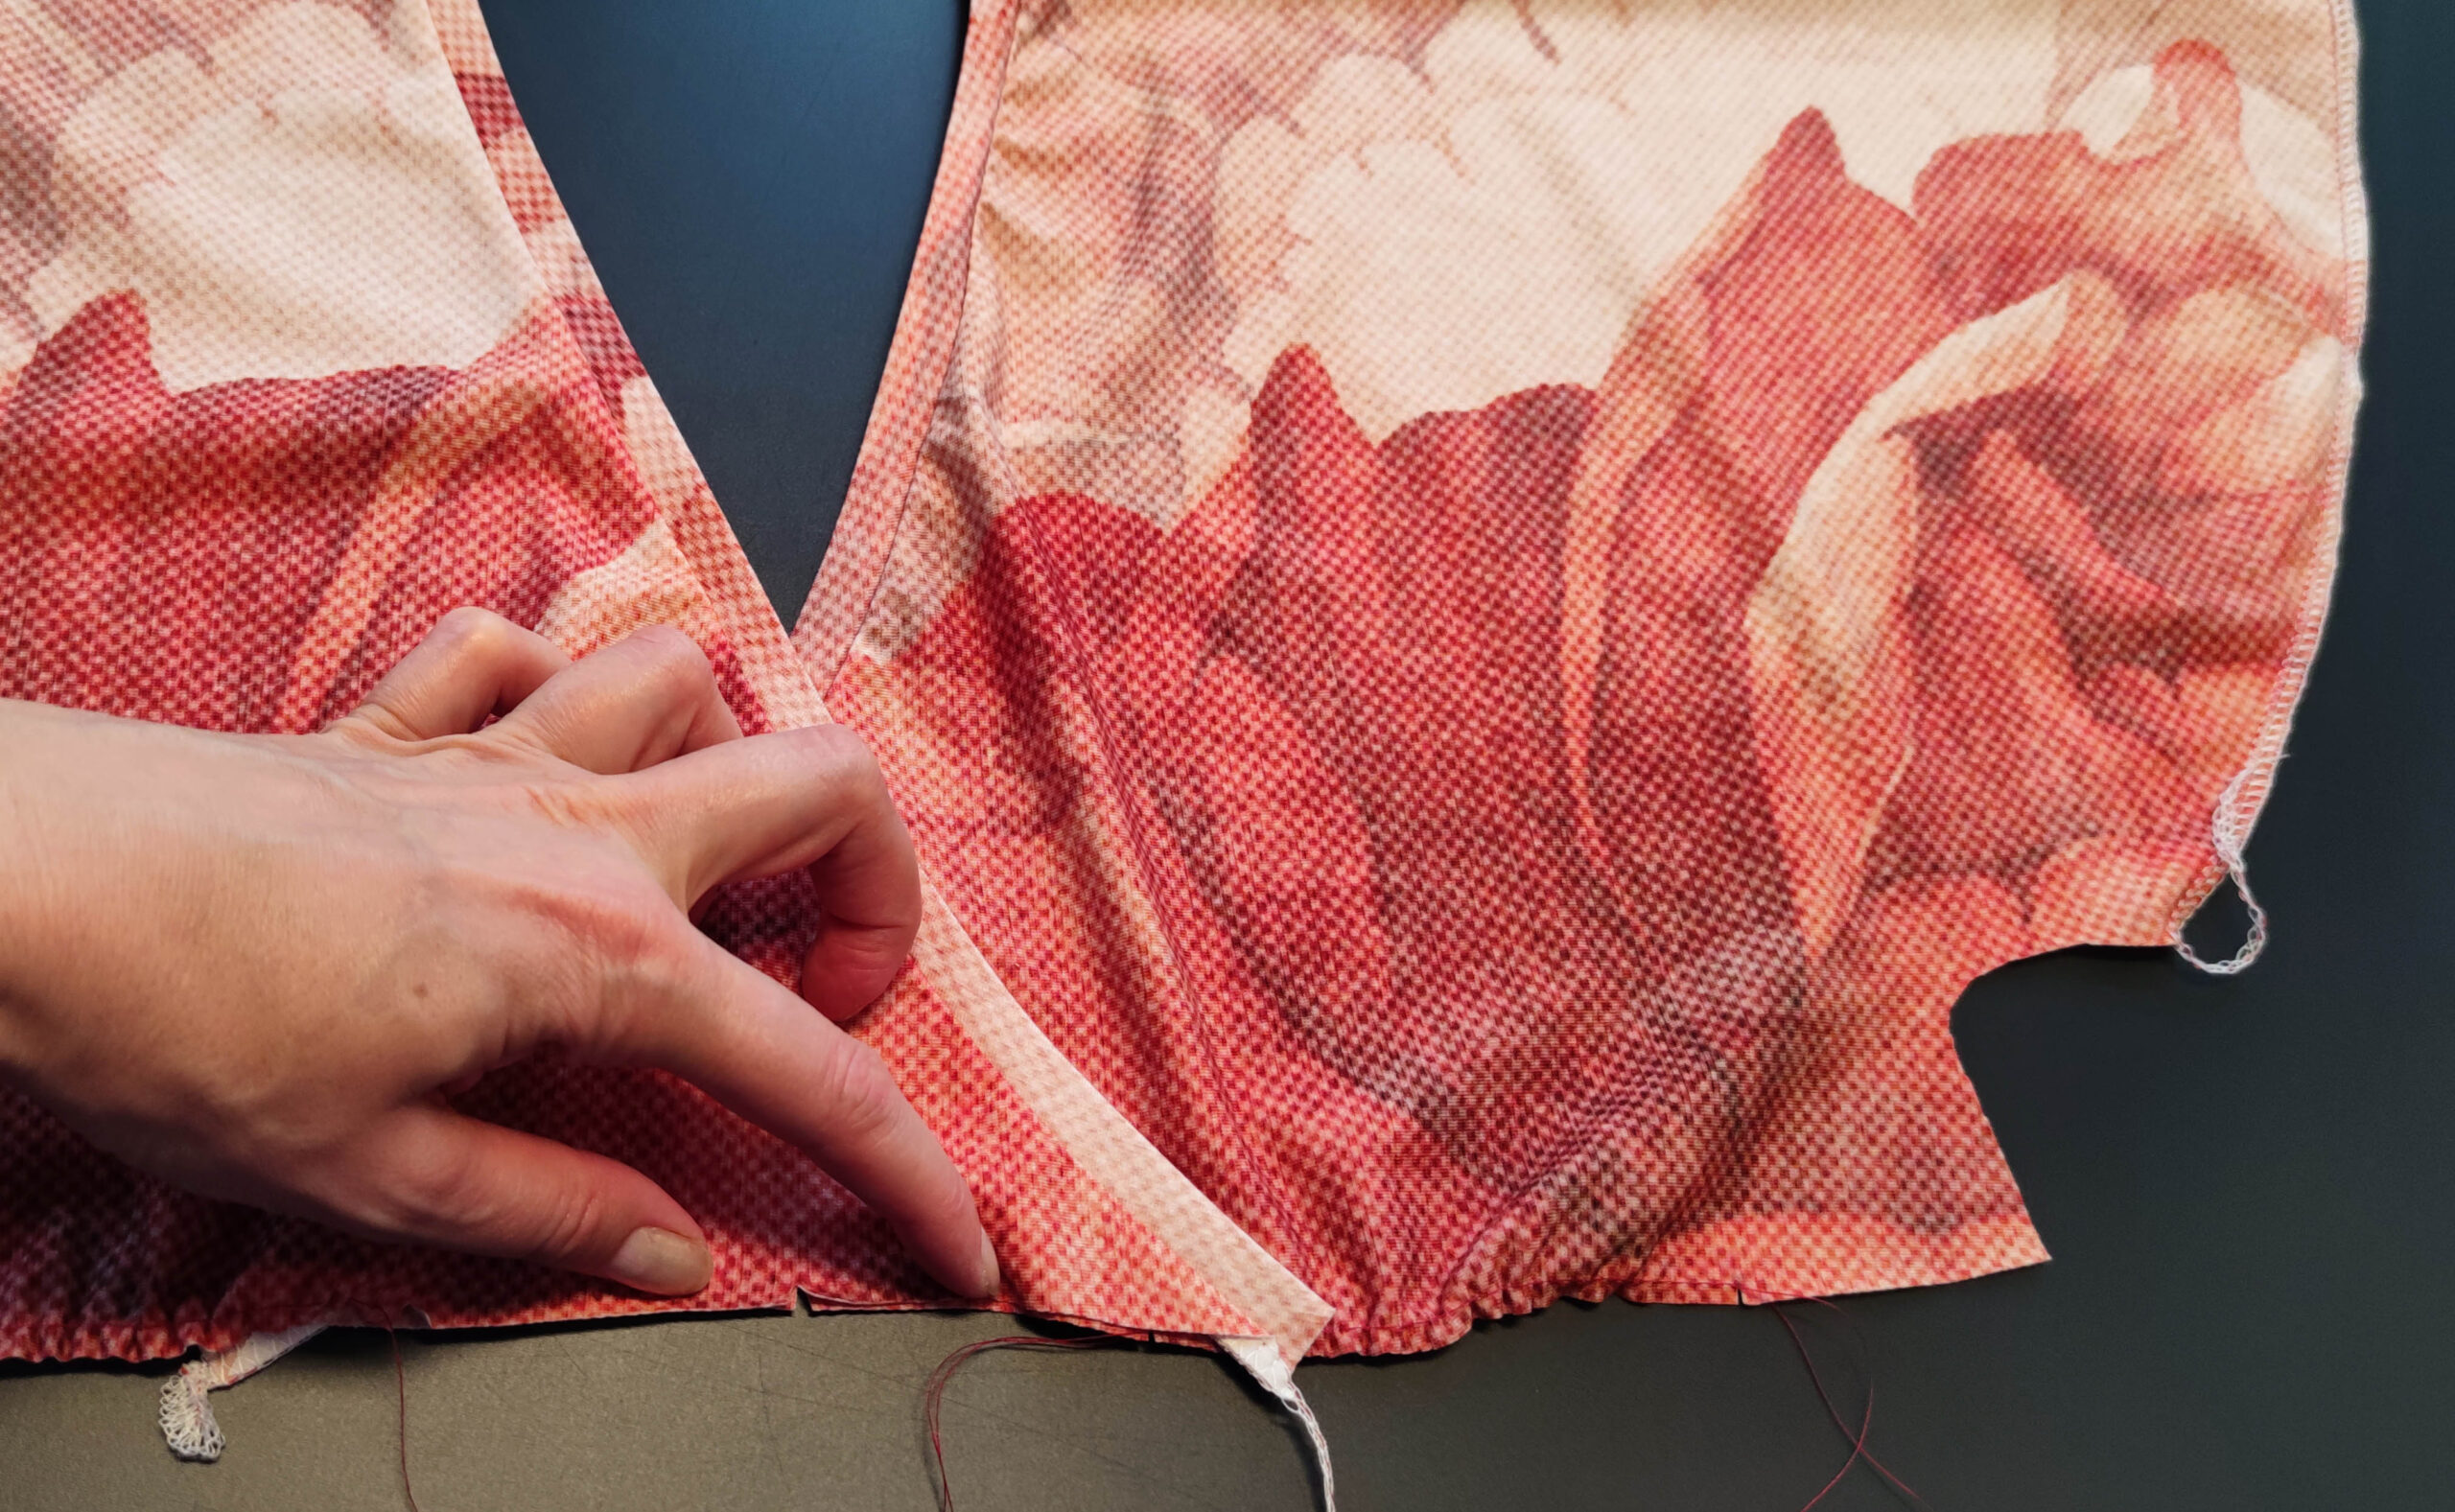
6. Variante: tiefer Ausschnitt
Der tiefe Ausschnitt überlappt vorne nur im Bereich des Bündchens. Stecke die Vorderteile an den Vorderrock, sodass die Bündchenkanten am Knips übereinander liegen.
Extratipp: Steppe die Nahtzugabe des Oberteils in Richtung Rock knappkantig ab damit die Naht beim Tragen nicht sichtbar wird.
6. The low neckline
The low neckline overlaps at the front only in the cuff area. Pin the front pieces to the front skirt so that the cuff edges are on top of each other at the snap.
Extra tip: Stitch the seam allowance of the top in the direction of the skirt so that the seam is not visible when you wear it.
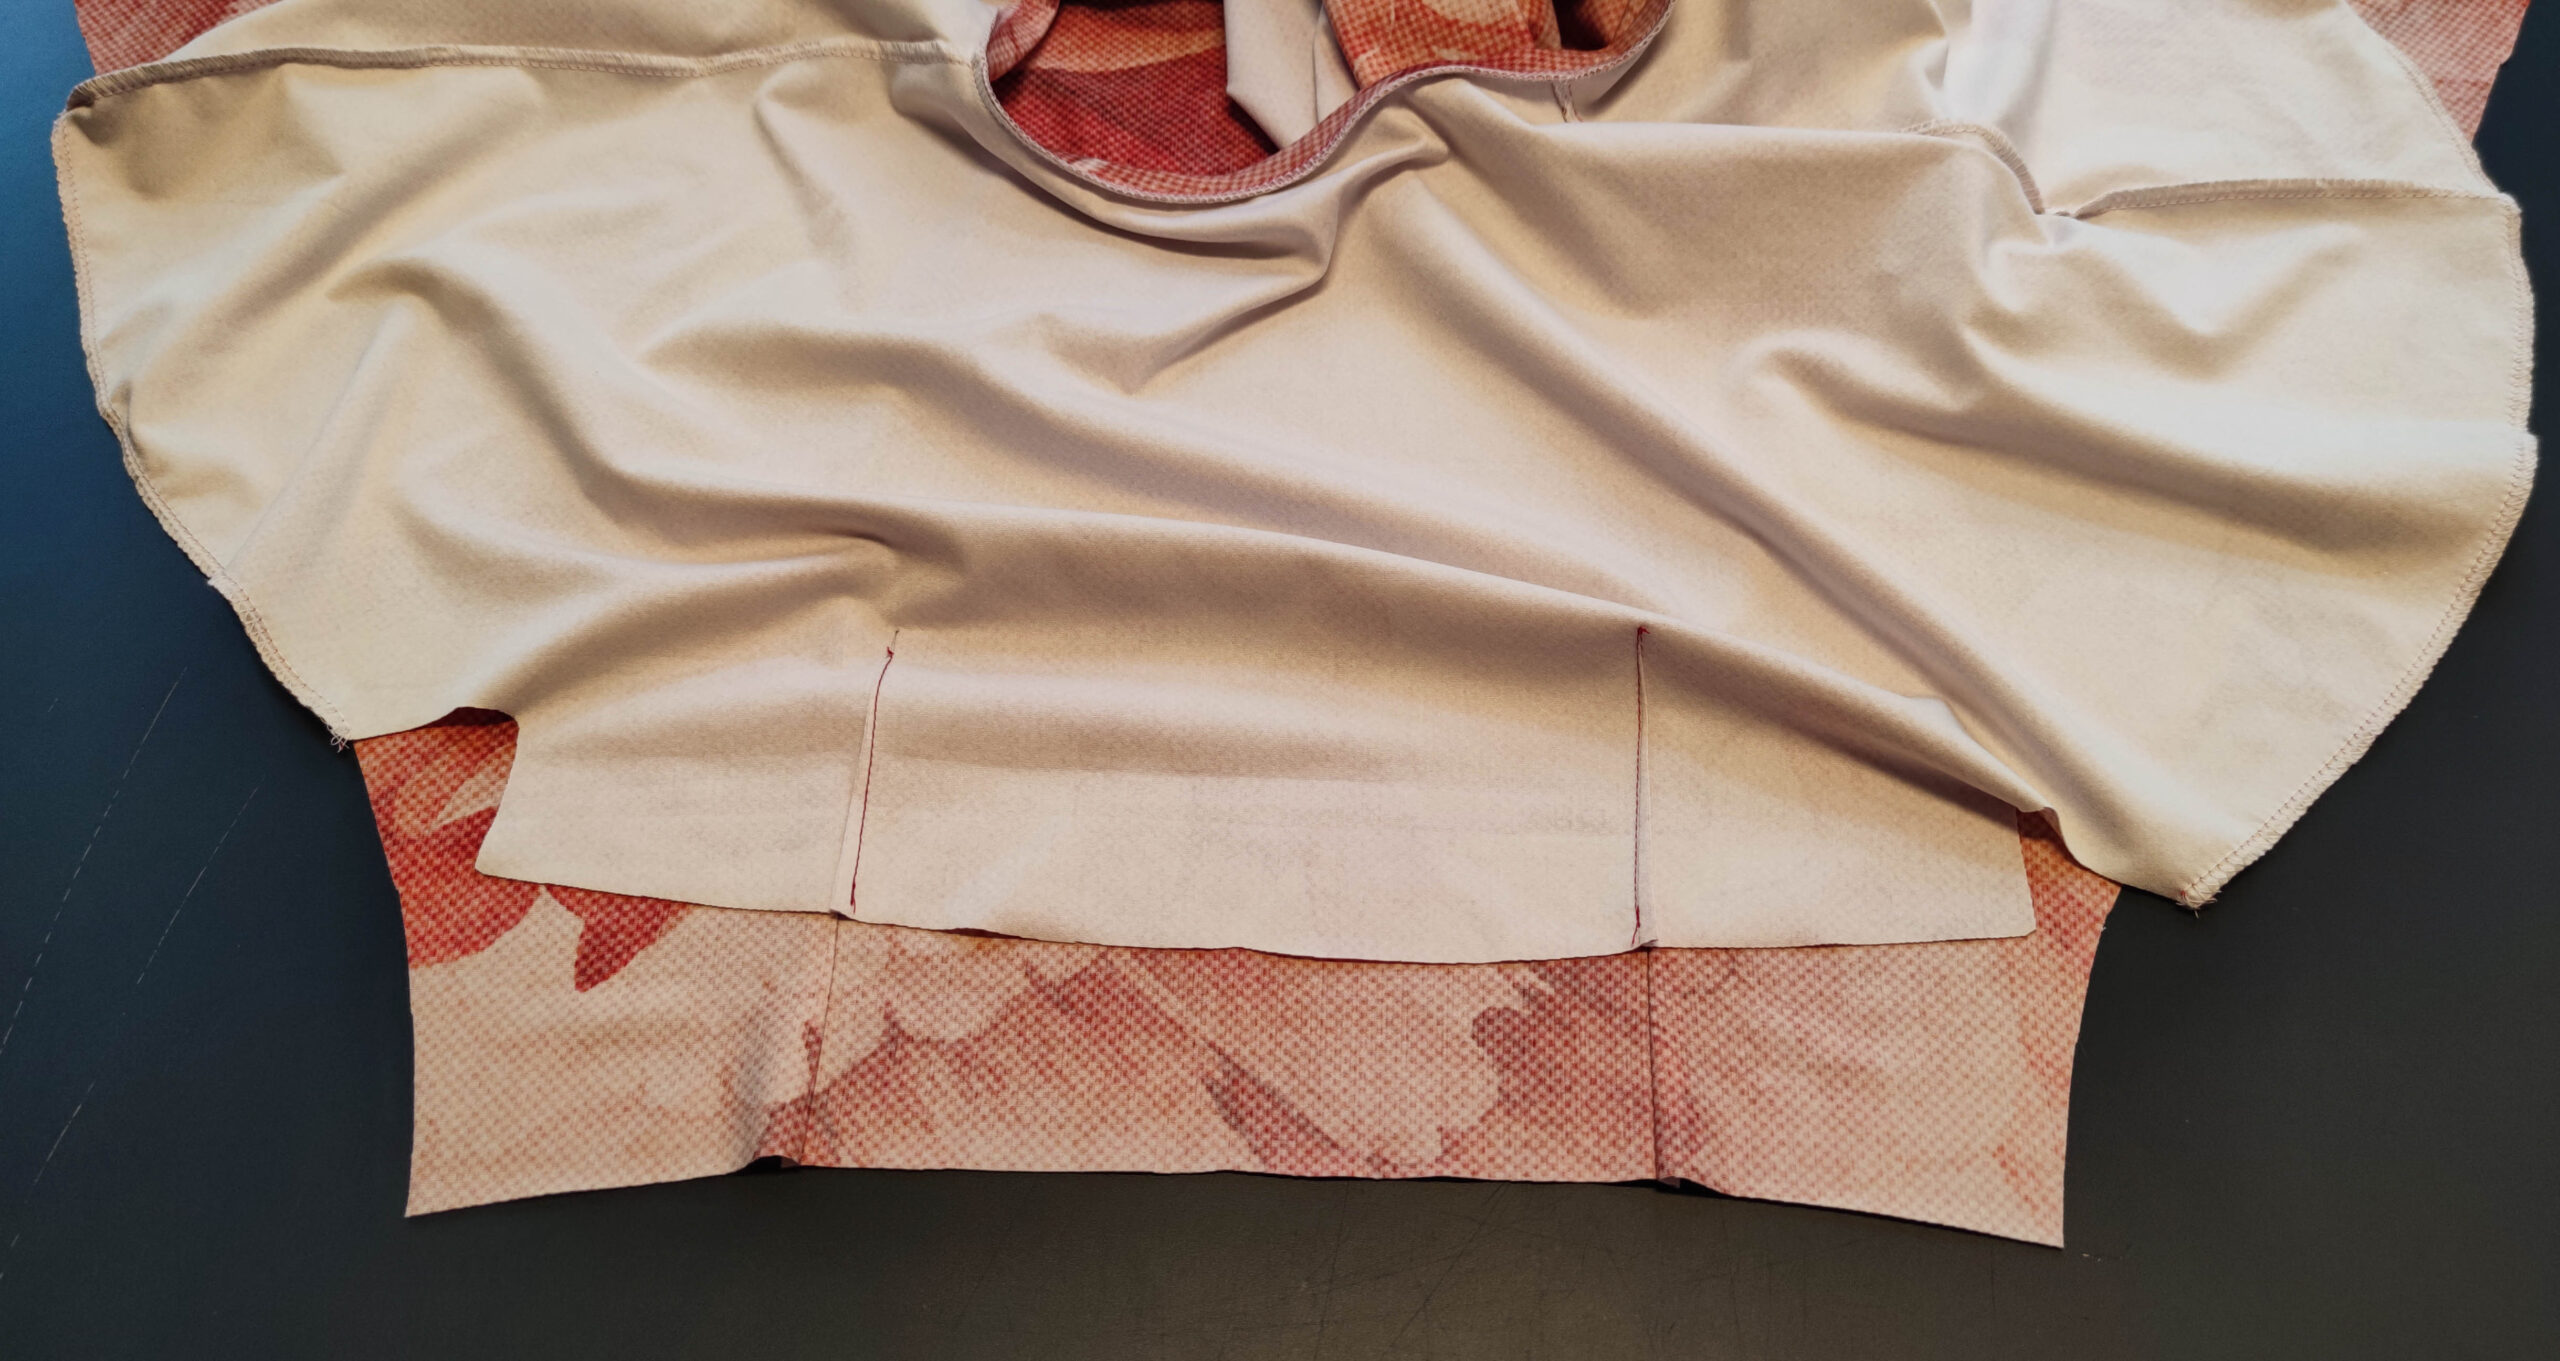
7. Kräuselung nähen
Nähe im Bereich der Markierung an der unteren Kante der Vorderteile eine Naht mit langem Gradstich und verringerter Fadenspannung. Verriegele Anfang und Ende nicht und lass lange Fäden stehen. Kräusele die Vorderteile so weit ein, das sie an den Vorderrock passen.
7. Gather the front pieces
Sew a seam with a long straight stitch and reduced thread tension in the area of the marking on the lower edge of the front pieces. Don’t lock the beginning and end and leave long strands. Gather the front pieces to fit the front skirt.
8. Vorderrock annähen
Stecke den Vorderrock mit der mittigen Markierung rechts auf rechts auf das Vorderteil und nähe diesen an.
8. Sewing the front skirt
Pin the front skirt onto the front piece with the center marking right sides together and sew on.
9. Hinterrock annähen
Nähe den Hinterrock rechts auf rechts an das Rückteil, die Abnäher treffen dabei aufeinander.
9. The back skirt
Sew the back skirt to the back piece, right sides together, the darts meet.
10. Seitennähte schließen
Lege Vorder- und Rückteil rechts auf rechts und schließe die Seitennähte in einem Rutsch.
10. Closing the side seams
Place the front and back pieces right sides together and close the side seams in one step.
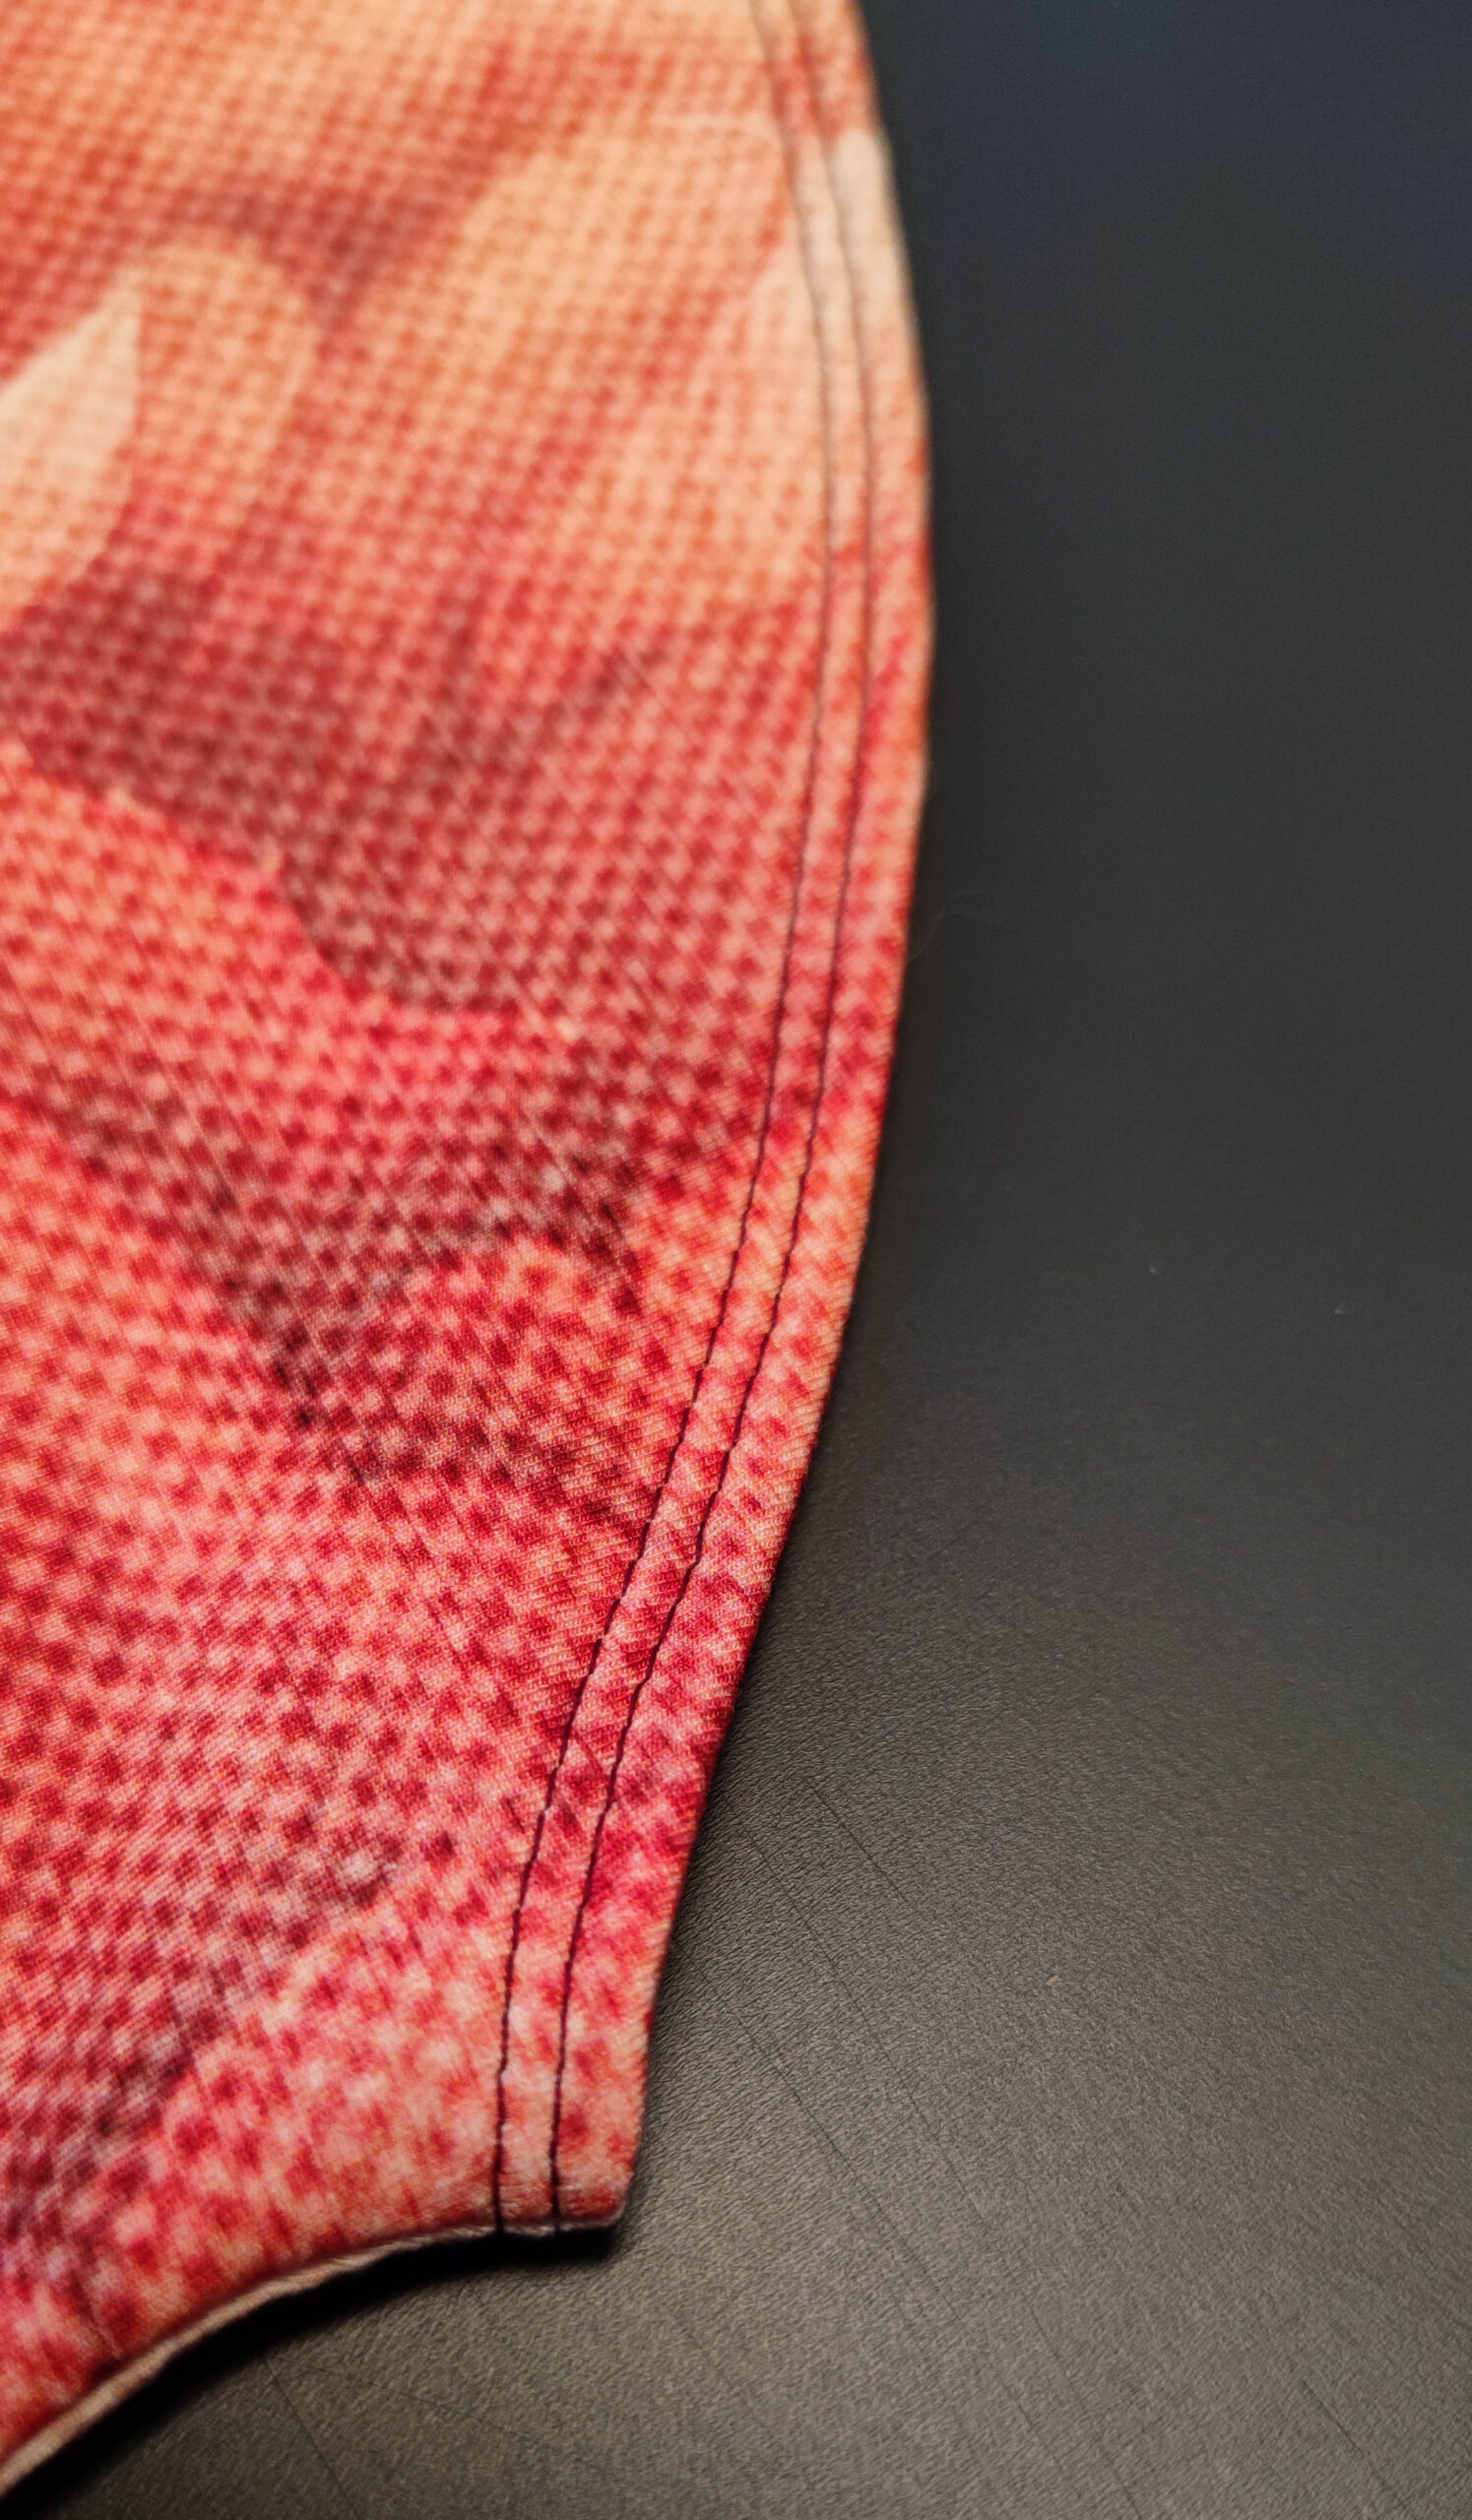
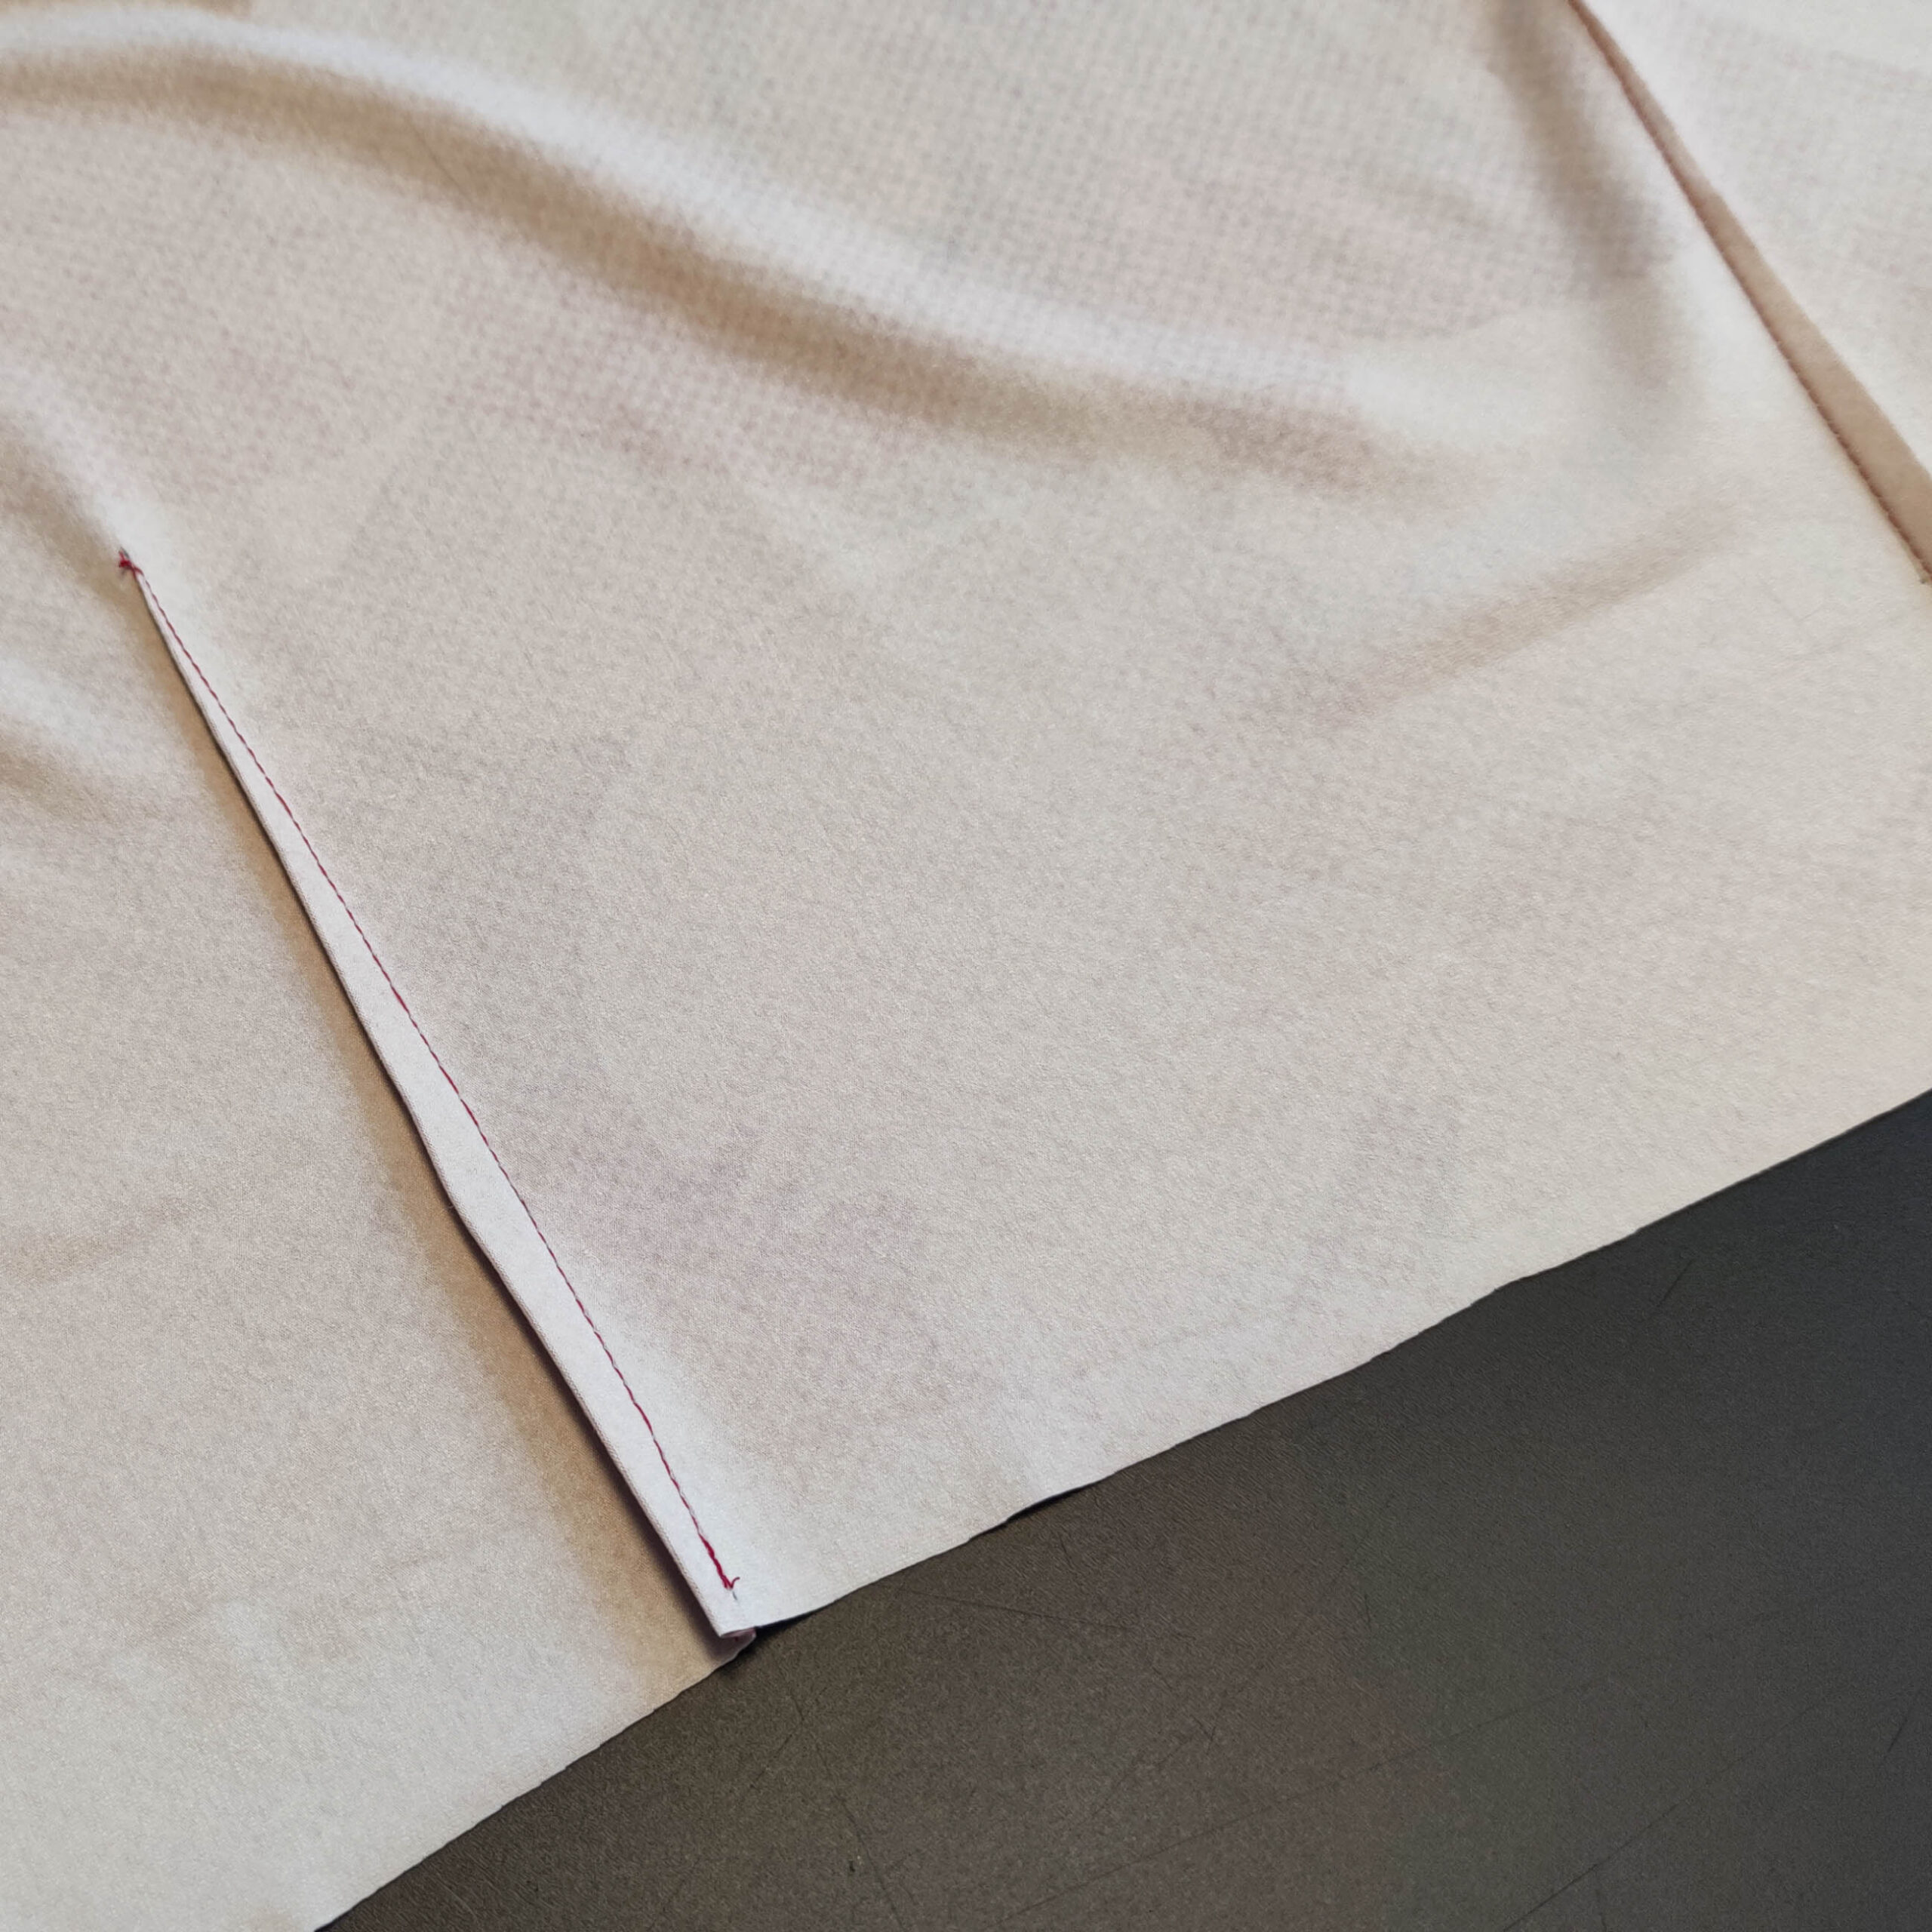
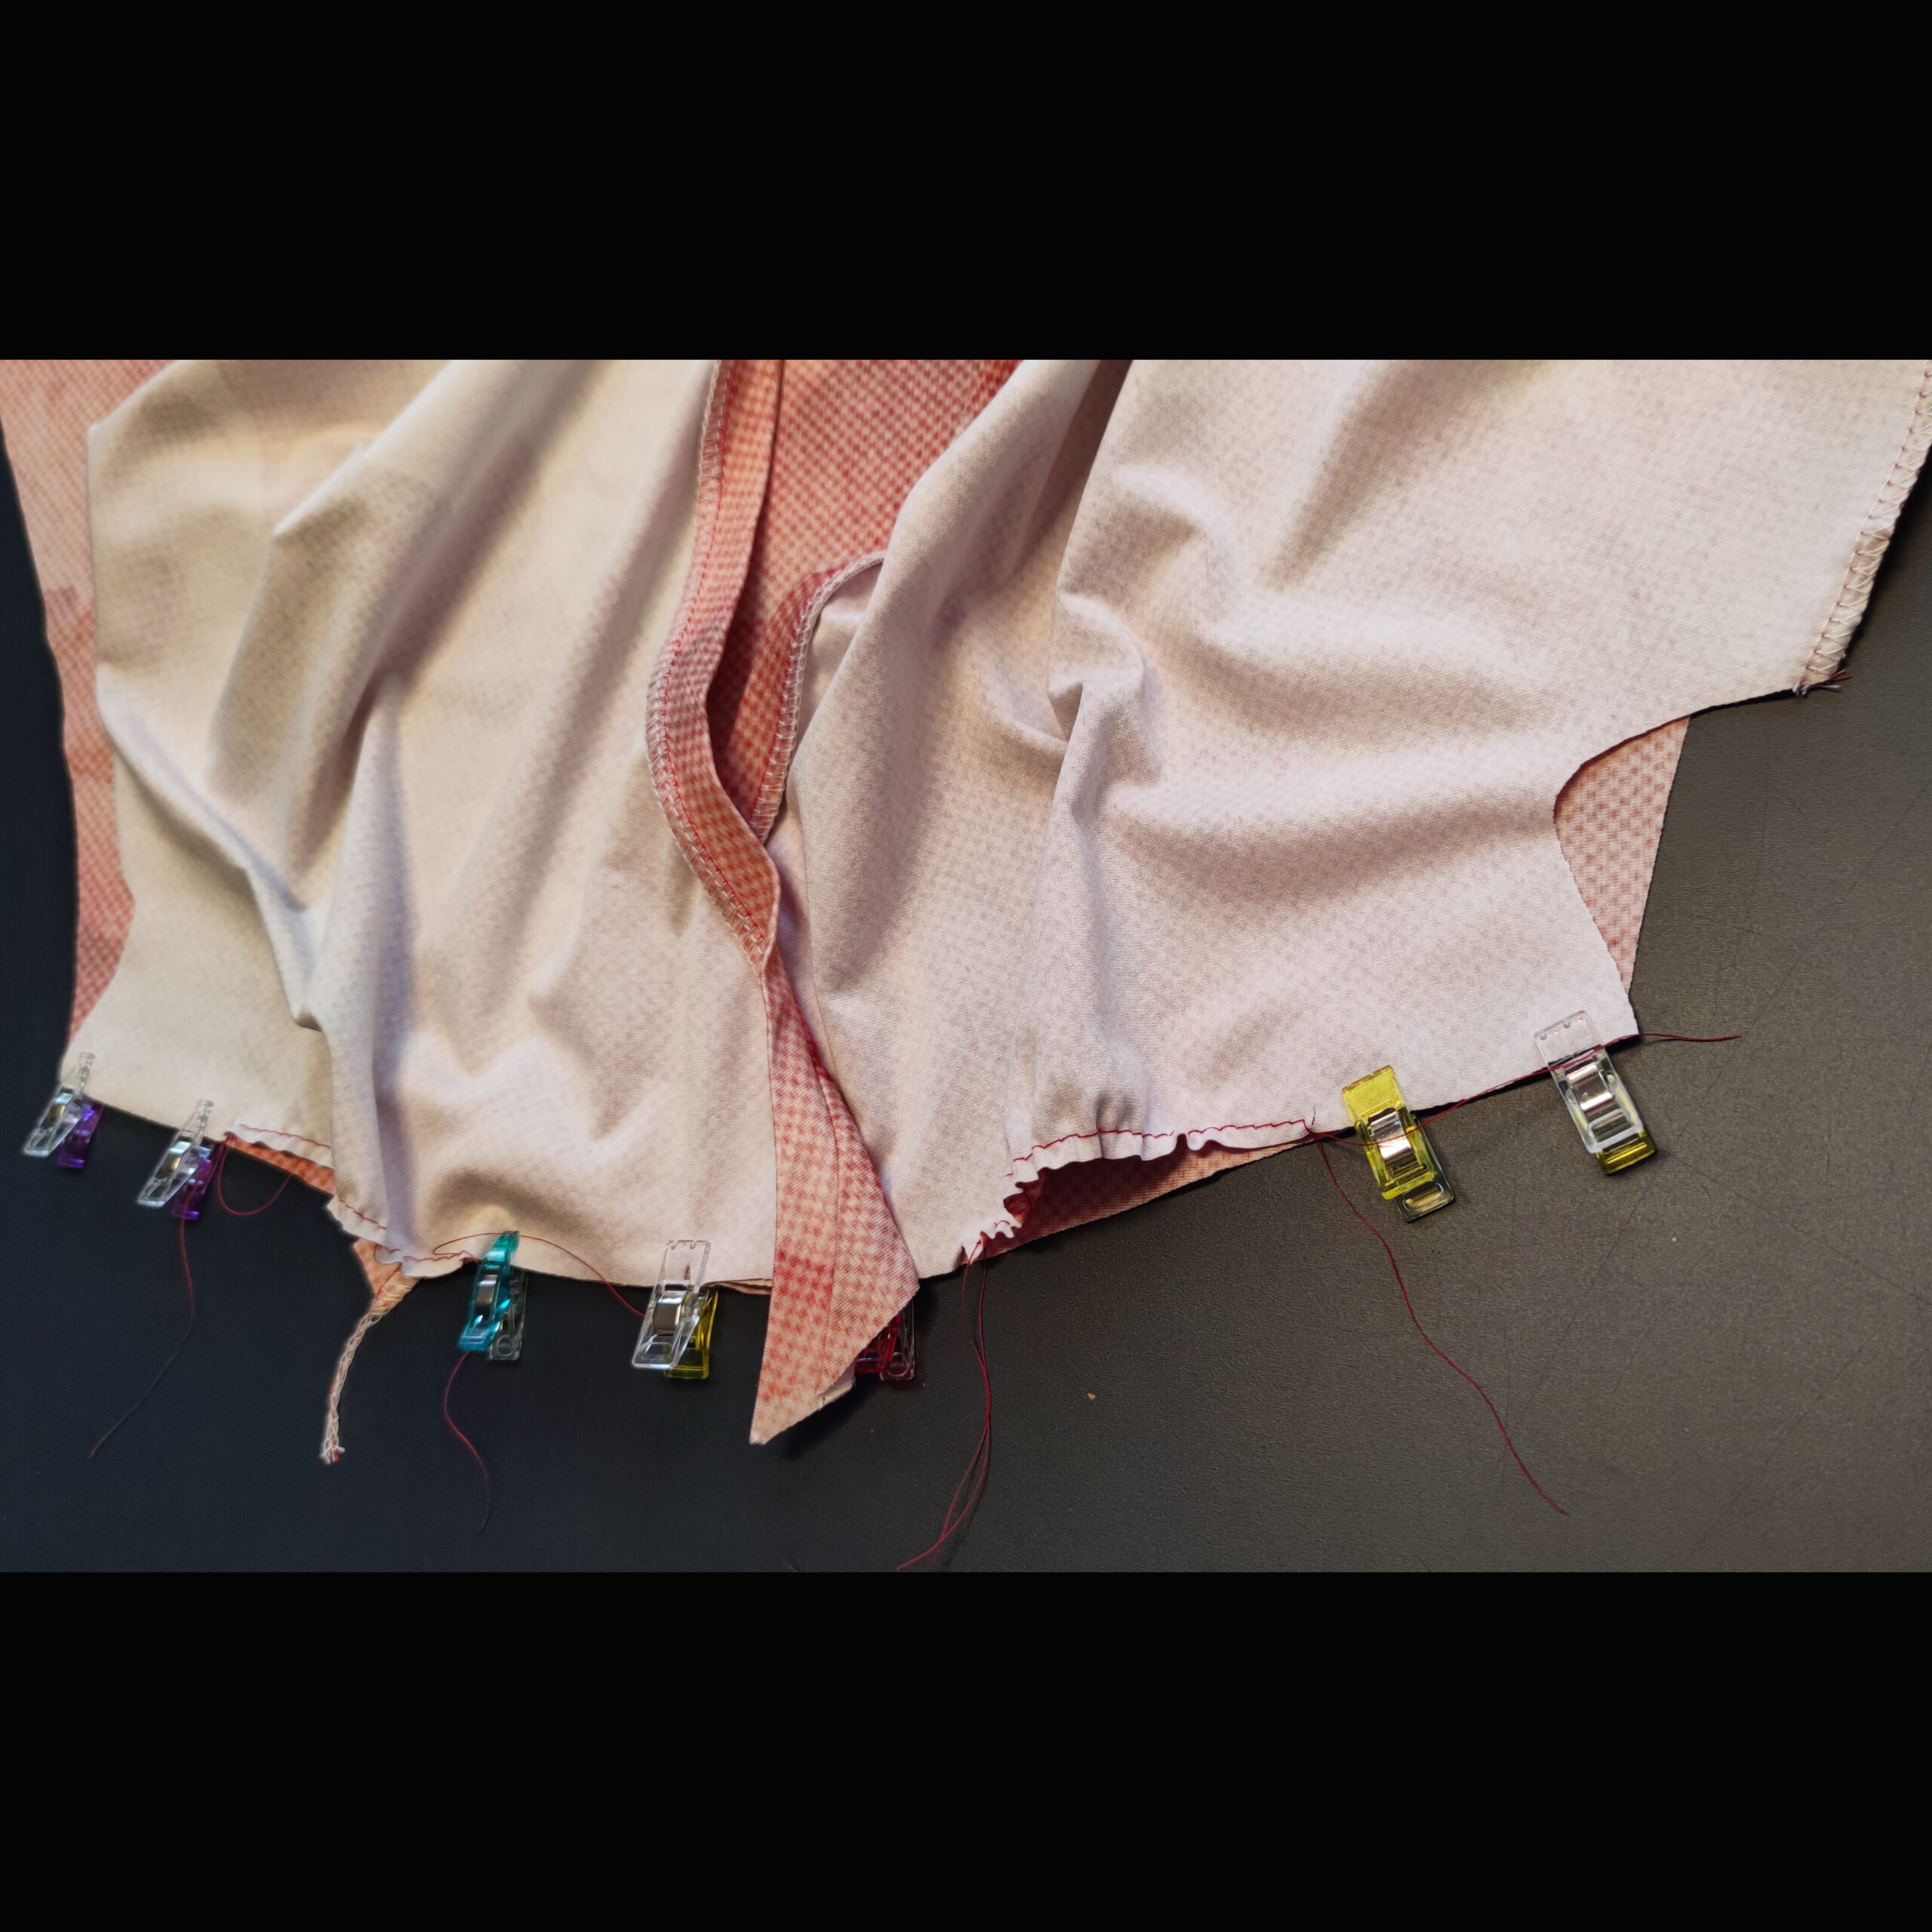
11. Säumen
Säume die Ärmel und den Rock mit einem elastischen Stich (zum Beispiel mit einer Zwillingsnadel). Aufgrund der Rundung der Säume von Rock und Ärmeln beträgt die Saumzugabe 0,7 cm.
Fertig ist dein Sommerkleid nach unserem Schnittmuster Jupiter.
11. Hem
Hem the sleeves and skirt with an elastic stitch (e.g. with a twin needle). Due to the rounding of the hems of the skirt and sleeves, the hem allowance is 0.7 cm.