zum Warenkorb 0,00 €
0Nähanleitung /// How to sew: Hyperion

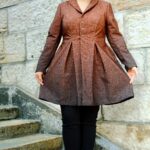
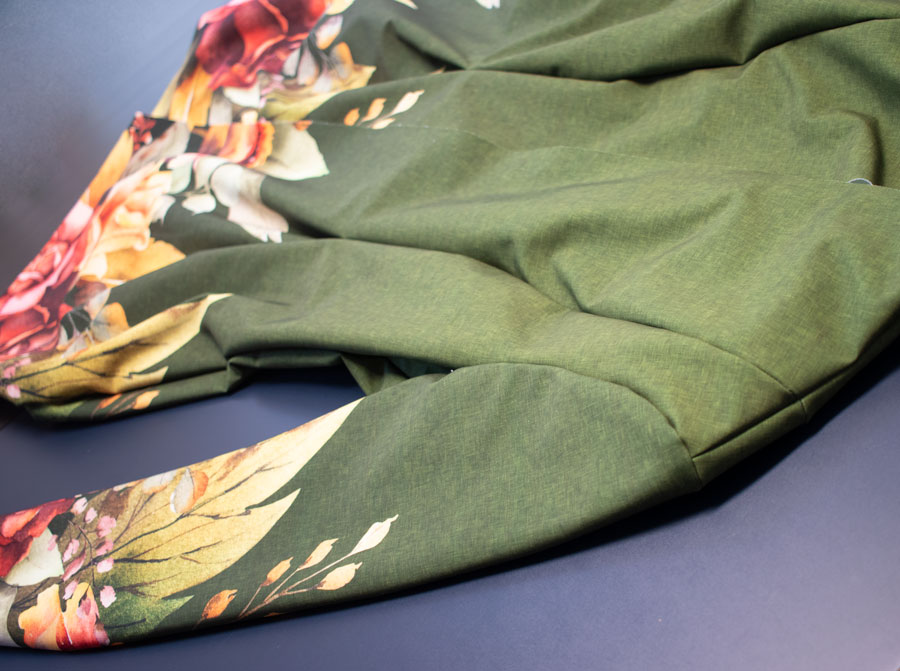
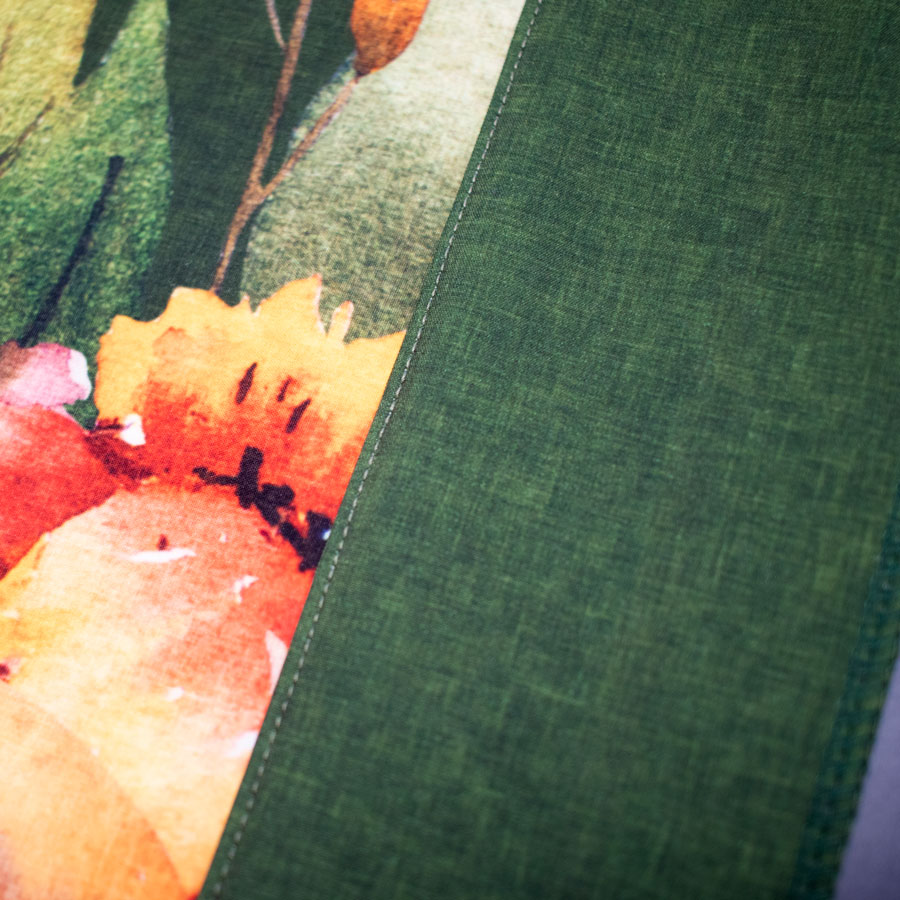
„Hyperion“ ist ein eleganter Mantel mit drei tiefen Kellerfalten hinten und zwei vorn. Das Oberteil ist mit Prinzessnähten und ohne Unterteilung zum Rockteil, wodurch Bordürenstoffe perfekt zur Geltung kommen. Du kannst Hyperion ungefüttert oder gefüttert nähen.
Hyperion is an elegant coat with three deep box pleats at the back and two at the front. The upper part has princess seams and no subdivision to the skirt part. You can sew Hyperion unlined or lined.
Richtige Größe drucken
Die gekauften Dateien haben zwei verschiedene Varianten: A4 und A0 Dateien. Die A0 kannst du online oder in einem Copyshop drucken lassen, A4 kann dein Drucker drucken. Bei beiden Varianten ist es dir möglich, nur die Größe zu drucken, die du tatsächlich benötigst. Oder zwei-drei Größen, falls du Anpassungen vornehmen musst.
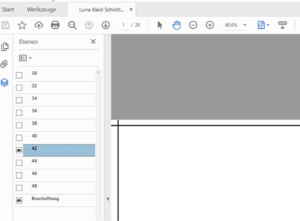
Öffne die Datei im Acrobat Reader und klicke das Symbol in der linken Leiste am Rand an, das auf dem Bild blau dargestellt ist. Daraufhin klappt ein neues Menü auf, in dem du durch einen Klick auf das Auge die Größen ein- und ausblenden kannst. Die Ebene „Beschriftung“ sollte immer an bleiben. Beim oben gezeigten Beispiel würdest du Gr. 42 drucken.
Blende nun alle unnötigen Größen aus und drucke das Schnittmuster wie gewohnt. Auf dem Beispielbild ist es die Größe 42, die gedruckt wird.
Print the correct size
The purchased files come in two different variants: A4 and A0 files. You can have the A0 printed online or in a copy shop. Your printer can print A4. With both variants it is possible for you to print only the size that you actually need. Or two to three sizes in case you need to make adjustments.
Open the file in Acrobat Reader and click on the symbol in the left bar at the edge, which is shown in blue on the picture. A new menu then opens in which you can show and hide sizes by clicking on the eye. The „labeling“ layer should always remain on.
Now hide all unnecessary sizes and print the pattern as usual. Using the example above, you would print size 42 only.
Maßtabelle /// Size chart (cm)

Stoffverbrauch unser Mantelstoff: 3 m für normale Länge aller Größen / Bordürenstoff Softshell: 3,5 m
Fabric requirement of our coat fabric: 3 m for normal length in all sizes / Border Fabric Softshell: 3,5 m
Stoffempfehlung
Empfohlene Stoffart: Walk und Mantelstoffe mit maximal 420 g Flächengewicht oder Softshell light.
Der gewählte Stoff sollte eine leichte Dehnbarkeit haben. Sehr starre und sehr dicke Stoffe eignen sich aufgrund der körpernahen
Schnittführung nicht.
Fabric recommendation
Recommended type of fabric: boiled wool and coat fabrics with a maximum surface weight of 420 g or Softshell light.
The fabric you choose should have some stretch. Very rigid and very thick fabrics are not suitable.
Anpassung
Der Mantel ist ab der Taille durch die Kellerfalten sehr leger geschnitten. Orientiere dich daher bei der Wahl der Größe an deinem Brustmaß und deinem Taillenmaß. Insbesondere in der Taille ist ein genaues Messen wichtig, da hier die Falten aufspringen.
Sollte die Differenz zwischen deinem Oberbrust- und deinem Brustumfang größer als 5 cm sein findest du Infos zum Thema FBA in unserem Blog.
Solltest du Hilfe benötigen, schau gern in der Mondstoff-Gruppe auf Facebook vorbei: Mondstoff-Gruppe
Adjustment
The coat has a very casual cut from the waist down due to the box pleats. Therefore, when choosing the size, use your chest measurement and your waist measurement as a guide. Precise measurement is particularly important at the waist, as this is where the folds open up.
If the difference between your upper chest and your chest circumference is more than 5 cm, you can find some informations about FBA in our blog.
If you need help, feel free to join the Mondstoff group on Facebook: Mondstoff Group
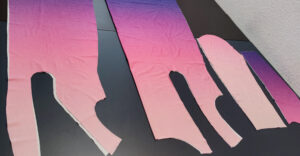
Zuschnitt
Für den Mantel:
2 x Vorderteil gegengleich
1 x Rückteil im Bruch
2 x vordere Ärmel gegengleich
2 x hintere Ärmel gegengleich
2 x Vorderteil-Belege gegengleich
1 x Rückteil-Beleg im Bruch
2 x Taschenbeutelpaare (also 4x zuschneiden)
Cutting
For the coat:
2 x front part mirrored
1 x back on fold
2 x front sleeves in mirrored
2 x back sleeves mirrored
2 x front piece facing mirrored
1 x back facing on fold
2 x pairs of pocket bags (i.e. cut 4x)
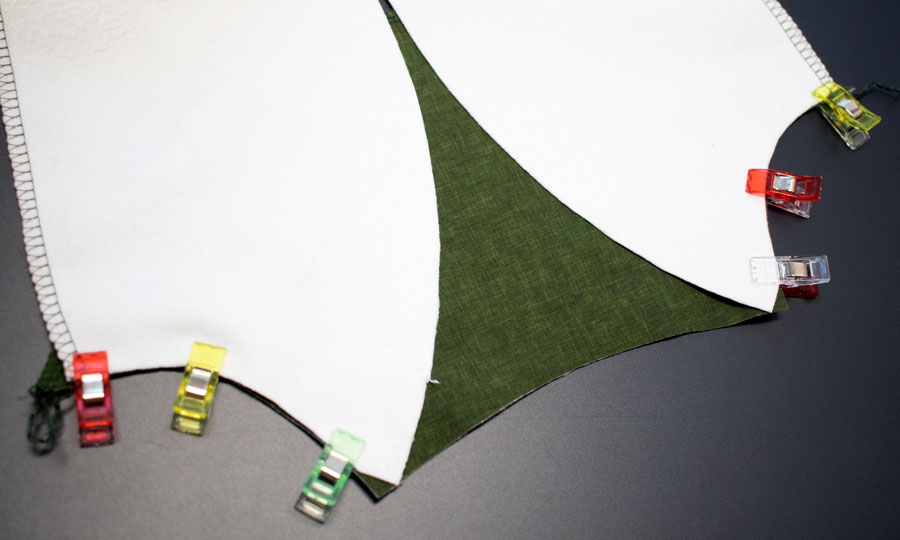
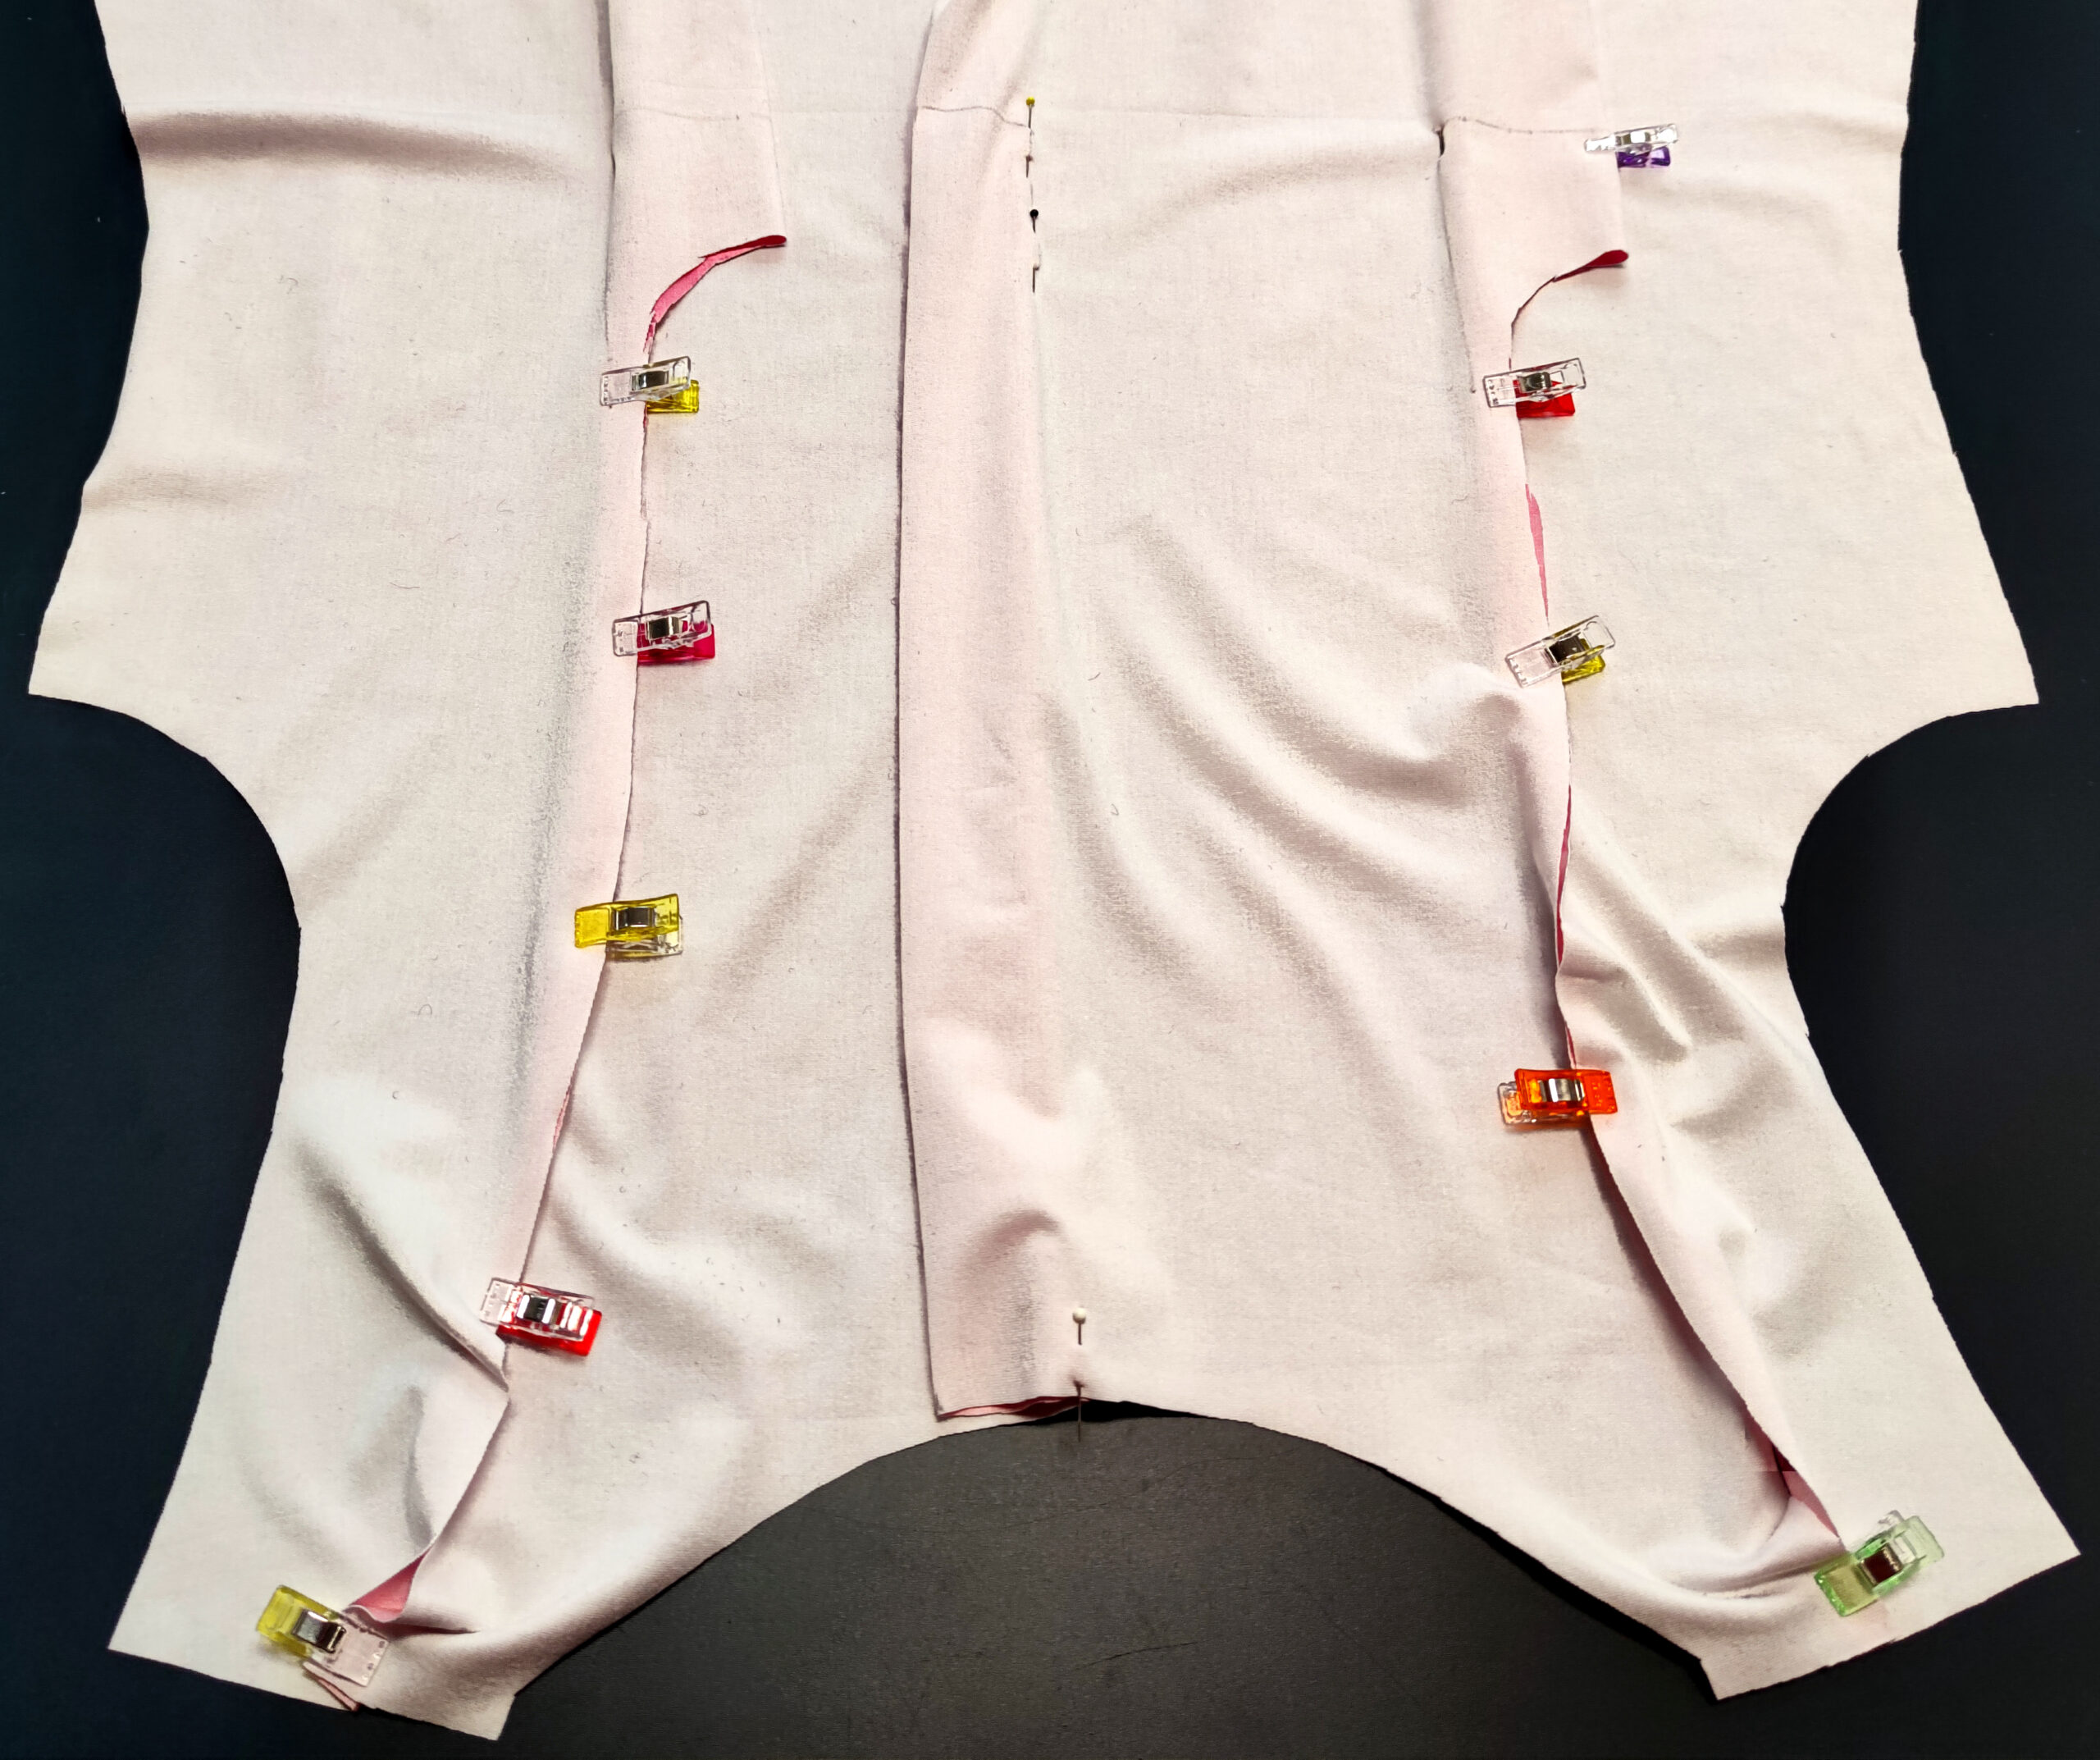
Passzeichen übertragen
Übertrage alle Passzeichen mit Hilfe eines Trickmarkers oder ähnlichem auf die linke Stoffseite. Übertrage auch alle Knipse mit kleinen Einschnitten innerhalb der Nahtzugabe.
Transfer the marks
Transfer all marks to the wrong side of the fabric using a trick marker or something similar. Also transfer any notches with small cuts inside the seam allowance.
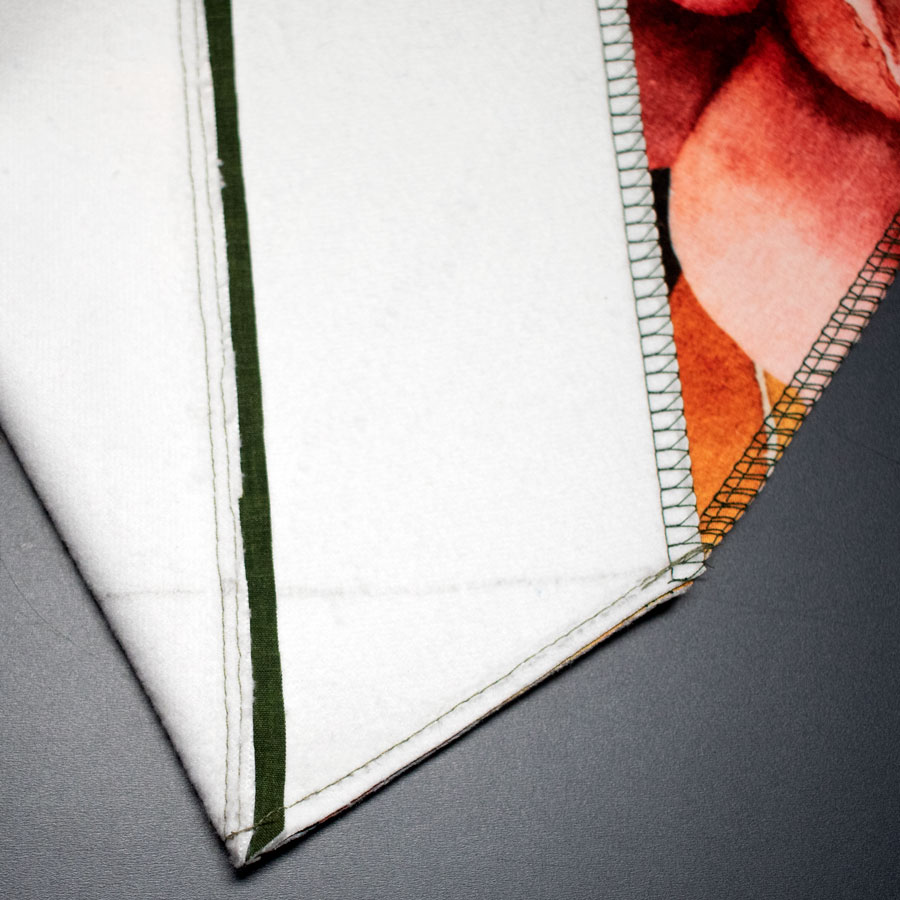
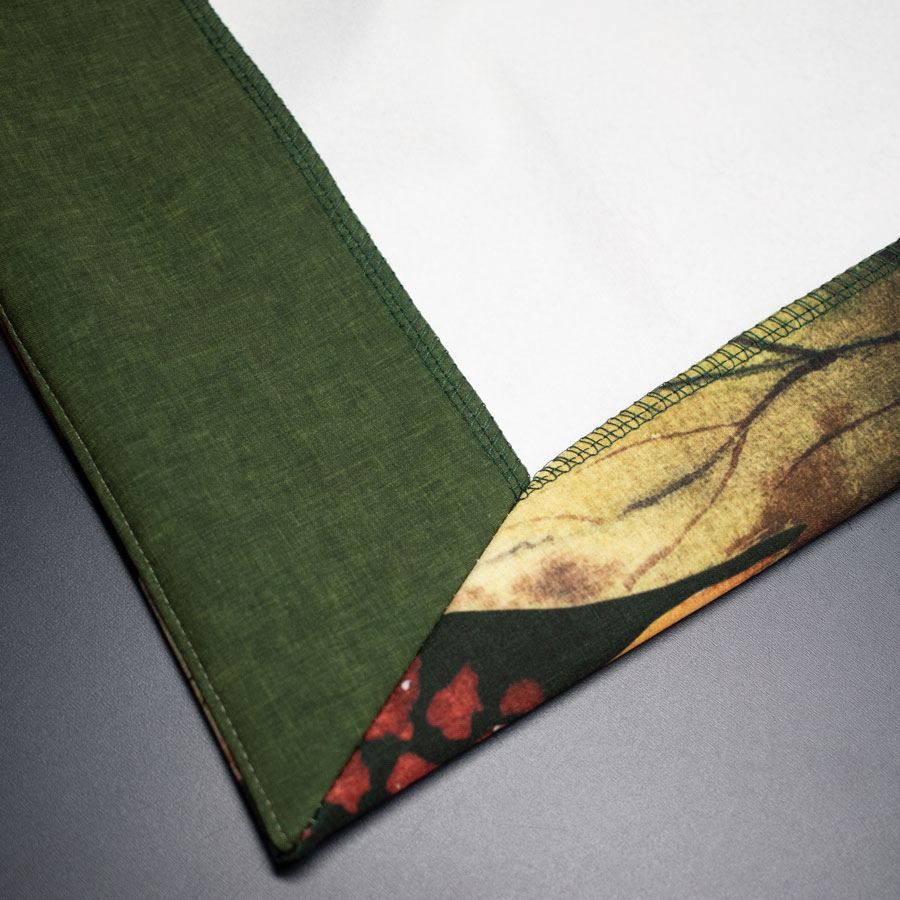
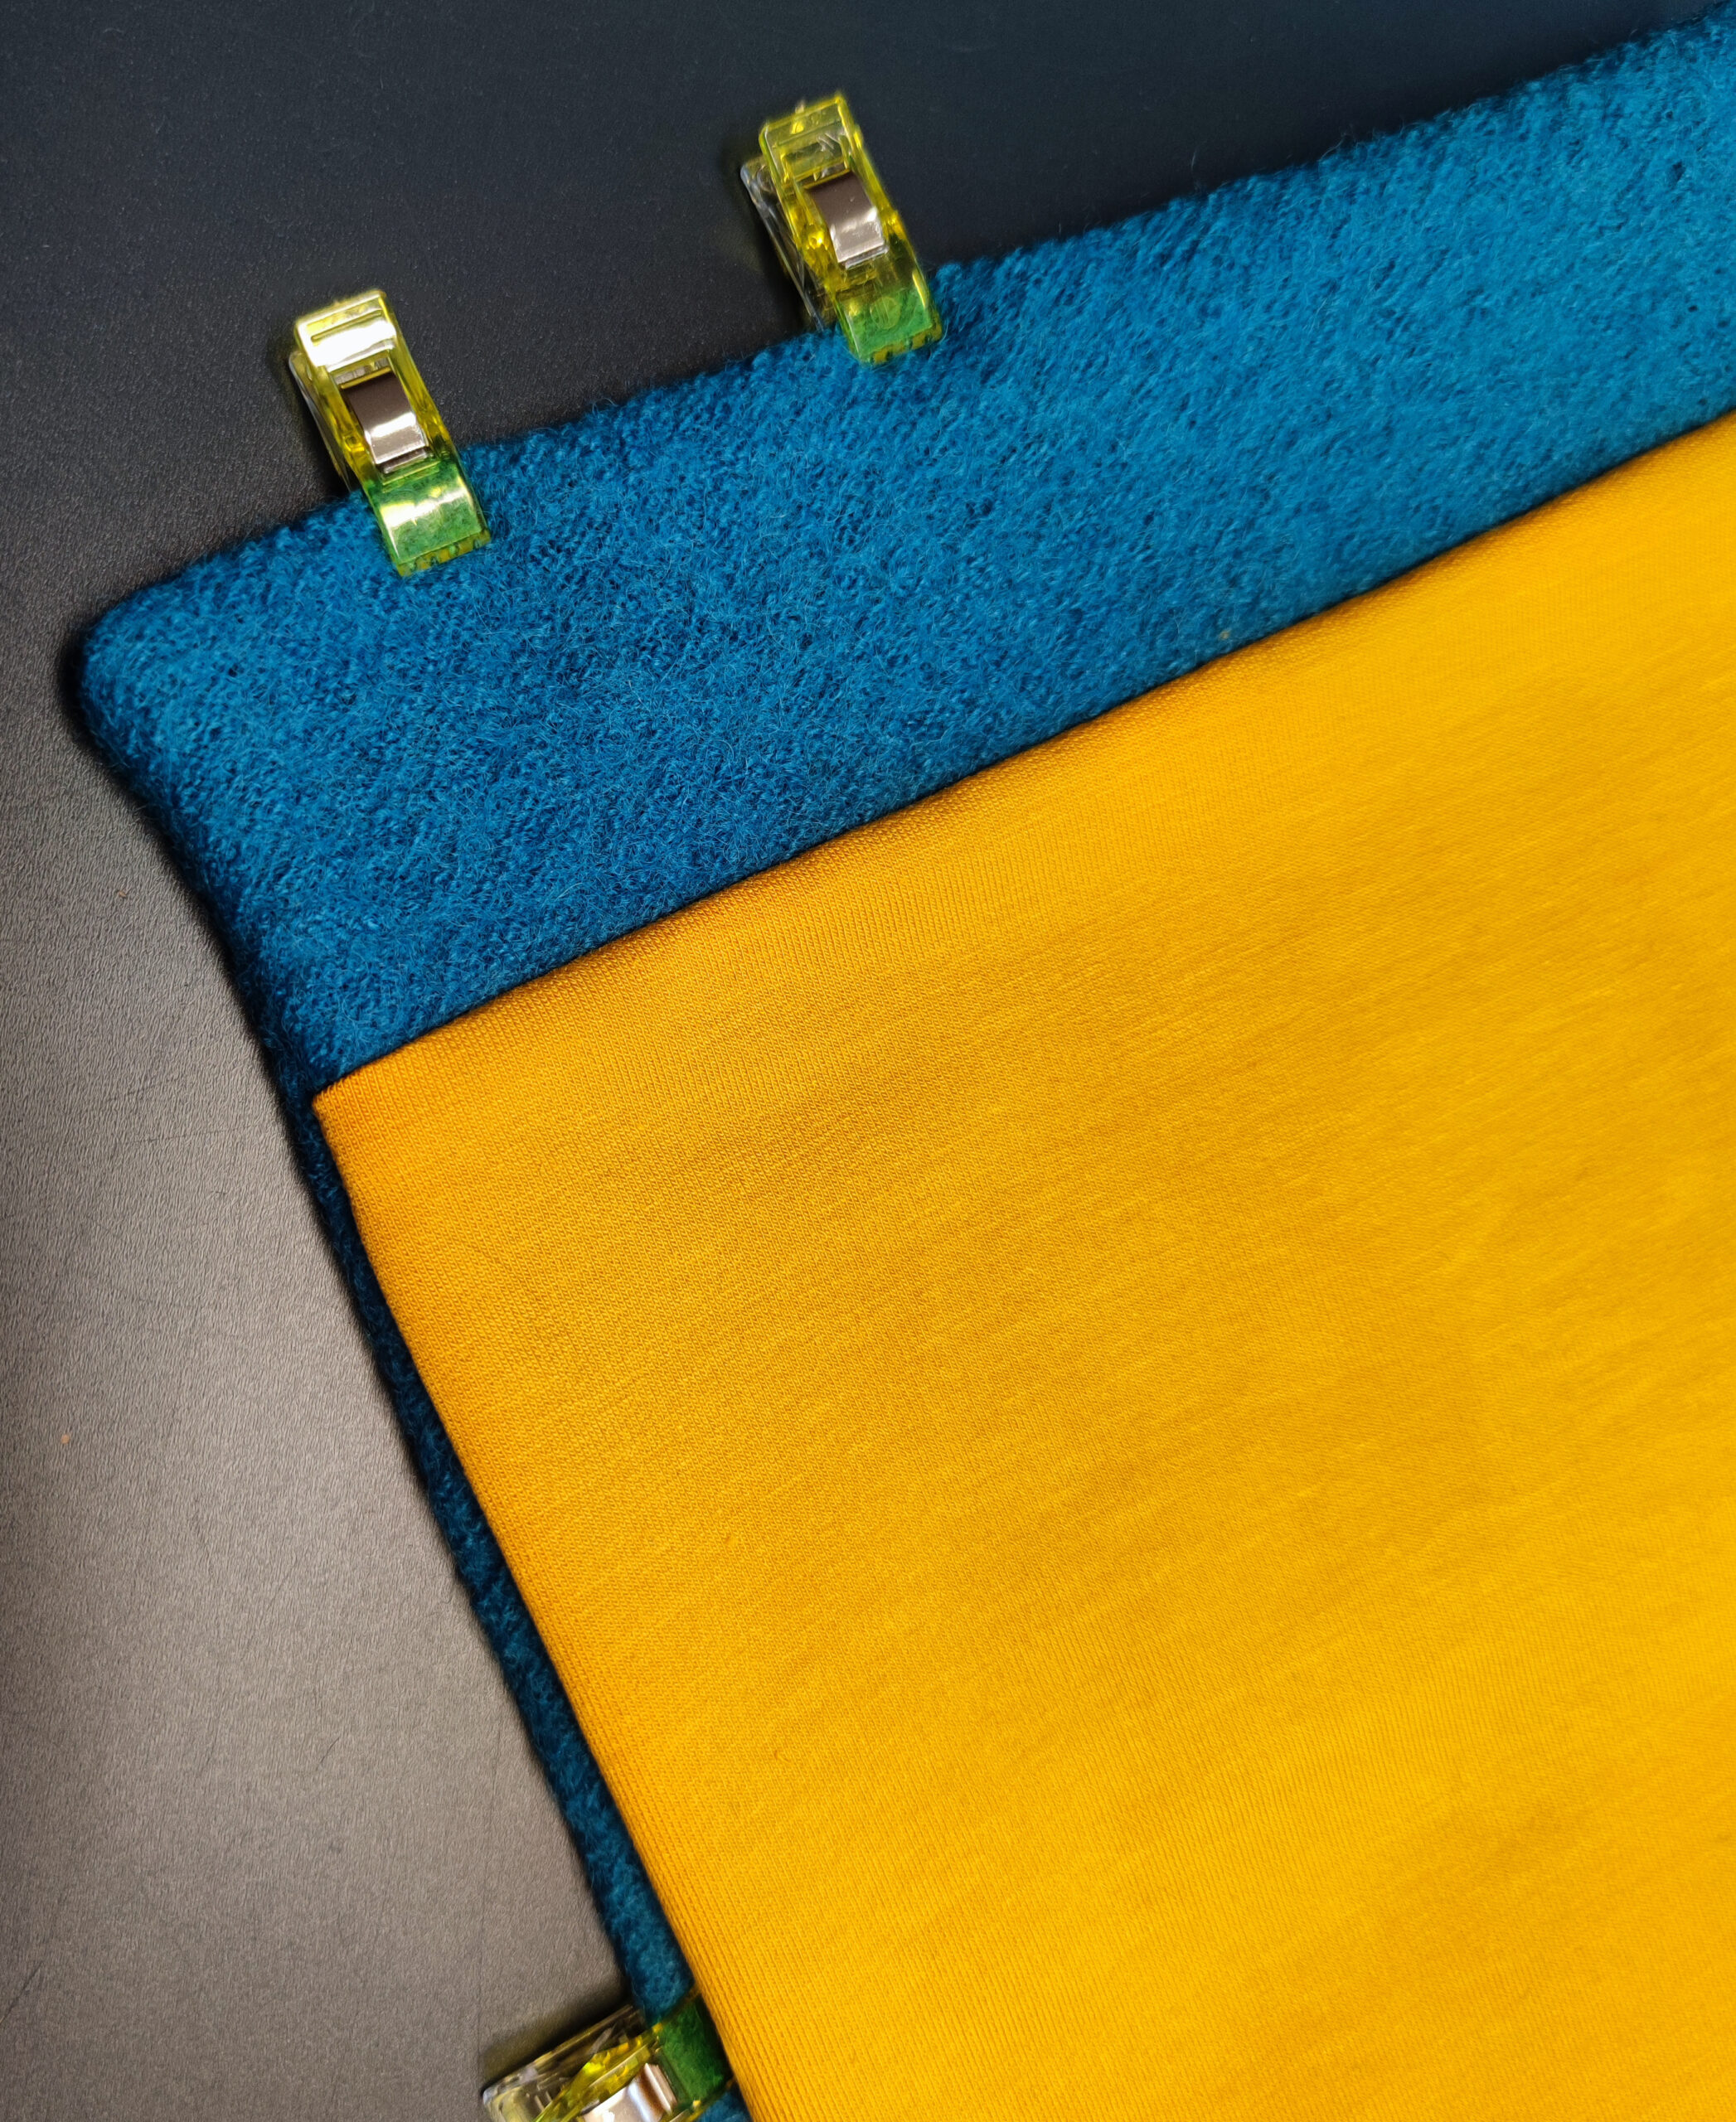
Schnittteile versäubern
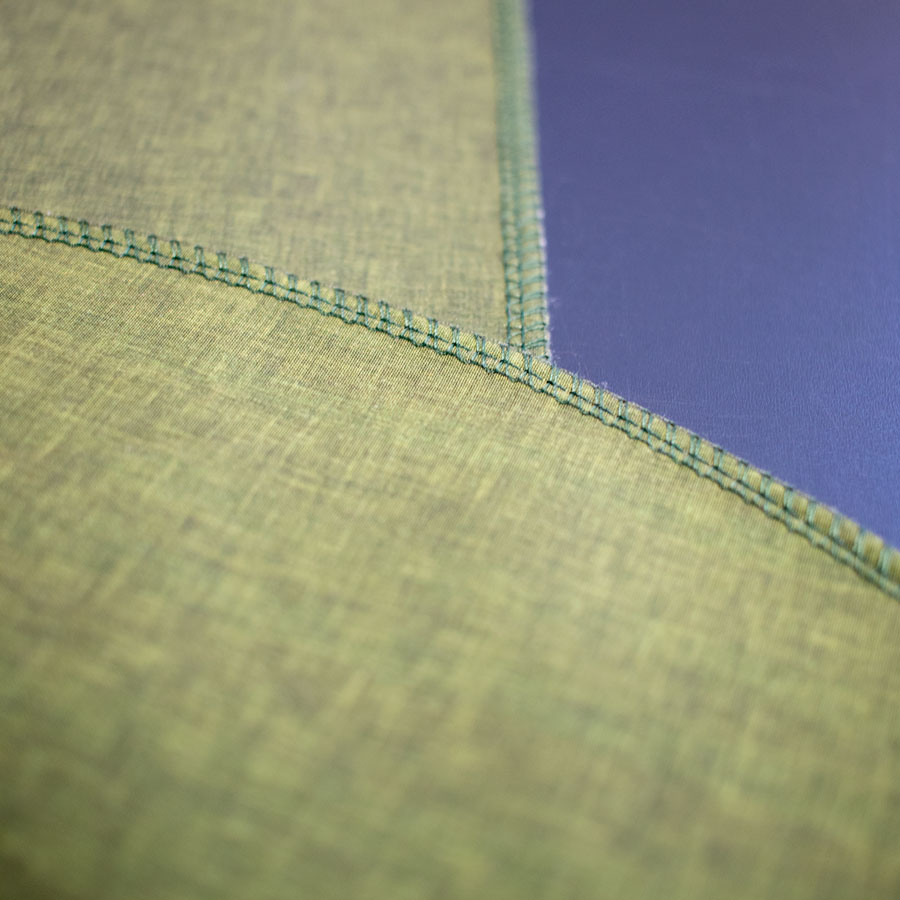
Versäubere alle Schnittkanten mit einer 3 Faden-Overlocknaht. Dies ist nicht unbedingt nötig, da Mantelstoffe und Softshell nicht ausfransen. Wenn du dich für die ungefütterte Variante entscheidest, wird er innen deutlich schöner, wenn die Schnitteile versäubert sind.
Finish all edges
Finish all raw edges with a 3-thread serger stitch. This is not absolutely necessary, as coat fabrics and softshell do not fray. If you opt for the unlined variant, it will be much nicer on the inside when the pattern parts are finished.
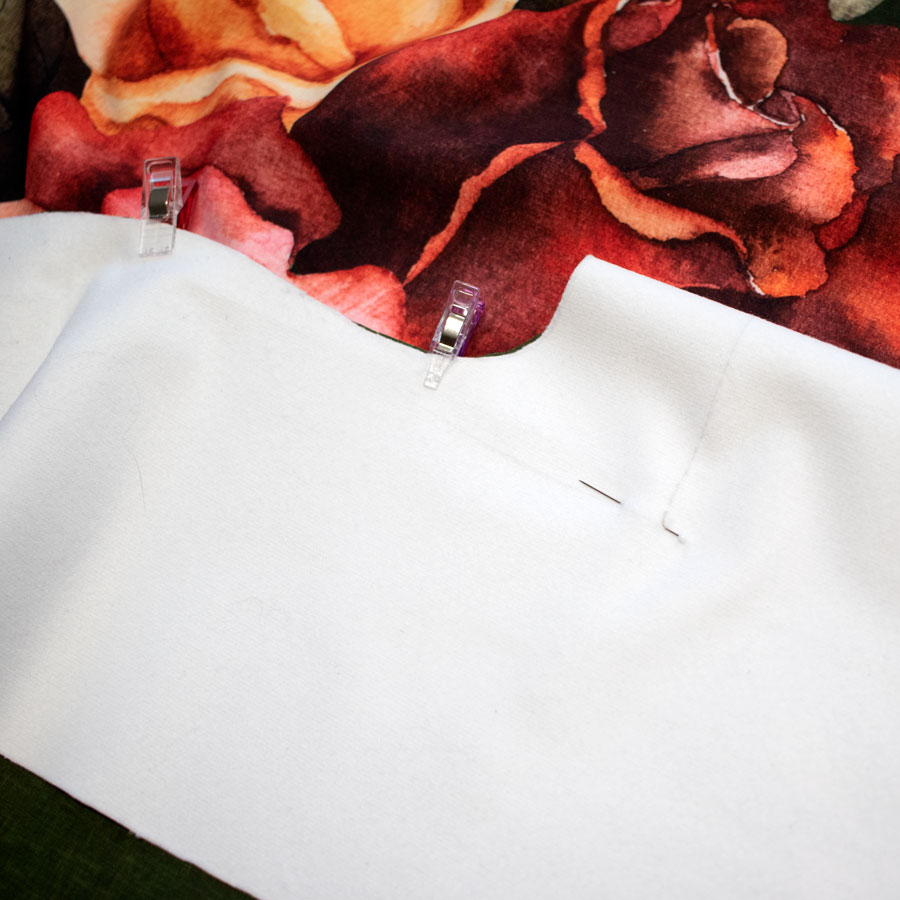
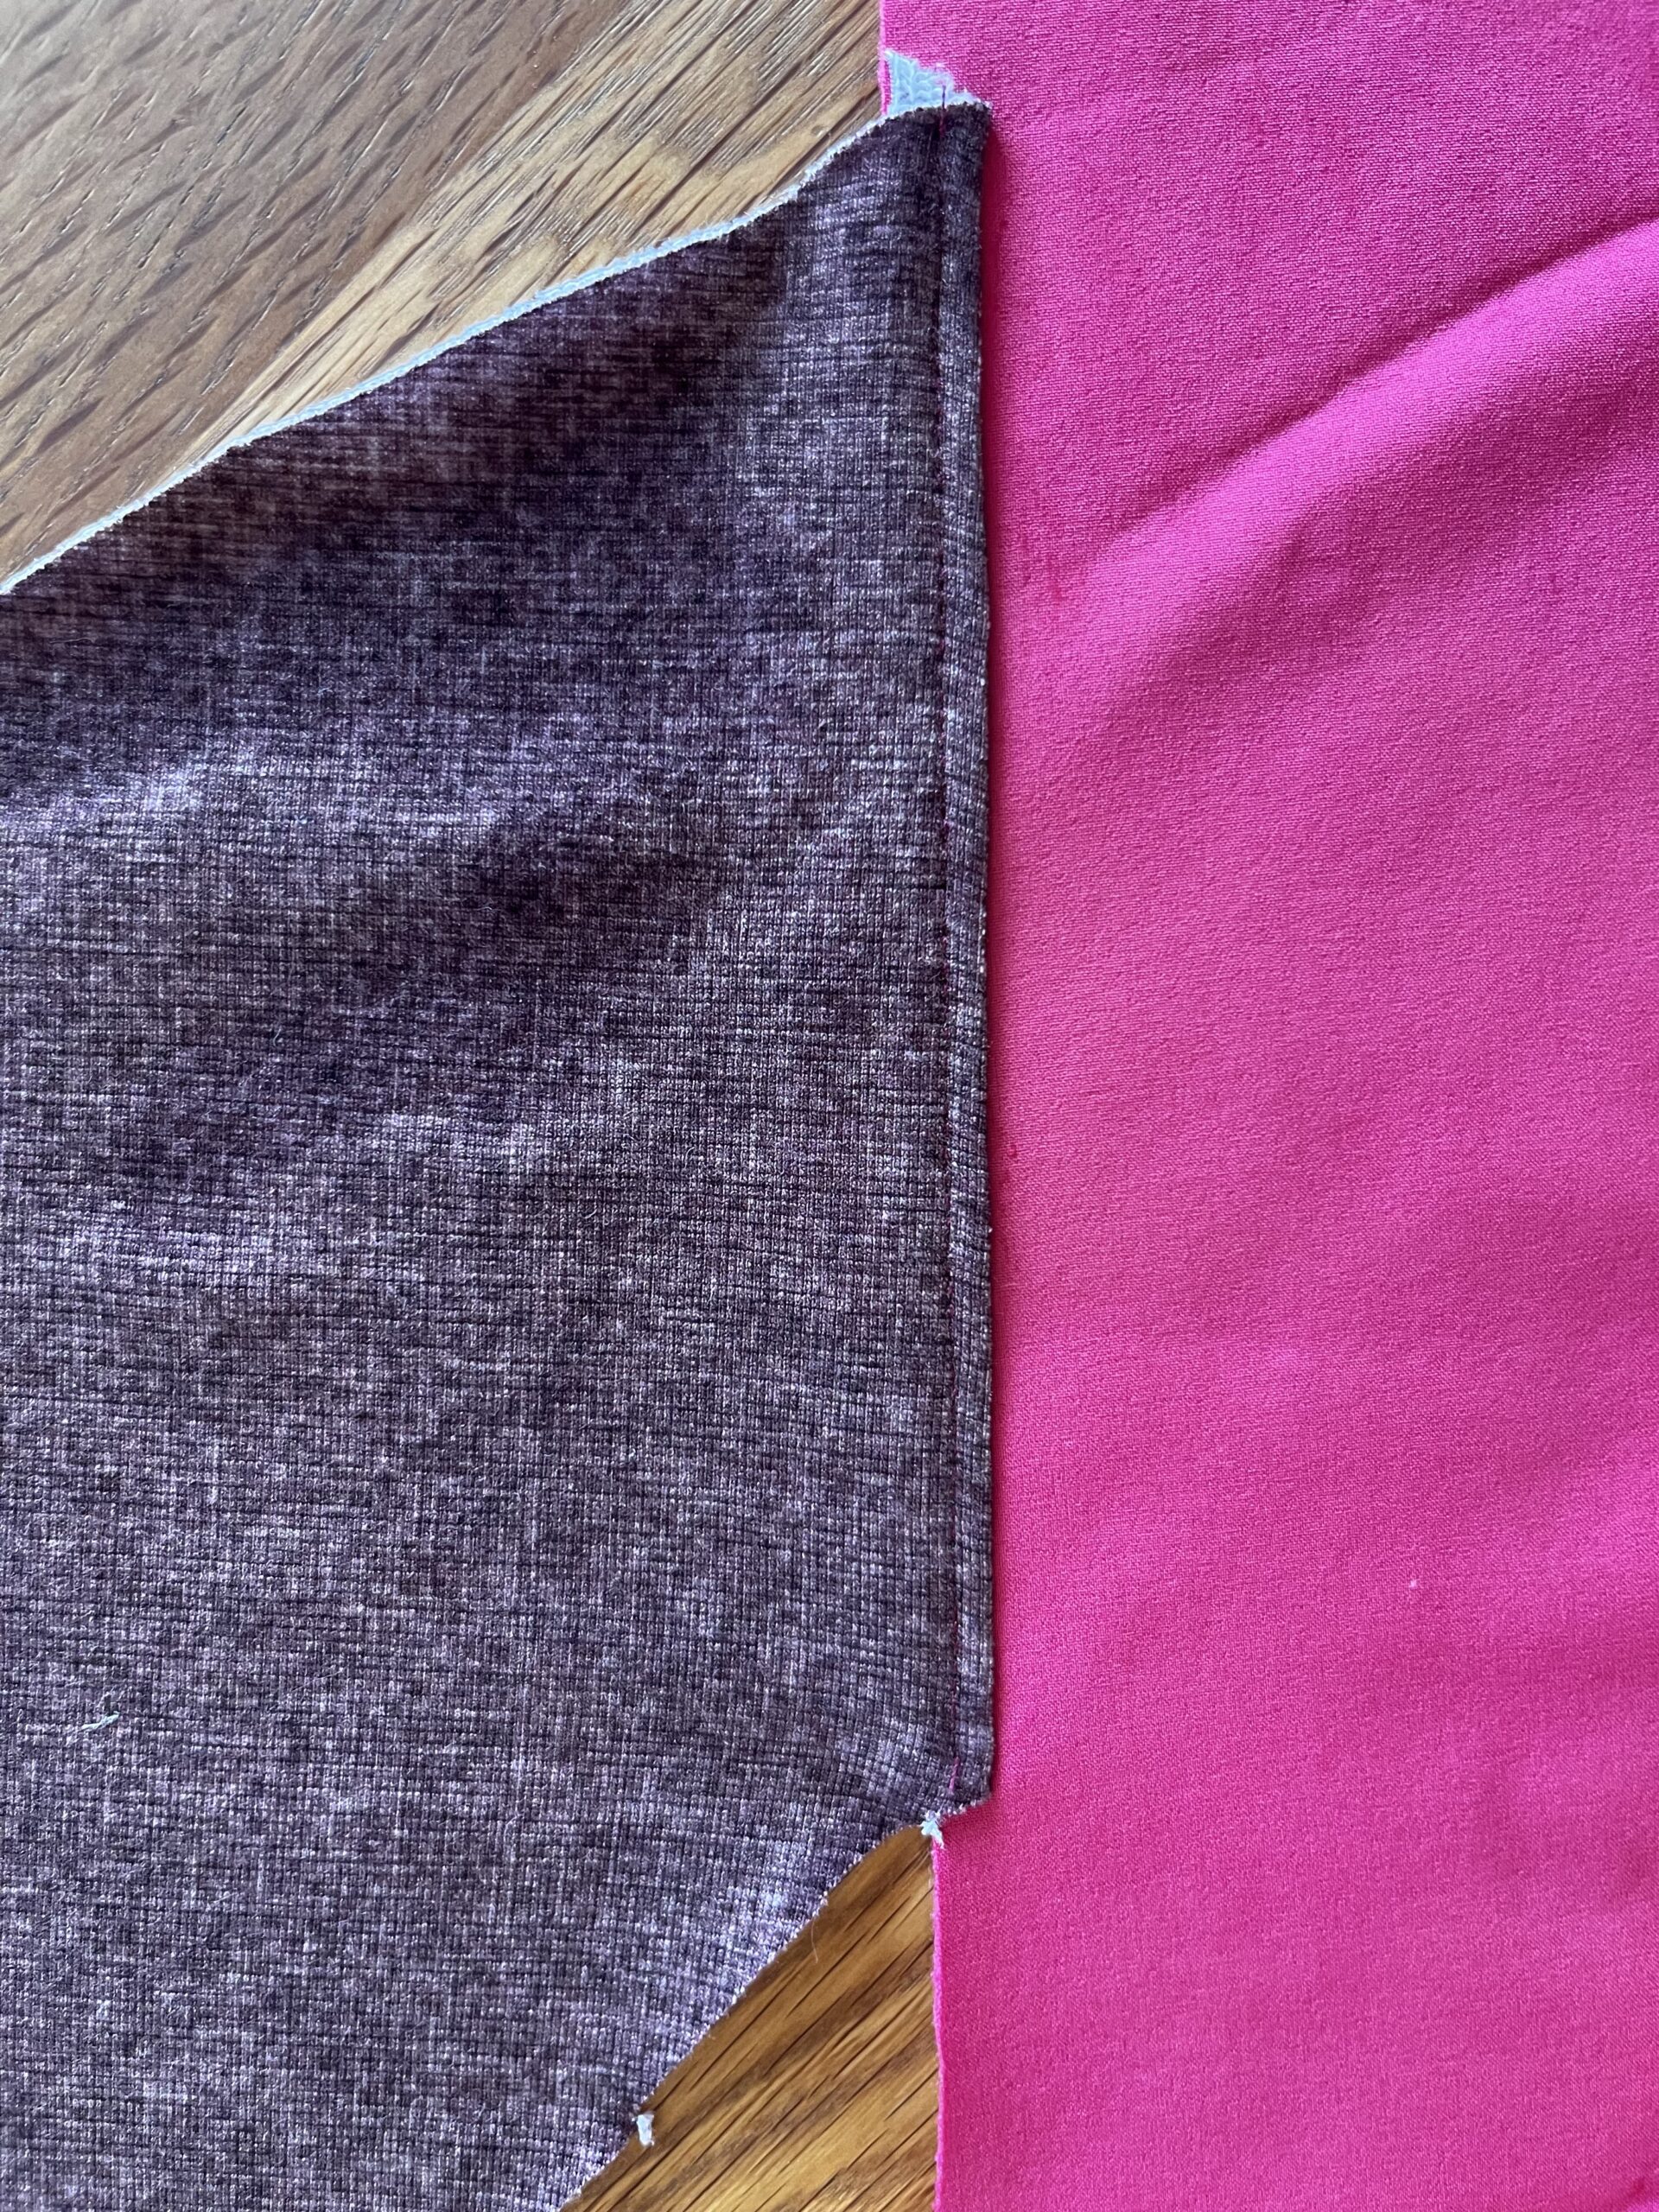
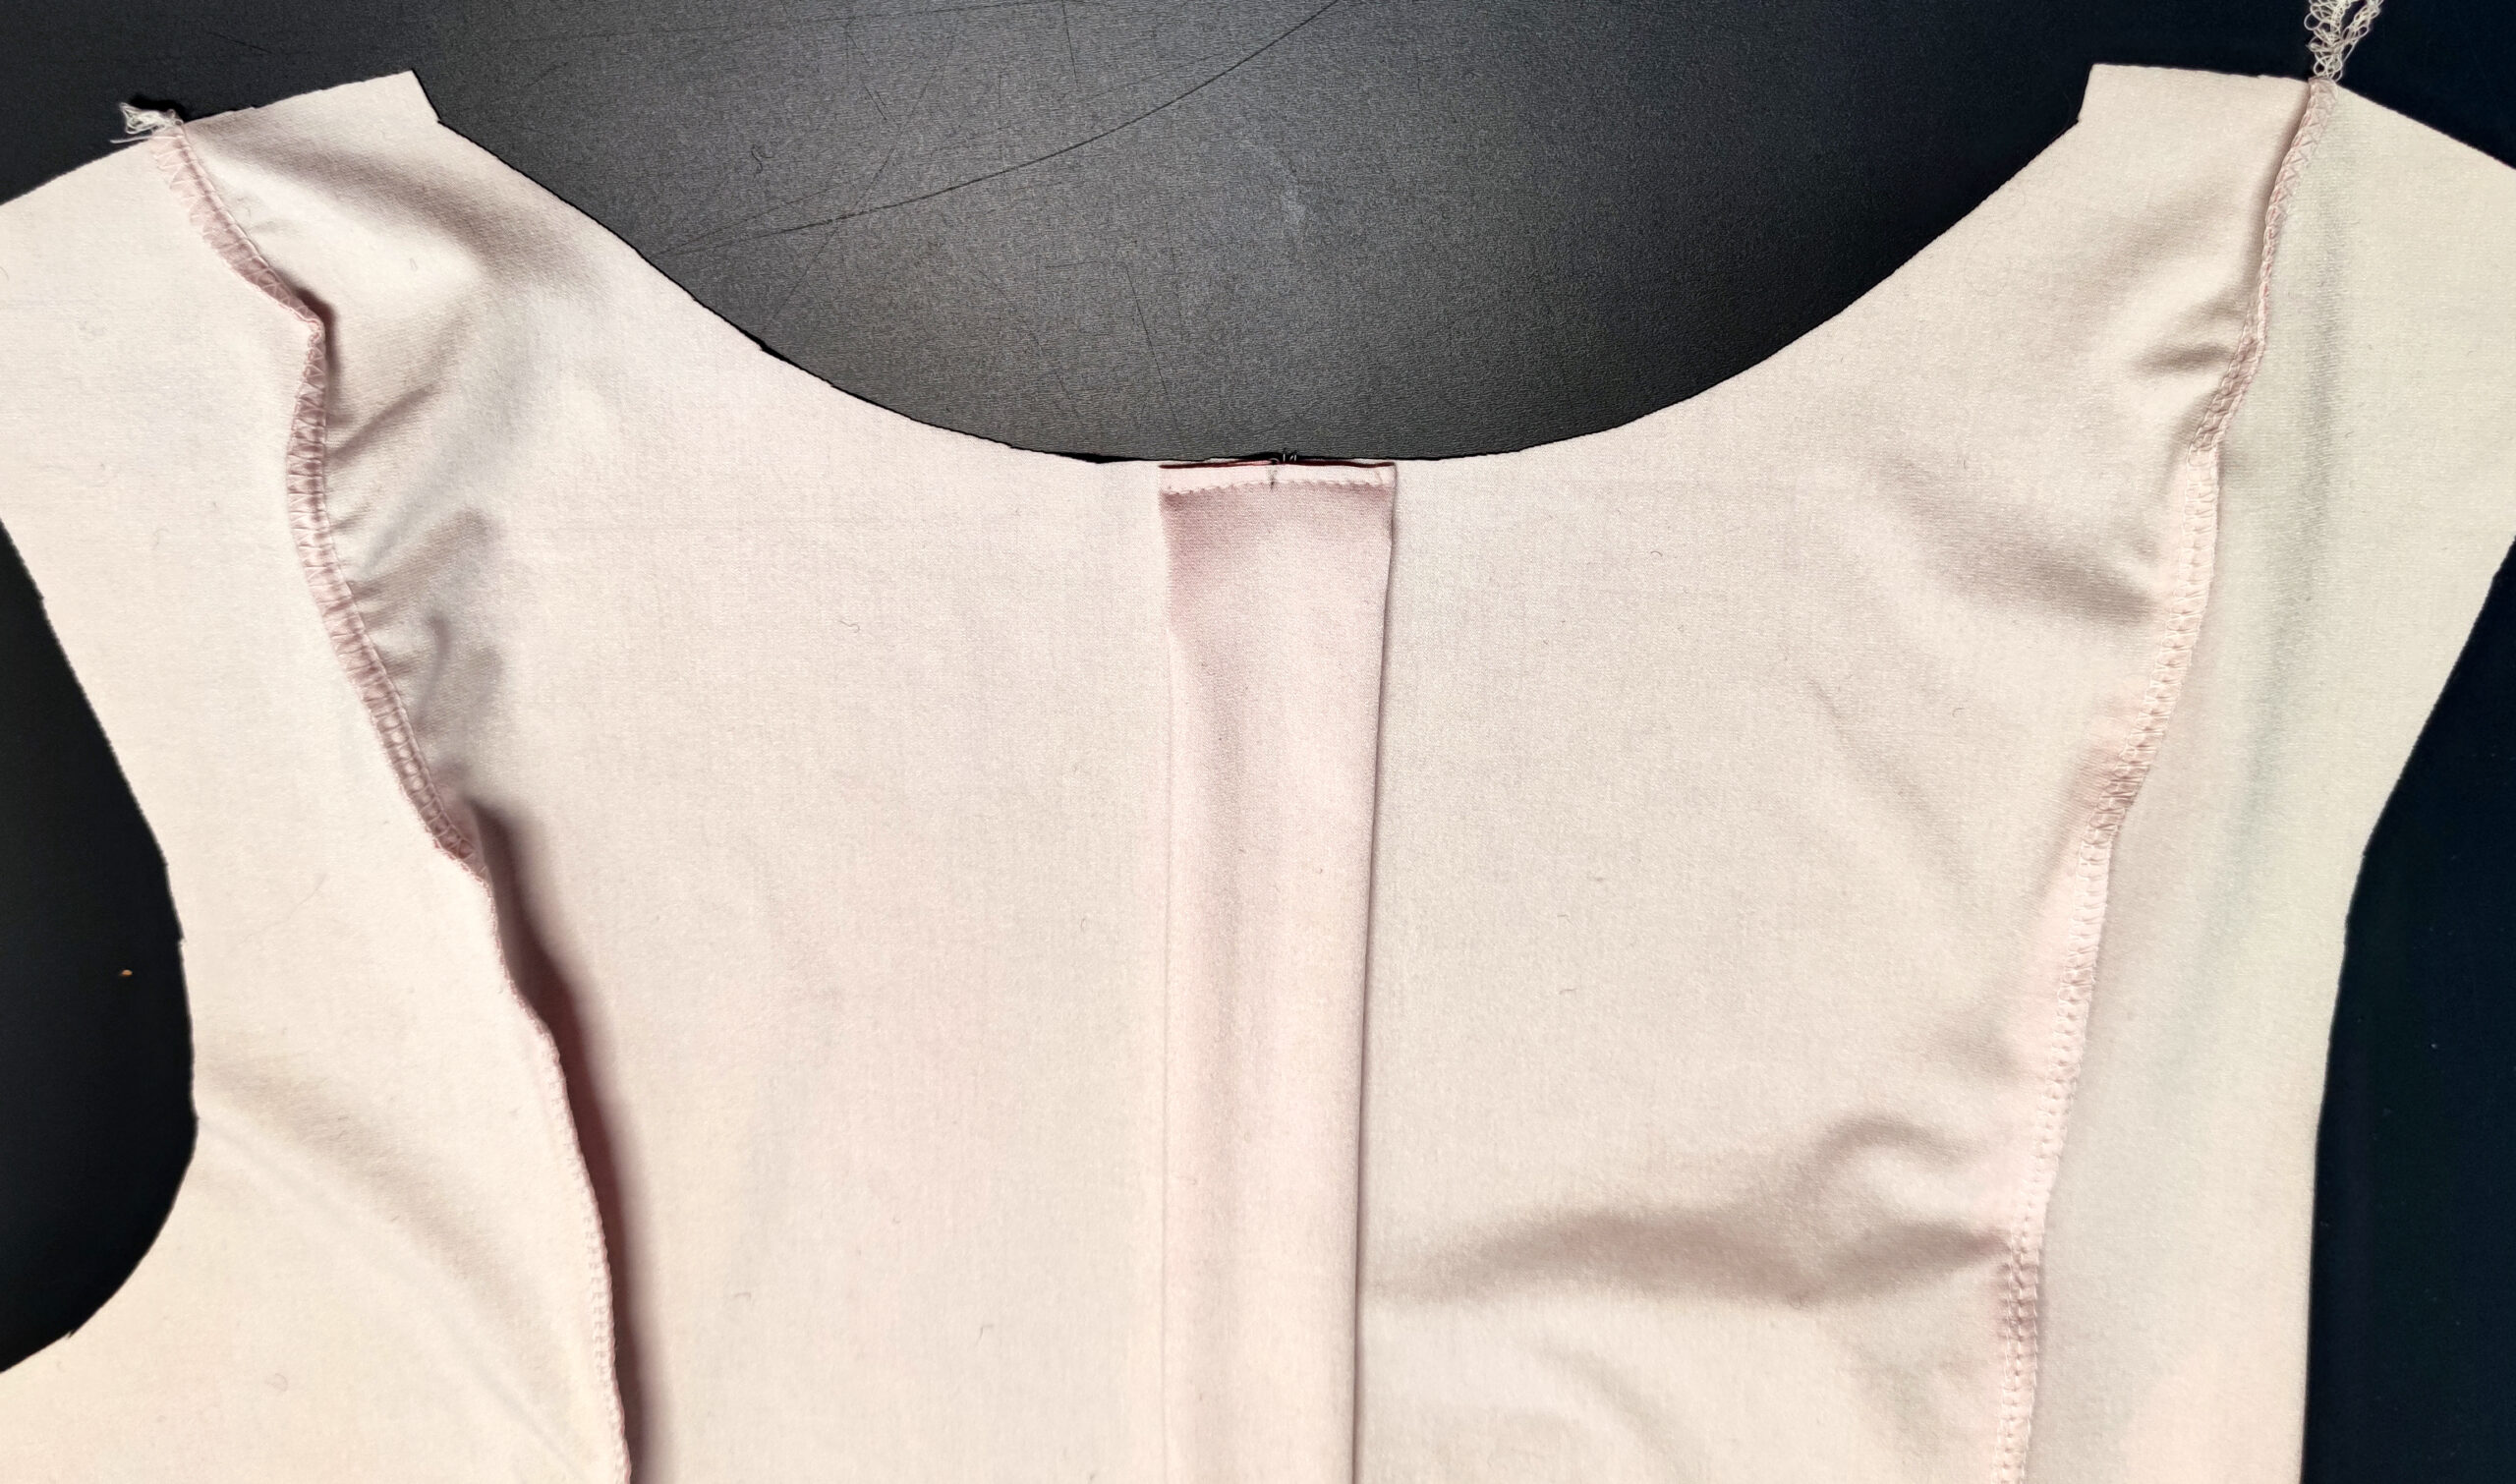
Falten an Vorder- und Rückteil schließen
Versäubere zunächst alle offenen Kanten mit der Overlock. Stecke dann die Prinzessnähte aufeinander. Solltest du Hilfe benötigen kannst du dir das Nähvideo zu unserem Schnitt Luna ansehen. Nähe die Falte mit einem engen Gradstich bis zur Markierung, bei Mantelstoffen und Walk eignet sich der 3-fach Gradstich mit großer Stichlänge für eine dichte Naht. Verriegele das Ende der Naht gründlich.
Closing the pleats
First neaten all open edges with the serger. Then pin the princess seams together. If you need help, you can watch the sewing video for our Luna pattern. Sew the fold with a narrow straight stitch up to the marking. For coat fabrics and boiled wool, the triple straight stitch with a long stitch length is suitable for a dense seam. Lock the end of the seam thoroughly.

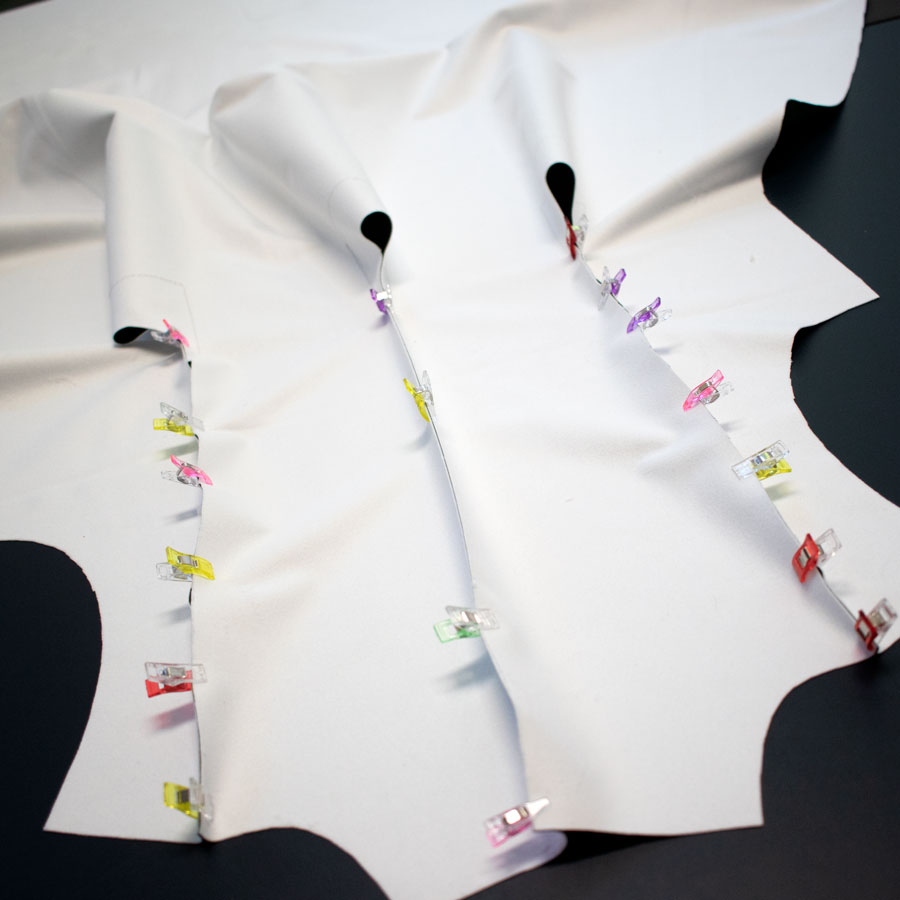
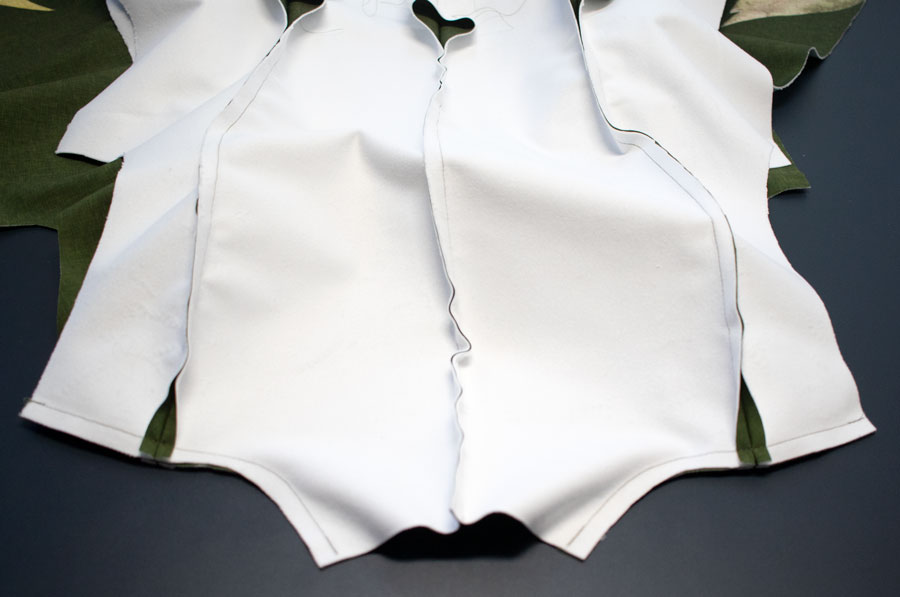
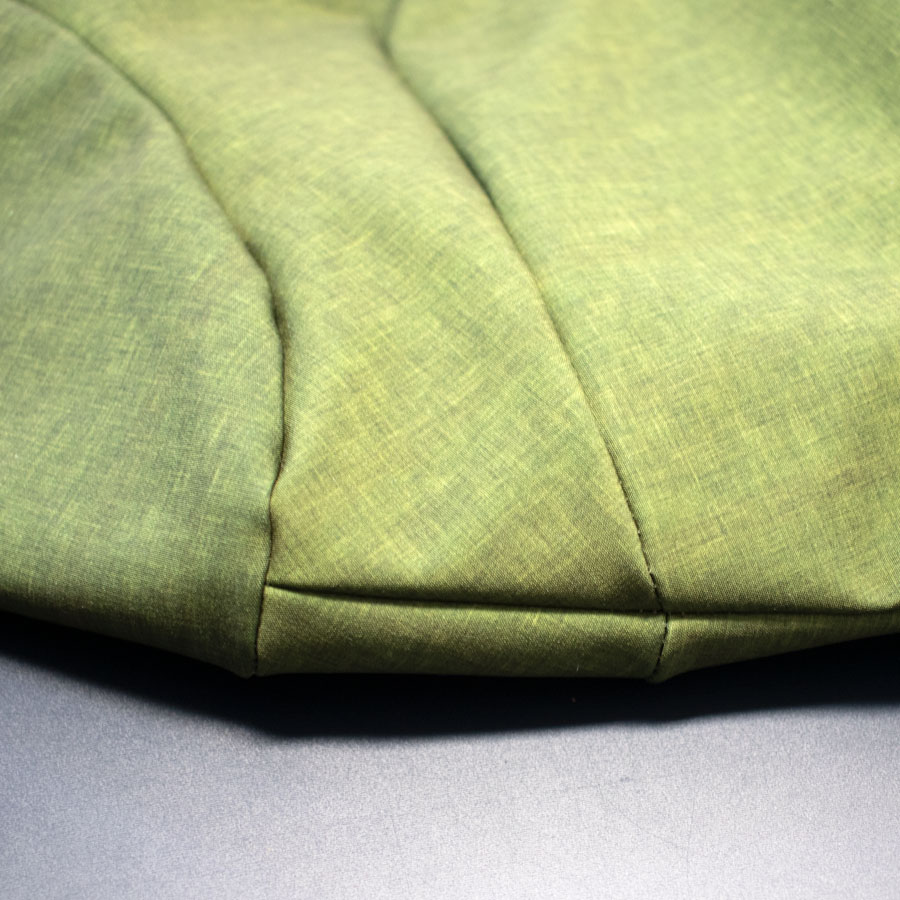
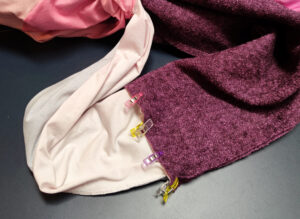
Falten fixieren
Klappe nun die Falten anhand der 3 Knipse auf (siehe Bild) und fixiere sie innerhalb der Versäuberungsnaht mit einem Gradstich auf beiden Seiten. Gerne kannst du hierzu auch das Youtube Video zu unserem Schnitt „Luna“ ansehen.
Fix the pleats
Now unfold the pleats using the 3 snaps (see picture) and fix them with a straight stitch on both sides. You are also welcome to watch the YouTube video for our pattern „Luna“.
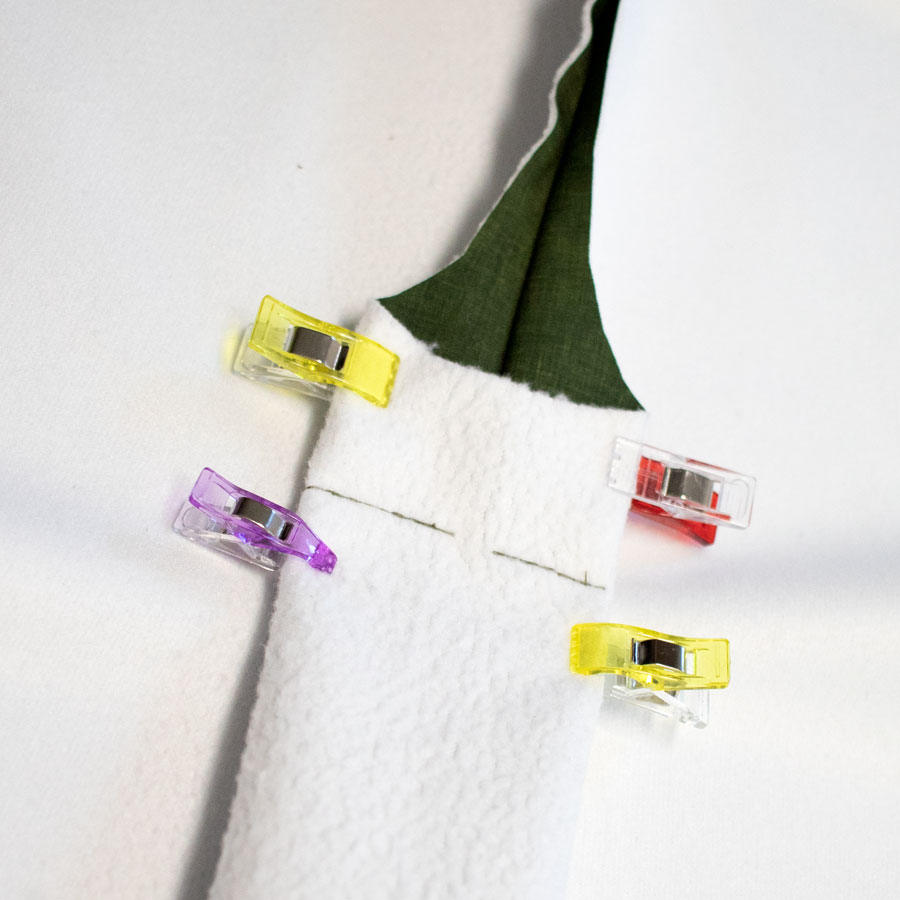
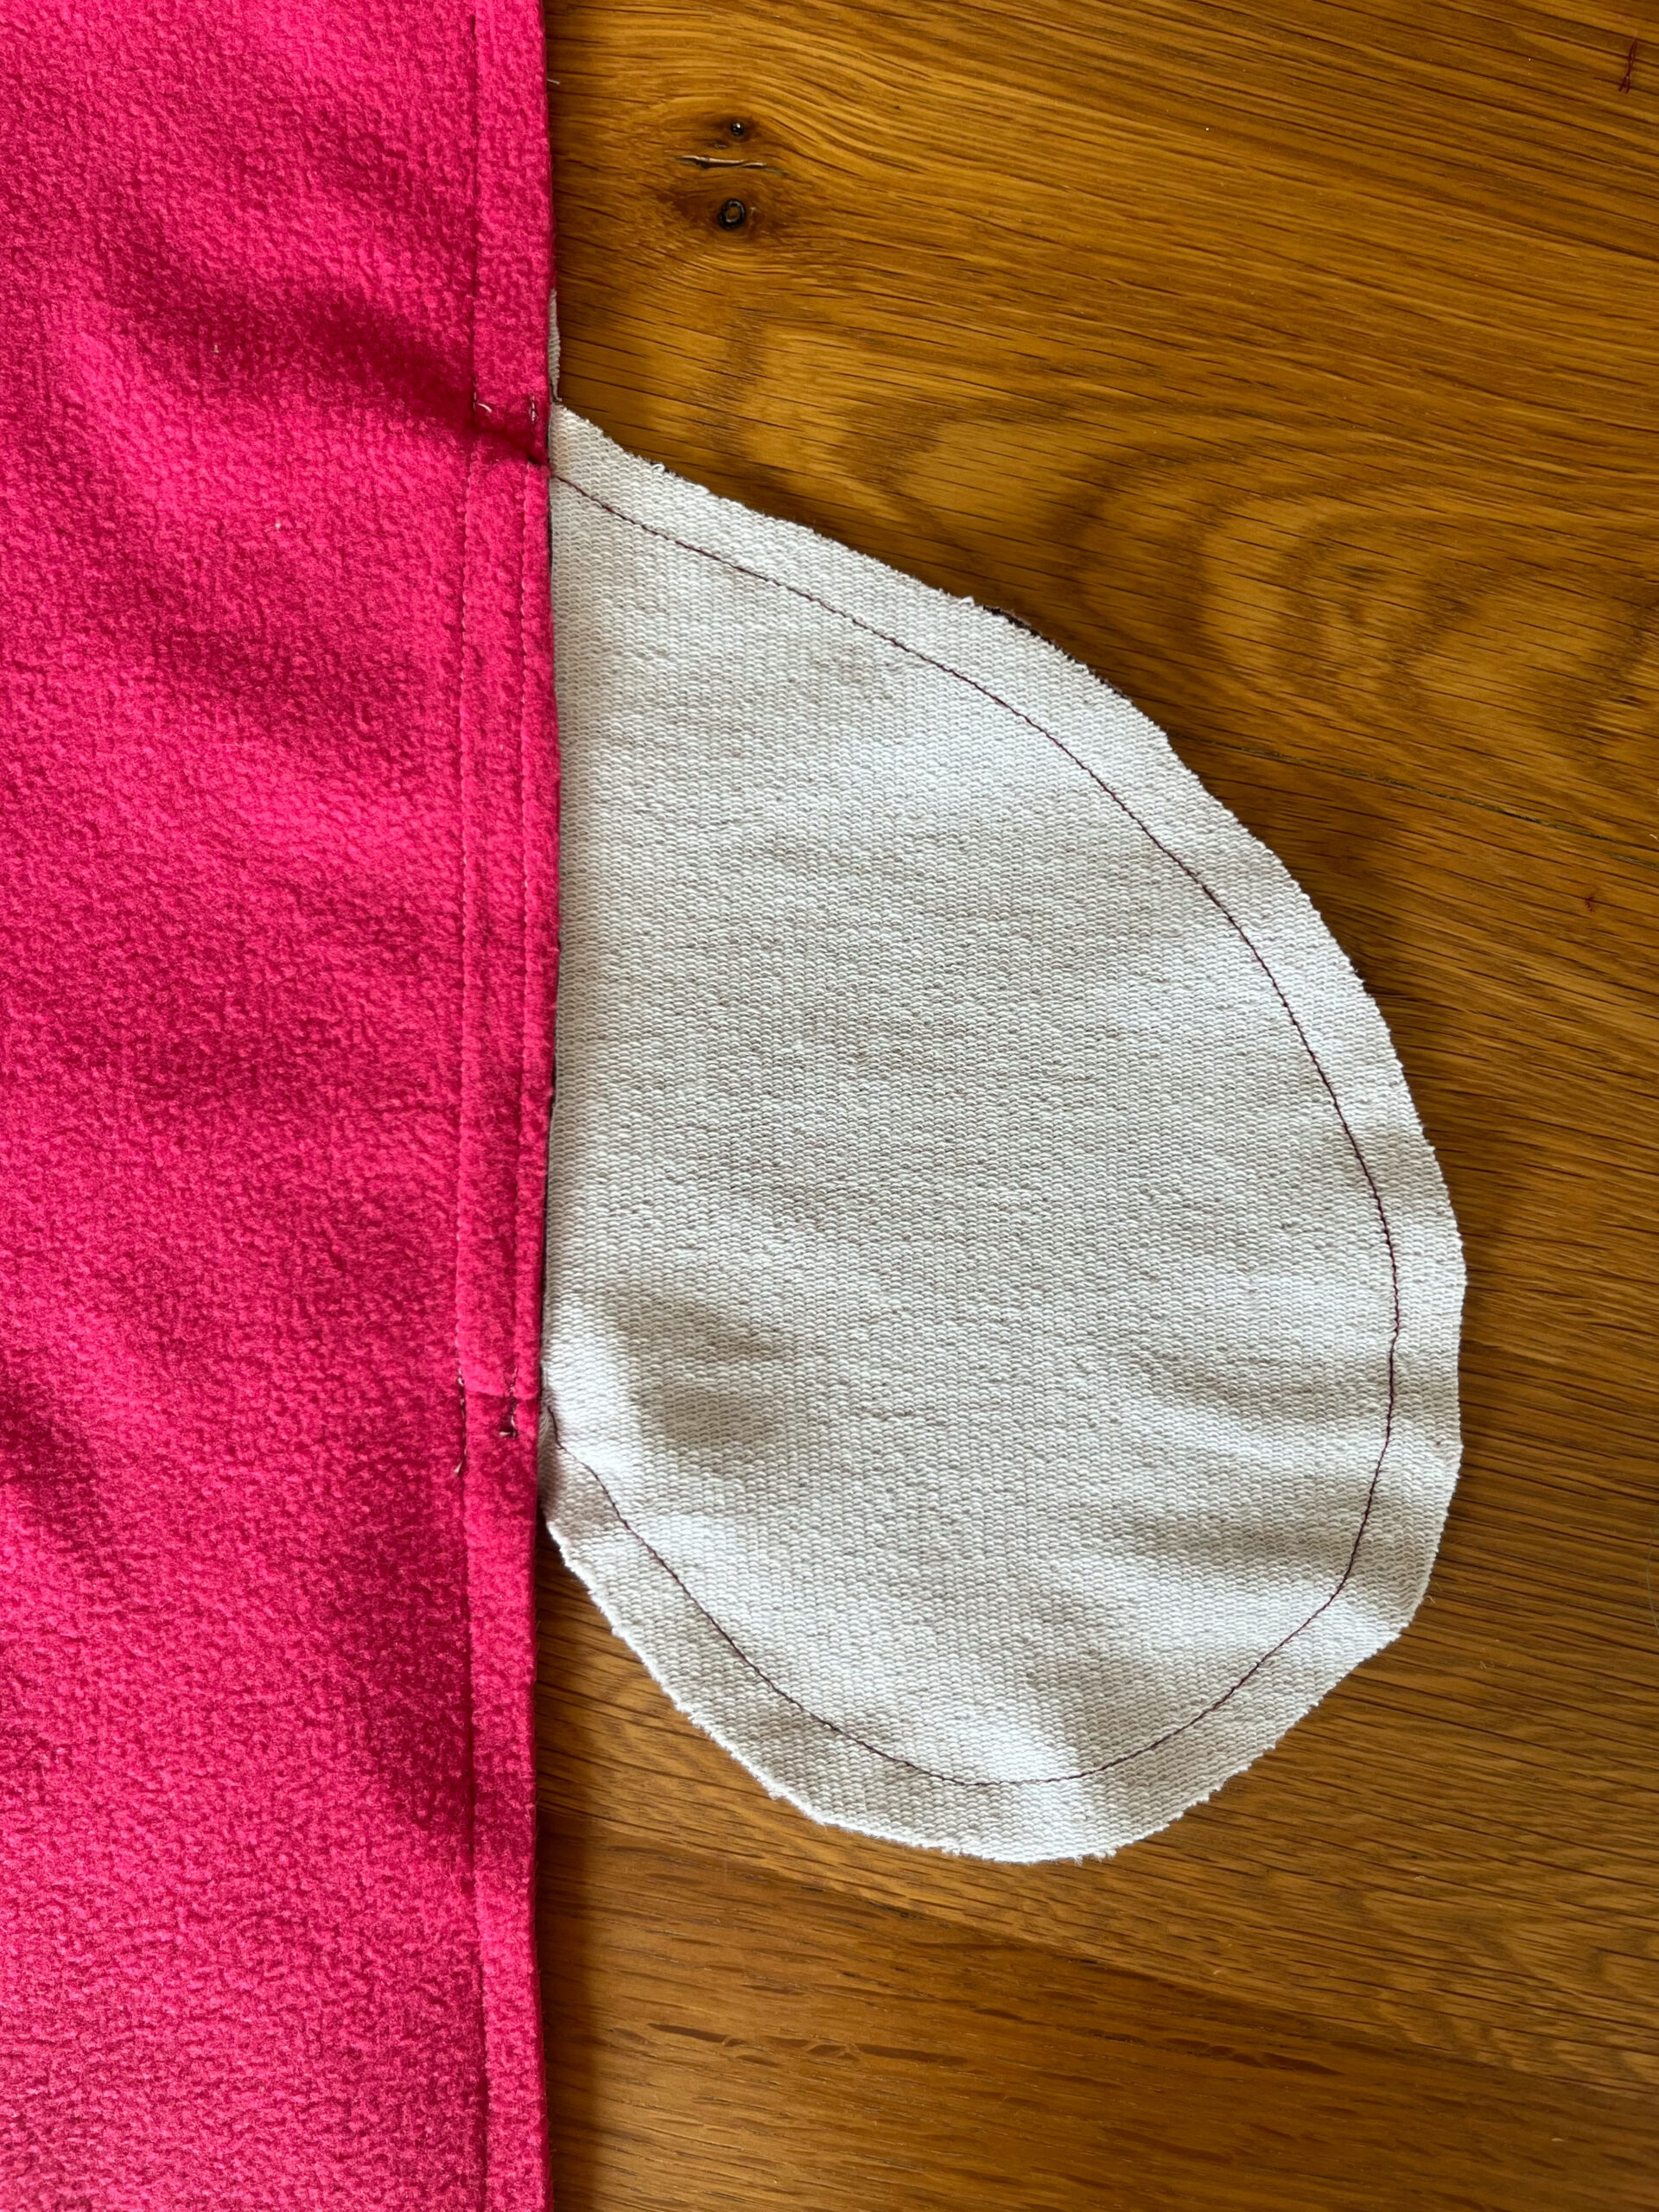
Nahttaschen nähen
Lege jeweils einen Taschenbeutel anhand der Markierungen rechts auf rechts auf das Vorderteil und nähe ihn mit einem Gradstich an. Klappe den Taschenbeutel auf, bügle die Kante und steppe knappkantig ab. So bleibt die Tasche nachher beim tragen des Mantels in Position und rutscht nicht raus. Verfahre genauso mit dem Rückenteil des Mantels.
Sewing the pockets
Using the markings, place one pocket on the front piece, right sides together, and sew it on with a straight stitch. Open the pocket, iron and topstitch close to the edge. This way the bag stays in position when wearing the coat and does not slip out. Do the same with the back piece.
Schulter- und Seitennähte schließen
Schließe die Schulternähte und die Seitennähte und achte darauf, dass die Prinzessnähte genau aufeinander treffen. Auch die Manteltaschen werden beim zusammennähen der Seitennähte rechts auf rechts geschlossen.
Closeing the shoulder- and sideseams
Sew the shoulder seams and the side seams, making sure the princess seams meet exactly. The coat pockets are also closed when the side seams are sewn together, right sides together.
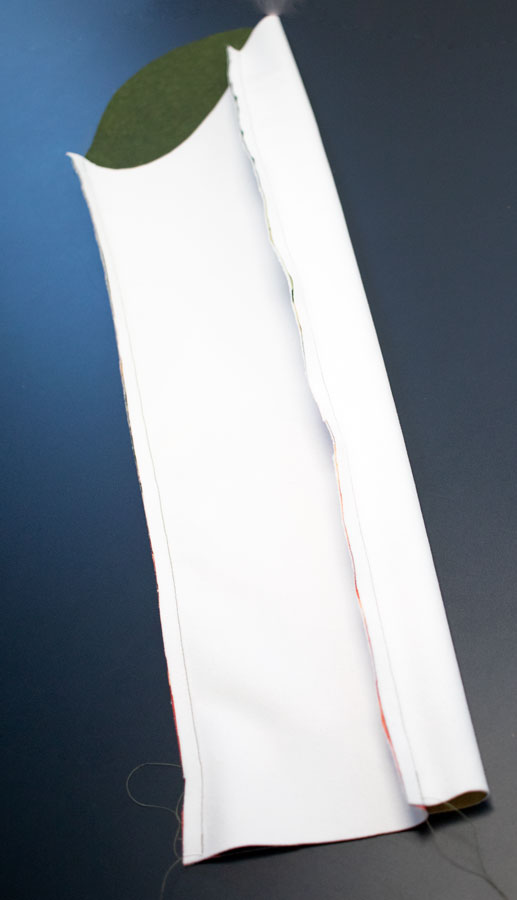
Ärmel zusammennähen
Näh nun jeweils einen vorderen und einen hinteren Ärmel anhand der Knipse rechts auf rechts zusammen und schließe die Ärmelnaht.
Sewing the sleeves
Now sew one front and one back sleeve together using the snaps, right sides together, and close the sleeve seam.
Ärmel einsetzen
Setze den Ärmel in das Armloch am Mantel rechts auf rechts ein. Orientiere dich an den Knipsen. Die Teilungsnaht
der Ärmel liegt in Richtung Rückteil. Achtung: die Ärmelnaht trifft nicht auf die Seitennaht des Mantels, sondern versetzt auf den Knips.
Insert the sleeves
Place the sleeve right sides together in the armhole on the coat. Use the snaps as a guide. The dividing seam
is towards the back. Attention: the sleeve seam does not meet the side seam of the coat, it meets the snap.
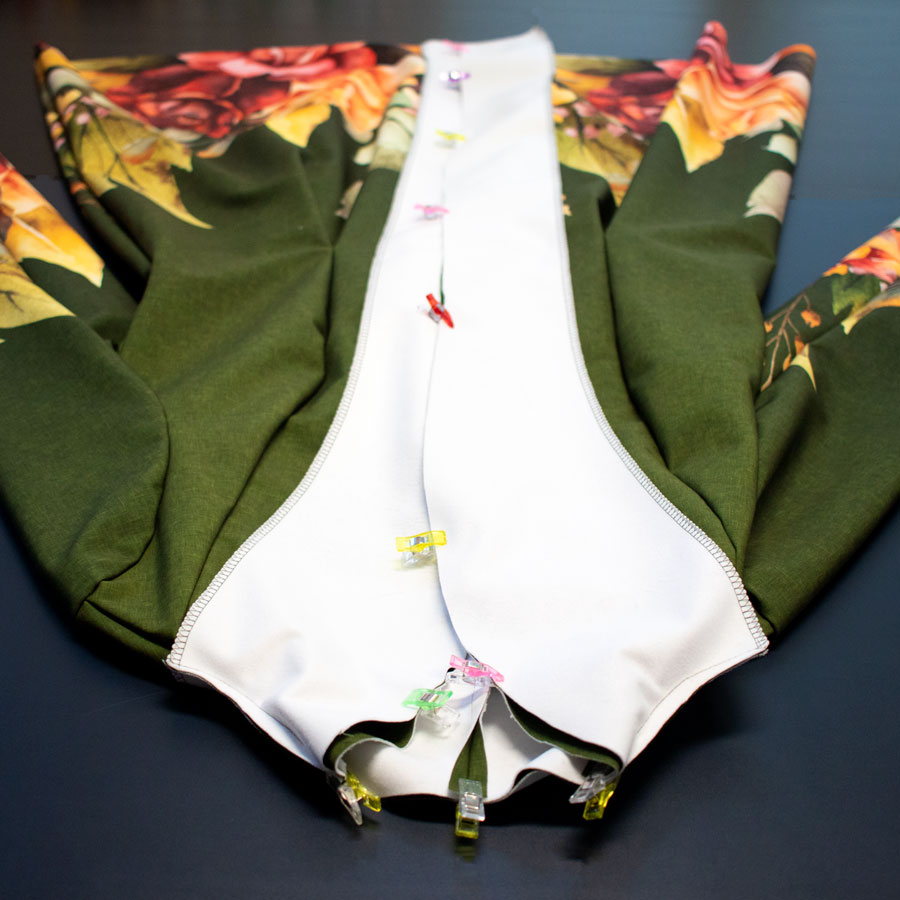
Beleg nähen
Nähe die zwei Vorderteilbelege rechts auf rechts auf den Rückteil-Beleg. Stecke nun den kompletten Beleg rechts auf rechts auf deinen Mantel und nähe ihn
mit einem Gradstich fest.
Als nächstes wird der Beleg flachgesteppt, damit er sich besser anlegt. Dafür kürzt du den mittig liegenden Teil der Nahtzugabe auf 3mm und
klappst anschließend die Nahtzugabe in Richtung Beleg. Nun steppst du die Nahtzugabe mit einem langen Gradstich (3 -3,5) von rechts
auf dem Beleg fest mit einem Abstand von 4mm zur Kante. Der Beleg legt sich nun fast von alleine nach innen. Das zurückschneiden einer
Nahtzugabe ist insbesondere bei dicken Stoffen hilfreich. Die Naht ist nur auf der linken Seite sichtbar.
The Facing
Sew the two front pieces of the facing onto the back piece, right sides together. Now pin the complete facing onto your coat, right sides together, and sew it
with a straight stitch.
Next, the facing is flat-stitched so that it fits better. To do this, shorten the the seam allowance to 3mm and then fold the seam allowance in the direction of the facing. Now topstitch the seam allowance with a long straight stitch (3 -3.5) from the right on the facing with a distance of 4mm to the edge. The facing now lies inwards almost by itself. The seam is only visible on the left side.
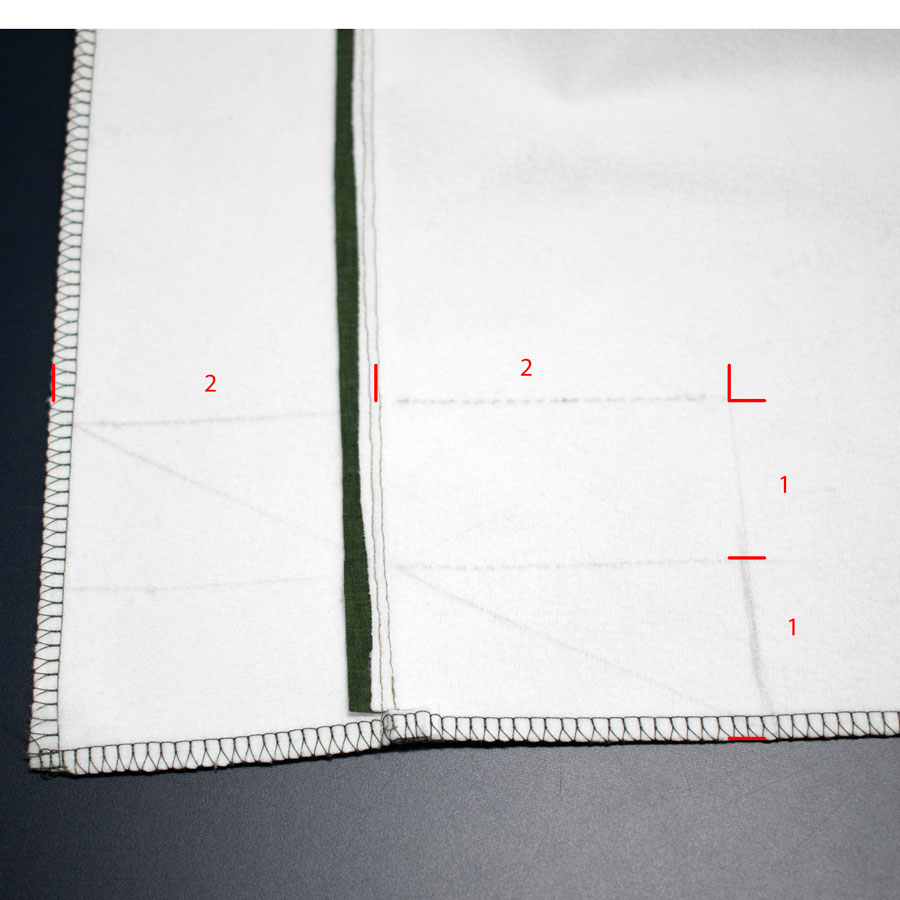
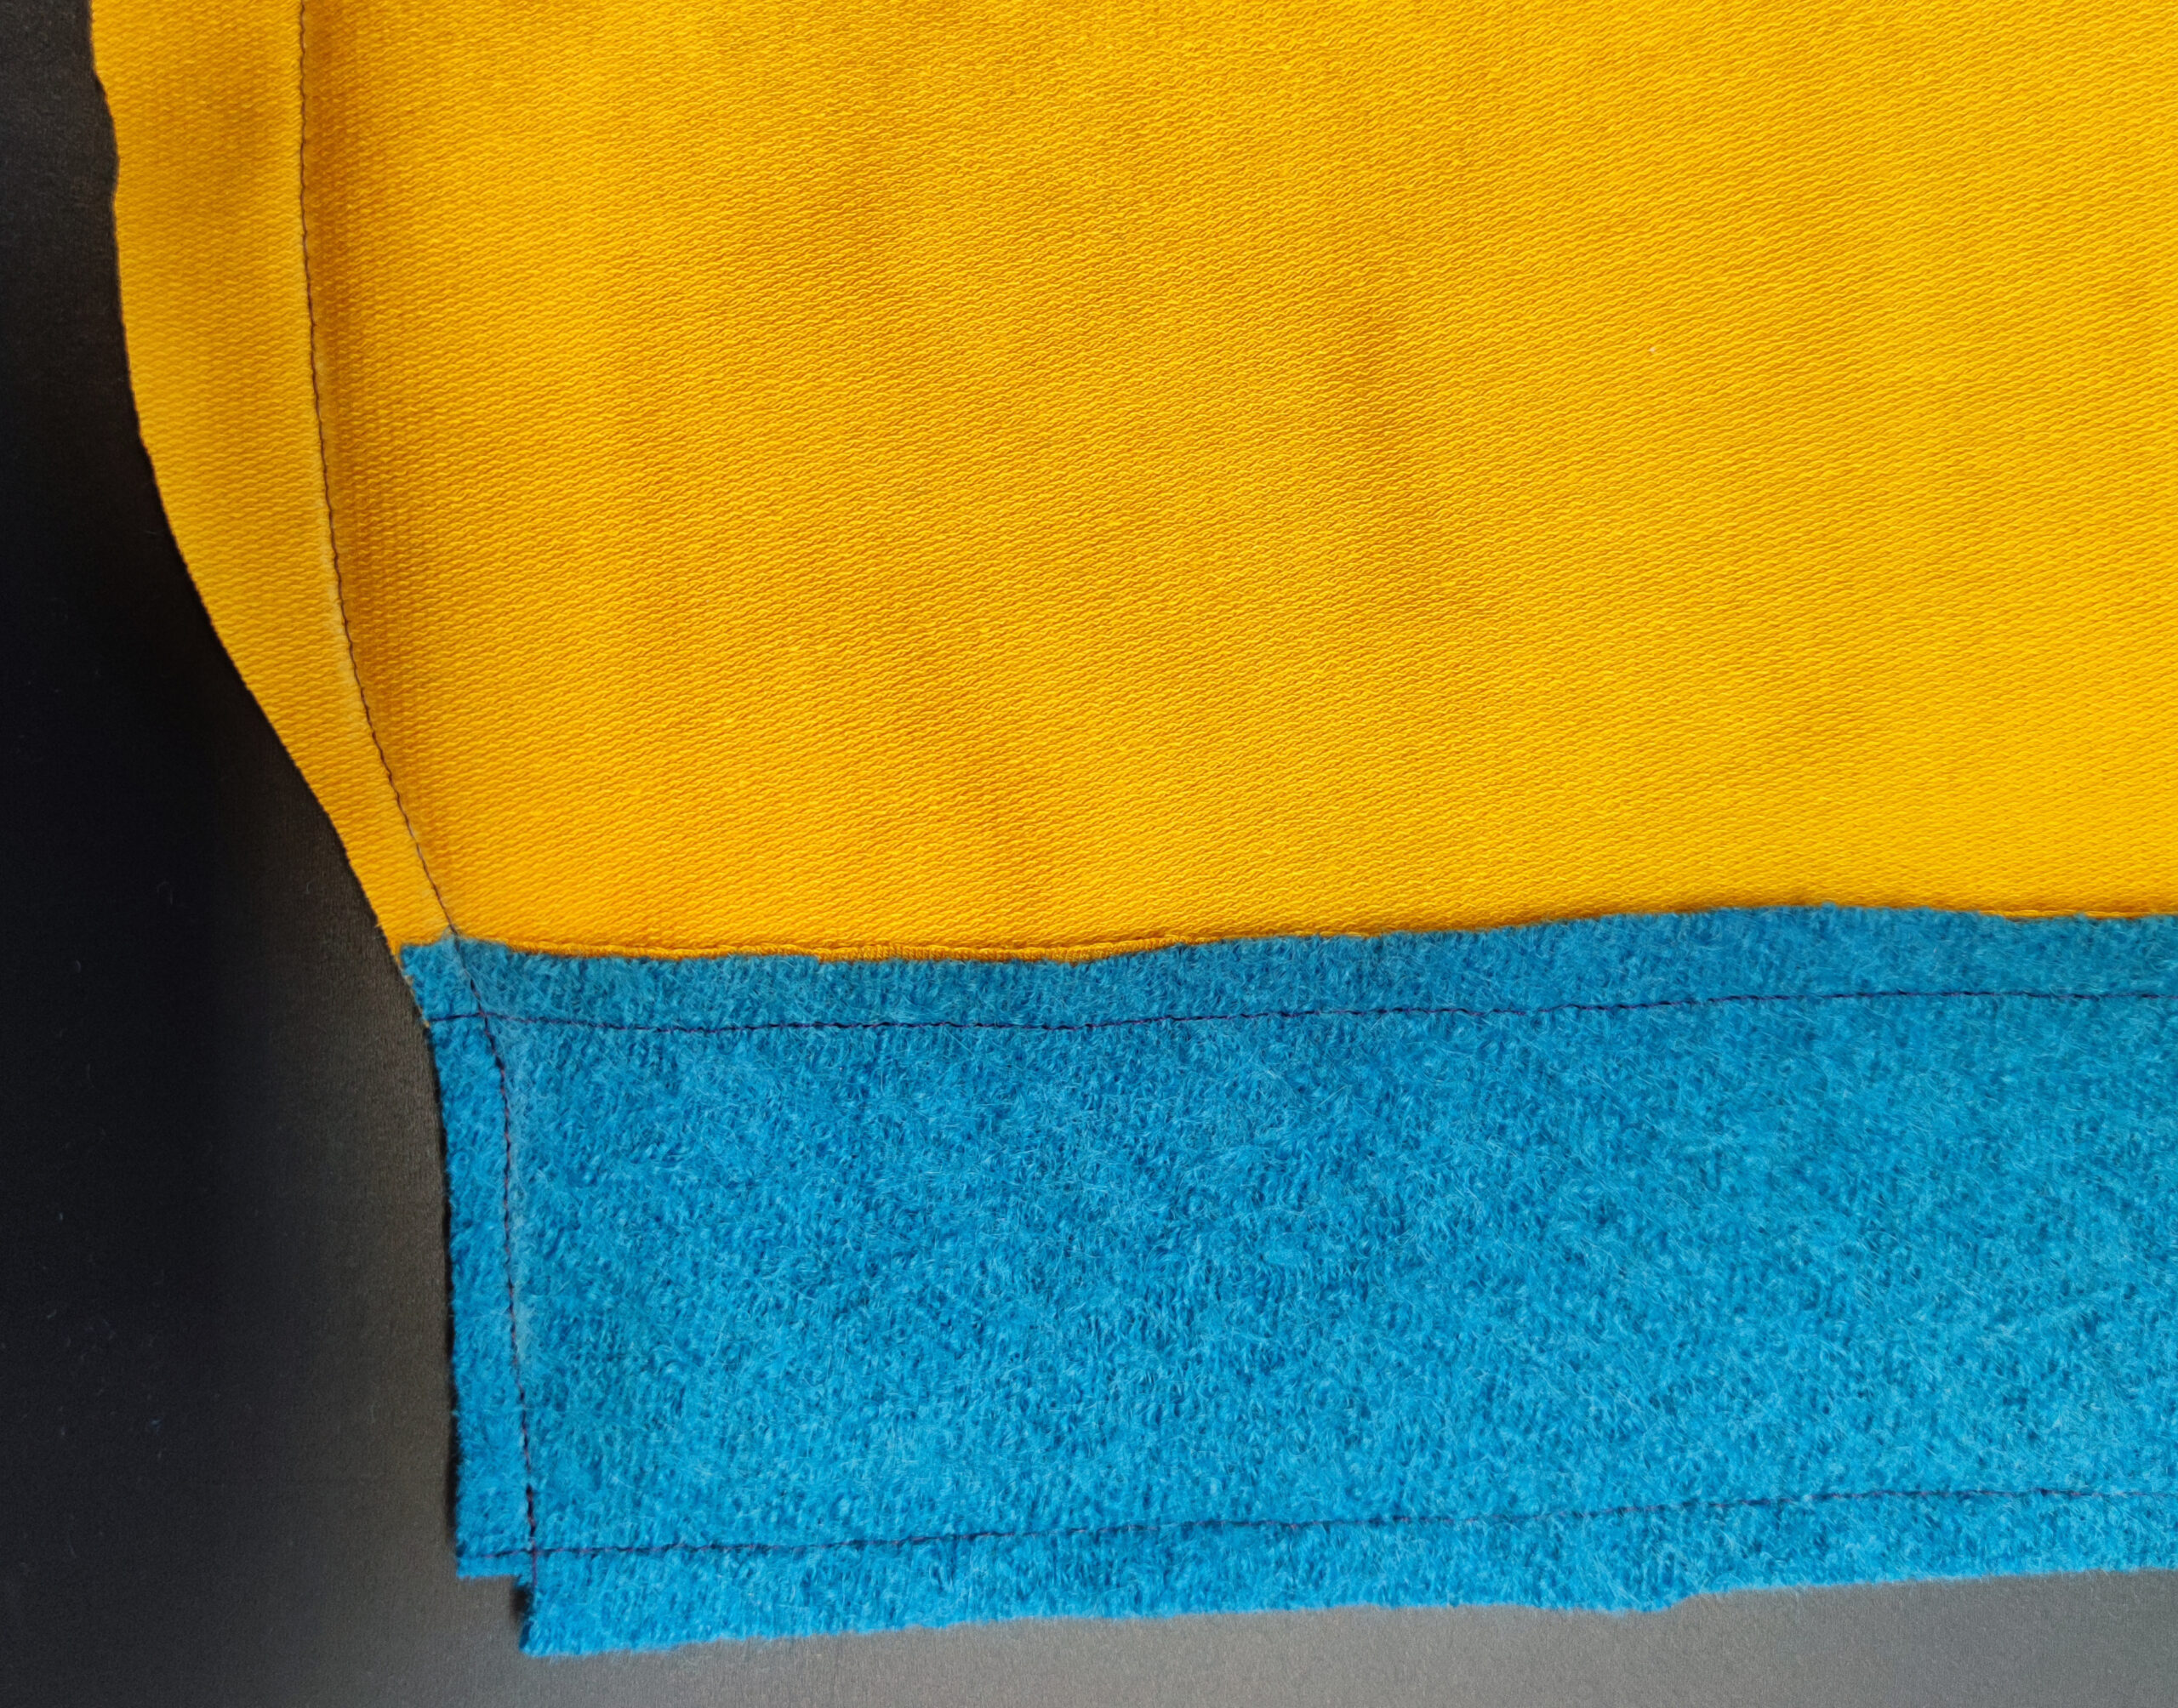
Der Briefeckensaum
Wenn du die gefütterte Variante nähst, überspringe diesen Schritt und gehe zur Anleitung für das Futter.
Der untere Saum wird als Briefecke genäht. Markiere erst die Abstände, die mit 1 und 2 markiert sind. Von der Saumkante nach
oben ist es zwei mal die Saumbreite: 4 + 4= 8 cm – das ist die obere waagerechte Linie.
Von der Belegkante zur Seite ist es die doppelte Belegbreite, auf dem Bild mit 2 gekennzeichnet.
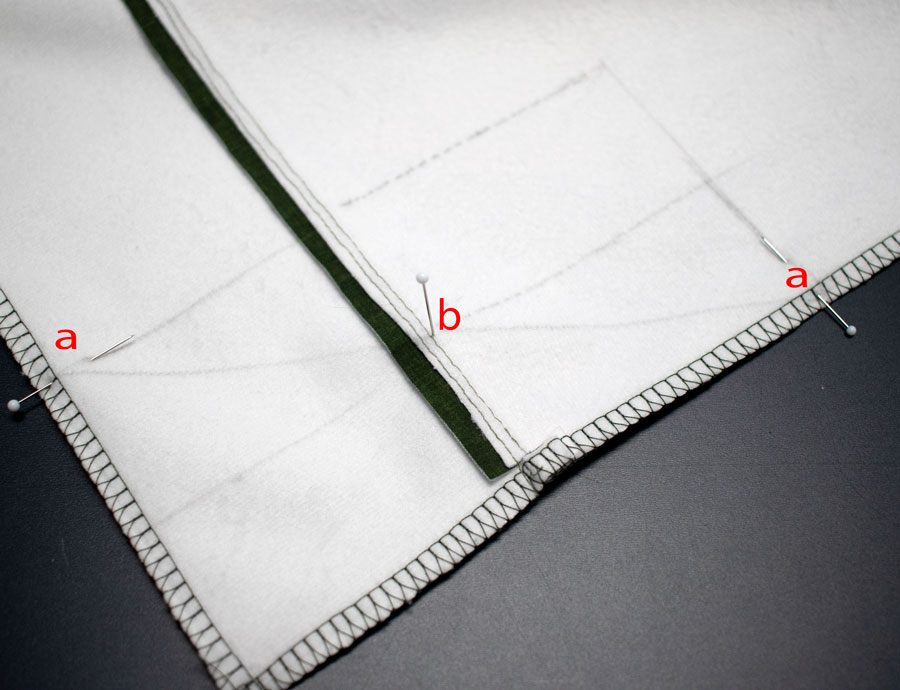
Ziehe eine Hilfslinie zwischen den Punkten a und a. Der Schnittpunkt zwischen dieser Linie und der Belegnaht ist mit b gekennzeichnet. Lege nun Punkt a auf a und nähe die markierte Naht ab. Schneide den überschüssigen Stoff knapp ab und lass ca 0,5 cm Nahtzugabe stehen. Wende die Ecke.
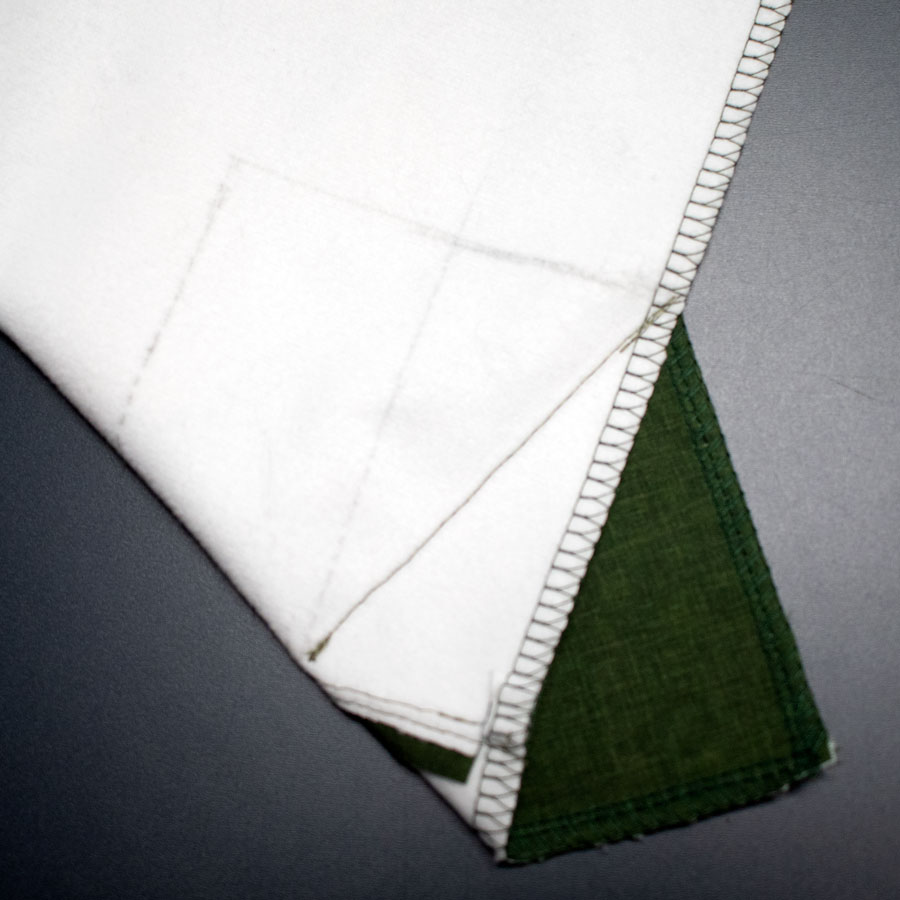
Als nächstes kannst du entweder die komplette Kante in einem Rutsch absteppen oder du nähst
alles von innen mit einem Blindstich fest, sodass außen keine Nähte zu sehen sind.
The lettercorner seam
If you are sewing the lined variant, skip this step and go to the instructions for the lining.
The lower hem is sewn as a letter corner. First mark the distances marked with 1 and 2. From the hem edge to the top it is twice the hem width: 4 + 4= 8 cm – this is the upper horizontal line.
From the edge to the side it is twice the width of the facing, marked with 2 in the picture.
Draw an auxiliary line between points a and a. The intersection between this line and the cover seam is marked with b. Now place point a on a and sew the seam marked. Cut off the excess fabric and leave about 0.5 cm seam allowance. Turn the corner.
Next, you can either topstitch the entire edge in one go, or you can
blindstitch everything from the inside so that no seams are visible on the outside.

Knöpfe und Knopflöcher
Als letztes musst du dich nur für eine Knopflösung entscheiden. Die Überlappung des Mantels ist auf dem vorderen Schnittteil markiert. Für Inspiration und Ideen für die Knopfleiste kannst du dich gerne in den Designbeispielen umschauen. Es eignen sich Knopflöcher mit großen Knöpfen, Anorak Druckknöpfe oder auch Knebelknöpfe. Beachte hierzu jeweils die Anleitung eurer Knopflochautomatik oder die Hinweise auf den Druckknopfpackungen.
Buttons and buttonholes
The last thing you have to do is decide on a button solution. The overlap of the coat is marked on the front pattern piece. Feel free to browse the design examples for inspiration and ideas for the placket. Buttonholes with large buttons, anorak press studs or toggle buttons are suitable. Please note the instructions for your automatic buttonhole or the instructions on the snap packs.
Futter nähen/The Lining
Zuschnitt
Du benötigst insgesamt 7 Schnitteile:
2 x Vorderteile gegengleich
1 x Rückteil im Bruch
2 x vordere Ärmel gegengleich
2 x hintere Ärmel gegengleich
Übertrage alle Markierungen des Schnittes gründlich auf deine Schnittteile.
Cutting
You need a total of 7 pattern pieces:
2 x front parts mirrored
1 x back on fold
2 x front sleeves mirrored
2 x back sleeves mirrored
Thoroughly transfer all of the pattern markings to your pattern pieces.
Futtermantel nähen
Der Futtermantel wird wie der Hauptmantel genäht, bis auf 2 Ausnahmen:
1. Der Futtermantel hat keine Belege, da er an den Belegen des Oberstoffes festgenäht
wird.
2. Die hintere mittlere Falte im Rücken wird nicht komplett geschlossen, sondern als Mehrweite für das Futter genutzt, um mehr Beweglichkeit zu haben. Sie wird an den Markierungen 1 und 2 (siehe Bild) mit einer kurzen graden Naht fixiert und anschließend zu einer Kellerfalte gelegt (verriegele die Enden der Fixierungsnaht gründlich). Die Kellerfalte kannst du oben und unten innerhalb der Nahtzugabe noch einmal fixieren. Schau dir für den Rest des Futtermantels die Hauptanleitung an. Lasse in einer der Seitennähte des Futters eine große Wendeöffnung.
Sew the lining coat
The lining coat is sewn like the main coat, with 2 exceptions:
1. The lining coat has no facings as it is sewn to the facings of the outer fabric.
2. The back middle fold in the back is not completely closed, but used as extra width for the lining to have more mobility. It is fixed at marks 1 and 2 (see picture) with a short straight stitch and then folded into a box pleat (tightly lock the ends of the fixing stitches). You can fix the box plaid at the top and bottom within the seam allowance. For the rest of the lining coat, see the main pattern. Leave a large turning opening in one of the side seams of the lining.
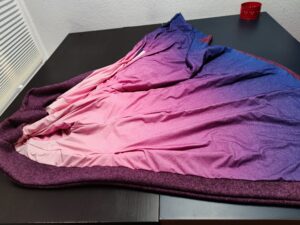
Mantel mit Futtermantel verbinden/Connect the lining to the coat
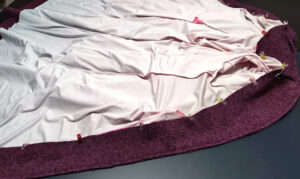
Futtermantel annähen
Den Oberstoffmantel auf links wenden. Klappe die Belege des Oberstoffmantels auf und stecke den Futtermantel einmal komplett rechts auf rechts an den Außenkanten fest. Nähe die Mäntel zusammen, die untere Saumkante bleibt erst einmal offen.
Connect the lining to the coat
Turn the outer coat so you can see the left side. Open the facings of the outer fabric coat and pin the lining coat once completely right sides together at the outer edges. Sew the coats together, leaving the bottom hem open for now.
Der untere Saum
Das Futter ist an der unteren Saumkante 2 cm KÜRZER als der Obermantel. Das sorgt dafür, dass das Futter später den Obermantel ein wenig nach innen oben zieht und somit bei Bewegung von rechts kein Futter zu sehen ist. Stecke das Futter BÜNDIG an die untere Saumkante. Dafür musst du den Stoff etwas nach unten ziehen. Stecke beide Stofflagen zusammen. Zeichne dir deine Nahtlinie: diese hat am Beleg 4 cm Abstand zur Saumkante und verläuft dann in einem Bogen nach unten bis auf 1 cm Nahtzugabe.
Nähe die eingezeichnete Naht mit einem Gradstich nach.
Schneide die Nahtzugaben bis auf 1 cm zurück. Schneide die Belegecke ein, damit sich der Mantel hier später gut ausformen lässt.
The lower hem
The lining is 2 cm SHORTER than the outer coat at the lower hem edge. This ensures that the lining later pulls the upper coat inward and upwards so that no lining can be seen when moving from the right. Pin the lining FLUSH to the bottom edge of the hem. You have to pull the fabric down a bit to do this. Pin both layers of fabric together. Draw your seam line: this is 4 cm away from the hem edge on the facing and then runs in a curve down to a 1 cm seam allowance.
Sew the marked seam with a straight stitch.
Trim the seam allowances back to 1 cm. Cut the corner of the so that the coat can be easily shaped here later.
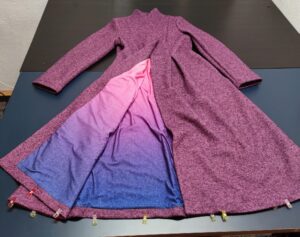
Mantel wenden
Wende den Mantel einmal komplett durch die seitliche Öffnung im Futter. Der Oberstoff hat eine Saumzugabe von 4 cm. Durch das kürzere Innenfutter zieht
sich die Saumkante nun nach innen oben, sodass die Saumkante unten nun komplett grade ist und auf dem Futtermantel 3 cm (1 cm Nahtzugabe wurde
weggenäht) des Oberstoffes ähnlich einem Beleg sichtbar sind.
Turn the coat
Turn the coat completely through the side opening in the lining. The outer fabric has a hem allowance of 4 cm. Through the shorter inner lining
the hem edge now moves inwards upwards so that the hem edge is now completely straight at the bottom. There is now 3 cm of the outer fabric visible on the lining similar to a facing.
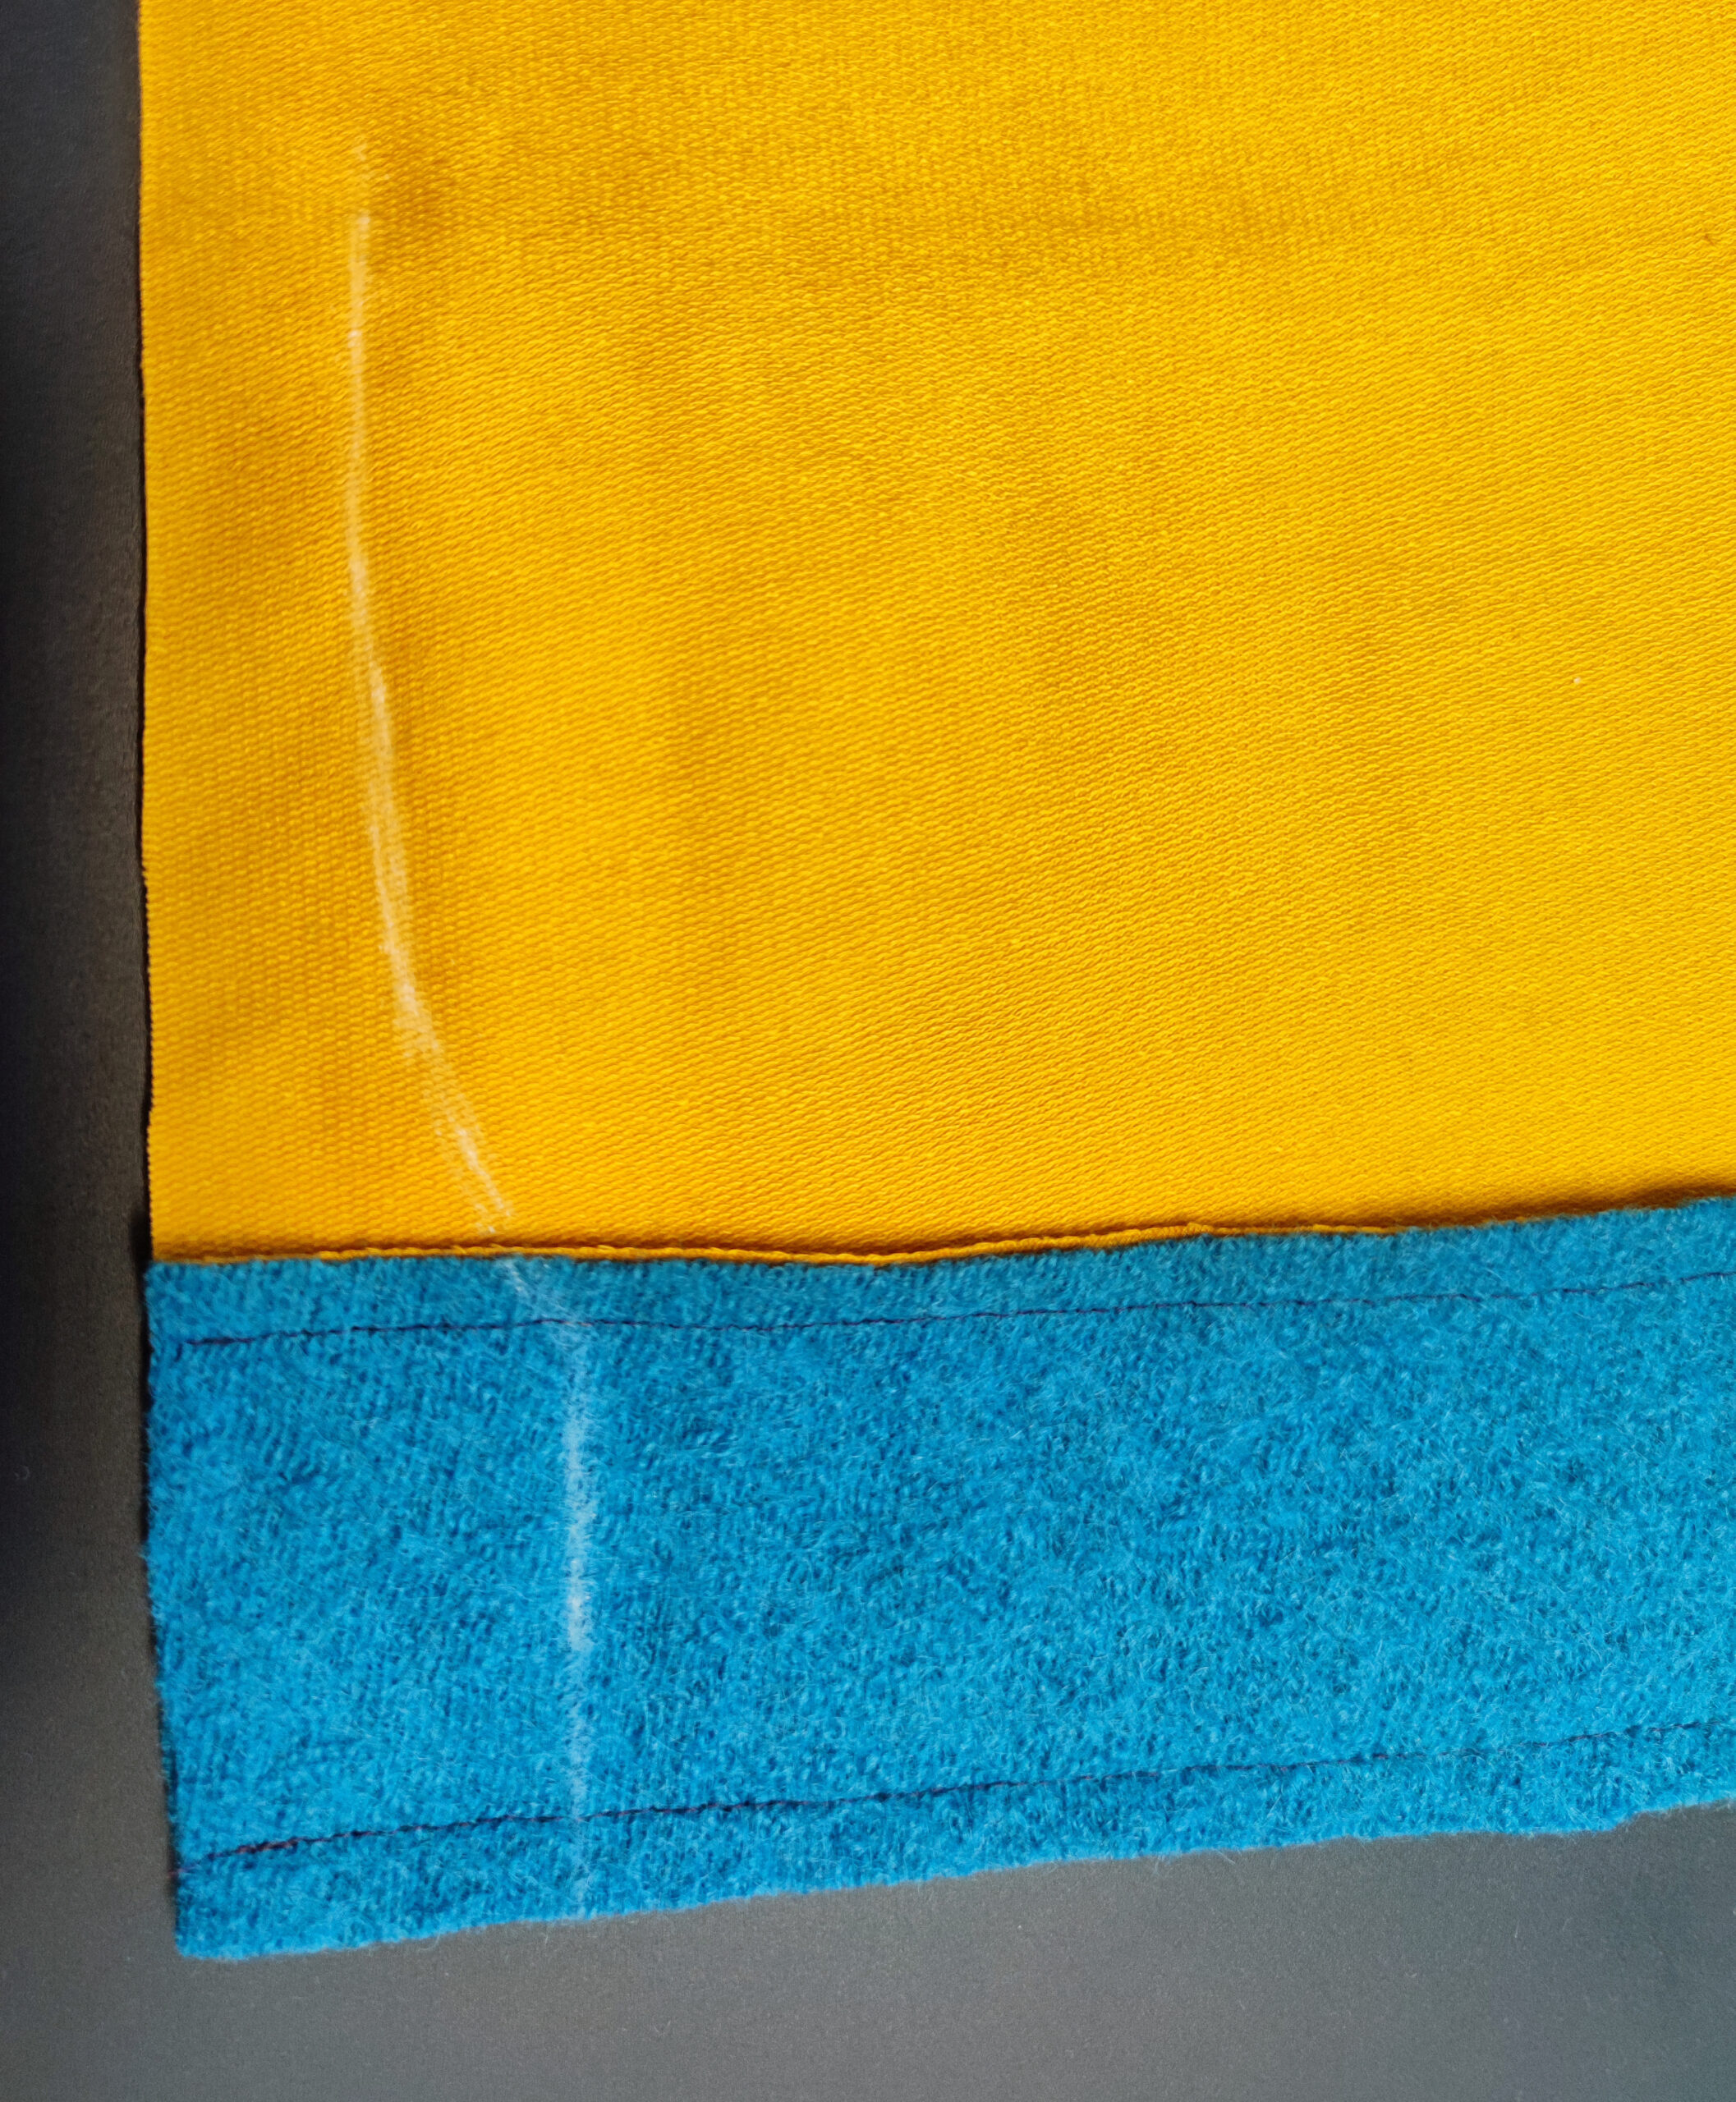
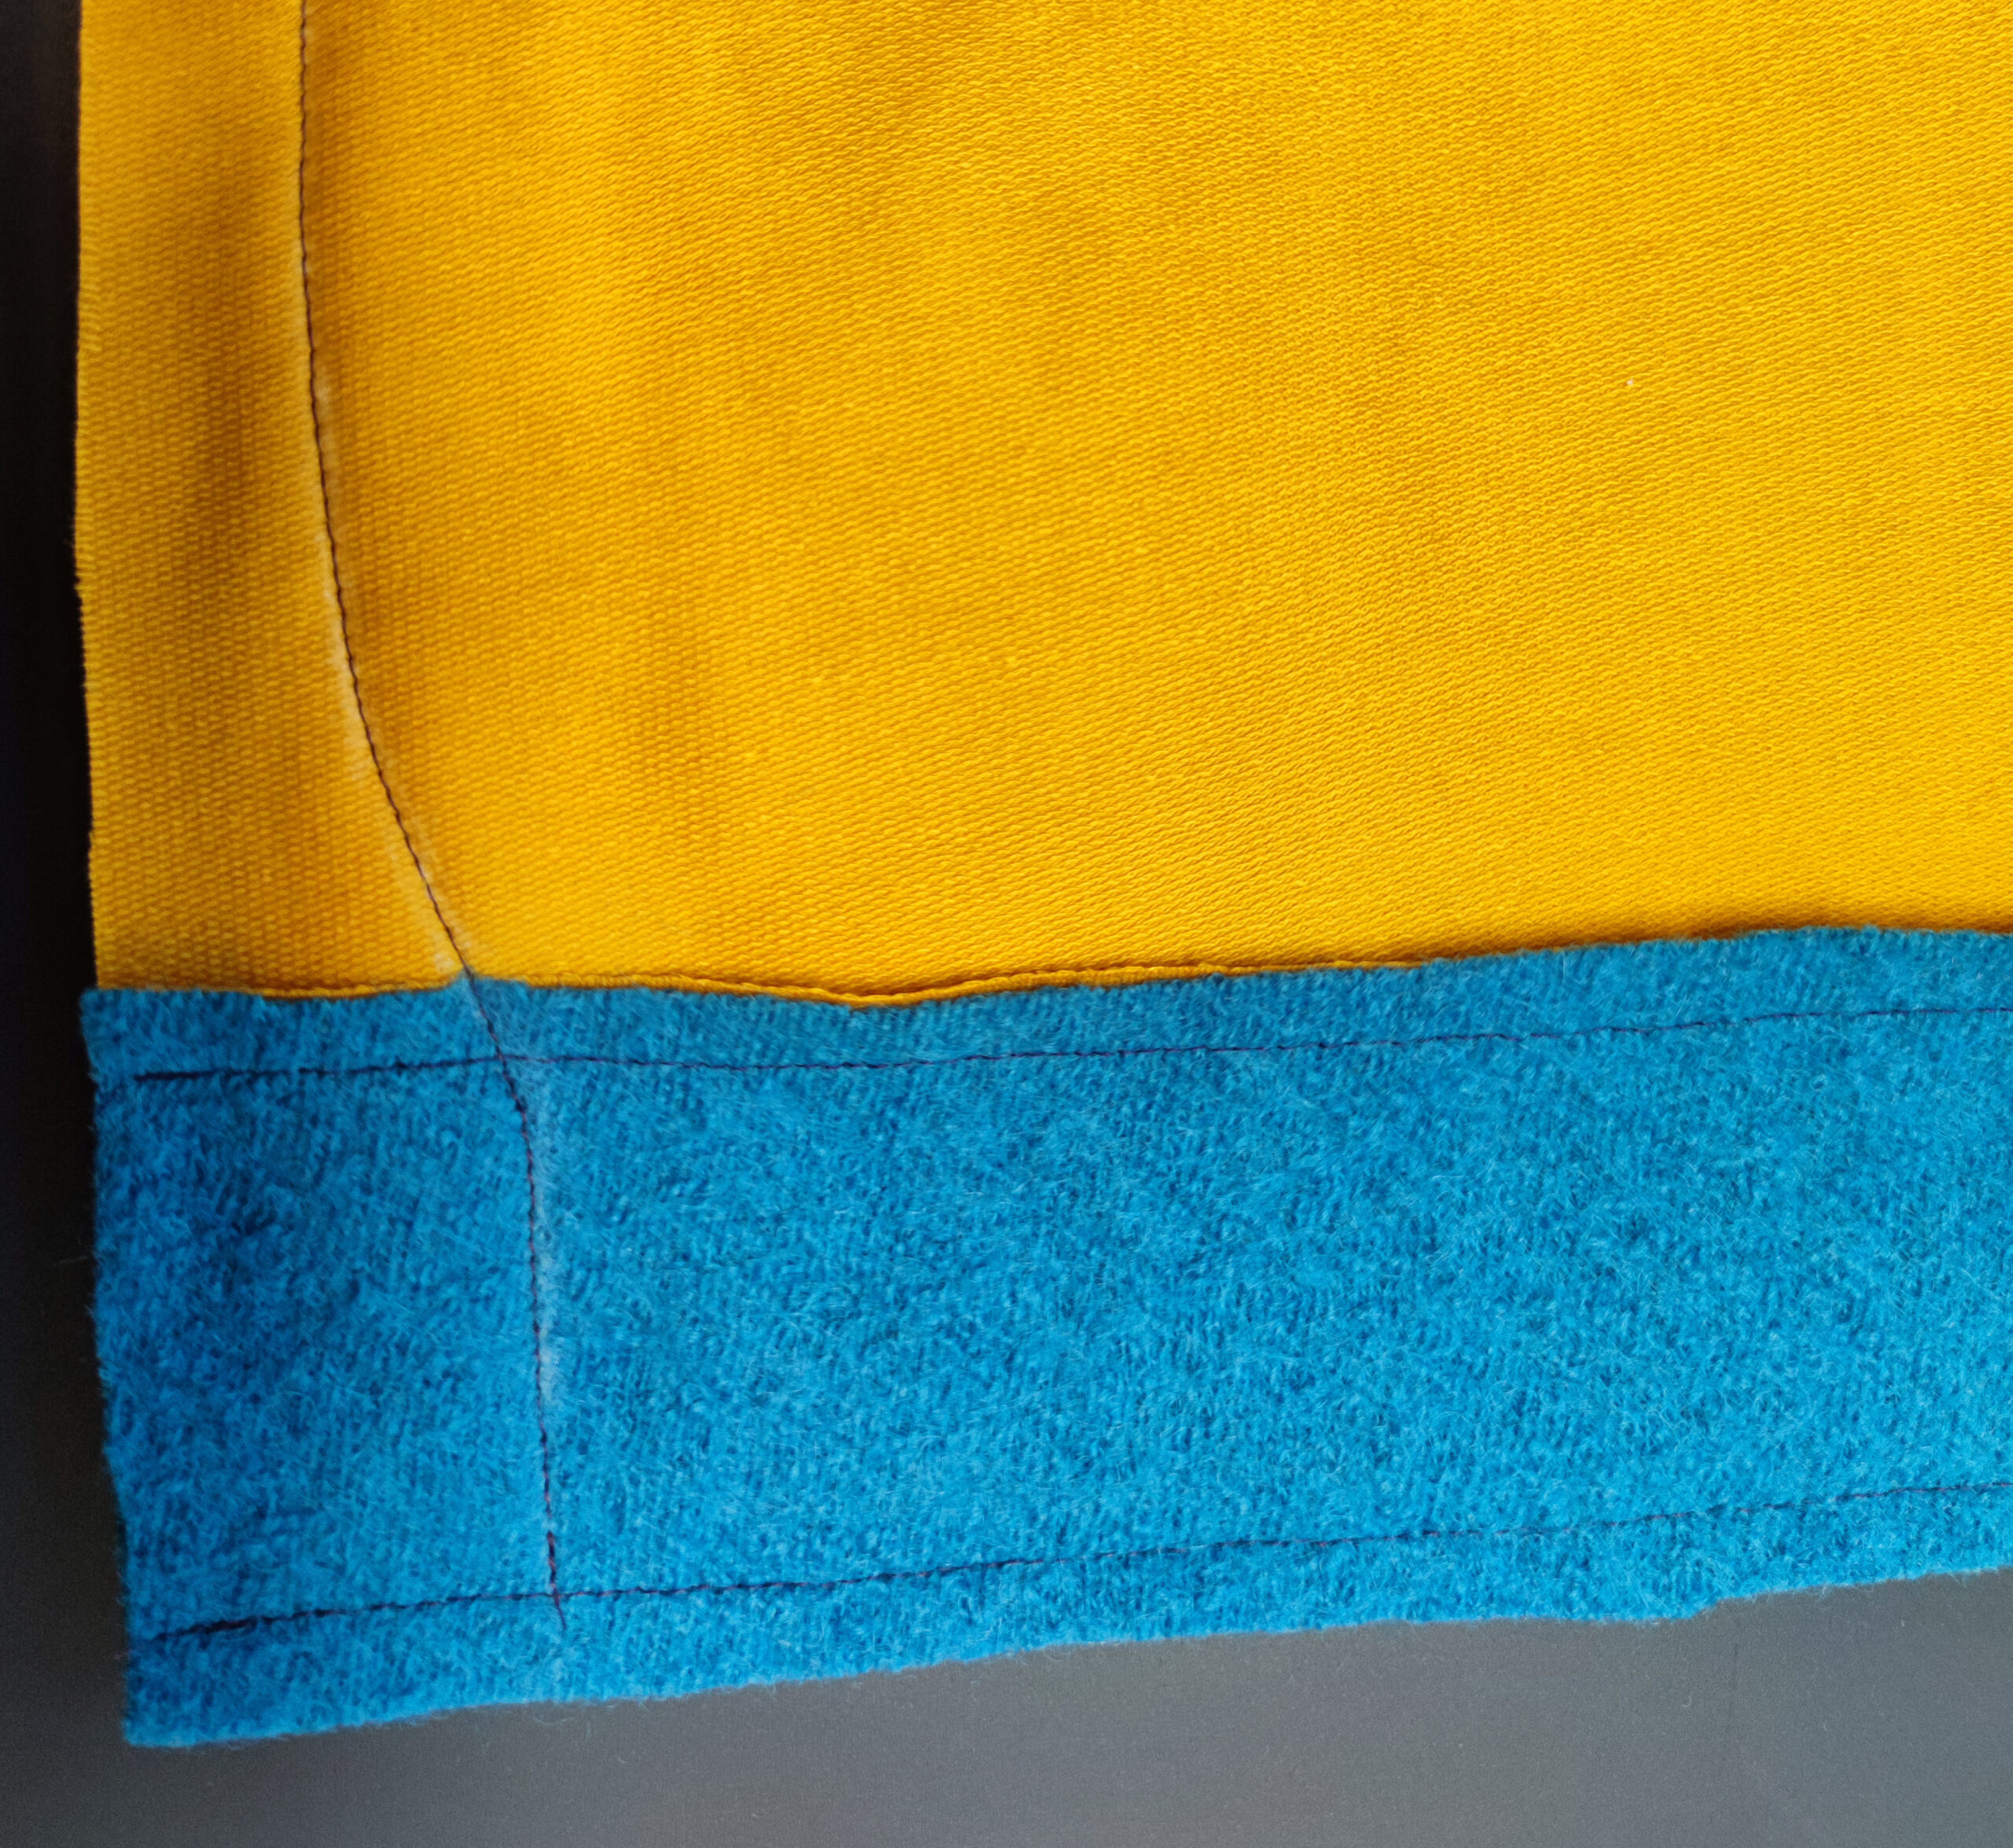
Absteppen
Du kannst nun optional einmal rundherum absteppen (bitte nicht direkt am Rand, sonst wellt sich der Mantel an der Saumkante) oder du wählst die elegantere
Variante und fixierst das Futter am Saum mit einem Blindstich von Hand. So ist nachher von rechts keine Naht zu sehen.
Topstitch
You can now optionally topstitch all the way around (please not directly on the edge, otherwise the coat will curl at the hem edge) or you can choose the more elegant one
variant and fix the lining at the hem with a blind stitch by hand. This way no seam can be seen from the right afterwards.
Ärmel zusammenführen
Den Futterärmel links auf links in den Oberstoffärmel stecken (so, wie es nachher fertig liegen würde) und darauf achten, dass der Ärmel nicht in sich verdreht liegt und die Nähte aufeinanderliegen. Die Nahtzugabe von Futterärmel und Oberstoffärmel aufeinander nach innen klappen, so wie es später fertig genäht liegen würde. Die Ärmel in dieser Position mit einer Klammer oder Nadel fixieren. Durch die Wendeöffnung im Futter zwischen die beiden Ärmellagen greifen und beide Nahtzugaben gut festhalten und den gesamten Ärmel vorsichtig durch die Wendeöffnung ziehen und darauf achten, dass sich nichts verdreht. Durch eure Fixierung seht ihr, wie die Ärmelsäume aufeinander treffen müssen. Steckt die komplette Rundung zusammen. Die Ärmel, die jetzt vor euch liegen sehen aus wie zwei „Küssende Rüssel“. Rundum zusammennähen. Die Ärmel wieder durch die Wendeöffnung im Futter zurück wenden. Das Futter ist ähnlich wie am Saum kürzer als der Oberstoffmantel, sodass sich das Futter nun automatisch nach innen zieht. Die so entstandene Umbruchkante sorgfältig bügeln und optional absteppen. Es ist leider etwas schwierig, gute Fotos von diesem Vorgang zu machen, die es
auch gut erklären. Bitte schau dir folgendes Video an, um unseren Text besser nachvollziehen zu können.
Sew the sleeves together
Tuck the lining sleeve into the outer fabric sleeve, wrong sides together (as it would be when finished) and make sure that the sleeve is not twisted and the seams are lined up. Fold the seam allowance of the lining sleeve and outer fabric sleeve inwards on top of each other, just as it would later be sewn. Fix the sleeves in this position with a clip or pin. Reach through the turning opening in the lining between the two sleeve layers and hold both seam allowances firmly and carefully pull the entire sleeve through the turning opening, making sure nothing is twisted. Through your fixation you can see how the sleeve hems have to meet. Put the complete curve together. The sleeves that are now in front of you look like two „kissing trunks“. Sew all around. Turn the sleeves back through the turning opening in the lining. Similar to the hem, the lining is shorter than the outer coat, so that the lining is now automatically drawn inwards. Carefully iron the resulting folded edge and optionally topstitch. It’s a bit difficult to take good photos of this process, unfortunately
also explain well. Please watch the following video to better understand our text.