zum Warenkorb 0,00 €
0Nähanleitung /// How to sew: Saturn
Kellerfalten für den Wow-Effekt: Saturn
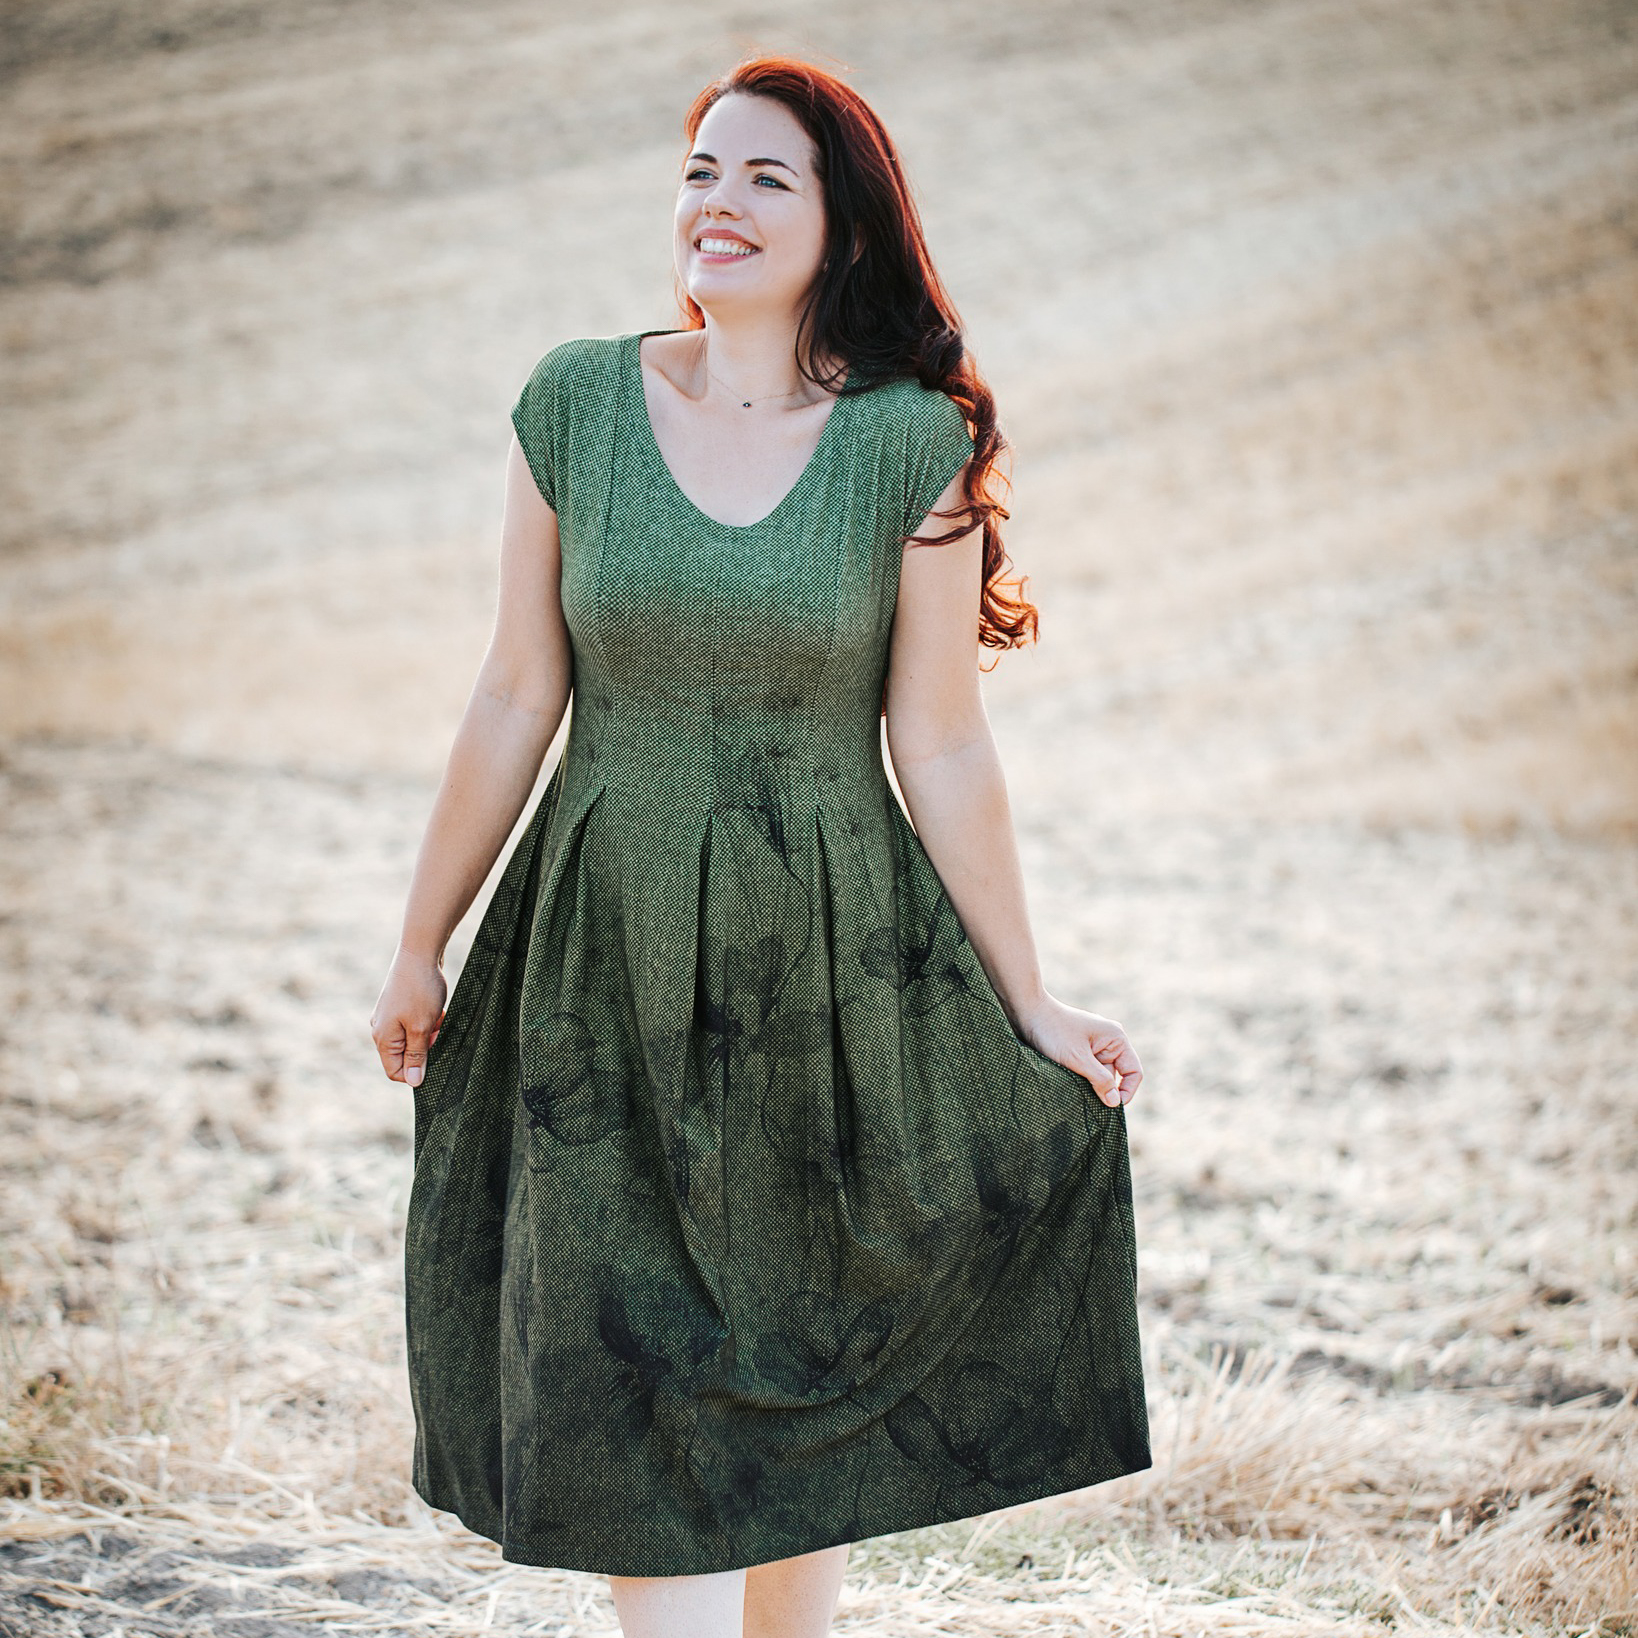
Saturn ist ein sportlich-elegantes Kleid mit jeweils drei tiefen Kellerfalten vorne und hinten. Mit Prinzessnähten und ohne Unterteilung zum Rockteil kommen Bordürenstoffe perfekt zur Geltung. Ihr habt neben 2 Längen auch 2 Ärmelvarianten zur Auswahl: Überschnittene kurze Ärmel und angesetzte lange Ärmel.
Box Pleats for a Wow-effect: Saturn
Saturn is a sporty, elegant dress with three deep box pleats at the front and the back. With princess seams and no subdivisions to the skirt part, border fabrics come into their own. In addition to 2 lengths, you also have 2 sleeve variants to choose from: Overcut short sleeves and attached long sleeves.
Richtige Größe drucken
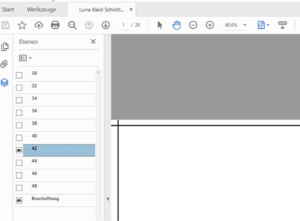
Print the correct size
Maßtabelle /// Size chart (cm)

Stoffverbrauch unsere Bordürenstoffe /// Fabric requirement for our border fabrics (cm)

Stoffempfehlung
Für Saturn eignen sich am besten weich fallende Viskosejerseys oder Modaljerseys mit mindestens 5% Elasthananteil.
Fabric recommendation
Softly falling viscose jerseys or modal jerseys with at least 5% elastane are best suited for Saturn.
Anpassung
Das Kleid ist ab der Taille durch die Kellerfalten sehr leger geschnitten. Orientiere dich daher bei der Wahl der Größe an deinem Brustmaß und deinem Taillenmaß. Insbesondere in der Taille ist ein genaues Messen wichtig, da hier die Falten aufspringen.
Sollte die Differenz zwischen deinem Oberbrust- und deinem Brustumfang größer als 5 cm sein findest du Infos zum Thema FBA in unserem Blog.
Solltest du Hilfe benötigen, schau gern in der Mondstoff-Gruppe auf Facebook vorbei: Mondstoff-Gruppe
Adjustment
The dress has a very casual cut from the waist down due to the box pleats. Therefore, when choosing the size, use your chest measurement and your waist measurement as a guide. Precise measurement is particularly important at the waist, as this is where the folds open up.
If the difference between your upper chest and your chest circumference is more than 5 cm, you can find some informations about FBA in our blog.
If you need help, feel free to join the Mondstoff group on Facebook: Mondstoff Group
Zuschnitt
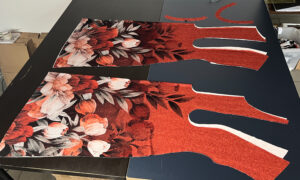
Cutting
1x front part on fold
1x back on fold
1x front facing on fold
1x back facing on fold
for the long sleeve version: 2x sleeves on fold
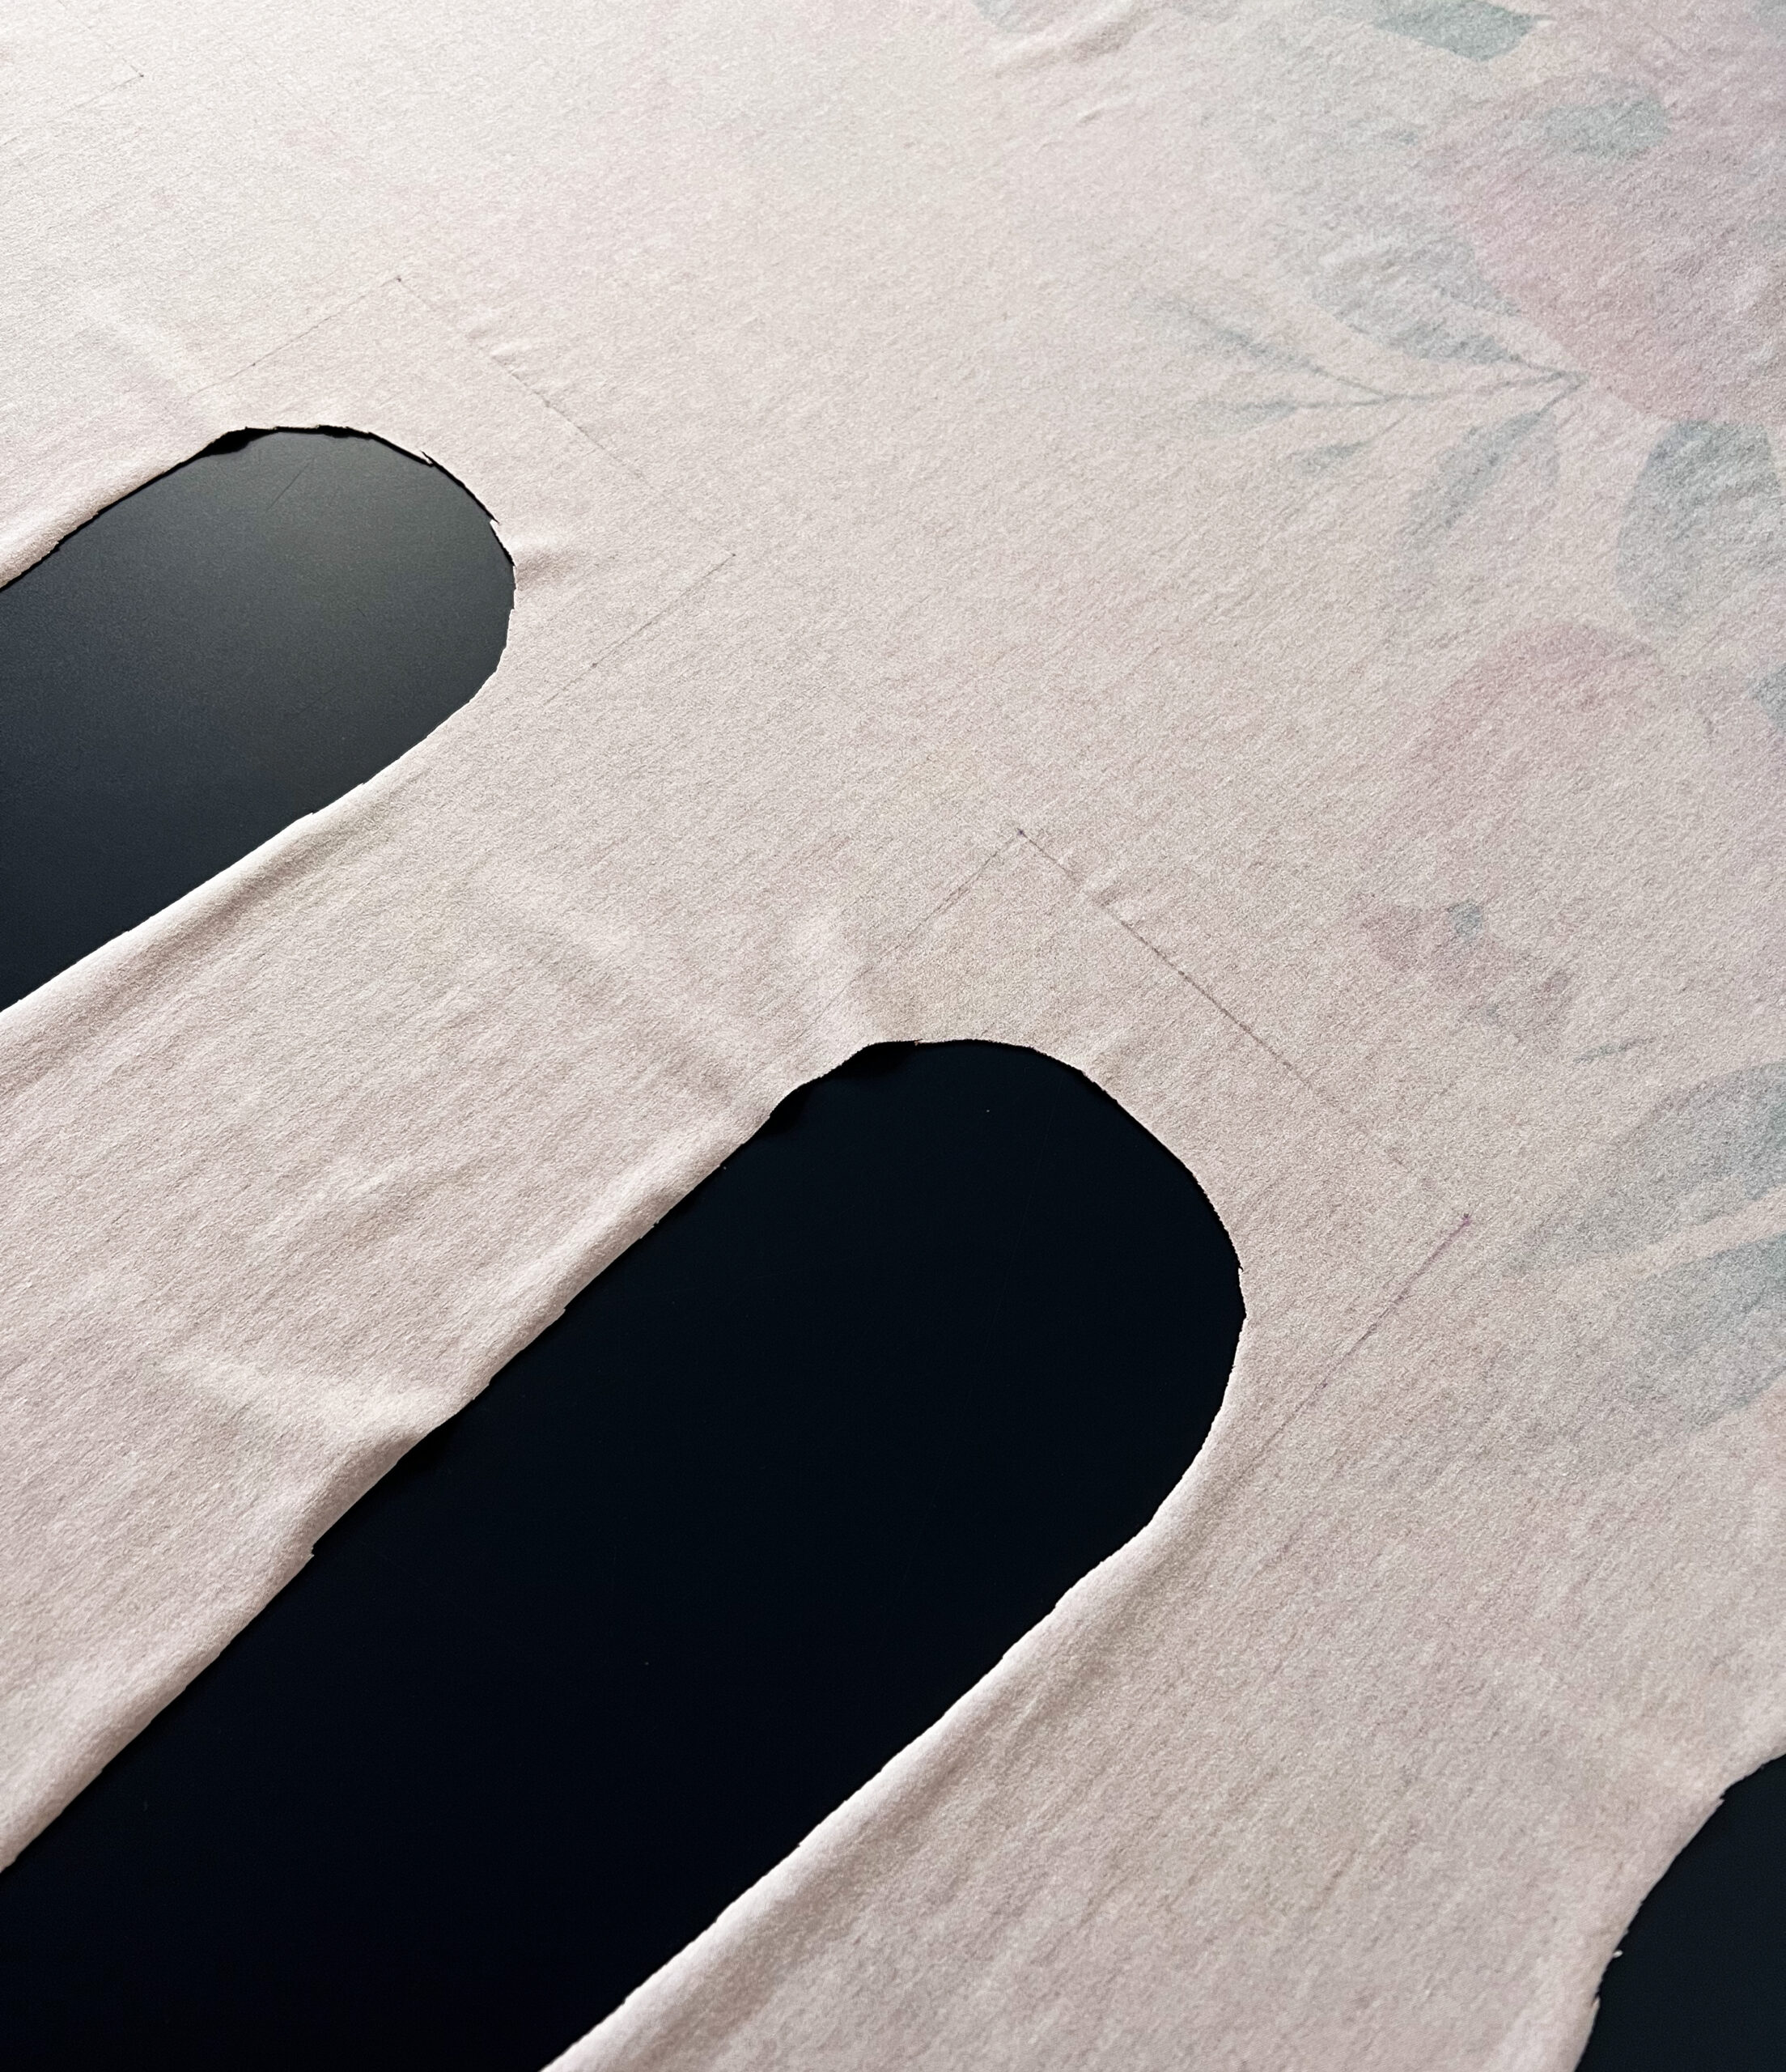
1. Passzeichen übertragen
Übertrage alle Passzeichen mit Hilfe eines Trickmarkers oder ähnlichem auf die linke Stoffseite. Übertrage auch alle Knipse mit kleinen Einschnitten innerhalb der Nahtzugabe.
1. Transfer the marks
Transfer all marks to the wrong side of the fabric using a trick marker or something similar. Also transfer any notches with small cuts inside the seam allowance.
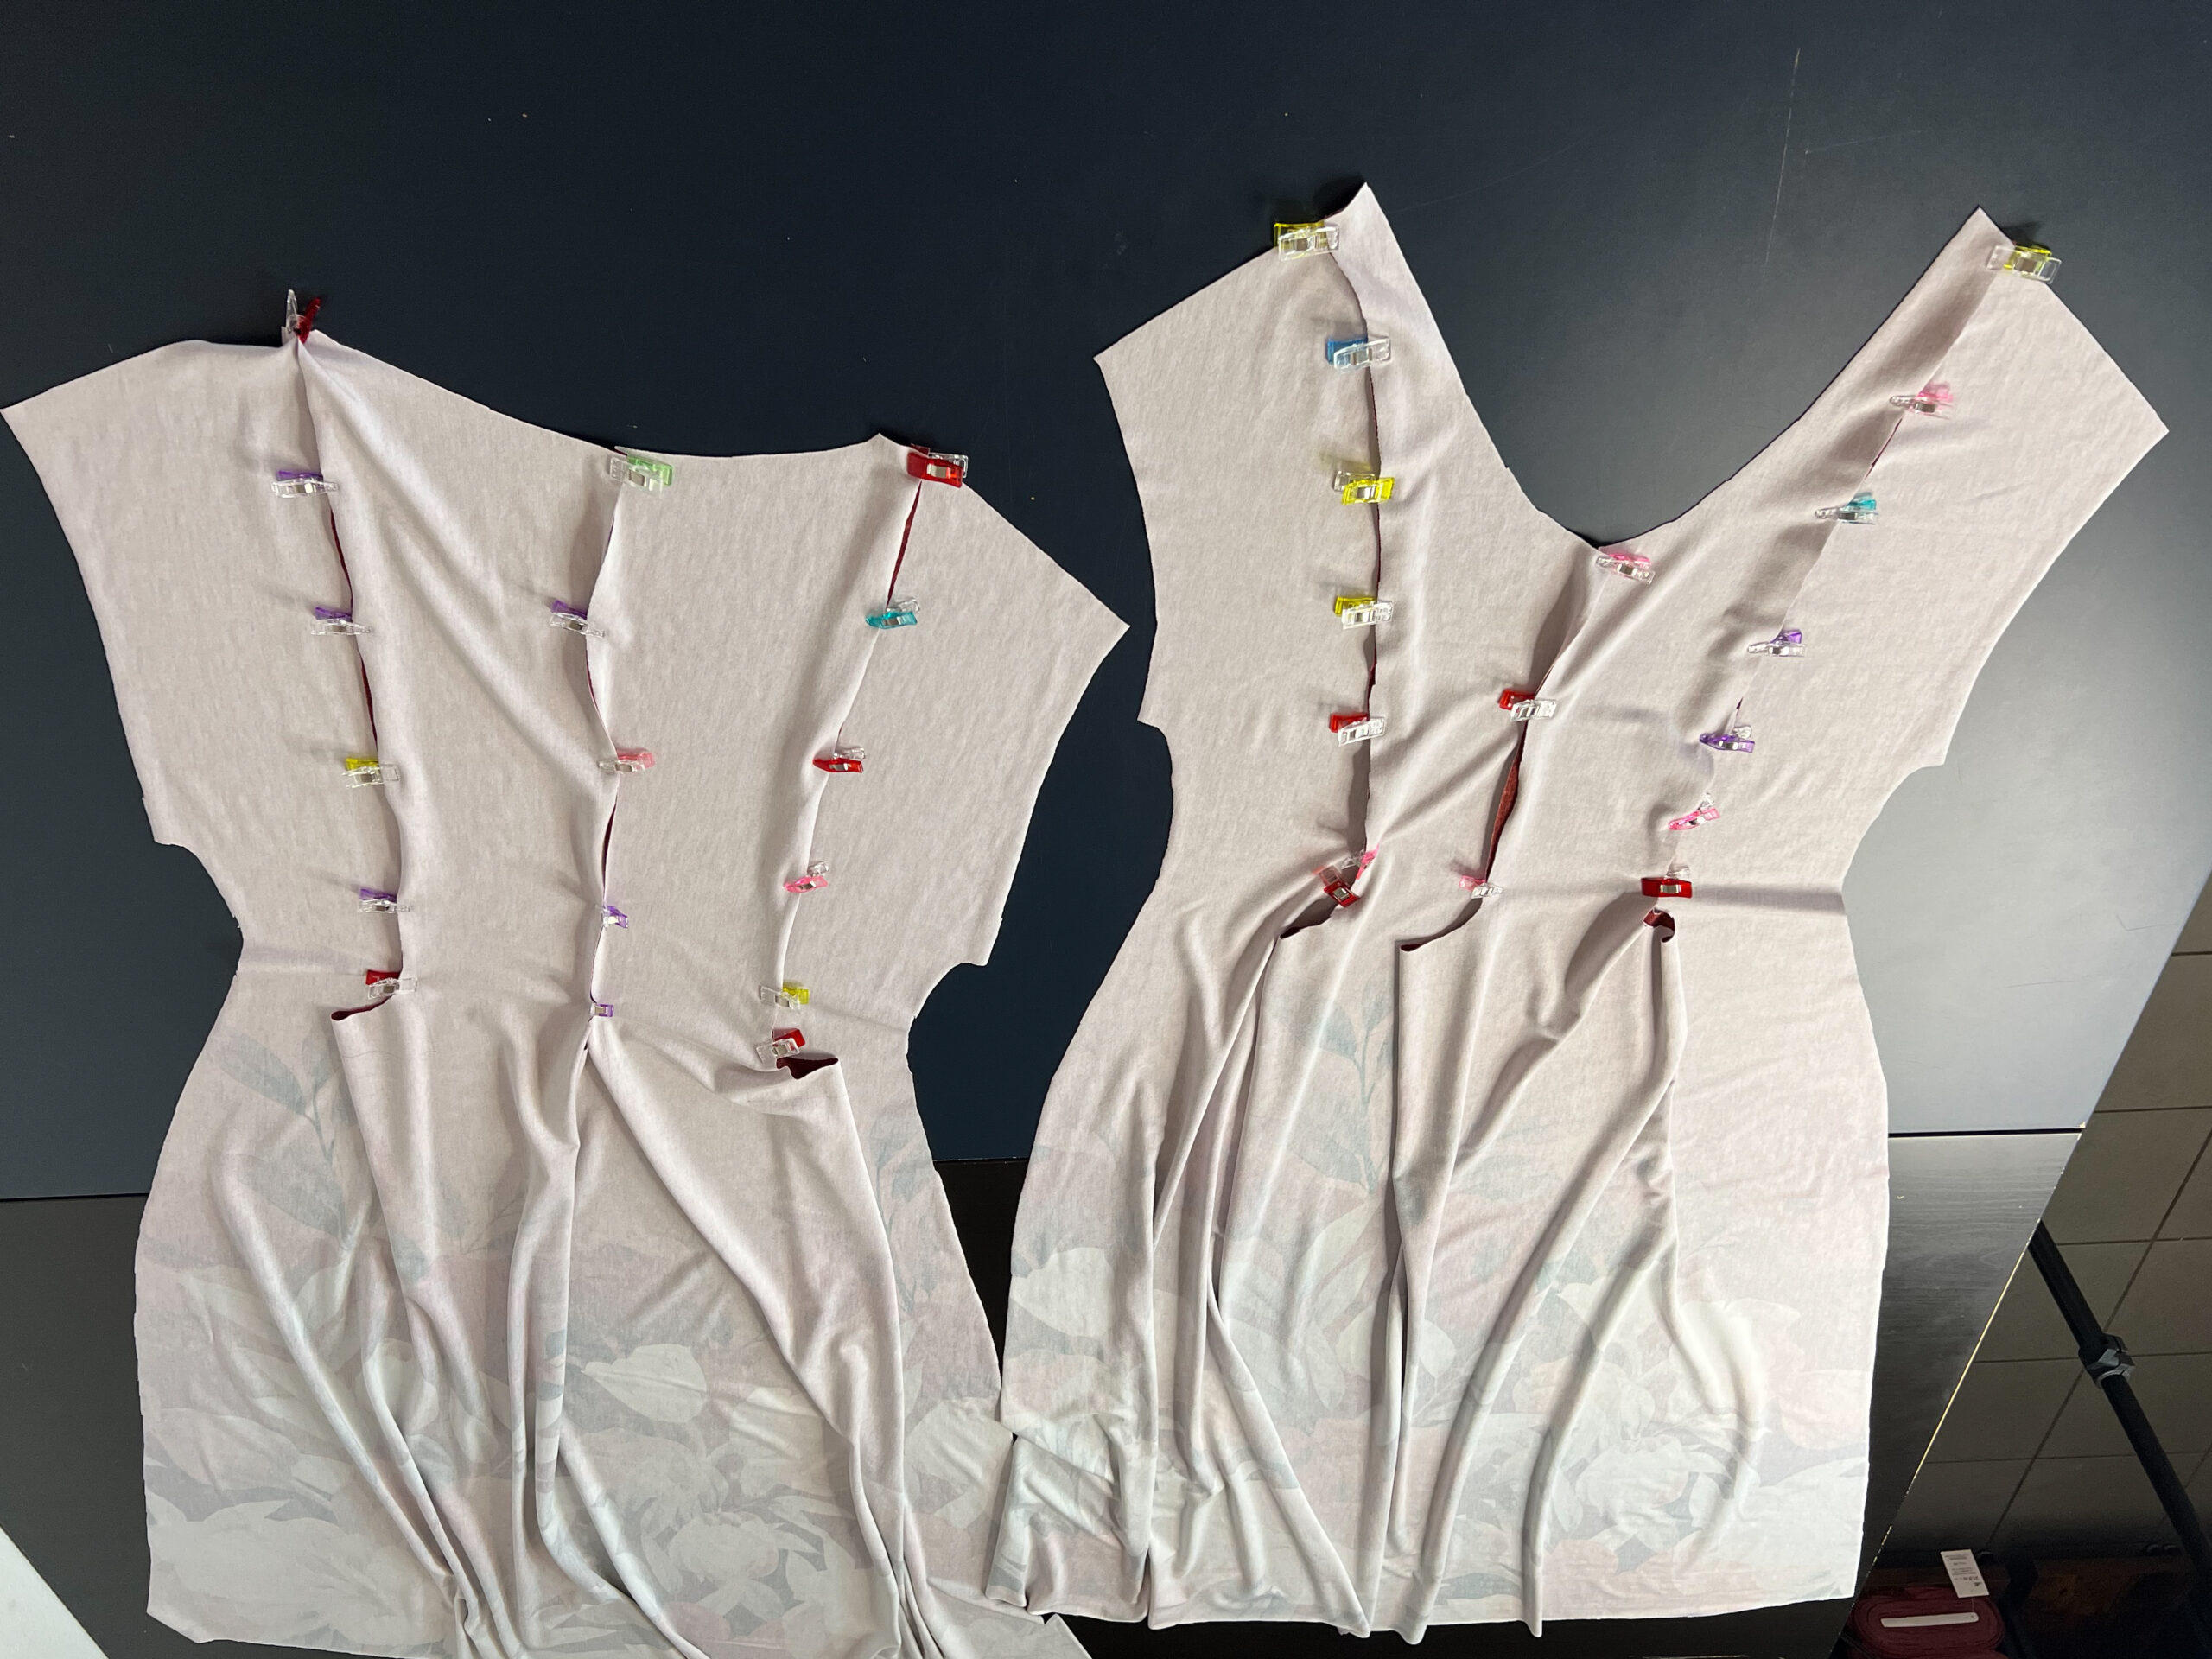
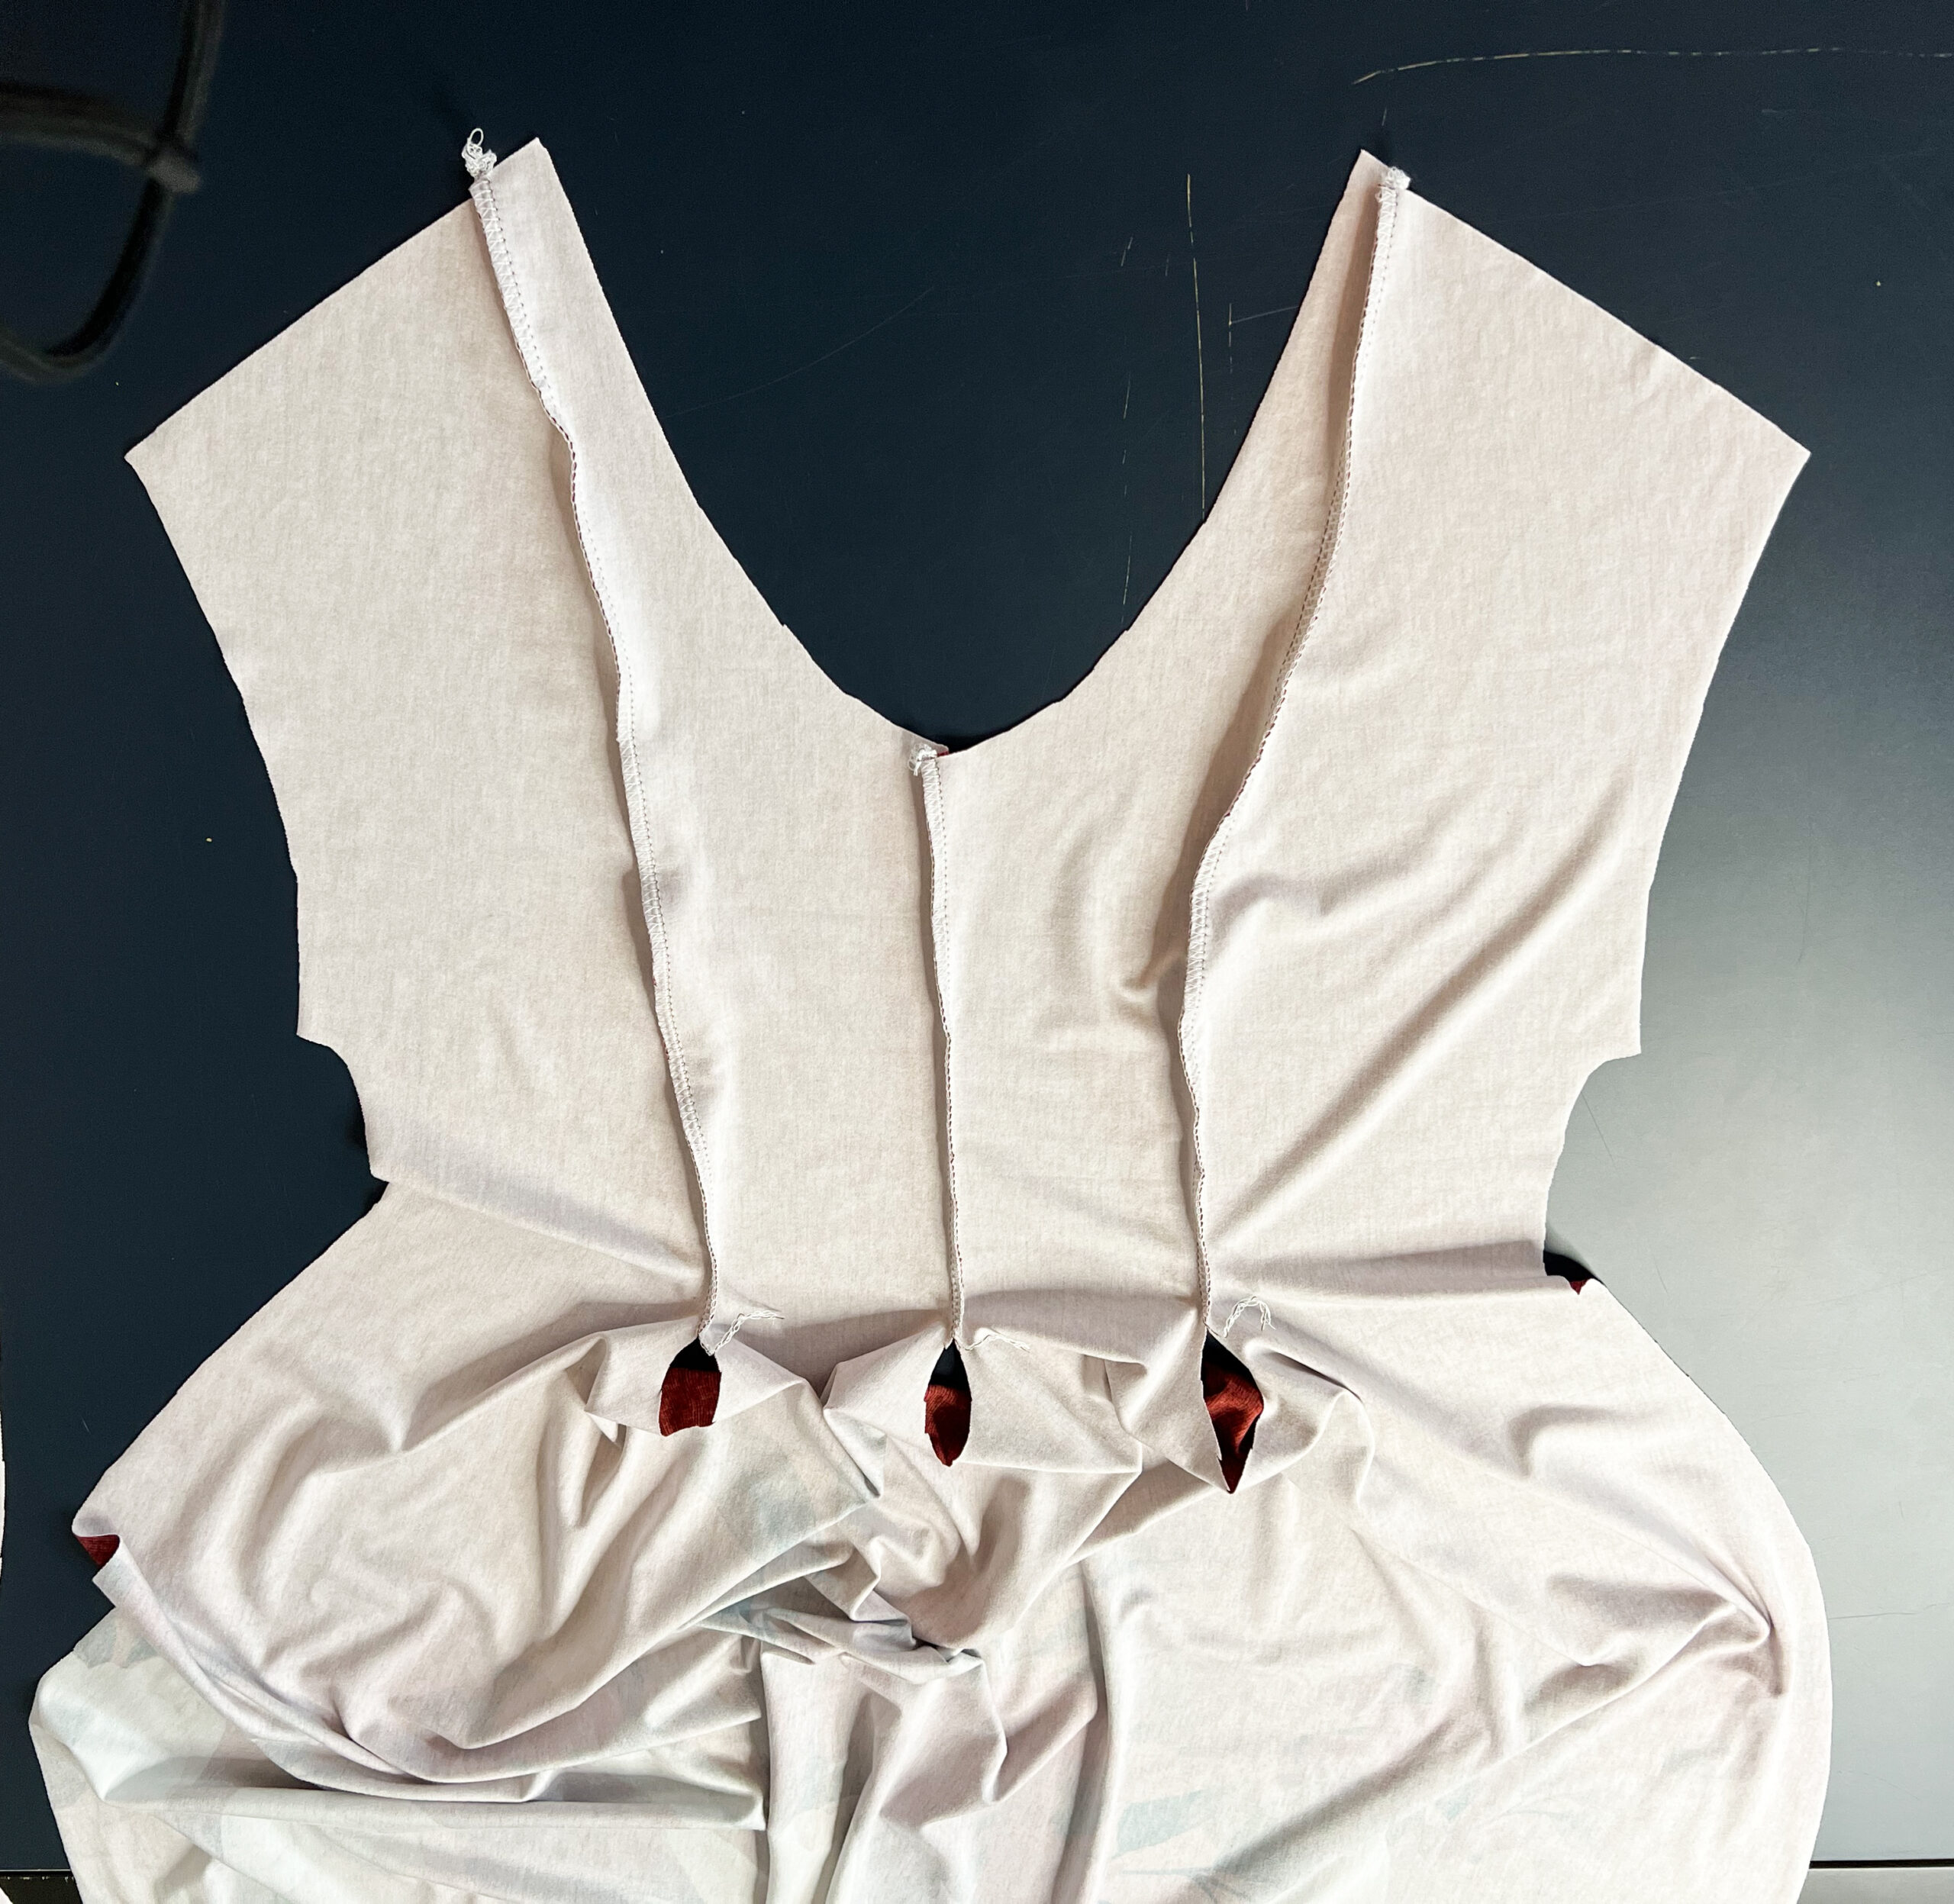
2. Prinzessnähte
Zum Nähen der Prinzessnähte/Kellerfalten hast du 2 Optionen:
a) Versäubere zunächst alle offenen Kanten mit der Overlock. Stecke dann die Prinzessnähte aufeinander. Für diese Variante kannst du dir das Nähvideo zu unserem Schnitt Luna ansehen.
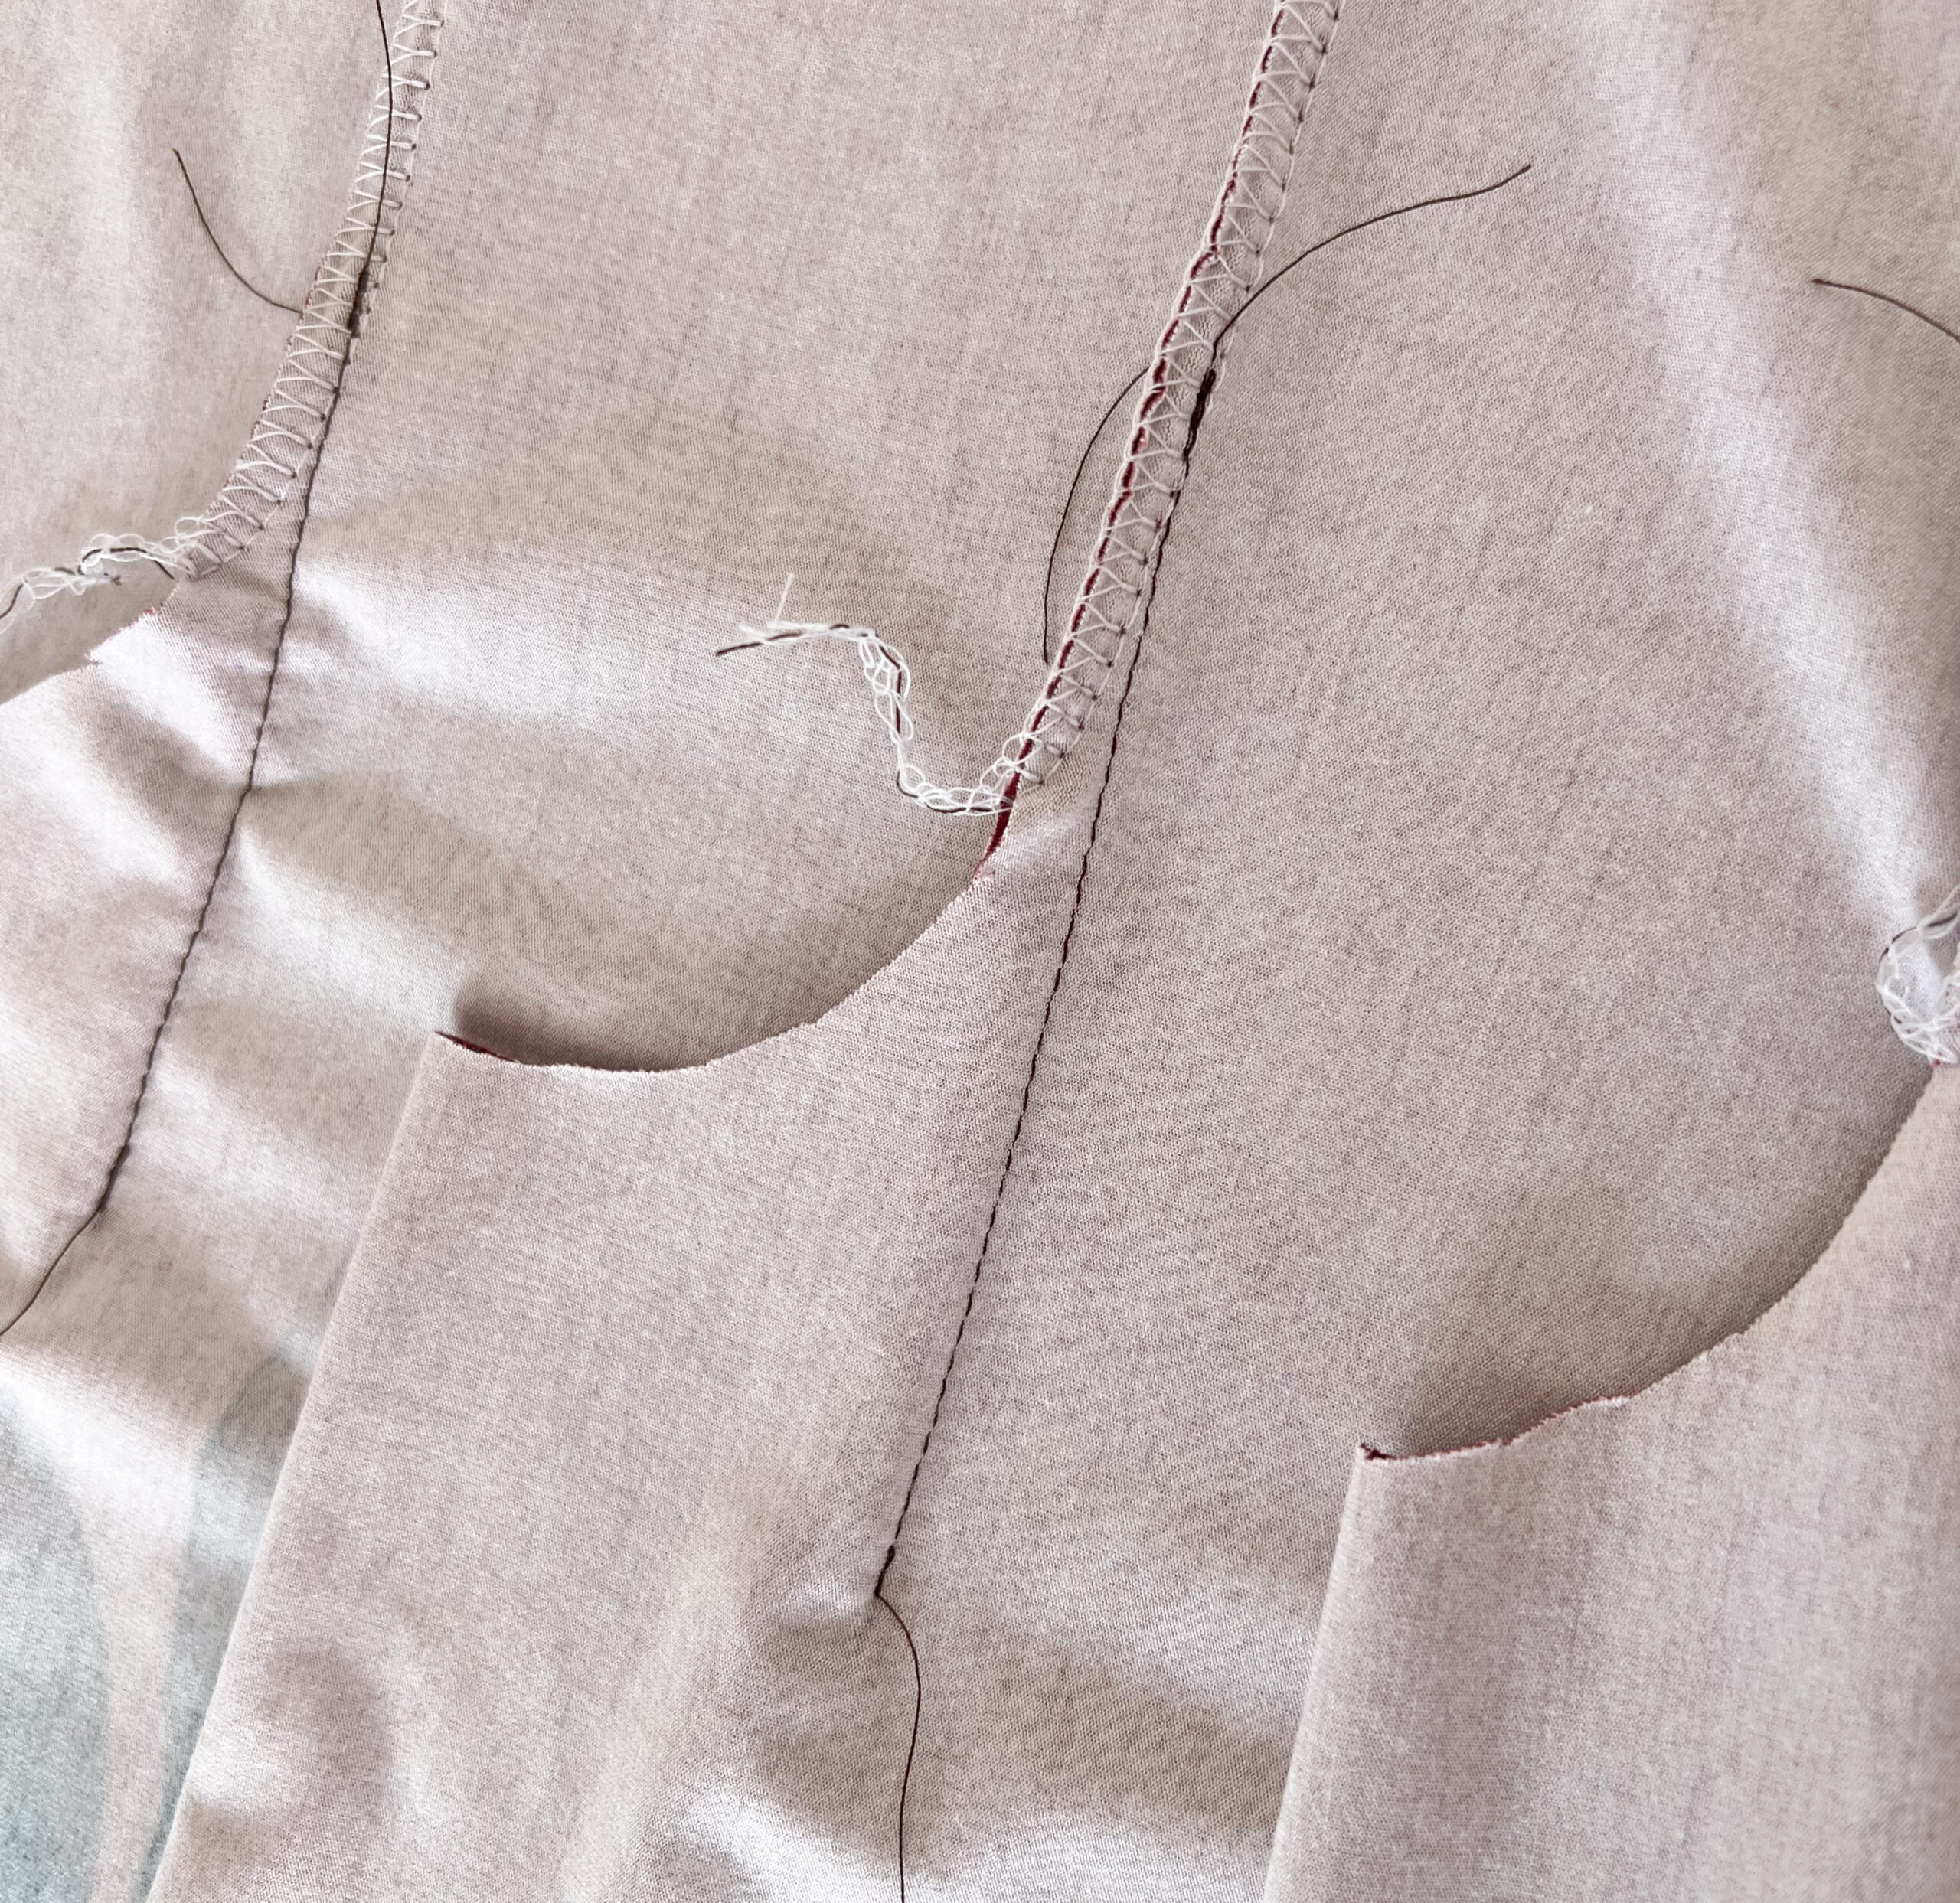
b) Stecke zunächst die Prinzessnähte zusammen. Nähe mit der Overlock bis zum Knips. Diese Variante siehst du in den Bildern.
2. Princessseams
You have 2 options for sewing the princess seams/box pleats:
a) First neaten all open edges with the serger. Then pin the princess seams together. For this variant you can watch the sewing video for our pattern Luna.
b) First pin the princess seams together. Sew with the serger to the notch. You can see this variant in the pictures.
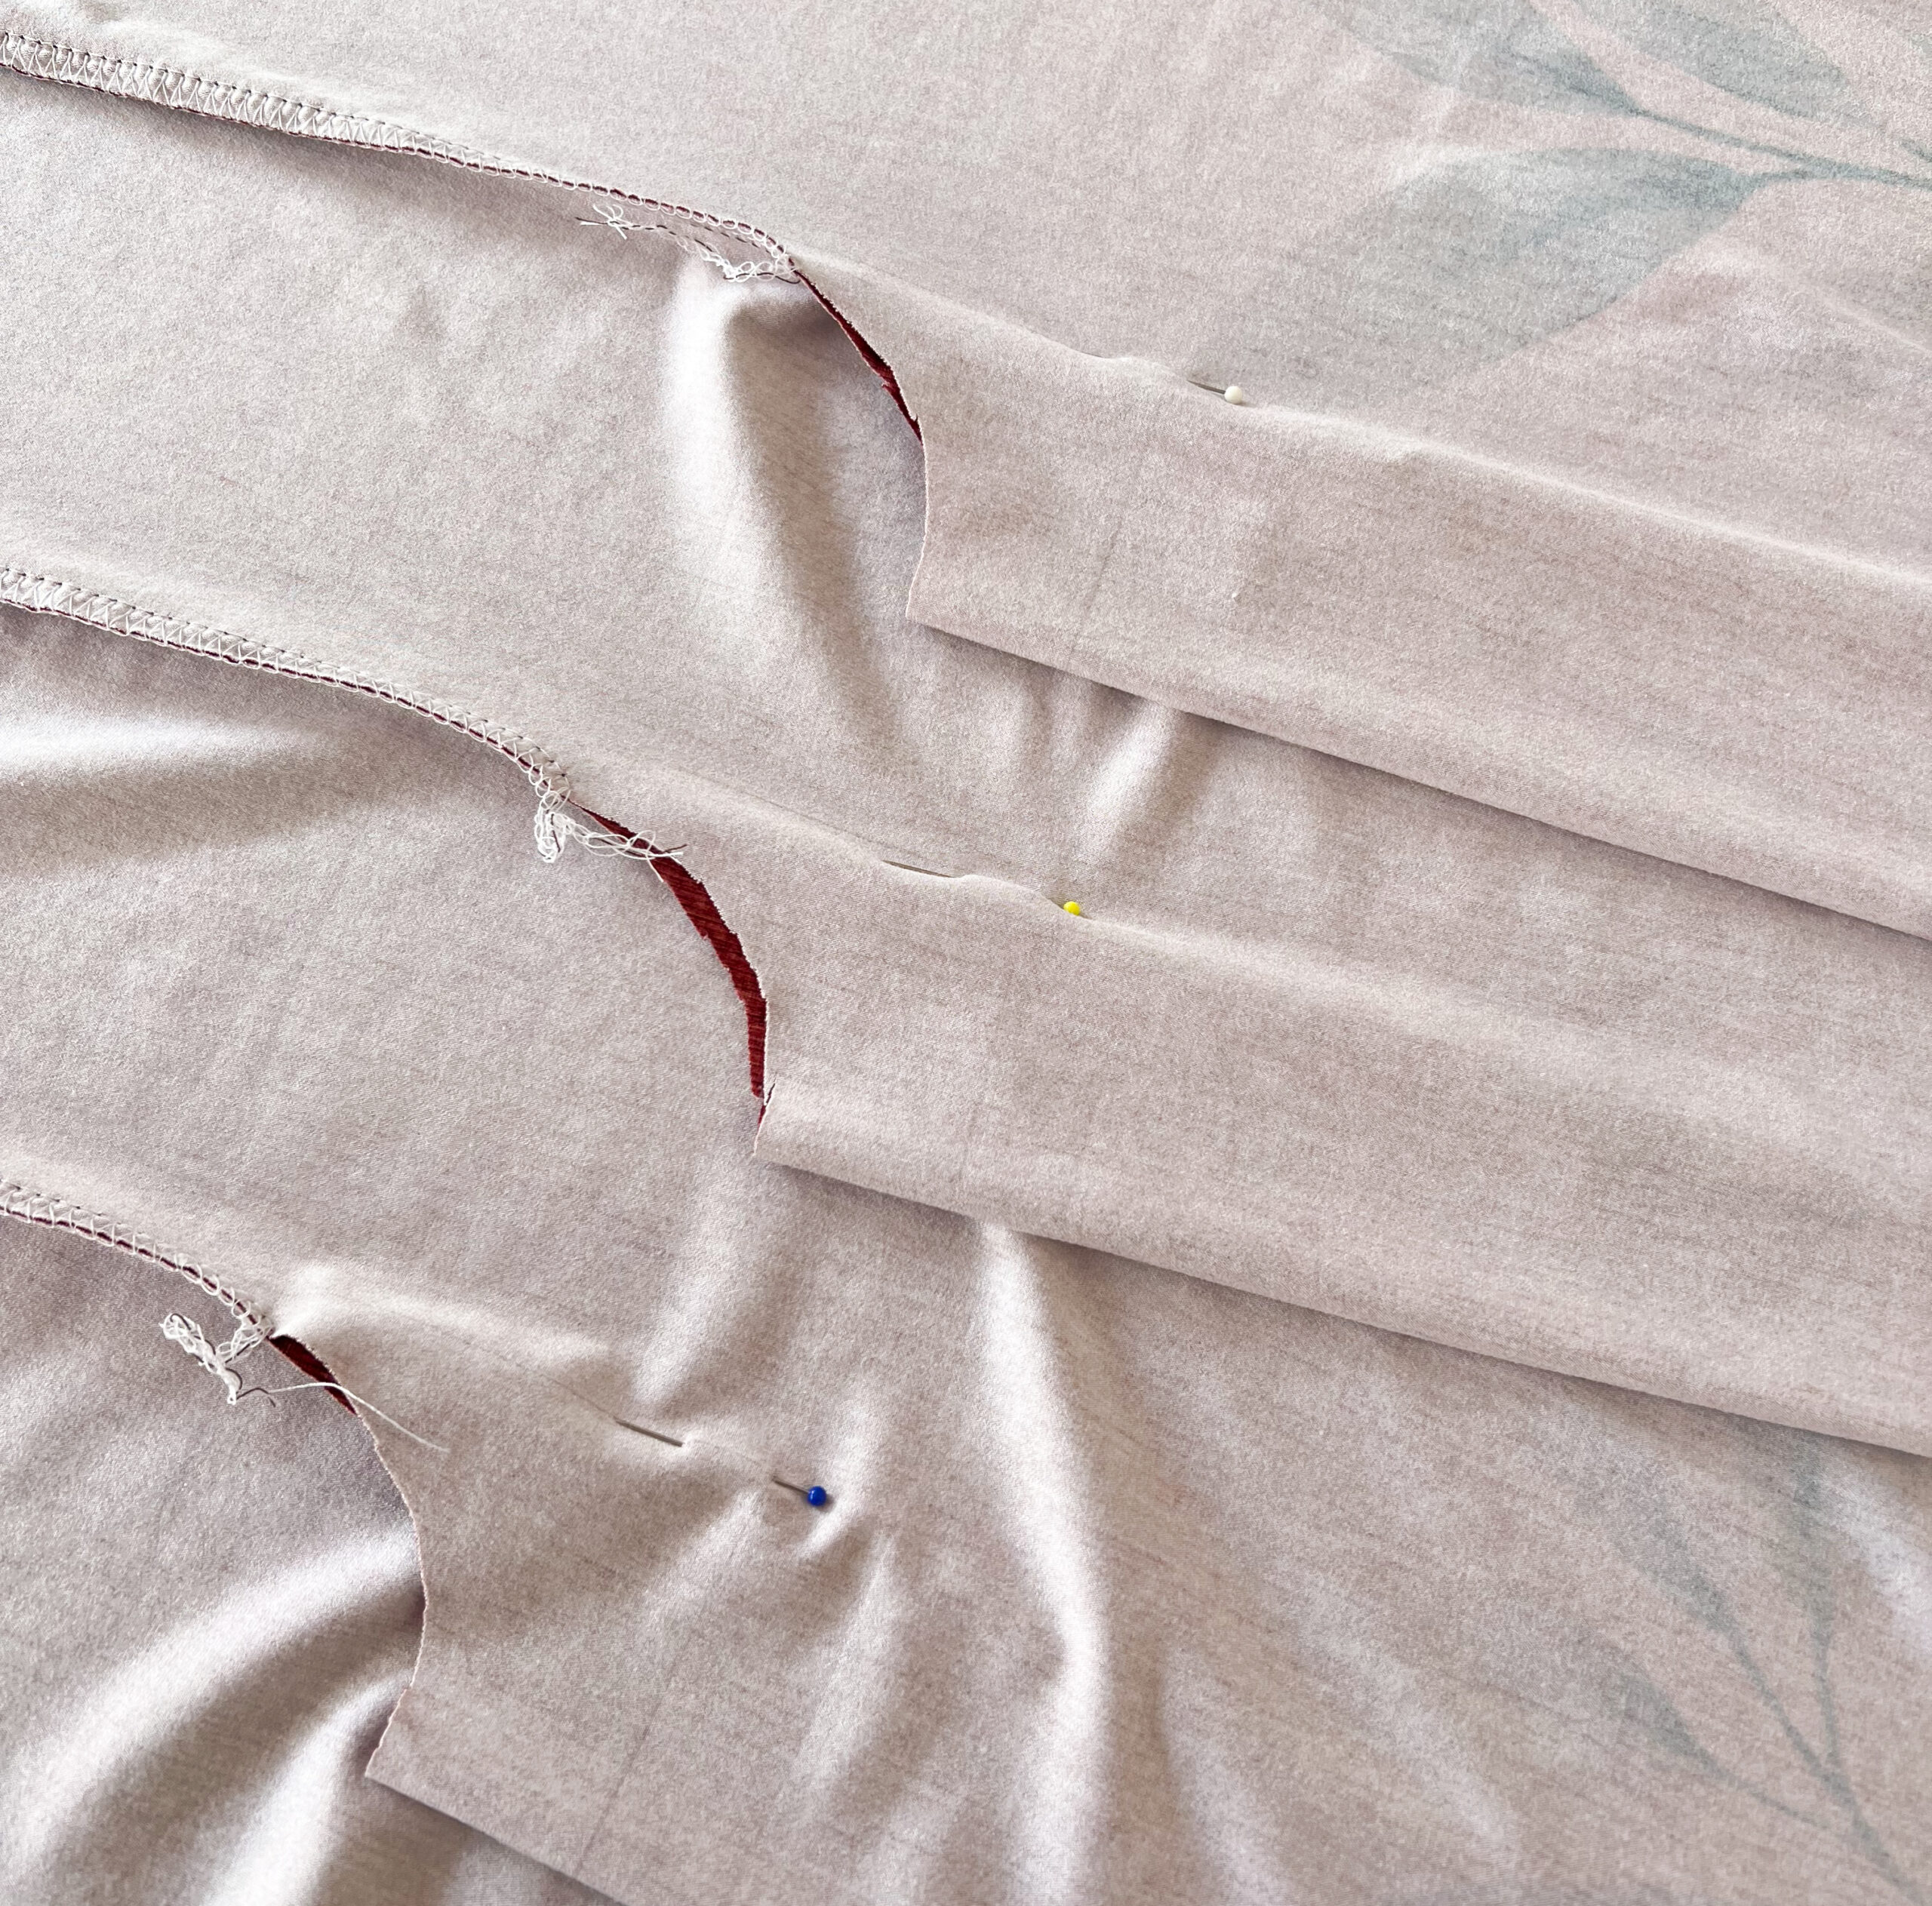
3. Falten nähen
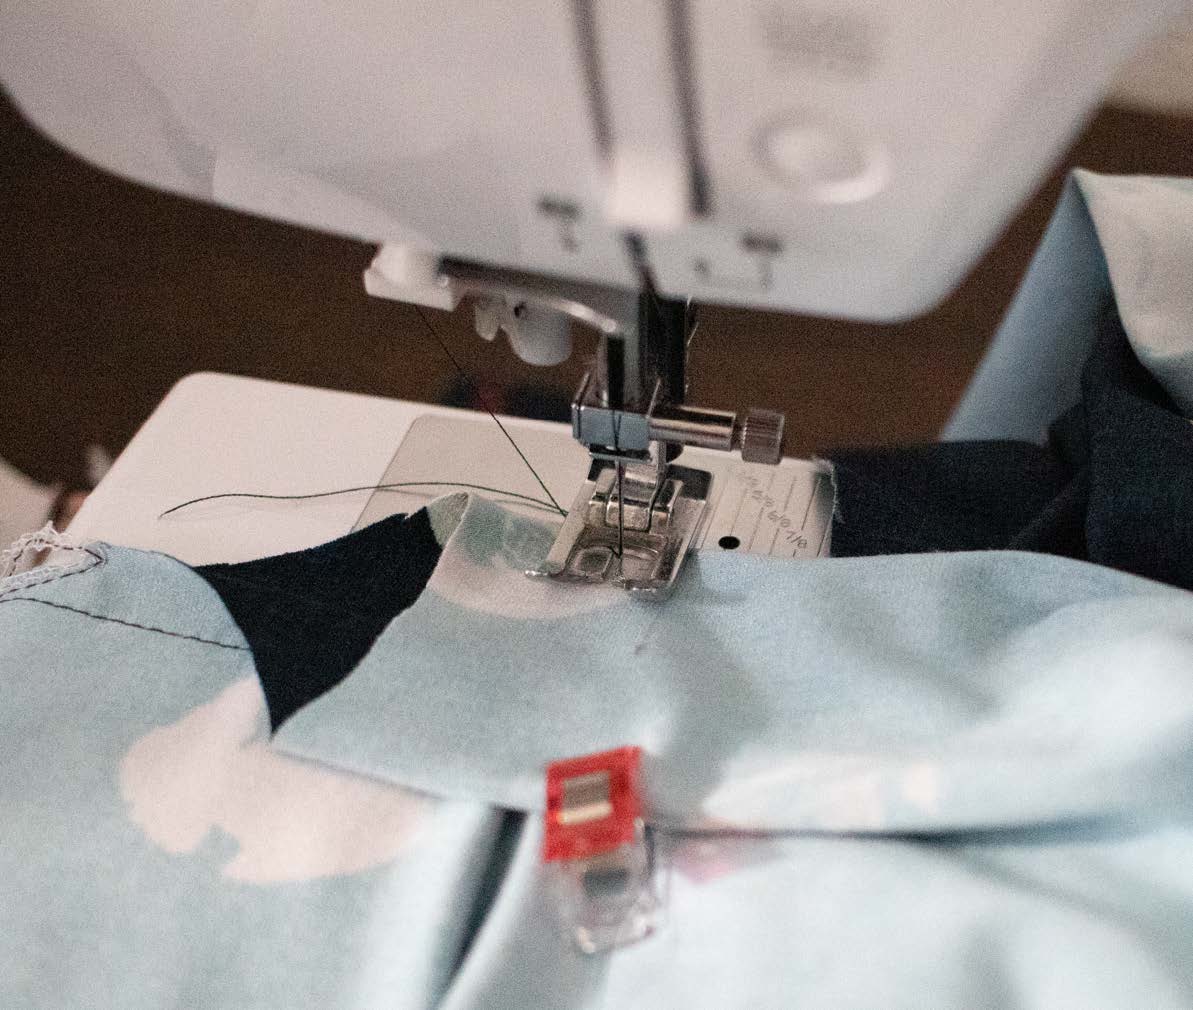
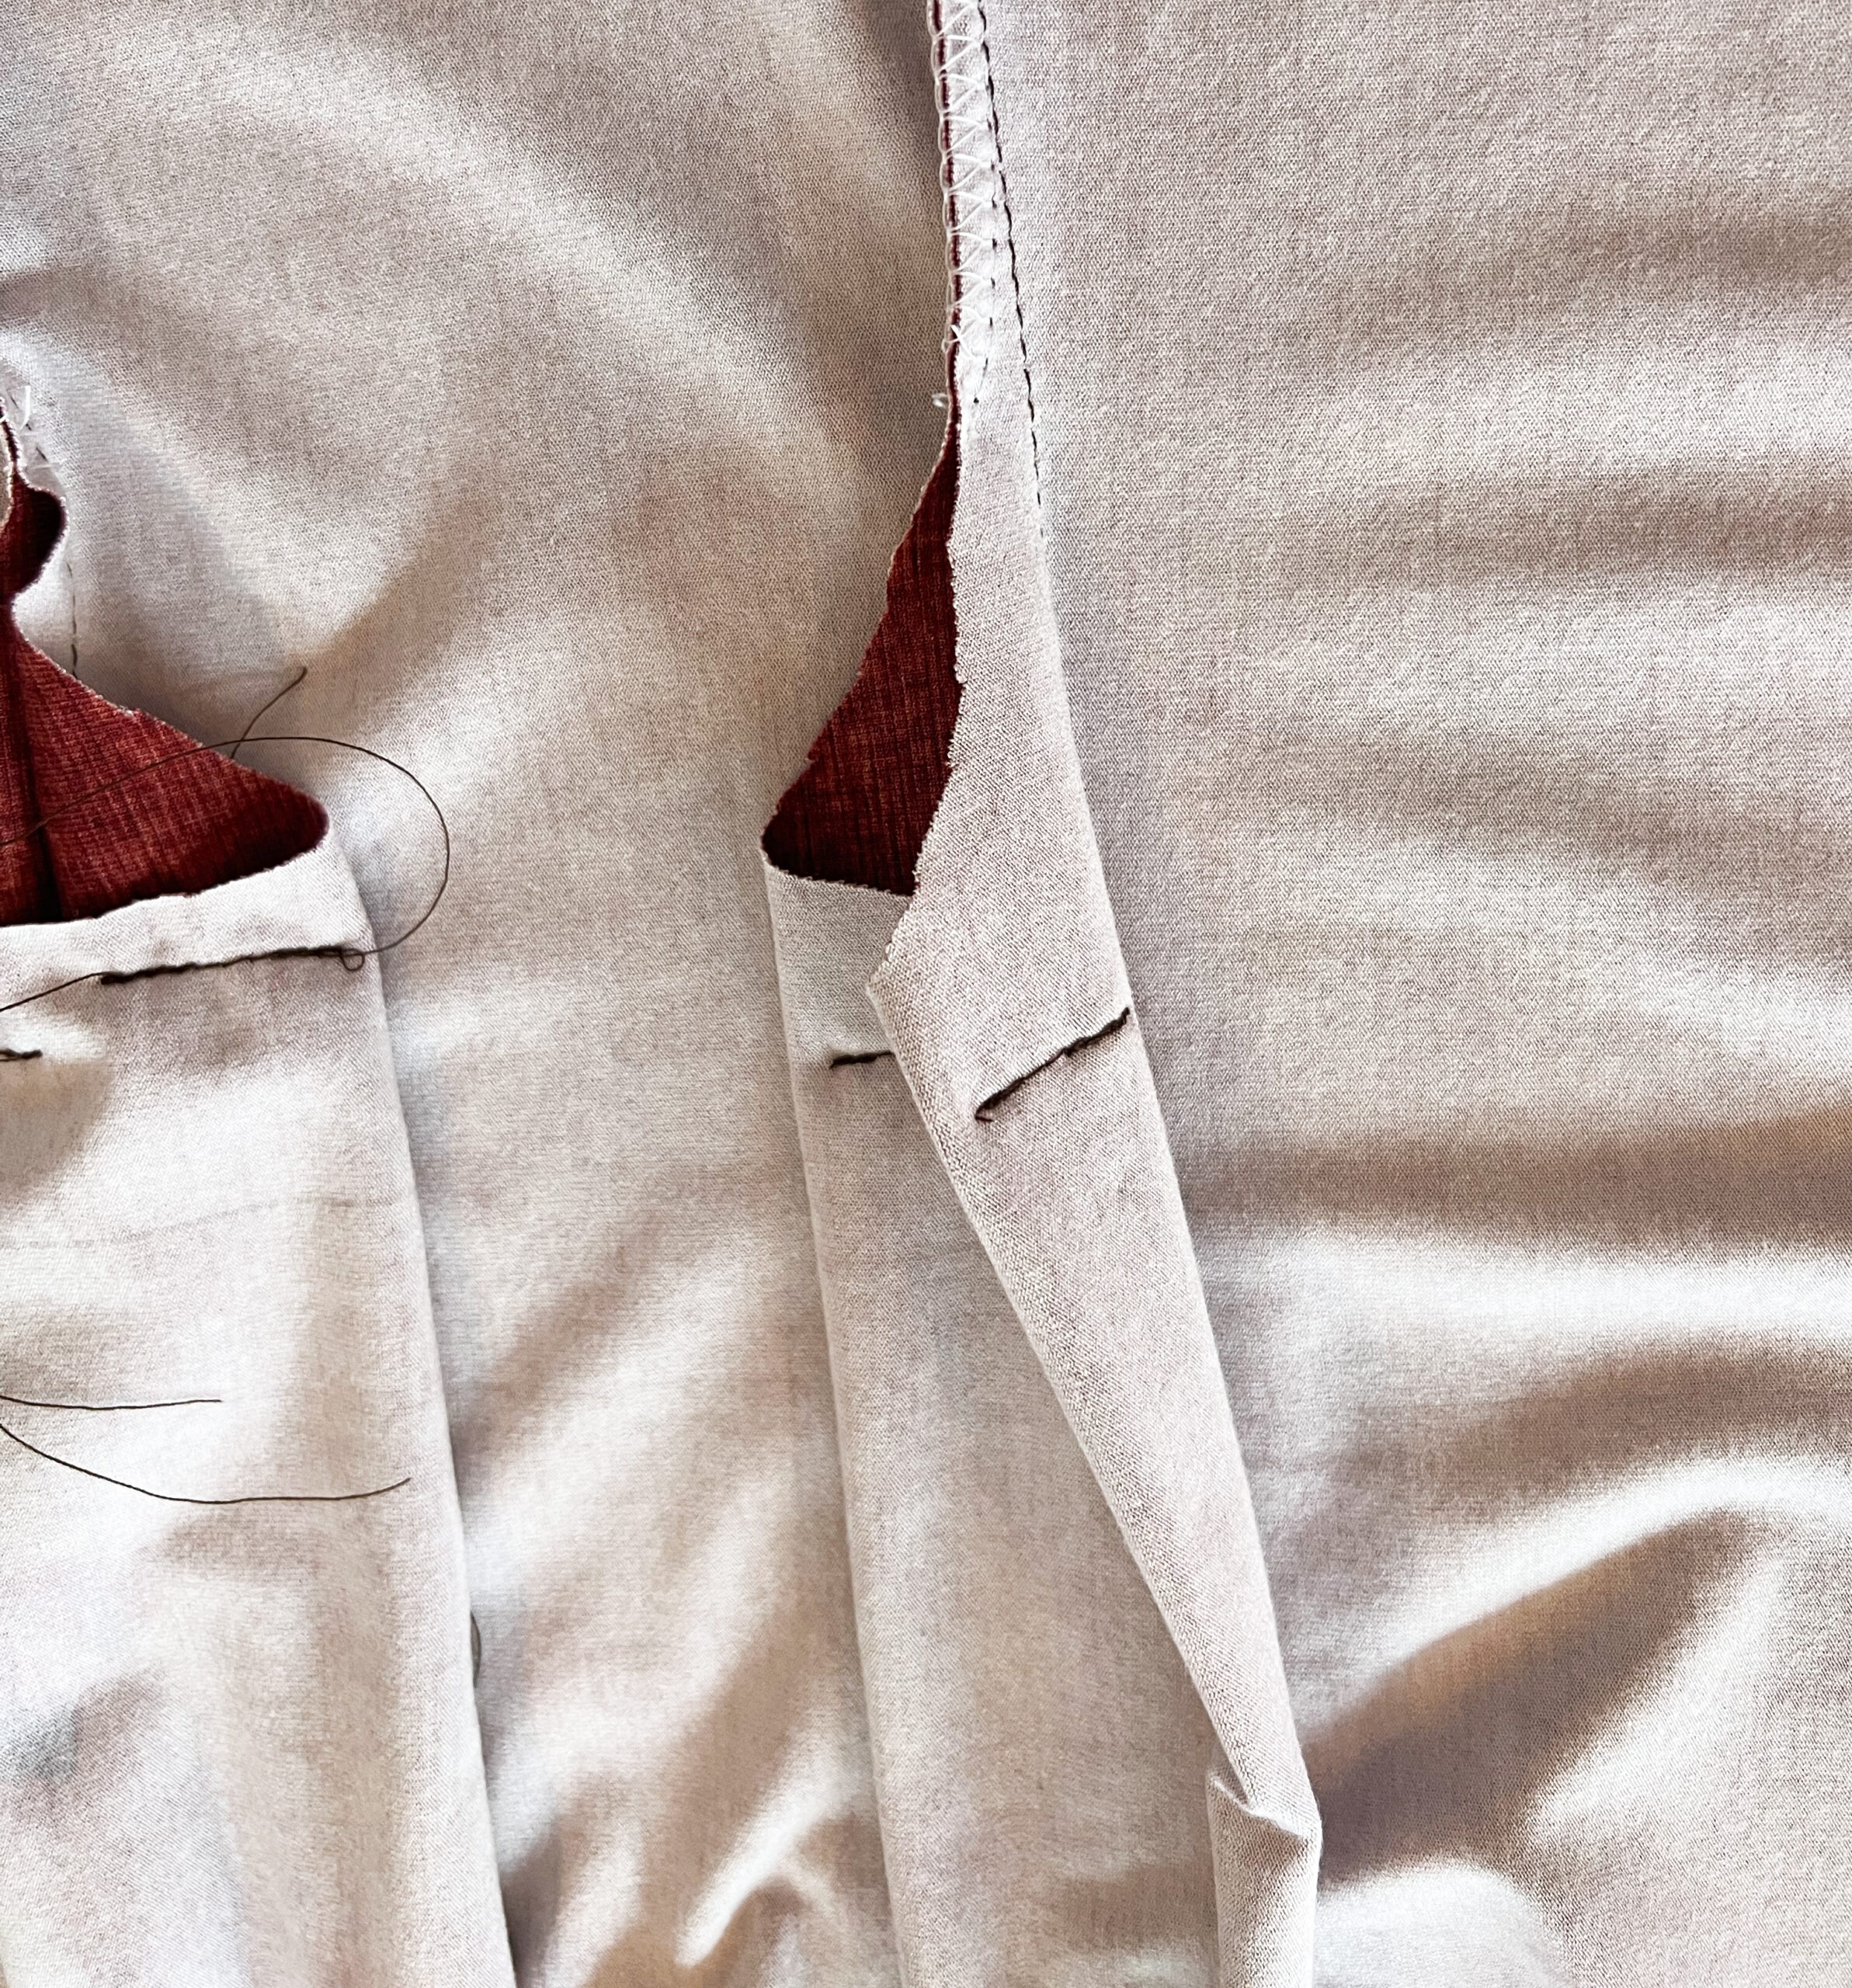
Nähe mit einem einfachen Geradestich (Stichlänge 2 – 2,5) die Falte nun von der Eckmarkierung bis in die Overlock-Naht rein. Achte darauf, dass der Übergang möglichst sanft ist. Verriegle Anfang und Ende dabei sehr gründlich, damit die Naht beim Tragen später nicht aufgeht. Bügle die so entstandenen Falten gründlich. Verfahre so mit allen Falten an Vorder- und Rückteil.
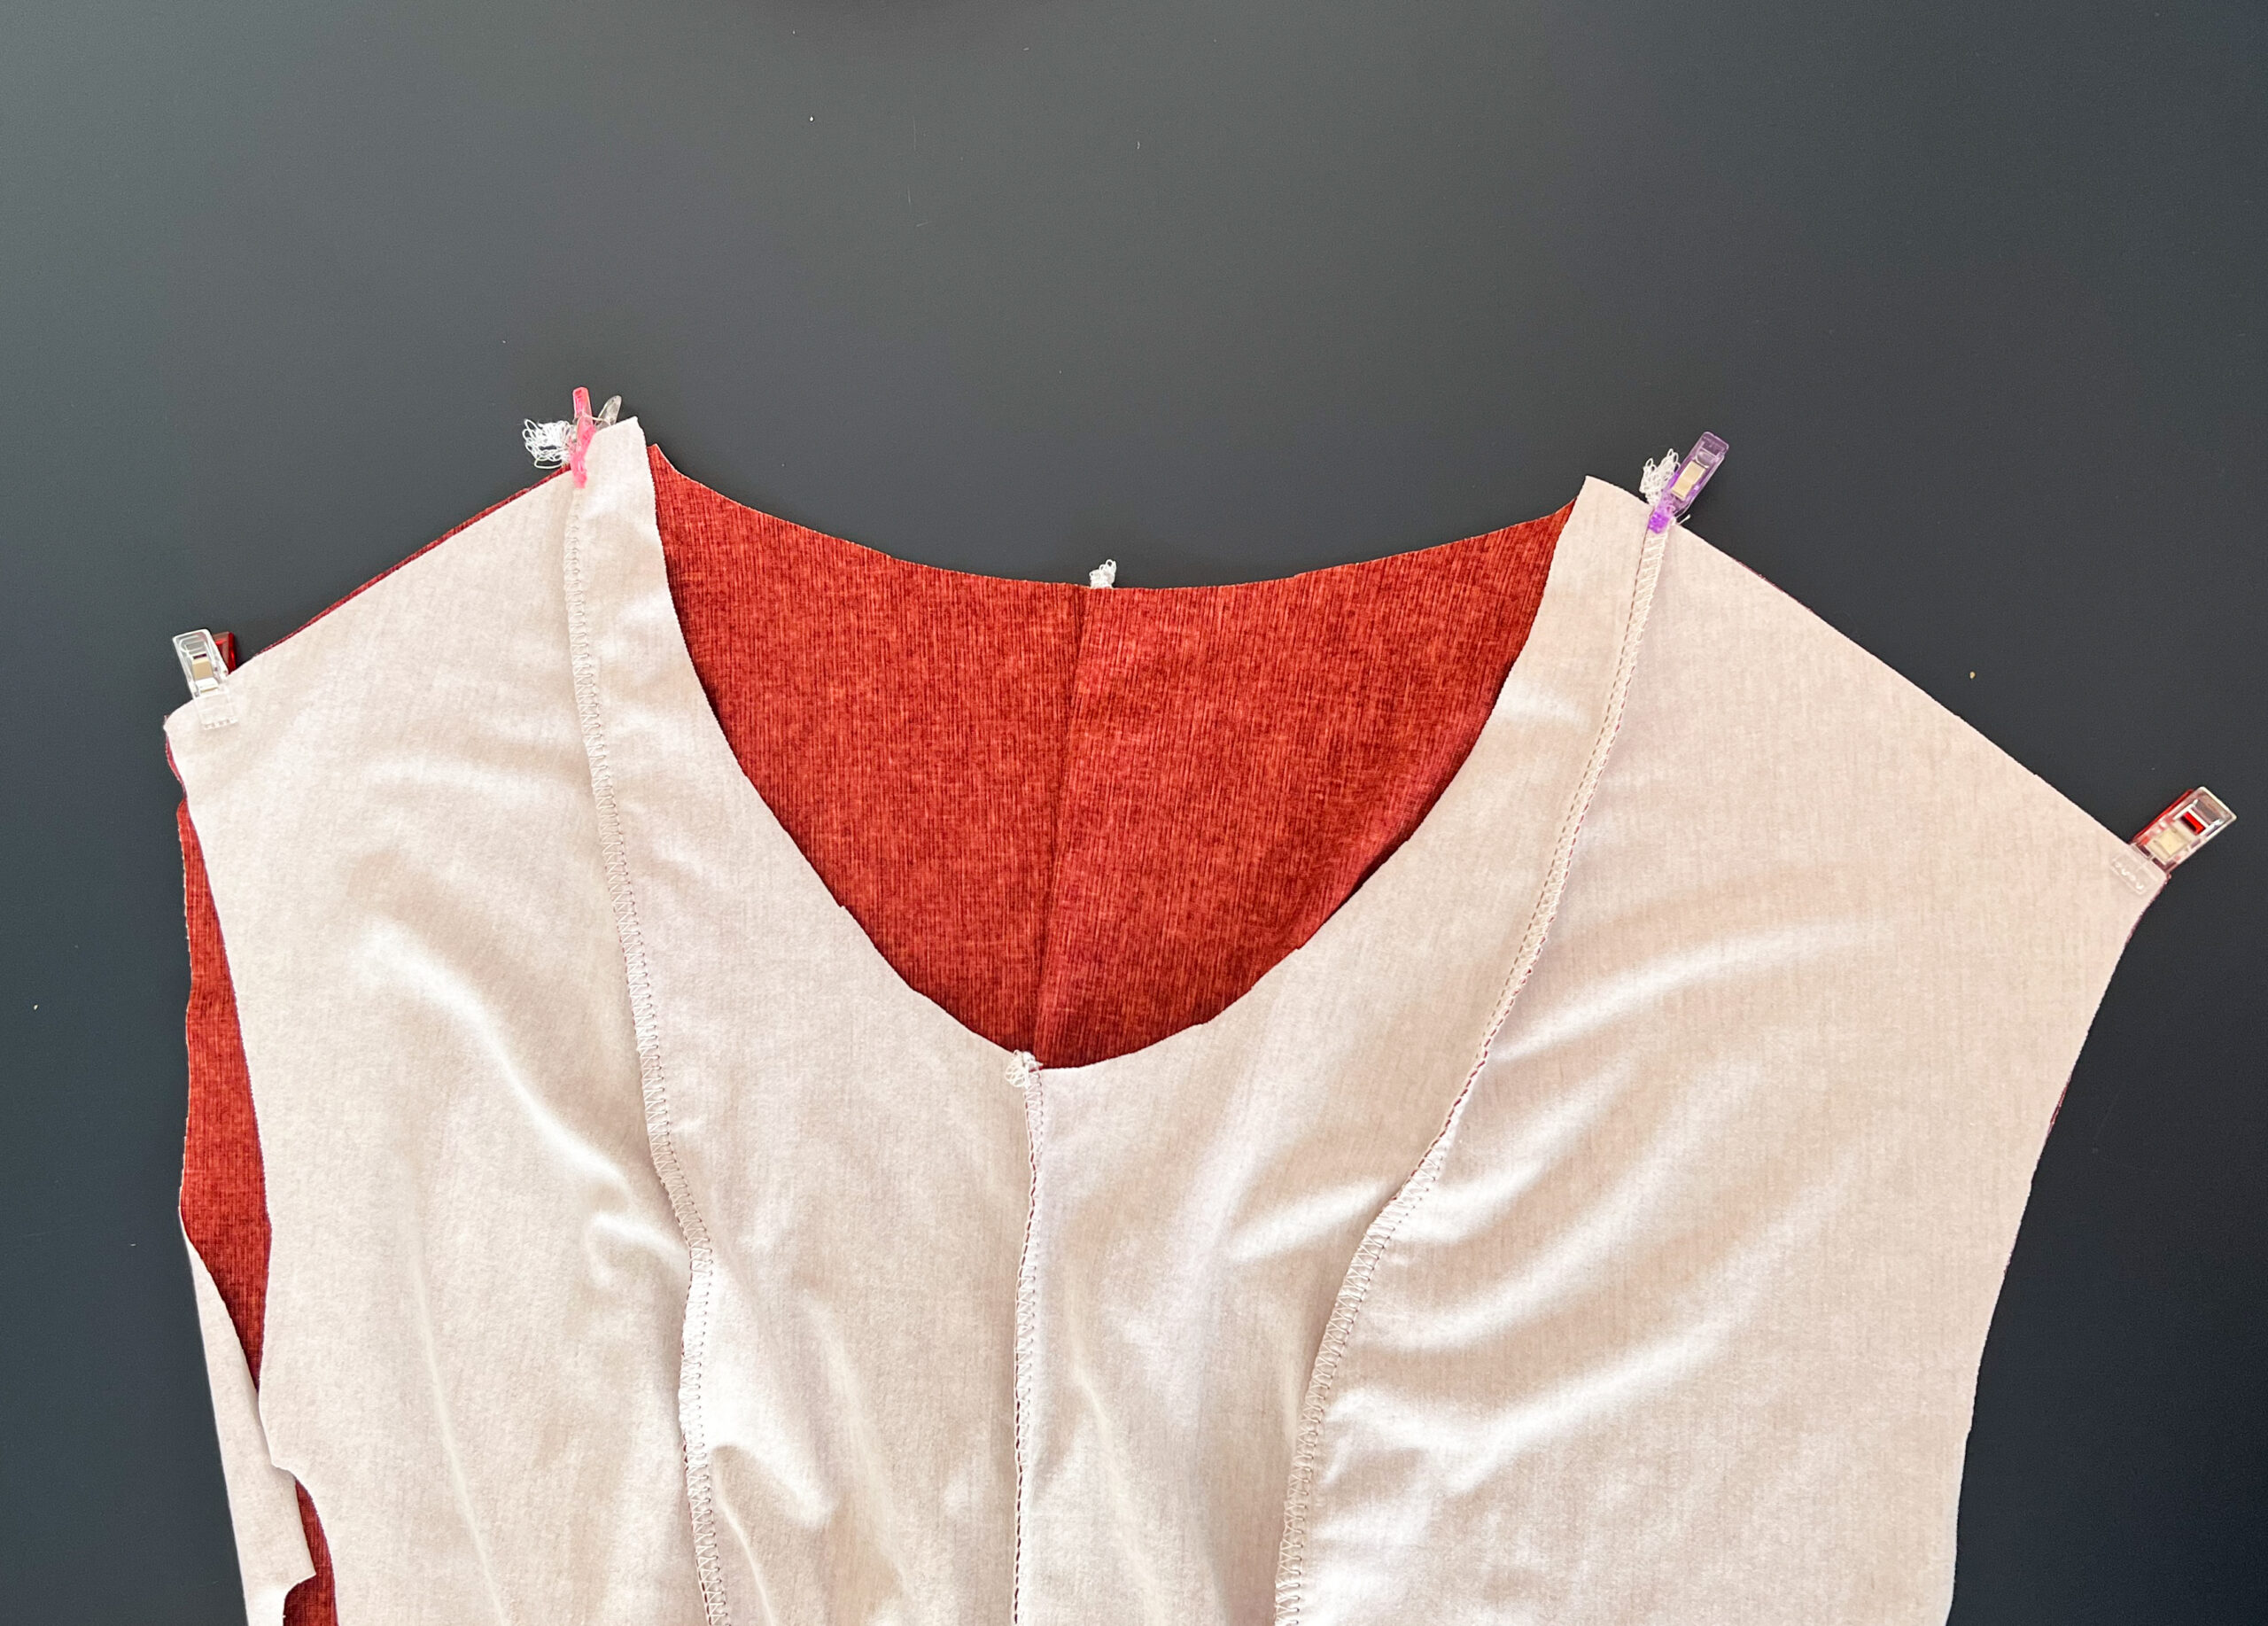
Um die Falten zu fixieren nähe von jeder Seite aus eine Steppnaht mit kurzem Gradstich jeweils von der Seite hin zur Mitte.
3. Sew the folds
With a simple straight stitch (stitch length 2 – 2.5), sew the fold from the corner marking to the overlock seam. Make sure the transition is as smooth as possible. Backstitch the beginning and end very thoroughly so that the seam doesn’t come undone later when you wear it. Thoroughly iron the resulting pleats. Do the same for all pleats on the front and back piece.
To secure the pleats, sew a seam with a short straight stitch from the side to the center.
4. Schulter- und Seitennähte schließen (kurze Ärmel)
Schließe als nächstes beide Schulternähte und die Seitennähte.
4. Clothing the shoulder and side seams (Short sleeves)
Next, close both shoulder seams and the side seams.
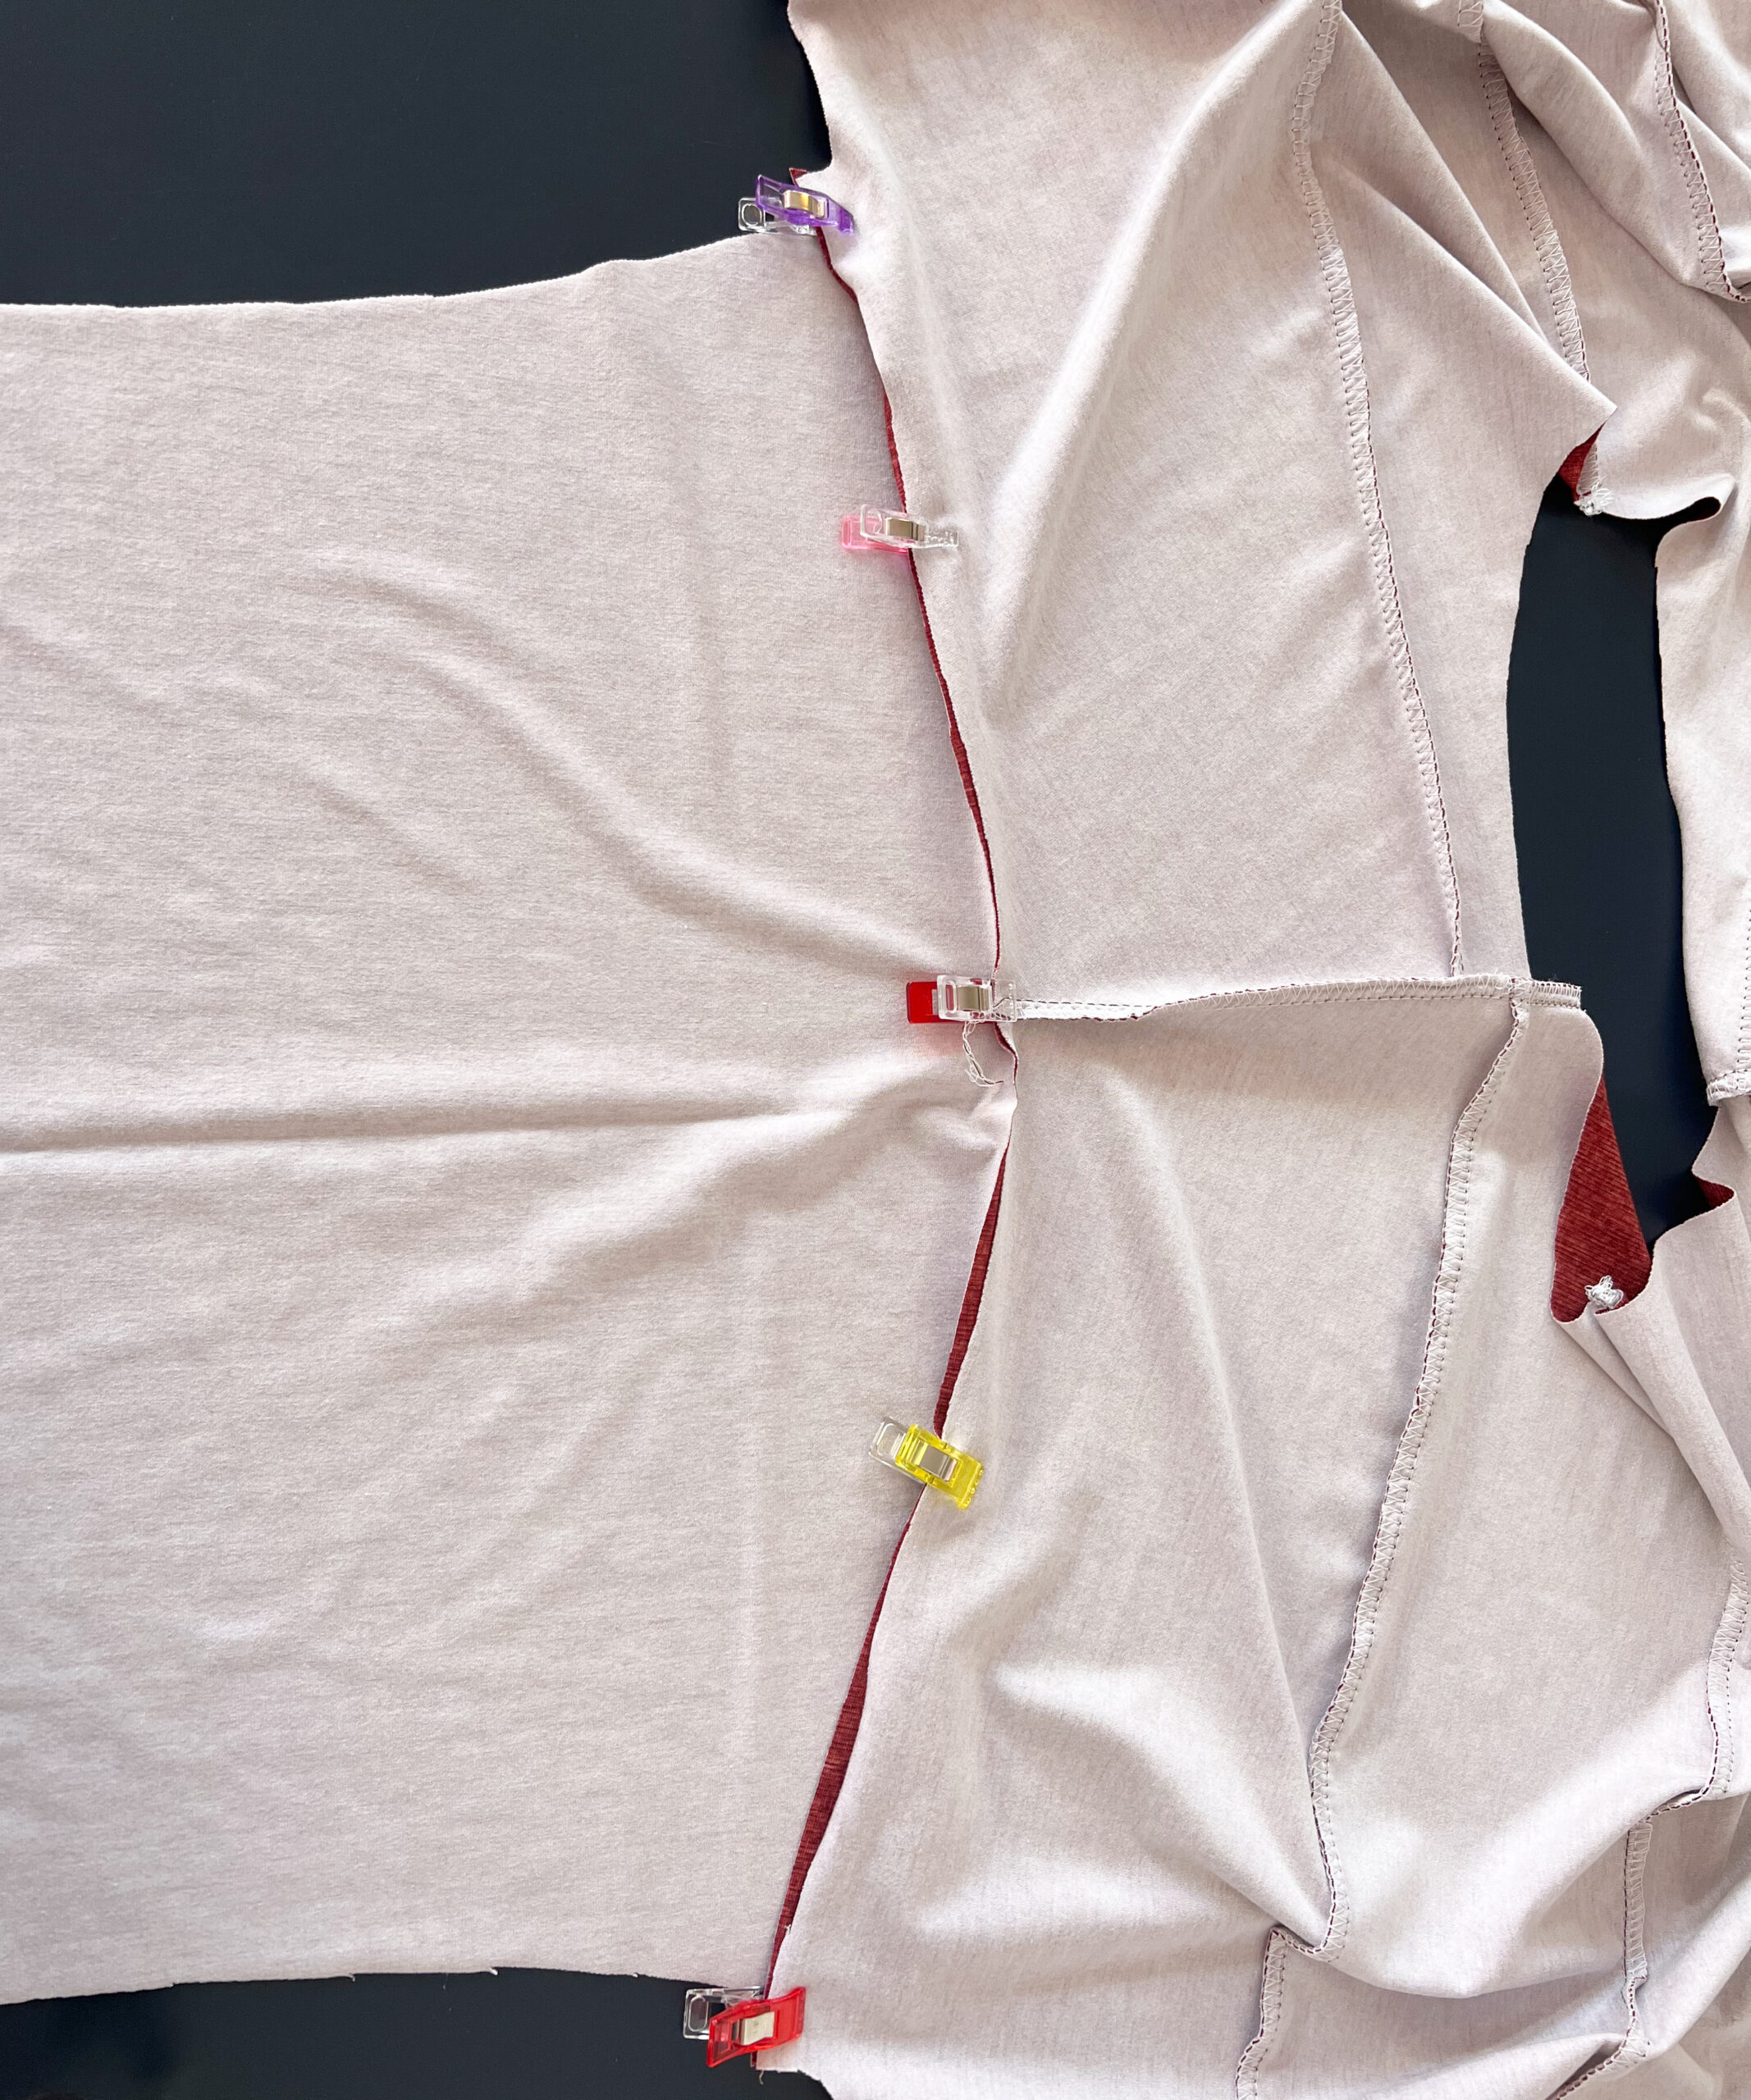
5. Ärmel annähen und Seitennähte schließen (lange Ärmel)
Schließe beide Schulternähte und nähe die Ärmel rechts auf rechts an das geöffnete Kleid. Schließe danach die Seitennähte in einem Rutsch.
5. Sewing the sleeves and the side seams (long sleeves)
Sew both shoulder seams and sew the sleeves to the open dress, right sides together. Then close the side seams in one go.
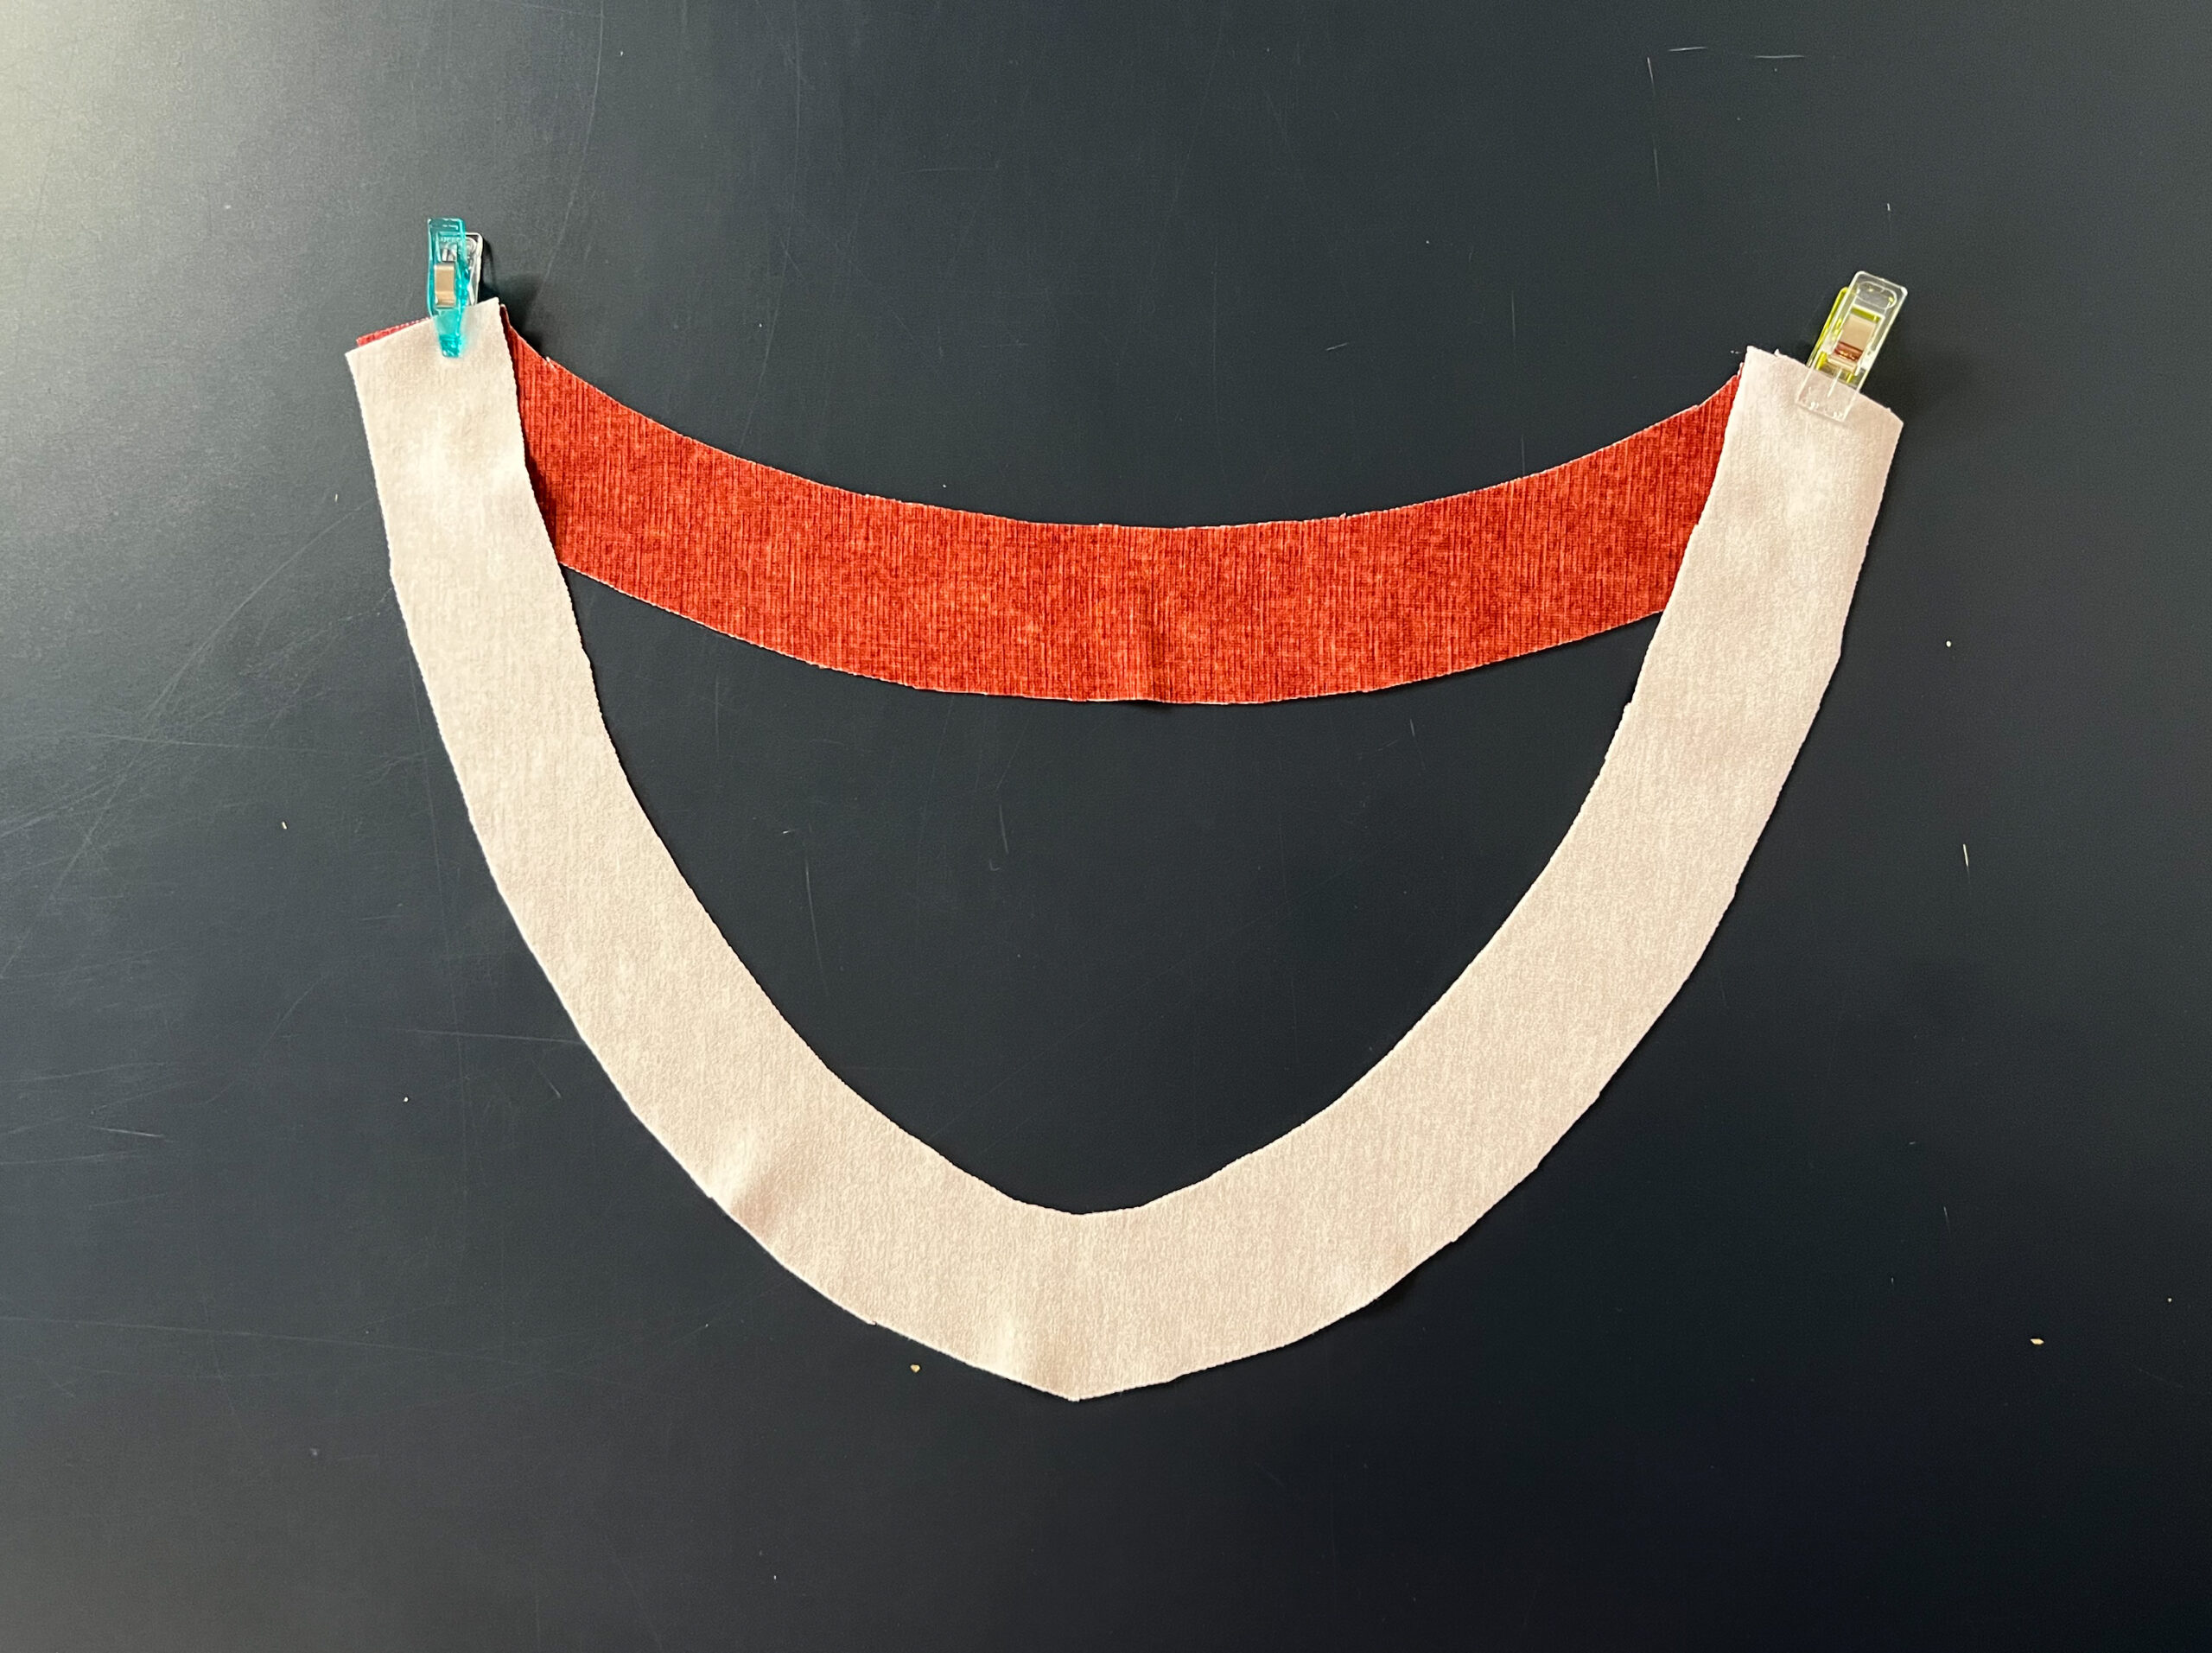
6. Beleg nähen
Nähe den vorderen und den hinteren Beleg rechts auf rechts zusammen. Optional kannst du ihn vorher mit leichter, dehnbarer Vliseline verstärken und ringsherum mit der Overlock versäubern.
6. Sewing the facing
Sew the front to the back facing right sides together. Optionally, you can reinforce it facing with light, stretchy fleece line and neaten it all around with the serger.
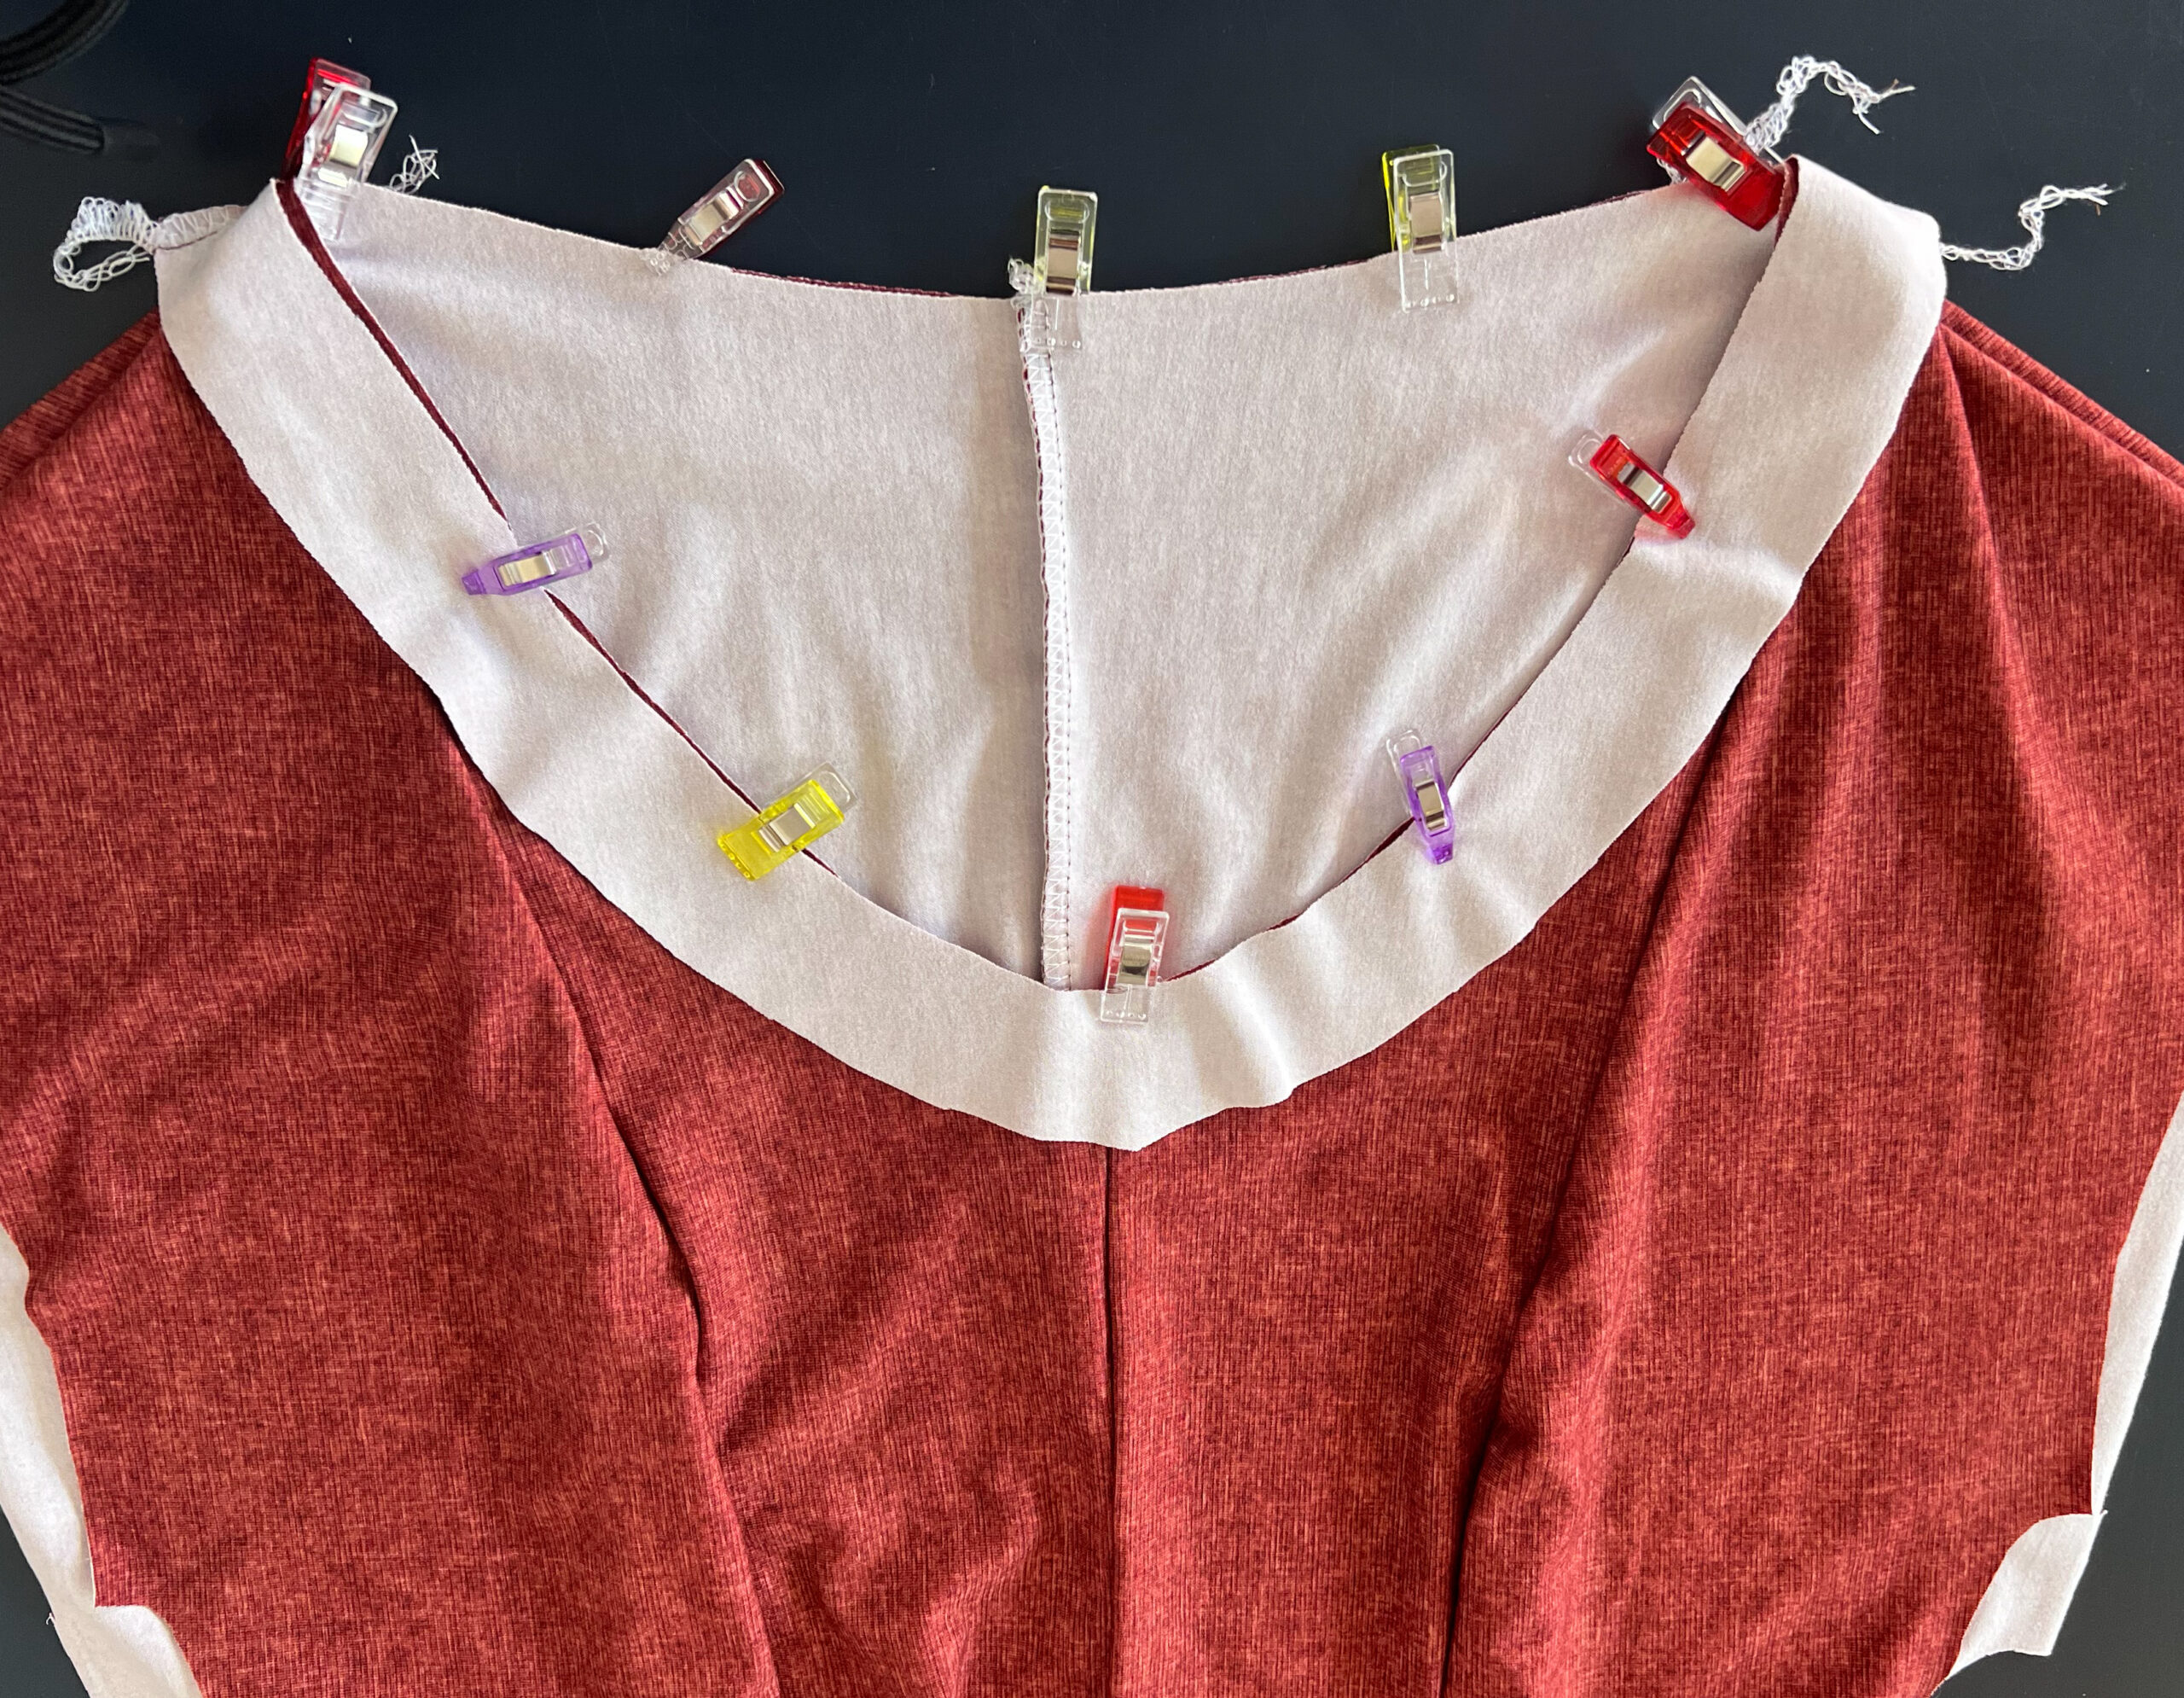
7. Beleg annähen
Nähe den Beleg rechts auf rechts an den Ausschnitt des Kleides. Nähe ihn im Bereich des vorderen Ausschnittes mit einem kurzen Gradstich an. Den Rest der Strecke kannst du mit der Overlock nähen.
7. Sewing the facing to the dress
Sew the facing to the neckline of the dress, right sides together. Sew it on in the area of the front neckline with a short straight stitch. You can sew the rest of the way with the serger.
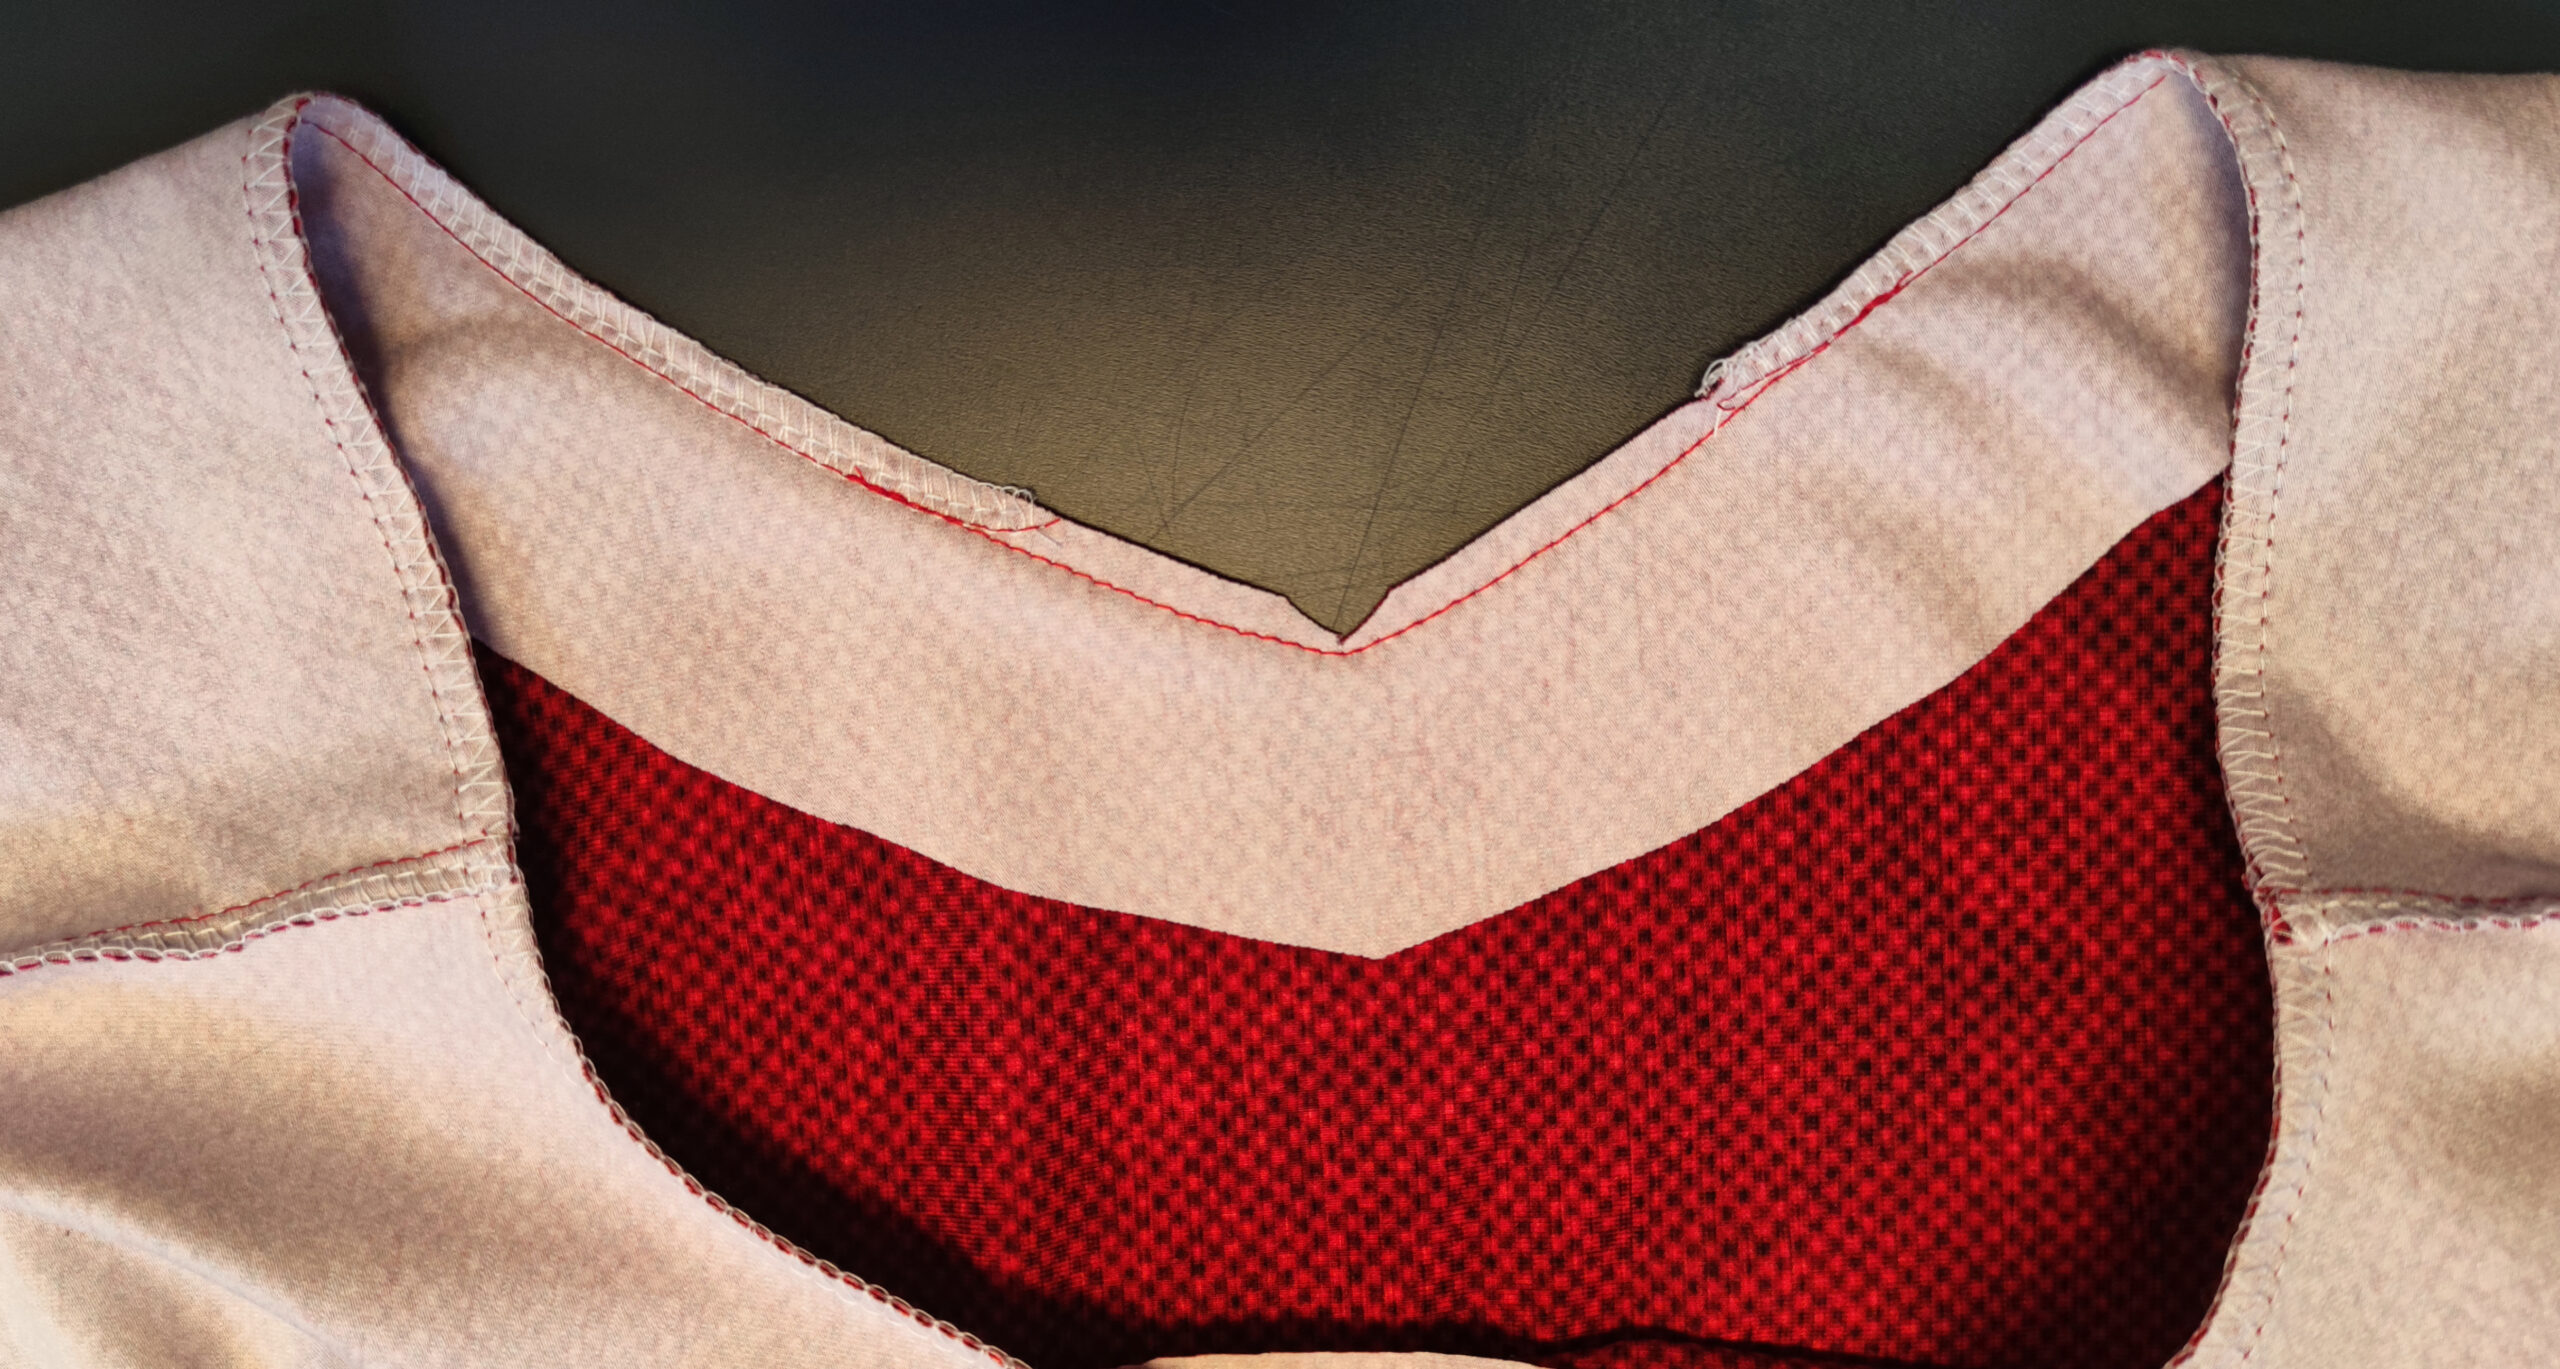
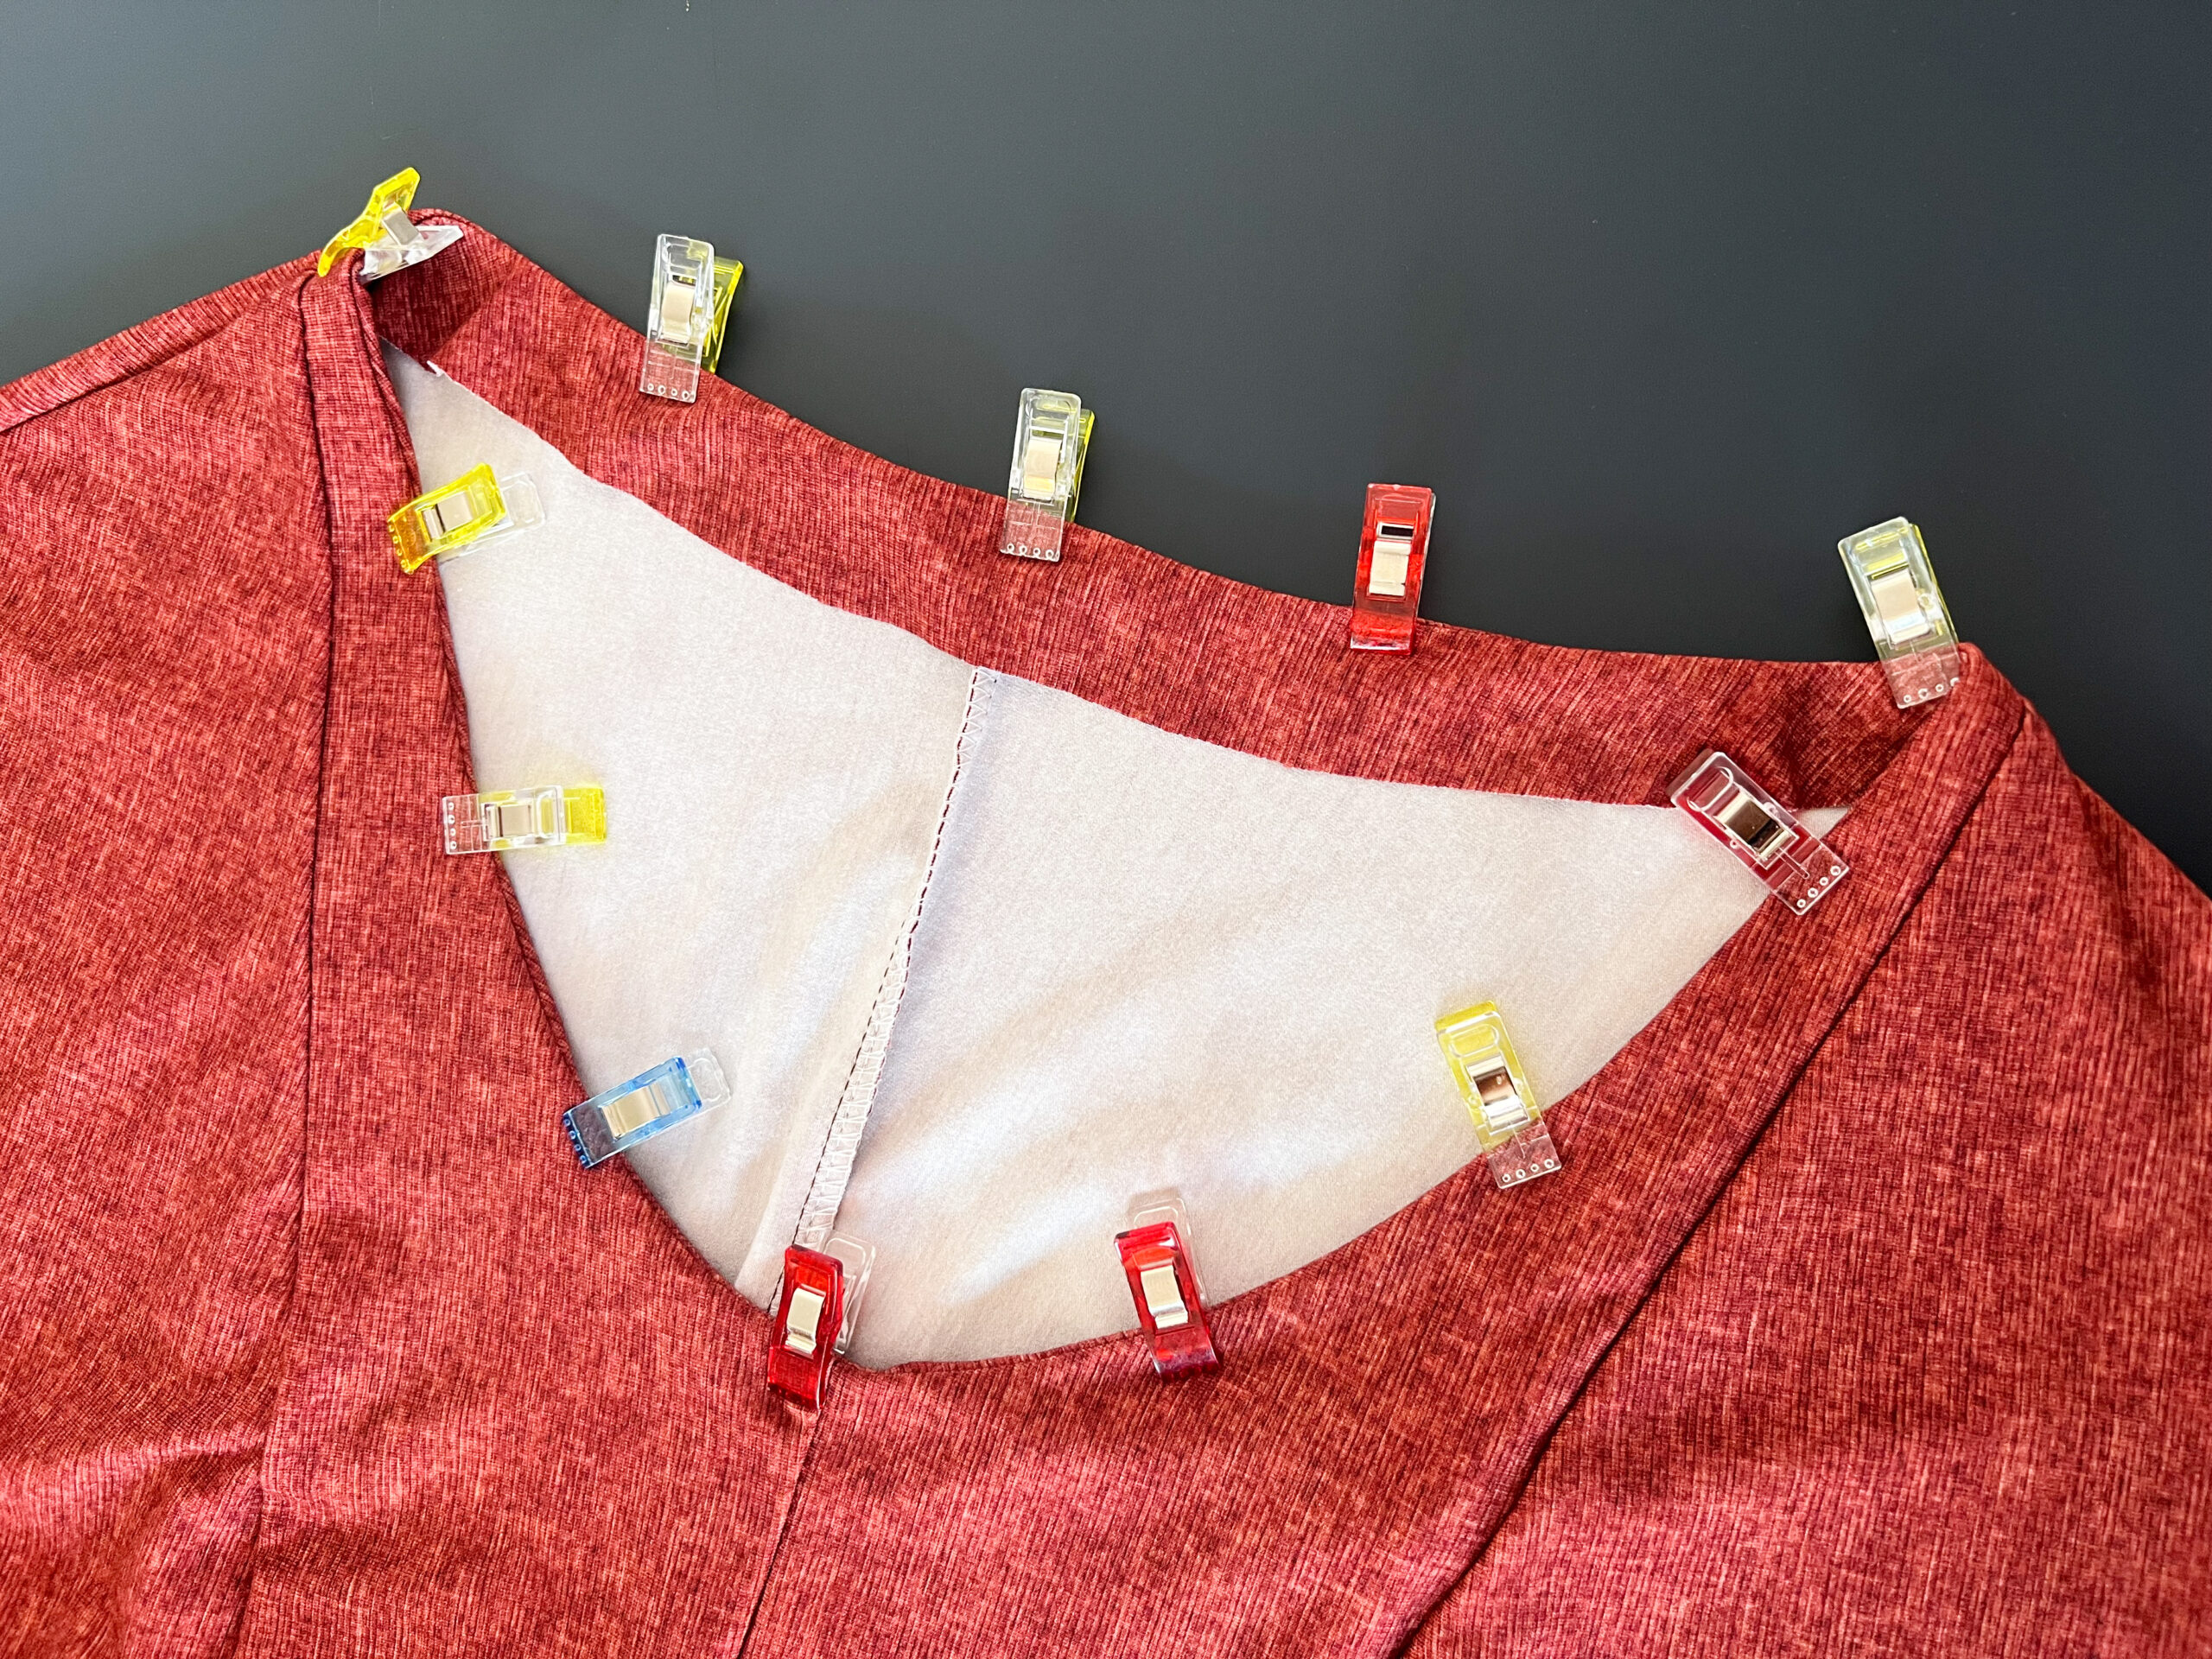
8. Beleg absteppen
Schneide den Beleg am Vorderteil etwas zurück und schneide eine kleine Ecke aus. Der Beleg legt sich dann später besser an. Steppe den Beleg einmal komplett ab, damit er nicht herausrutscht. Nutze dafür eine Zwillingsnaht oder die Coverstitch.
8. Topstitch the facing
Cut back the seam allowence a little at the front and cut out a small corner. The facing is better laid out later. Stitch the facing all the way to keep it from slipping out. Use a twin seam or the coverstitch for this.
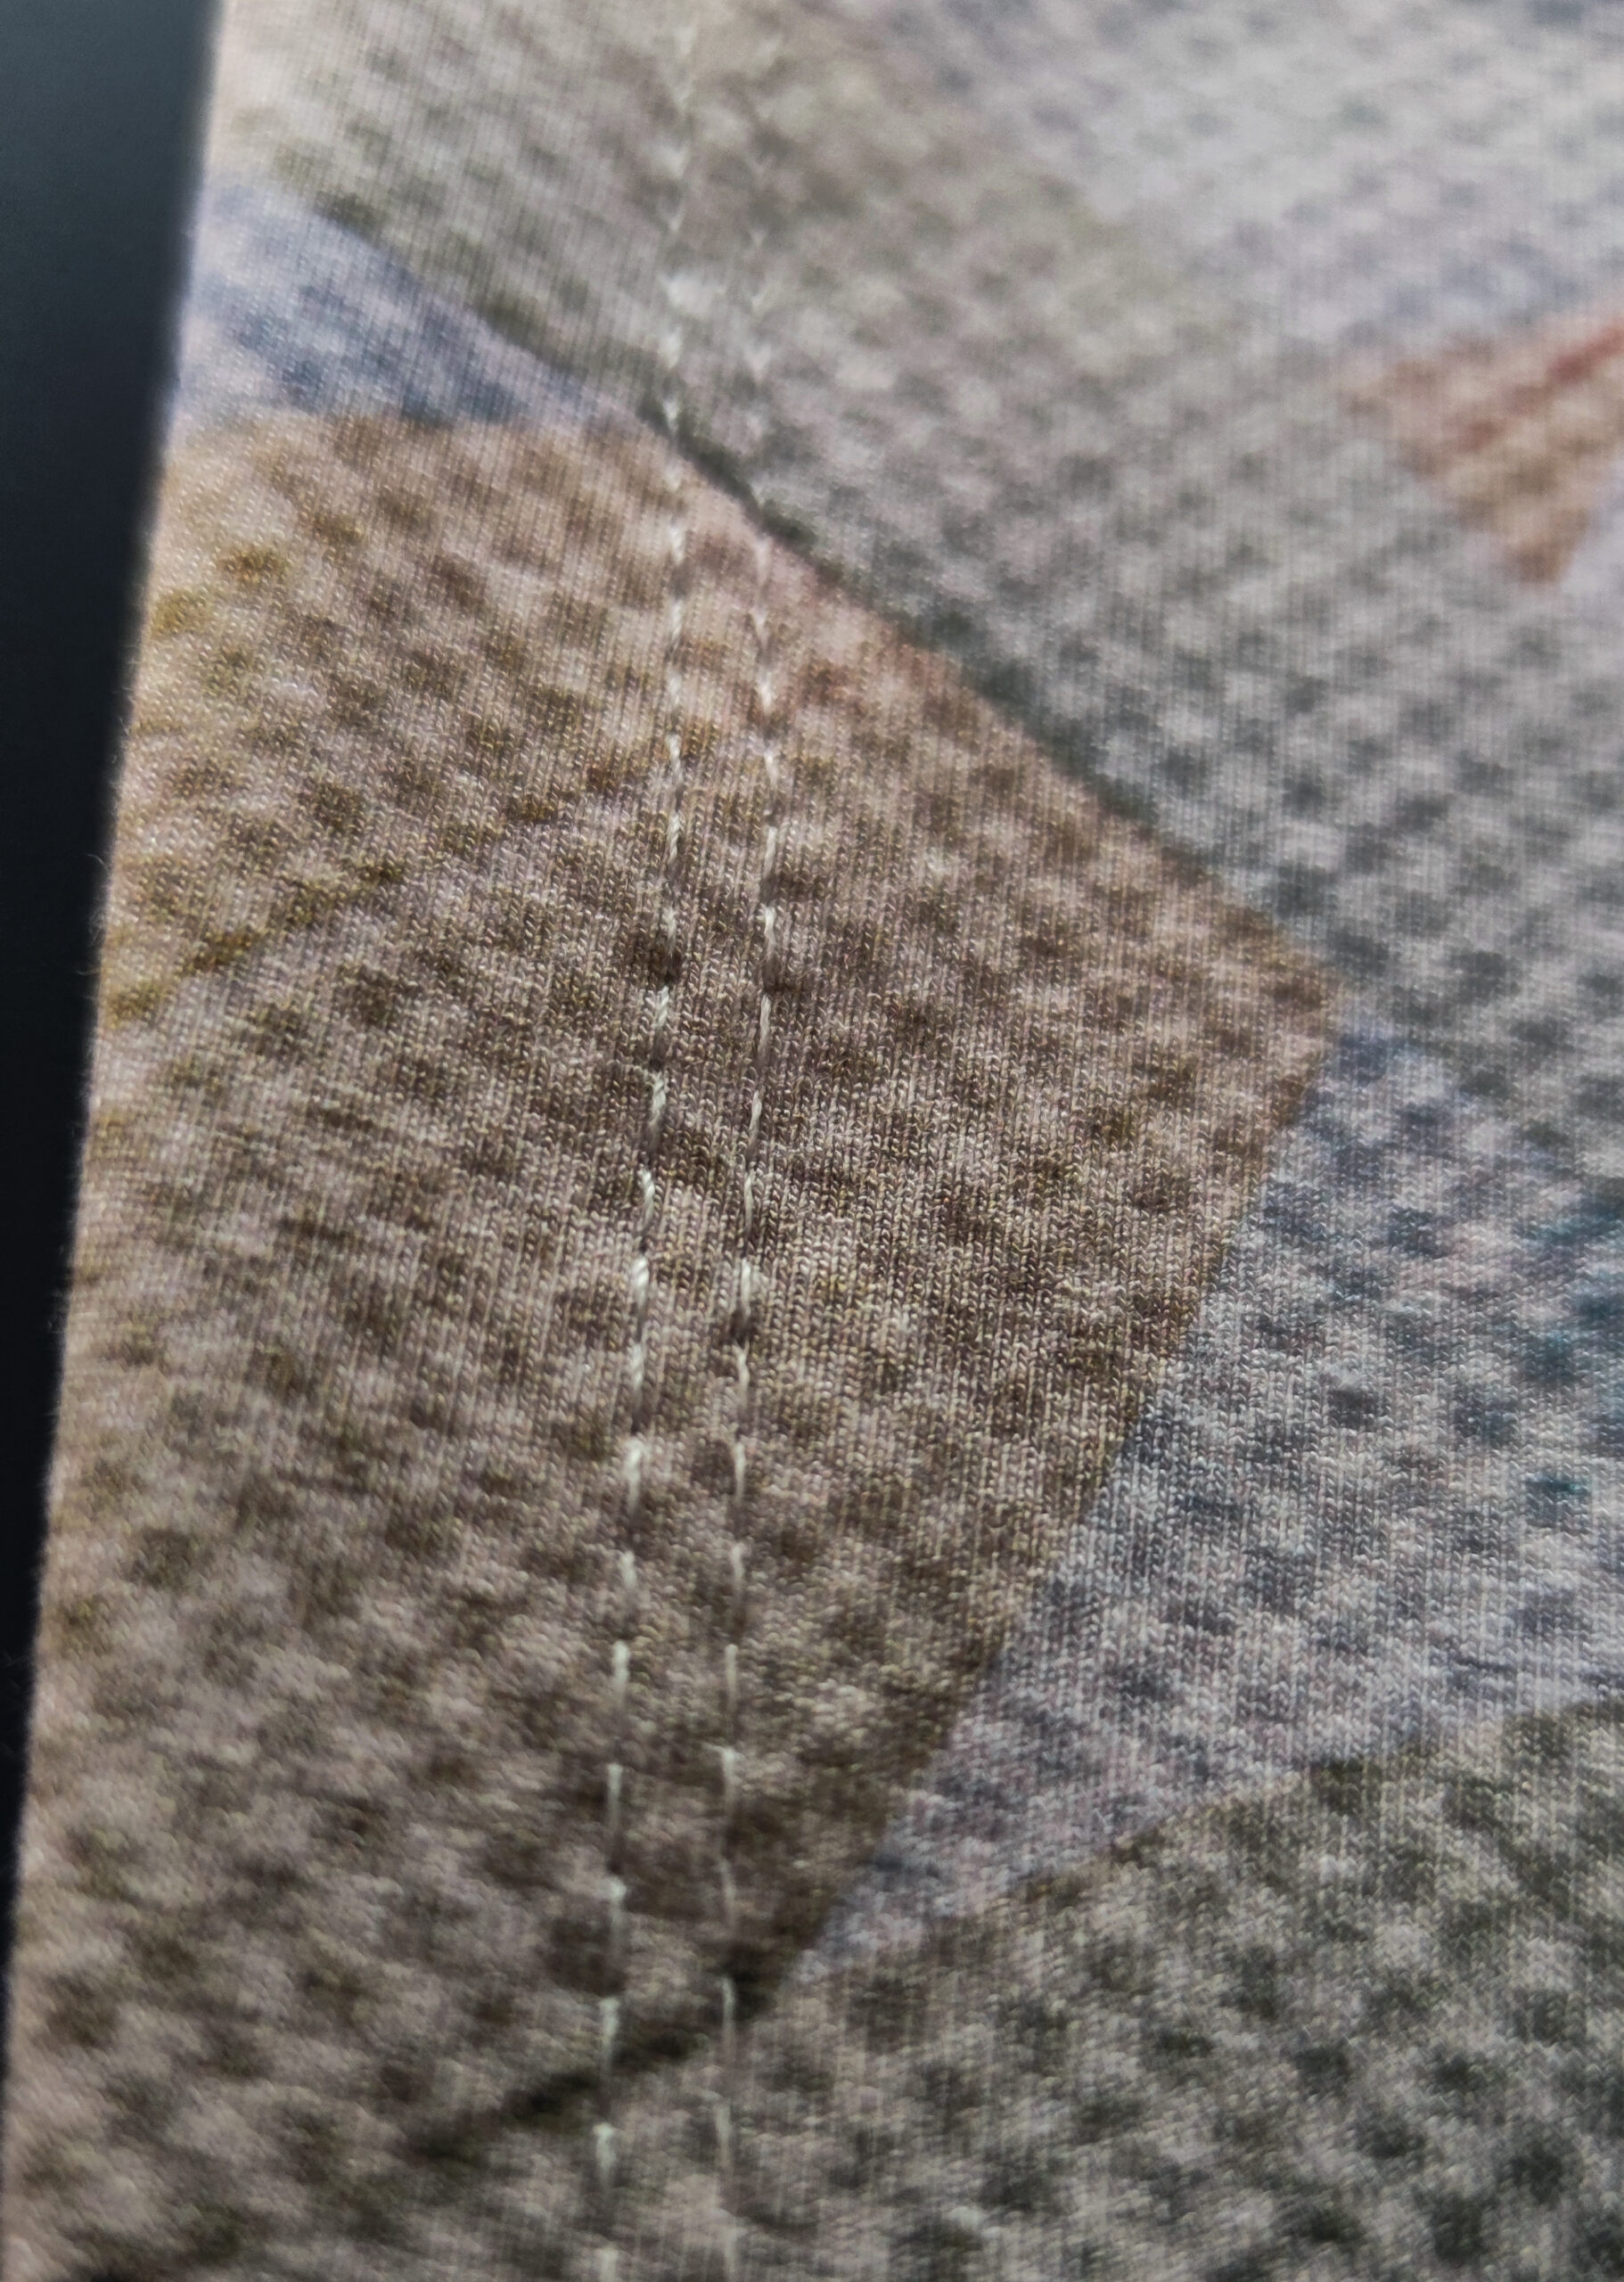
9. Säumen
Säume den Rock mit 2,5 cm Saumzugabe, die kurzen Ärmel mit 0,7 cm Saumzugabe und die langen Ärmel mit 2,5 cm Saumzugabe mit einem elastischen Stich oder einer Zwillingsnadel.
9. Hem
Hem the skirt with a 2.5 cm hem allowance, the short sleeves with a 0.7 cm hem allowance an the long sleeves with a 2.5 cm hem allowence with an elastic stitch or a twin needle.


