zum Warenkorb 0,00 €
0Nähanleitung /// How to sew: Halo
Halo
Halo besticht durch ihr wunderschönes Knotendetail unter der Brust und die legere Passform. Brustabnäher sorgen für einen perfekten Sitz.
Halo
Halo impresses with its beautiful knot detail under the bust and the relaxed fit. Bust darts ensure a perfect fit.
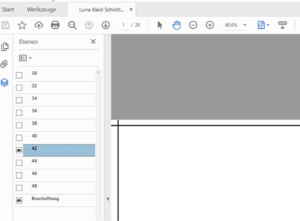
Richtige Größe drucken
Print the correct size
Maßtabelle /// Size chart (cm)

Stoffbedarf Bordürenstoffe
Fabric requirement border fabrics
Midi all sizes: 250 cm
Normal with sleeves: 250 cm
Normal without sleeves: 200 cm
Stoffempfehlung
Für Halo eignen sich am besten Stoffe mit weichem Fall und etwas Stand, wie unser Viskosejersey. Der Stoff sollte mindestens 5% Elasthananteil haben.
Fabric recommendation
Fabrics with a soft drape and some body, such as our viscose jersey, are best suited for Halo. The fabric should have at least 5% elastane.
Anpassung
Bei Halo ist es wichtig, dass der Knoten genau unter der Brust sitzt und die Abnäher auf Höhe der Brustwarze sitzen. Solltest du eine große Brust haben, kann eine FBA nötig sein. Nähe daher unbedingt ein Probeteil. Infos zum Thema FBA findest du hier.
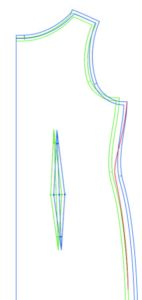
Wenn du den Schnitt anpassen musst, weil du zwischen 2 Größen bist, drucke nur die Größen, die du zum Verbinden benötigest. Zum Beispiel Brust 40, Hüfte 36.
Verwende die Ebenenfunktion und drucke nur 40 und 36 aus.
Die Größen werden dann mit einer Linie verbunden, im Beispielbild ist es die rote Linie. Verwende den Rückenabnäher, der deinem Taillenumfang entspricht.
Solltest du Hilfe benötigen, schau gern in der Mondstoff-Gruppe auf Facebook vorbei: Mondstoff-Gruppe
Adjustment
With Halo, it is important that the knot sits just below the bust and the darts sit at the level of the nipples. If you have large breasts, an FBA may be necessary. So be sure to sew a sample piece. Information about FBA can be found here.
If you need to adjust the pattern, you can only print the sizes you need to connect. For example, top chest 40, hips 36.
Use the layers function and only print out 40 and 36.
The sizes are then connected with a line, in the example image it is the red line. Use the back dart that corresponds to your waist measurement.
If you need help, feel free to join the Mondstoff group on Facebook: Mondstoff Group
Zuschnitt
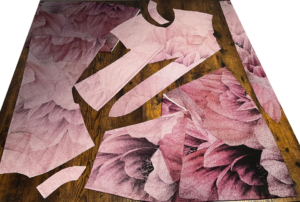
1x Rückteil im Bruch
2x Ärmel gegengleich (optional)
1x vorderer Beleg im Bruch
1x hinterer Beleg im Bruch
Cutting
1x upper front part
1x skirt
1x back part on fold
2x sleeves mirrored (optional)
1x front facing on fold
1x back facing on fold
1x tie
Passzeichen übertragen
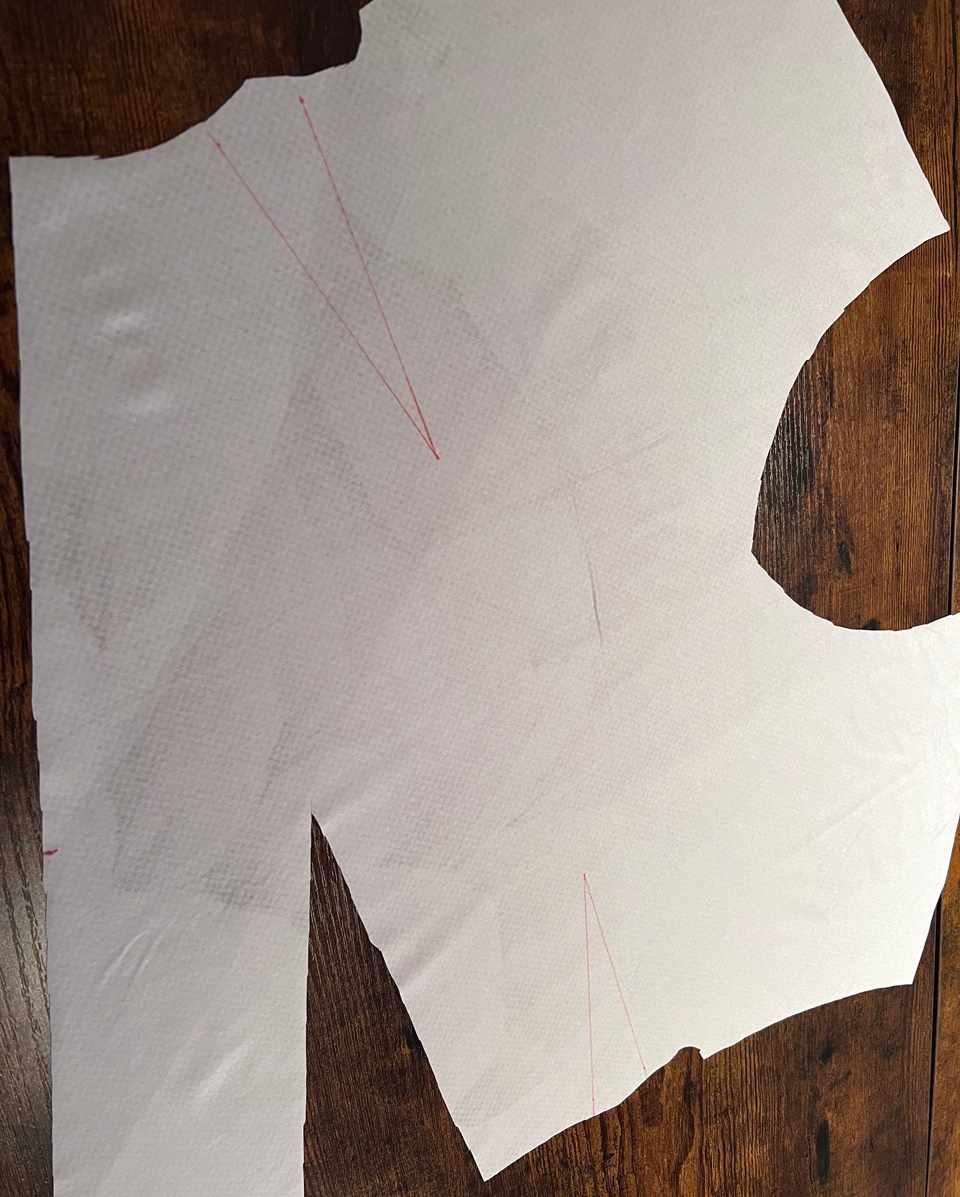
Übertrage alle Passzeichen mit Hilfe eines Trickmarkers oder ähnlichem auf die linke Stoffseite.
Transfer the marks
Transfer all marks to the wrong side of the fabric using a trick marker or something similar.
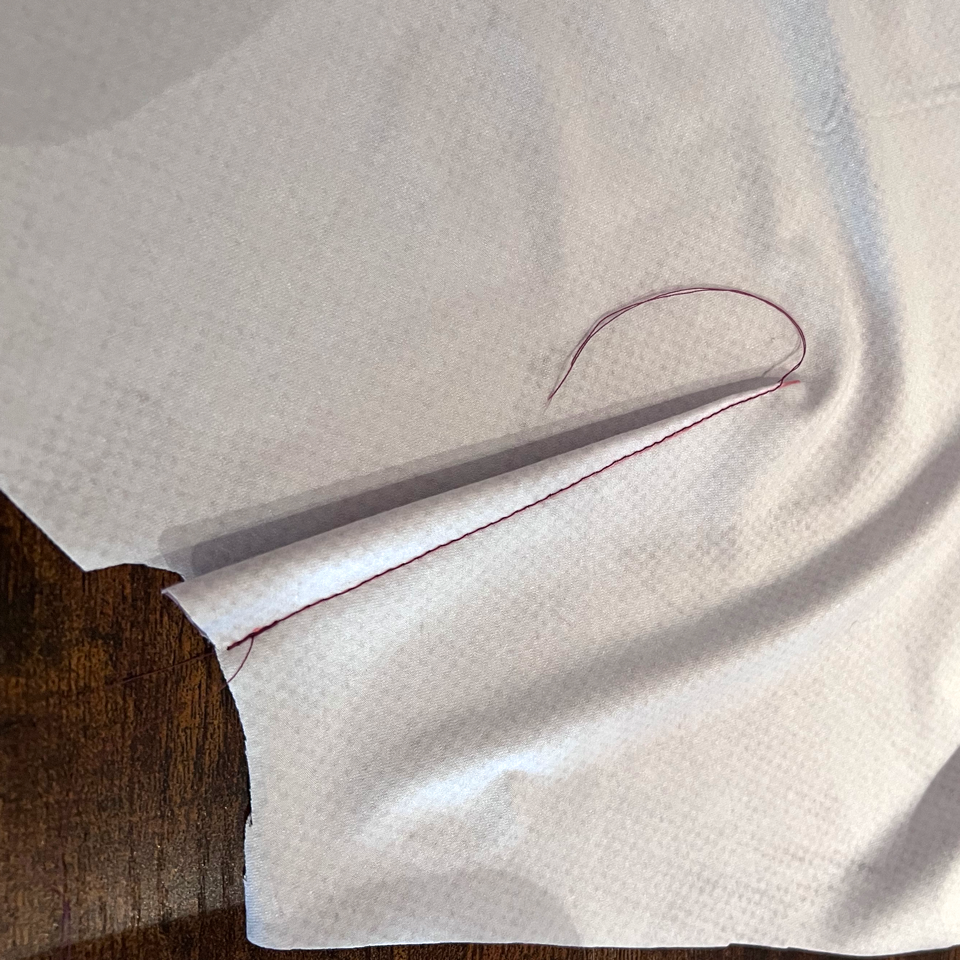
Brustabnäher schließen
Schließe am Vorderteil die Abnäher, indem du von der Seite aus zur Brust mit einem kurzen Geradstich nähst. Verriegele das Ende der Naht nicht und verknote die Enden gründlich.
Closing the darts
Close the darts on the front by sewing from the side to the chest with a short straight stitch. Don´t lock at the end of the seam and knot the ends thoroughly.
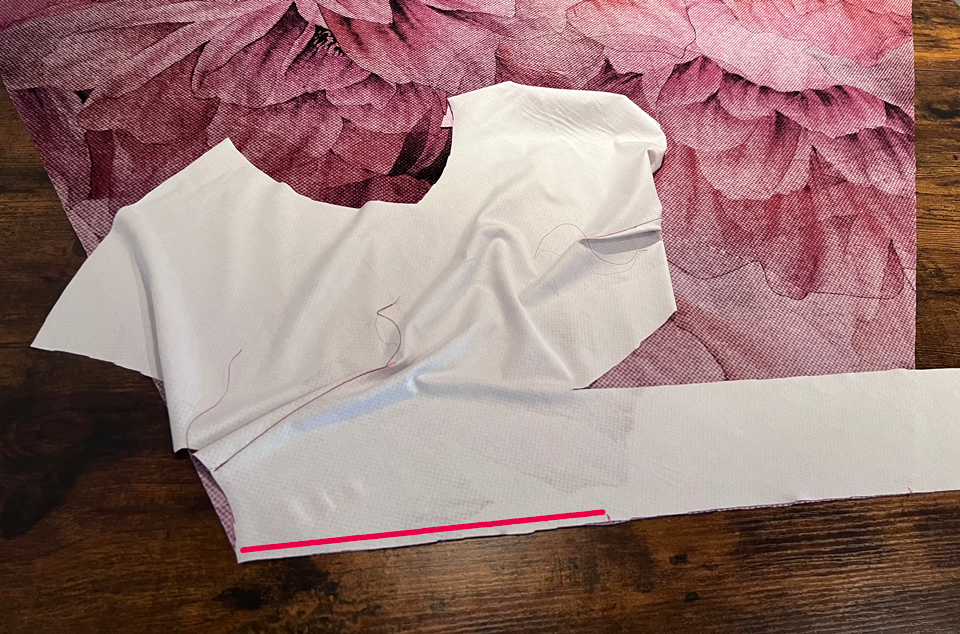
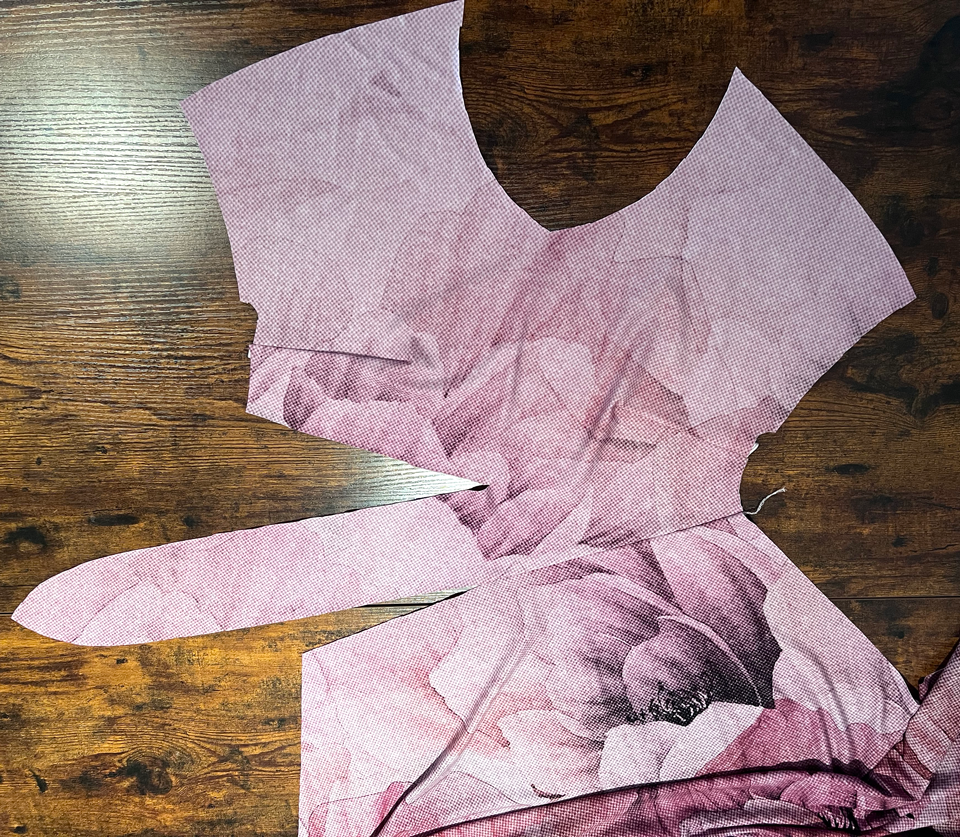
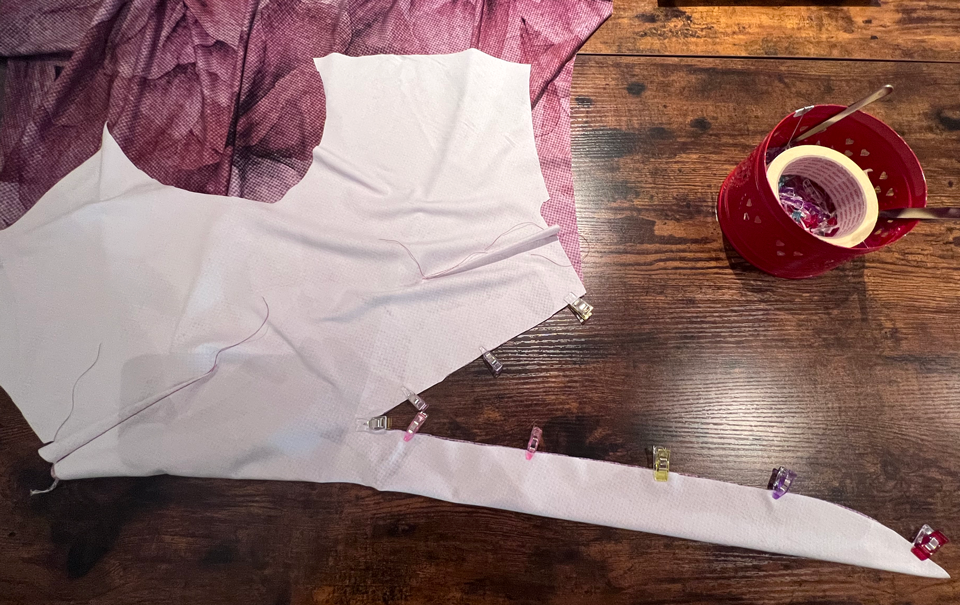
Vorderteil mit Band vorbereiten
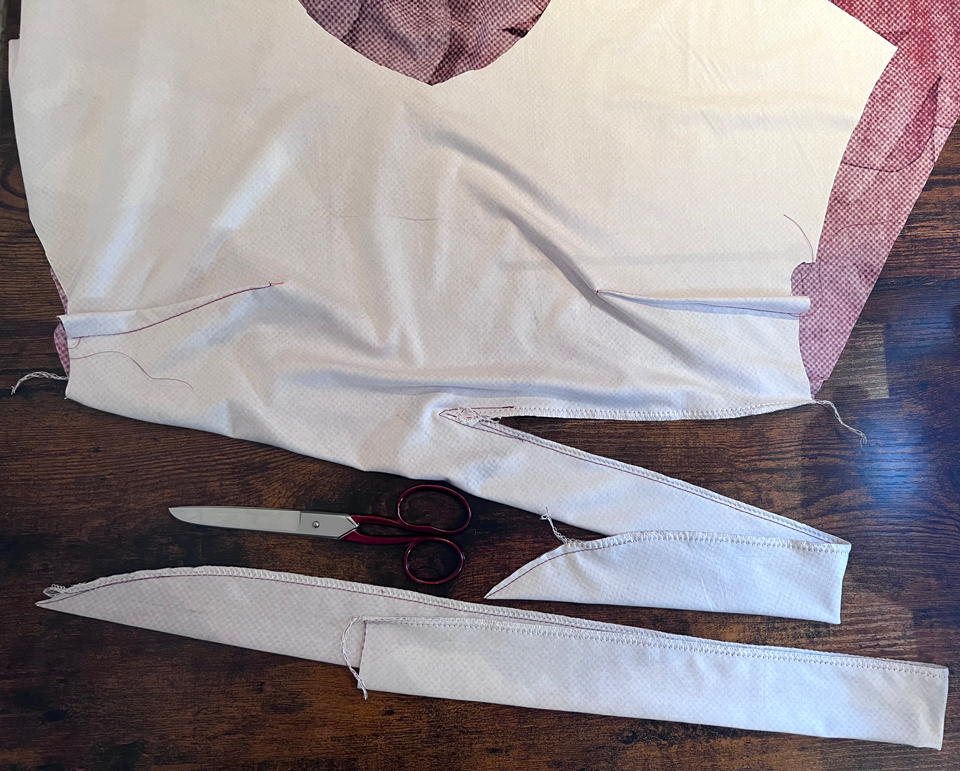
Lege das Oberteil des Kleides rechts auf rechts auf das Unterteil so wie auf dem Bild.
Nähe nun genau bis zur Markierung. Du kannst dies mit der Overlock tun. Die letzten 2 cm solltest du mit einem engen Stich der Nähmaschine nähen und gründlich verriegeln.
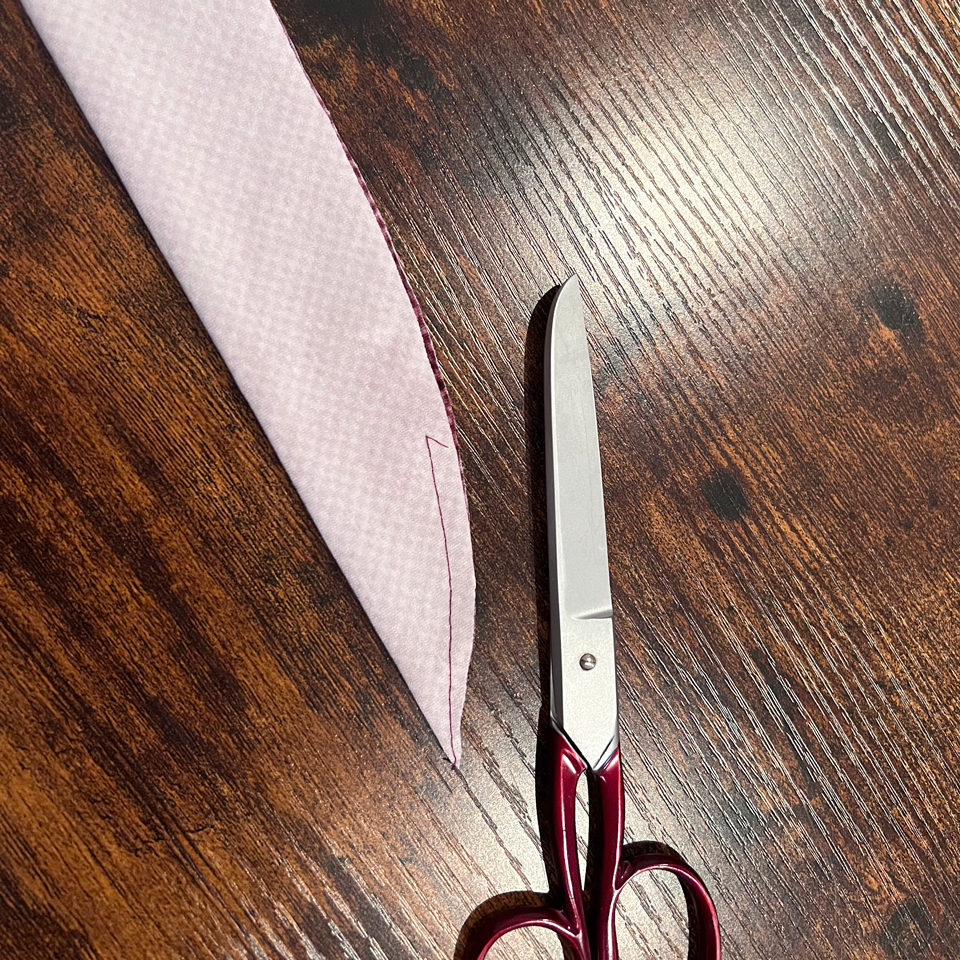
Lege nun das Band rechts auf rechts wie auf dem Bild und nähe die Ecke und die Rundung am Band mit einem engen Geradstich, den Rest kannst du mit der Overlock nähen.
Schneide die Nahtzugabe im Bereich der Ecke etwas ein und kürze sie im Bereich der Rundung am Band. Wende das Band auf rechts und bügele gründlich.
Prepare the dress and the tie
Place the top of the dress on top of the bottom, right sides together, as shown in the picture.
Sew up to the mark. You can do this with the serger. You should sew the last 2 cm with a tight stitch of the sewing machine and backstitch thoroughly.
Now place the tie right sides together as shown in the picture and sew the corner and the curve on the tie with a tight straight stitch, you can sew the rest with the serger.
Snip the seam allowance in the corner area and shorten it in the area of the curve on the tie. Turn the tie right side out and iron thoroughly.
Bindeband nähen
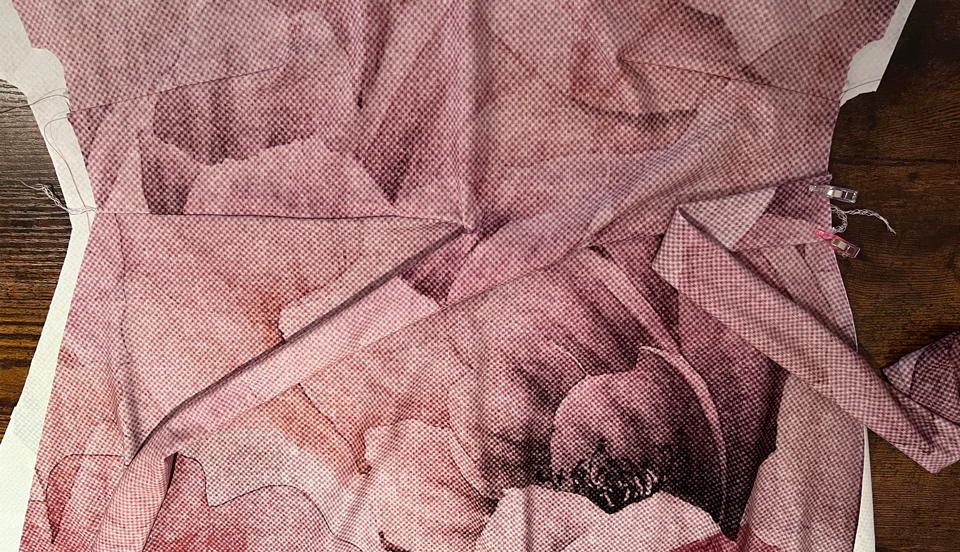
Falte das Band rechts auf rechts und nähe im Bereich der Rundung mit einem engen Geradstich. Schneide die Nahtzugabe hier etwas zurück, wende das Band und bügele es. Fixiere es auf der Taillennaht des Vorderkleides wie abgebildet anhand der Markierungen innerhalb der Nahtzugabe.
Sewing the tie
Fold the tie right sides together and sew around the curve with a tight straight stitch. Cut back the seam allowance here, turn the tie and iron it. Fix it to the waist seam of the front dress using the marks inside the seam allowance.
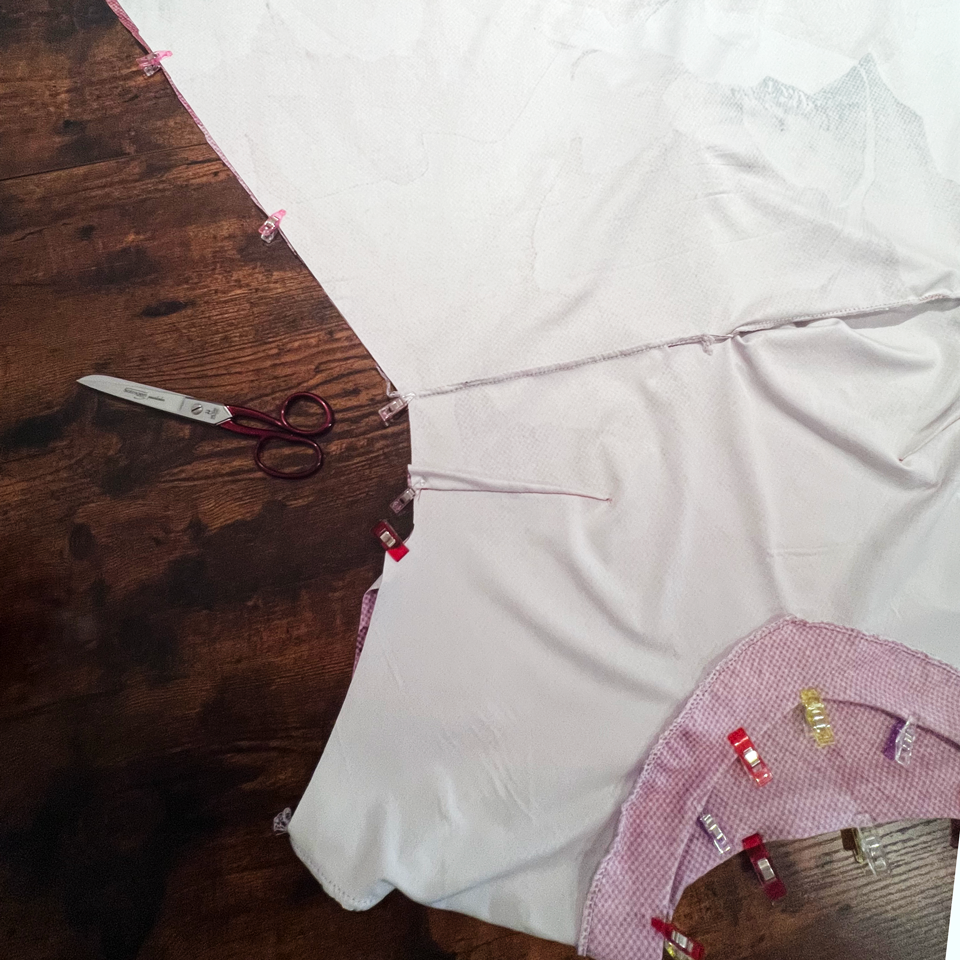

Schulter- und Seitennähte schließen
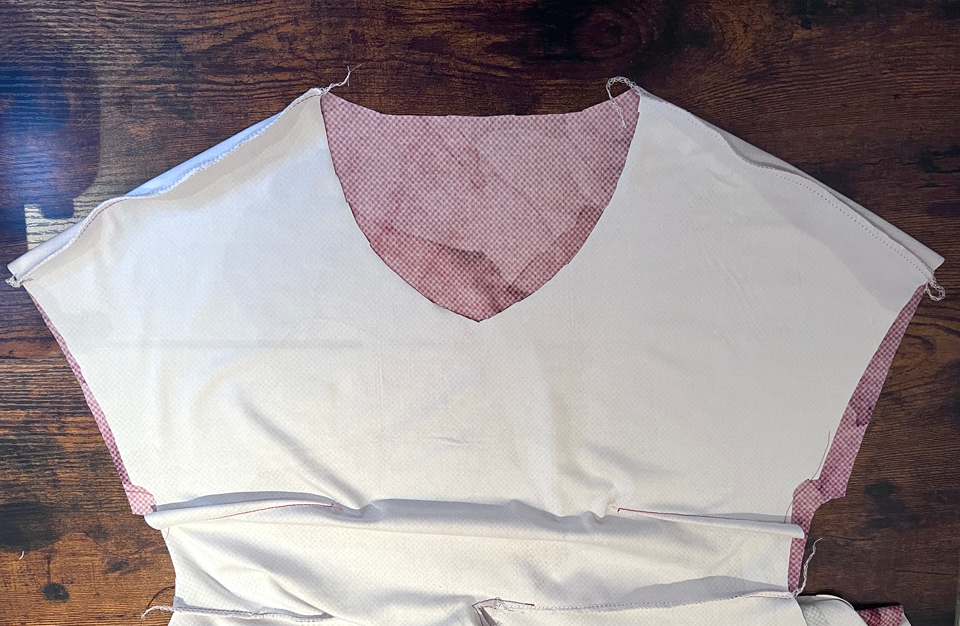
Schließe beide Schulternähte.
Wenn du mit Ärmeln nähst: nähe die Ärmel rechts auf rechts an das geöffnete Kleid. Orientiere dich dabei an der Schultermarkierung des Ärmels und achte auf die Beschriftung für vorne und hinten. Schließe danach die Seitennähte in einem Rutsch.
Wenn du ohne Ärmel nähst kannst du direkt die Seitennähte schließen.
Closing the shoulder and side seams
Sew both shoulder seams.
If you are sewing with sleeves: sew the sleeves to the open dress, right sides together. Orientate on the shoulder markings on the sleeve and pay attention to the labeling for the front and back. Then close the side seams in one go.
If you sew without sleeves you can close the side seams directly.

Beleg vorbereiten
Nähe den vorderen und den hinteren Beleg rechts auf rechts zusammen. Optional kannst du ihn vorher mit leichter, dehnbarer Vliseline verstärken und ringsherum mit der Overlock versäubern.
Prepare the facing
Sew the front to the back facing right sides together. Optionally, you can reinforce the facing with light, stretchy interfacing and neaten it all around with the serger.
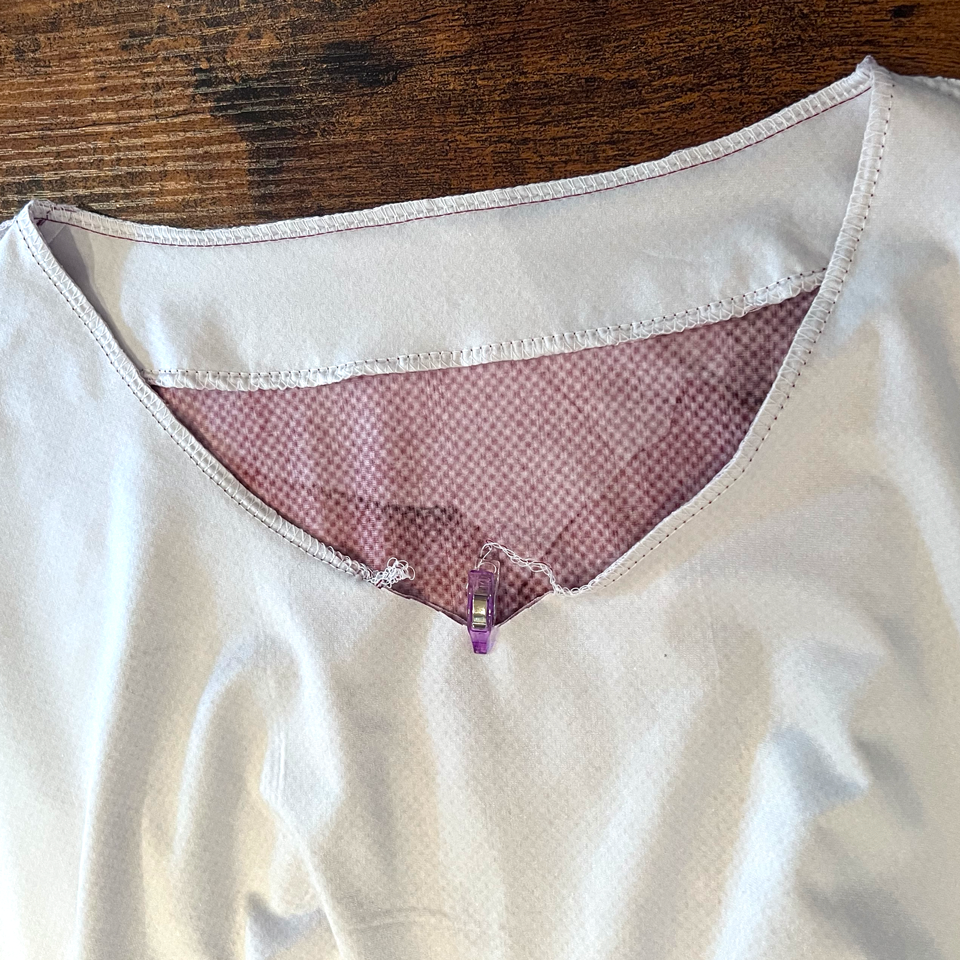
Beleg nähen
Nähe den Beleg rechts auf rechts mit einem elastischen Stich an den Ausschnitt des Kleides, nutze im Bereich der vorderen Spitze die Nähmaschine mit einem engen Geradstich.
Sewing the facing
Sew the facing to the neckline of the dress, right sides together, use the sewing machine with a tight straight stitch in the area of the front tip.
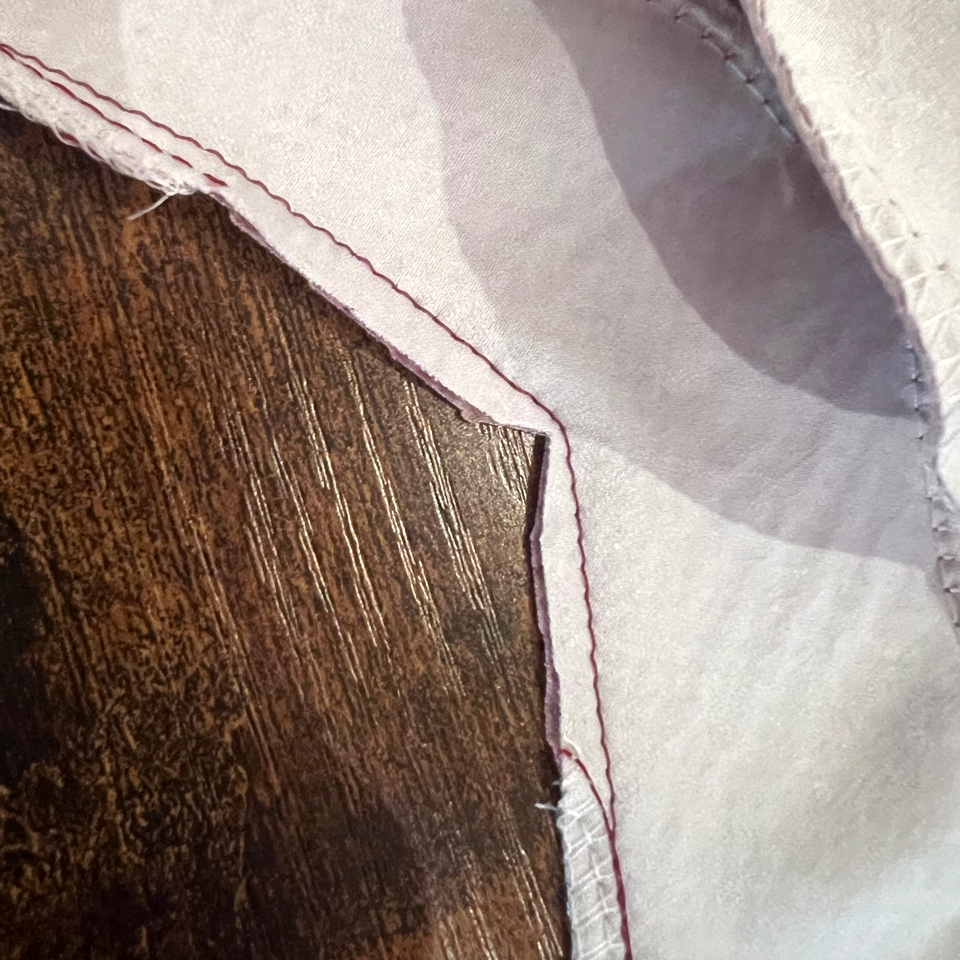
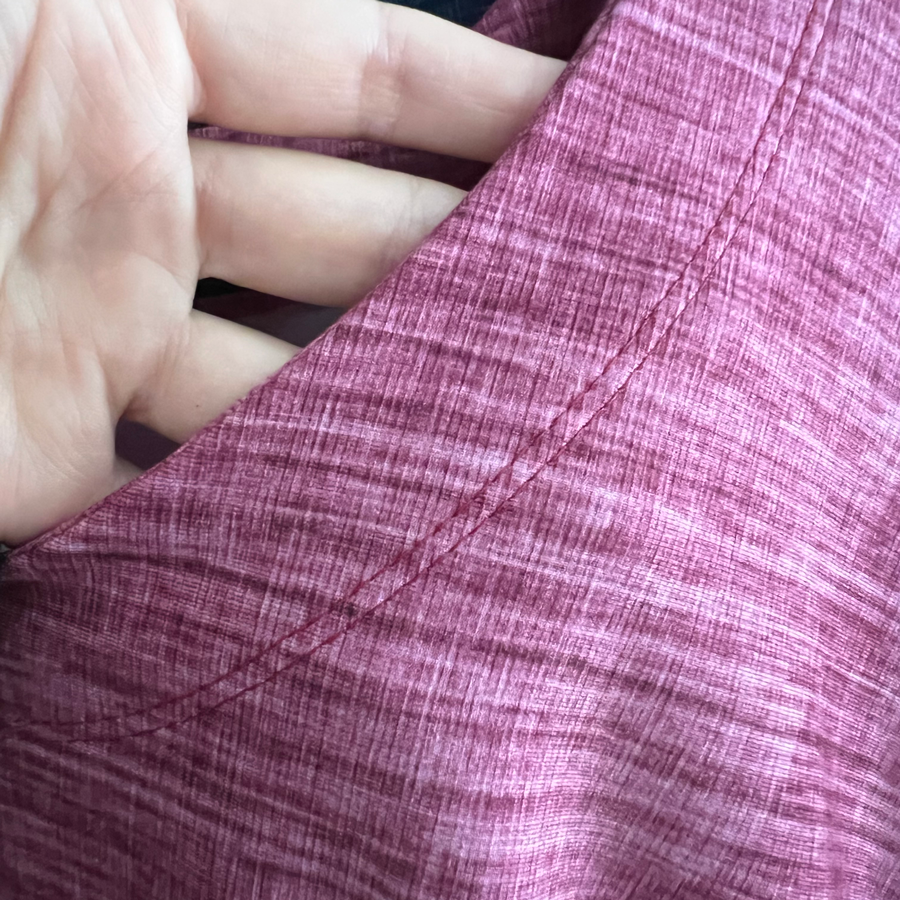
Beleg absteppen
Schneide den Beleg am Vorderteil etwas zurück und schneide eine kleine Ecke aus. Der Beleg legt sich dann später besser an. Steppe den Beleg einmal komplett ab, damit er nicht herausrutscht. Nutze dafür eine Zwillingsnadel oder die Coverstitch.
Topstitch the facing
Cut back the seam allowance a little at the front and cut out a small corner. Stitch the facing all the way to keep it from slipping out. Use a twin needle or the coverstitch for this.
Säumen
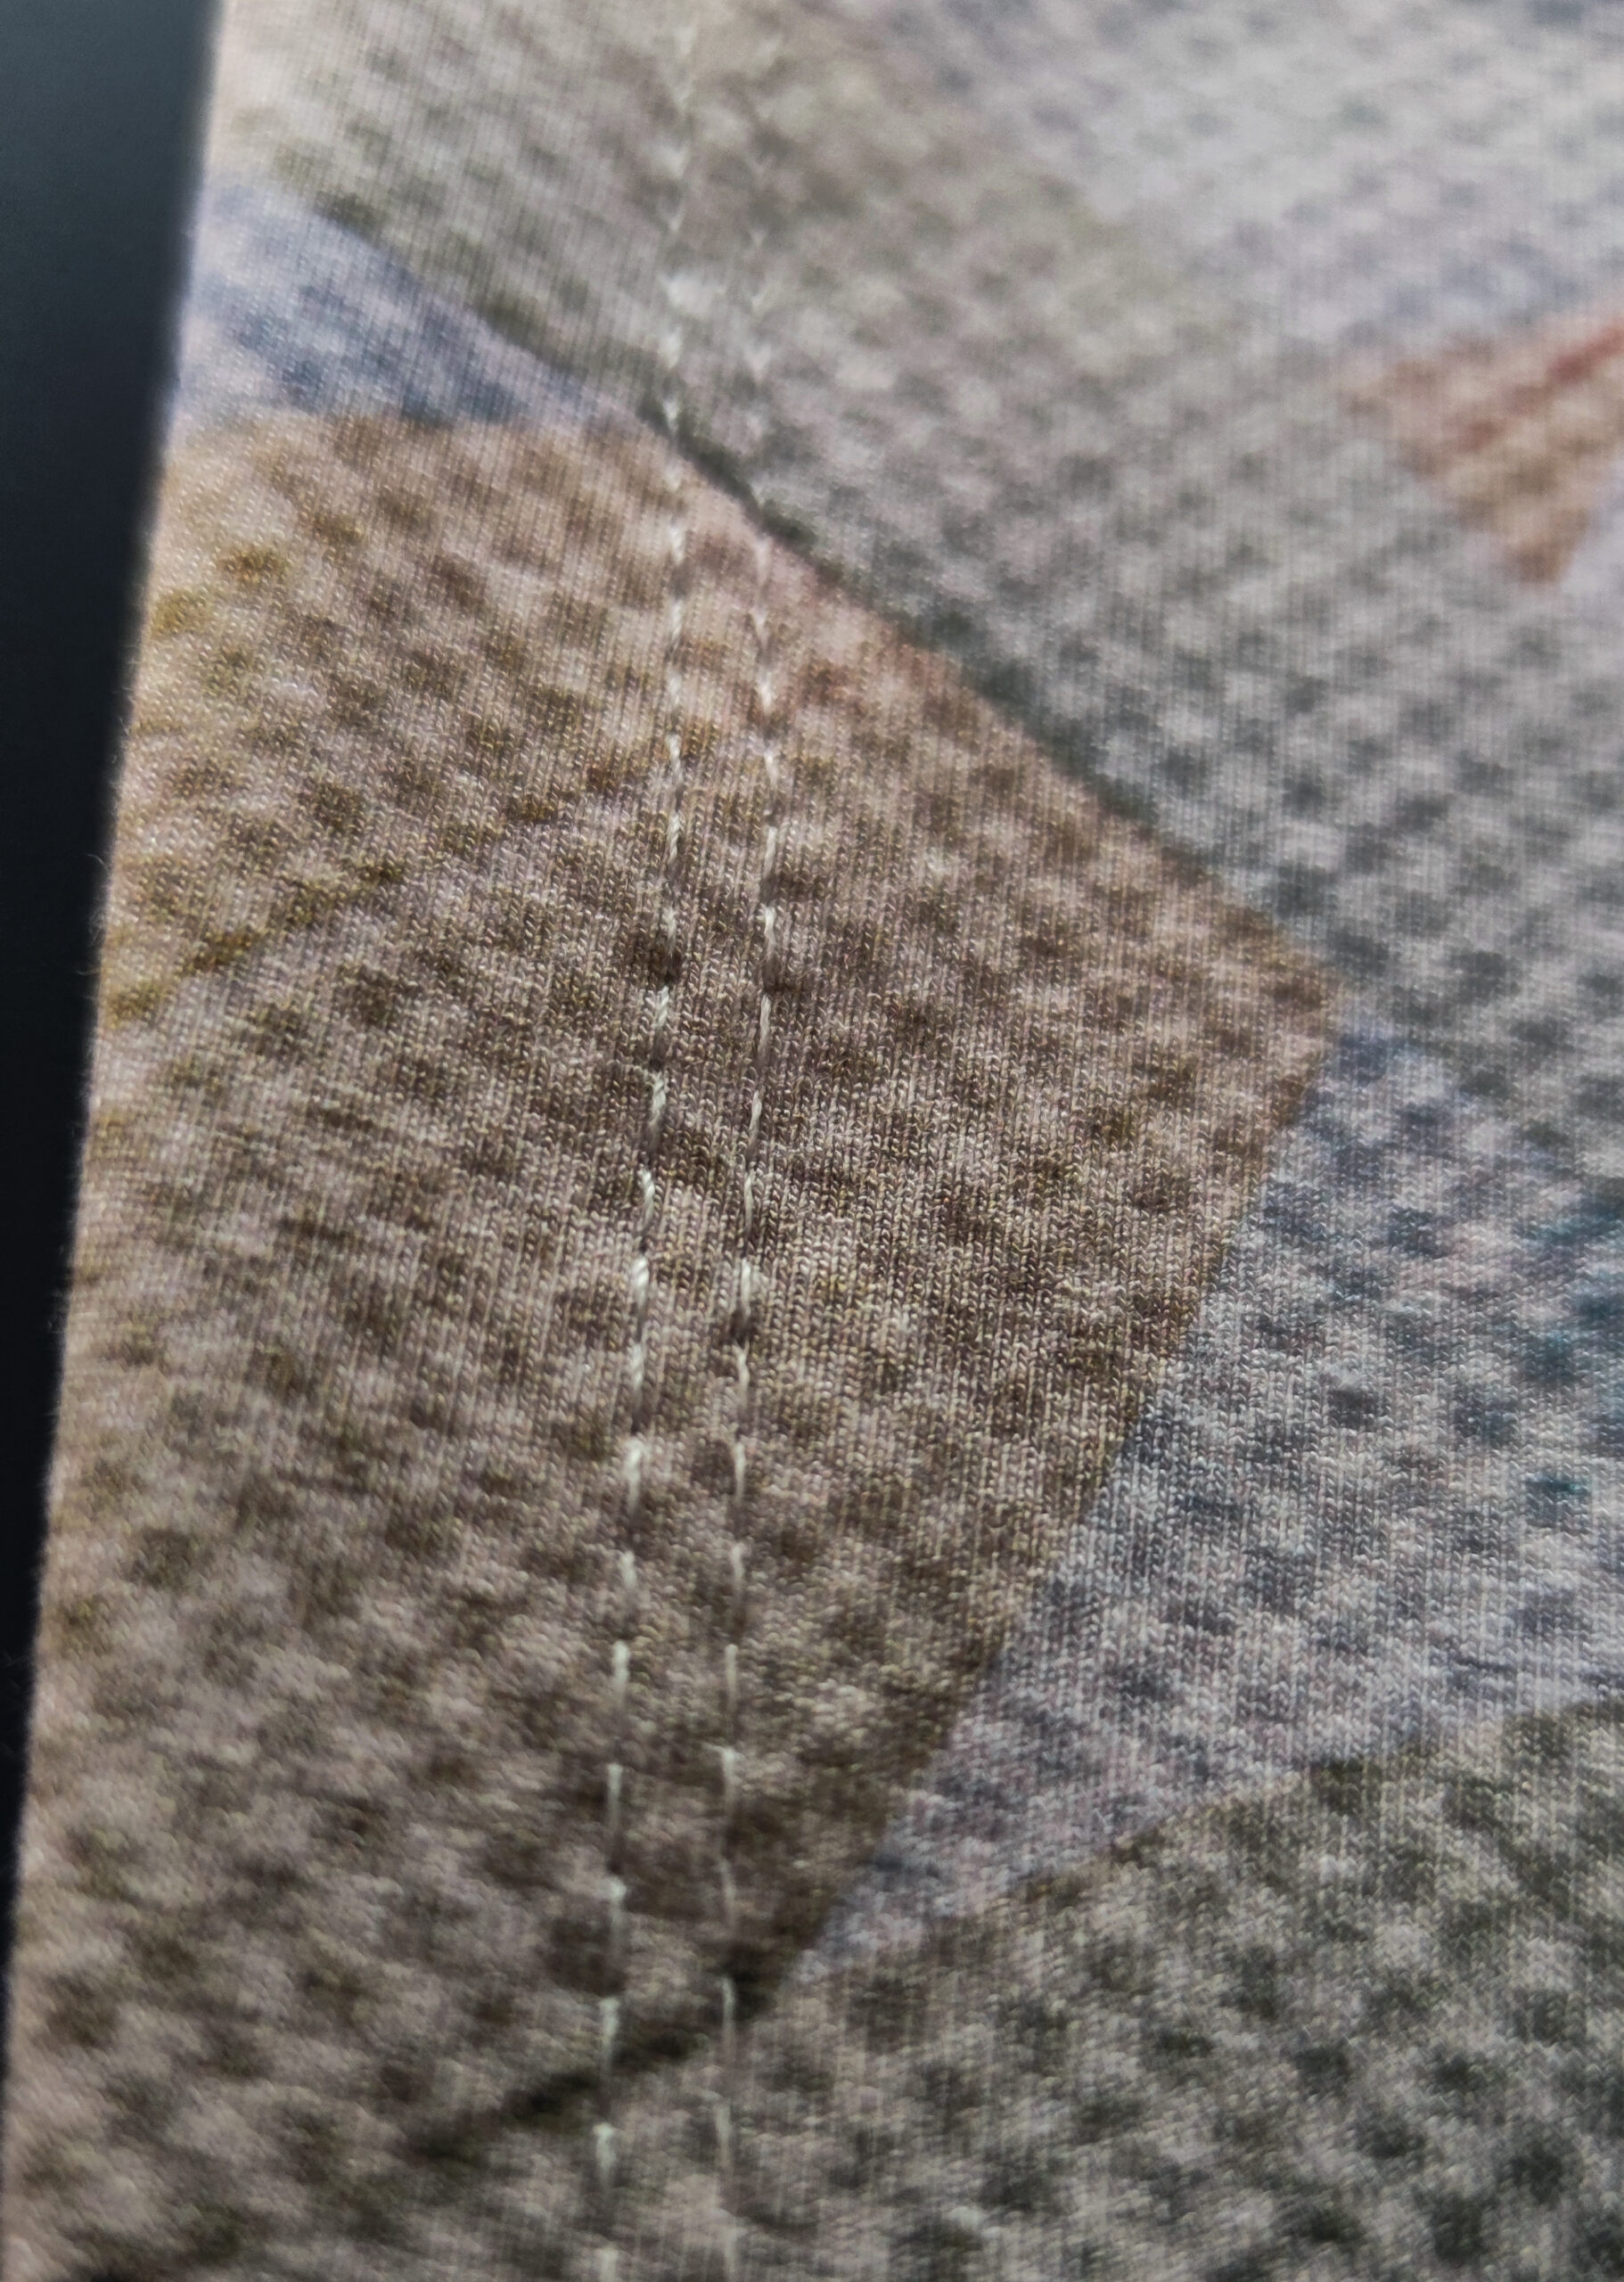
Säume den unteren Saum und die Ärmel mit 2,5 cm Saumzugabe mit einem elastischen Stich oder einer Zwillingsnadel.
Für die ärmellose Variante: Versäubere die Ärmelausschnittkante mit der Overlock (optional) und säume mit 0,7 cm mit einem elastischen Stich.
Hem
Hem the skirt and the sleeves with a 2.5 cm hem allowance with an elastic stitch or a twin needle.
For the sleeveless version: Finish the armhole edge with a serger (optional) and hem with 0.7 cm with an elastic stitch.


