zum Warenkorb 0,00 €
0Nähanleitung /// How to sew: Venus

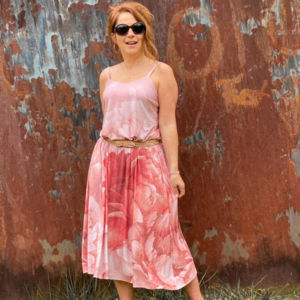
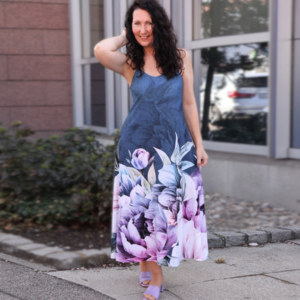
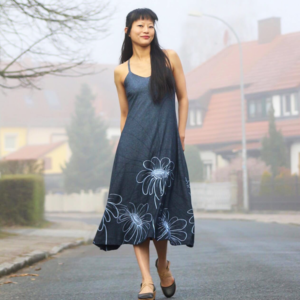
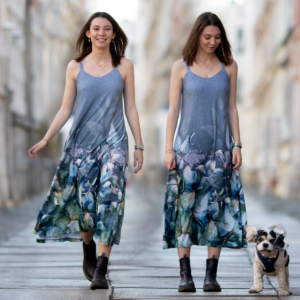
Sommerkleid Venus
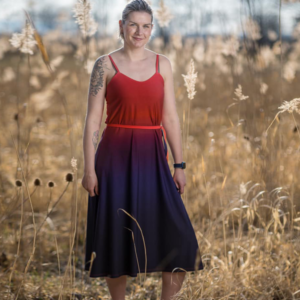
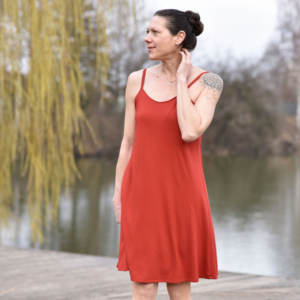
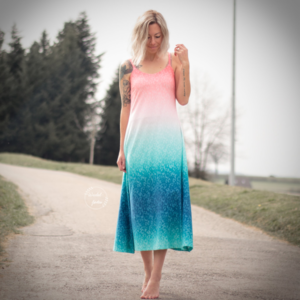
Venus ist ein locker fallendes Trägerkleid mit Abnähern und gefüttertem Oberteil, welches mit oder ohne Gummi in der Taille genäht werden kann (siehe Anleitung). Ob in kurz oder in lang- gerafft mit Tunnel oder einem Gürtel kombiniert- Venus ist die perfekte Begleiterin für warme Tage.
Das Schnittmuster ist für eine Person entworfen, die 170 cm groß ist und Körbchengröße B hat.
Summerdress Venus
Venus is a loosely falling strap dress with darts and a lined upper part, which can be sewn with or without elastic at the waist. Whether short or long – combined with a tunnel or a belt – Venus is the perfect companion for warm days.
The pattern is designed for a person who is 170 cm tall and has a B cup.
Richtige Größe drucken
Die gekauften Dateien haben zwei verschiedene Varianten: A4 und A0 Dateien. Die A0 kannst du online oder in einem Copyshop drucken lassen, A4 kann dein Drucker drucken. Bei beiden Varianten ist es dir möglich, nur die Größe zu drucken, die du tatsächlich benötigst. Oder zwei-drei Größen, falls du Anpassungen vornehmen musst.
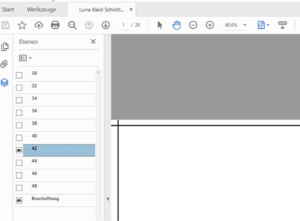
Öffne die Datei im Acrobat Reader und klicke das Symbol in der linken Leiste am Rand an, das auf dem Bild blau dargestellt ist. Daraufhin klappt ein neues Menü auf, in dem du durch einen Klick auf das Auge die Größen ein- und ausblenden kannst. Die Ebene „Beschriftung“ sollte immer an bleiben. Beim oben gezeigten Beispiel würdest du Gr. 42 drucken.
Blende nun alle unnötigen Größen aus und drucke das Schnittmuster wie gewohnt. Auf dem Beispielbild ist es die Größe 42, die gedruckt wird.
Print the correct size
The purchased files come in two different variants: A4 and A0 files. You can have the A0 printed online or in a copy shop. Your printer can print A4. With both variants it is possible for you to print only the size that you actually need. Or two to three sizes in case you need to make adjustments.
Open the file in Acrobat Reader and click on the symbol in the left bar at the edge, which is shown in blue on the picture. A new menu then opens in which you can show and hide sizes by clicking on the eye. The „labeling“ layer should always remain on.
Now hide all unnecessary sizes and print the pattern as usual. Using the example above, you would print size 42 only.
Maßtabelle /// Size chart (cm)

Stoffbedarf alle Größen lange Version /// Fabric requirements all Sizes: 2,5 m
Stoffbedarf alle Größen kurze Version /// Fabric requirements all Sizes: 2 m
Anpassung
Das Kleid liegt an der Brust eng an und fällt dann locker nach unten. Durch die bereits vorhandenen Abnäher kannst du das Kleid mithilfe einer FBA (full bust adjustment) an deine Maße anpassen. Wann eine FBA notwendig ist erfährst du in unserem Blog
Solltest du Hilfe benötigen, schau gern in der Mondstoff-Gruppe auf Facebook vorbei: Mondstoff-Gruppe
Adjustment
The dress is fitted at the bust and then falls loosely at the bottom. Thanks to the darts that are already there, you can adjust the dress to your measurements using an FBA (full bust adjustment). You can find out when an FBA is necessary in our blog.
If you need help, feel free to join the Mondstoff group on Facebook: Mondstoff Group
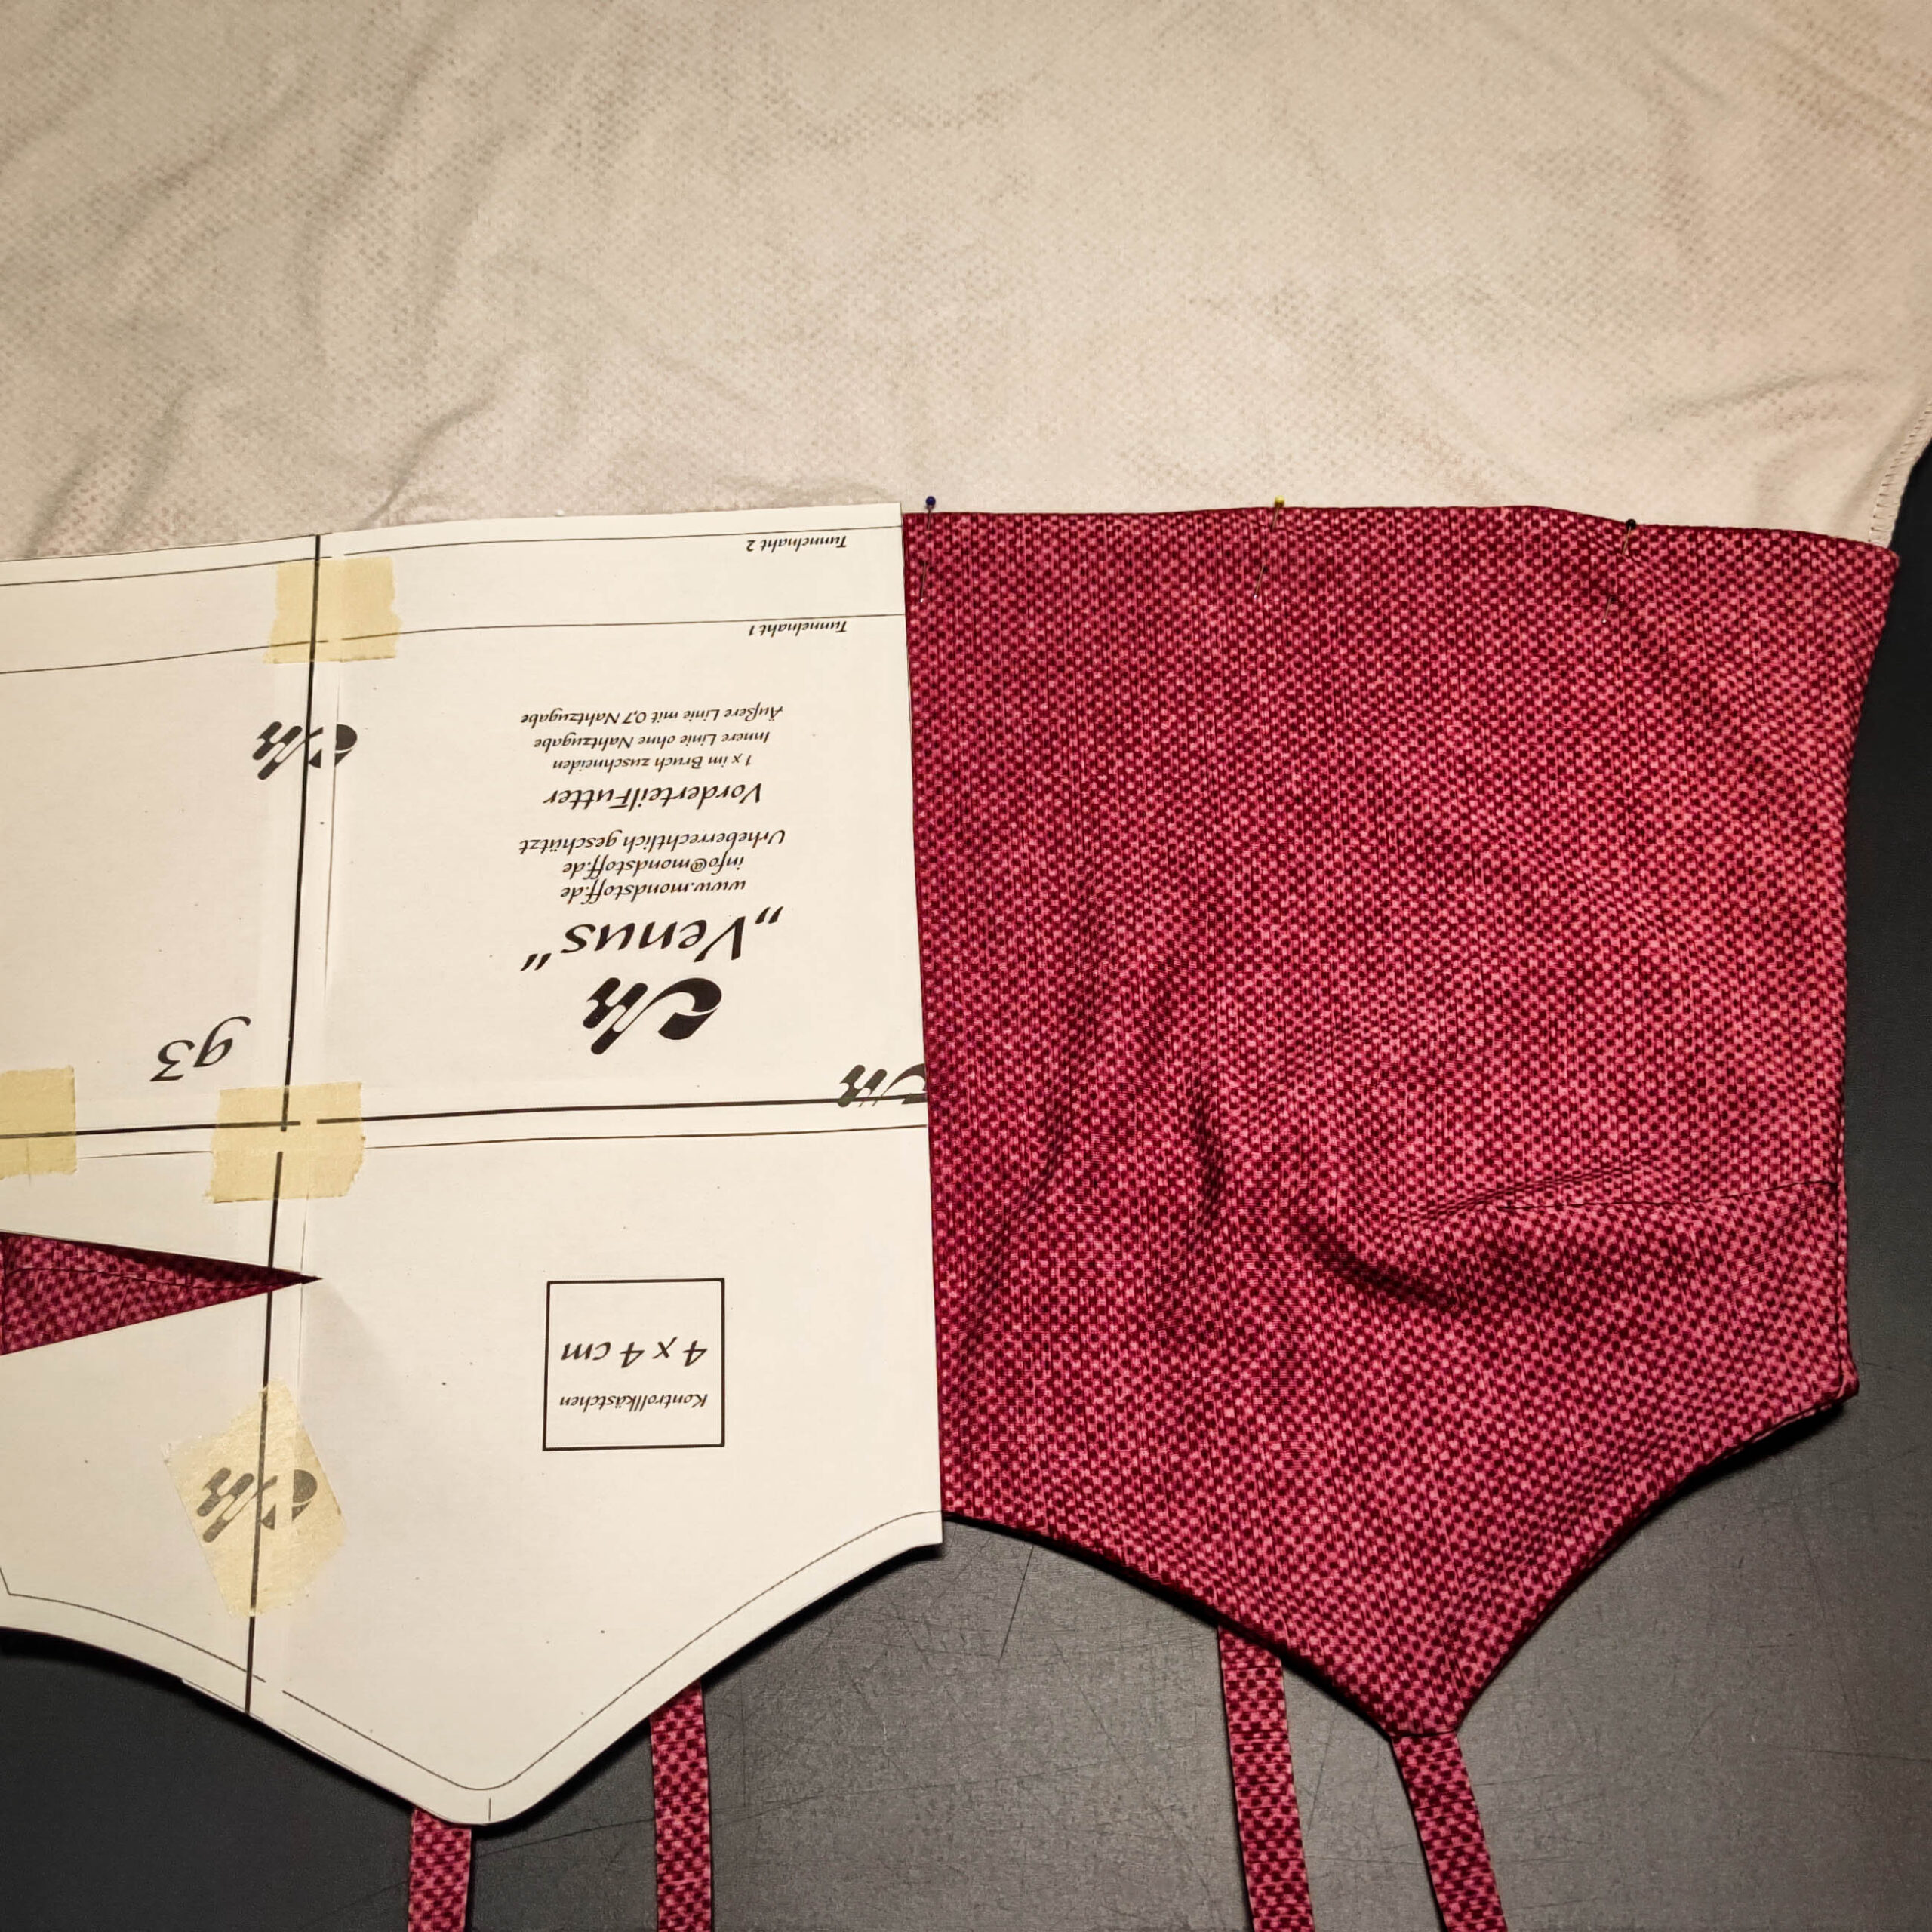
1. Zuschnitt
Schneide je ein Vorder- und ein Rückteil des Kleides im Bruch zu, je ein Vorder- und ein Rückteil des Futters und 2 Träger.
1. Cutting
Cut a front and a back part of the dress in the fold, a front and a back part of the lining and 2 straps.
2. Abnäher schließen
Schließe sowohl am Kleid als auch am Futter die Abnäher indem du von der Seite aus zur Brust mit einem kurzen Gradstich nähst. Verriegele das Ende der Naht nicht und verknote die Enden gründlich.
2. Sewing the Darts
Close the darts on both the dress and the lining by sewing from the side to the chest with a short straight stitch. Don´t lock at the end of the seam and knot the ends thoroughly.
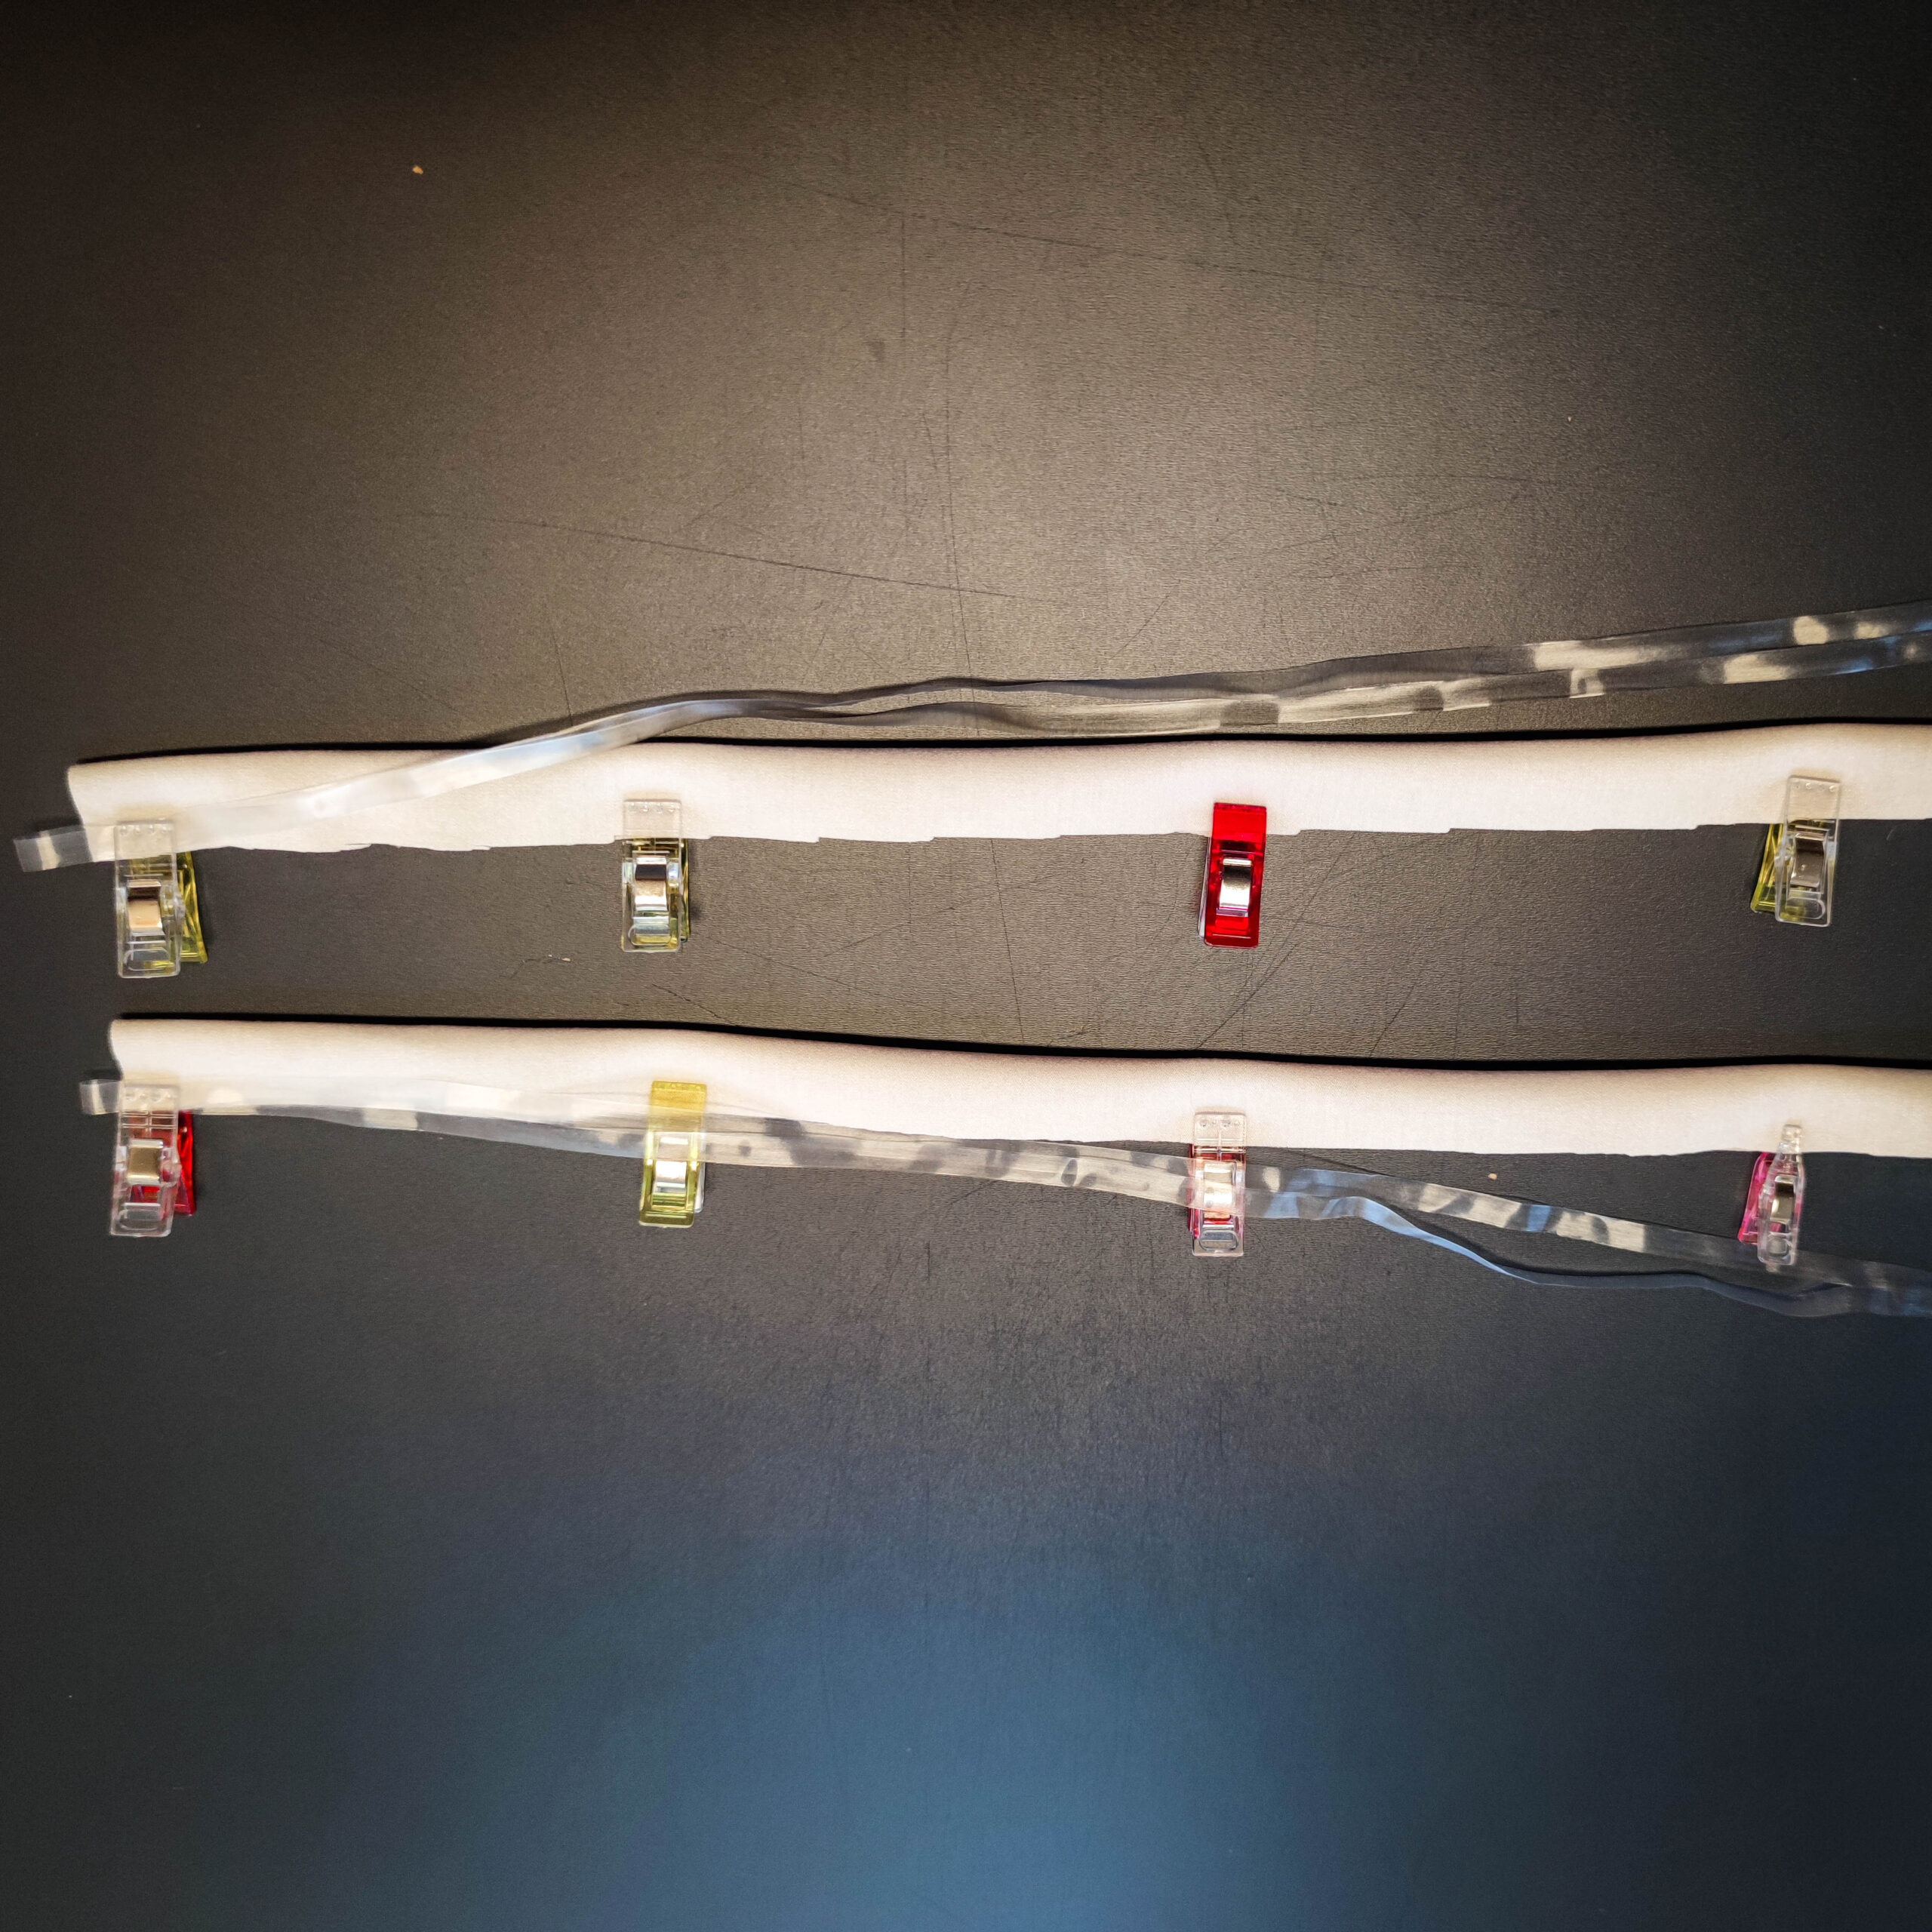
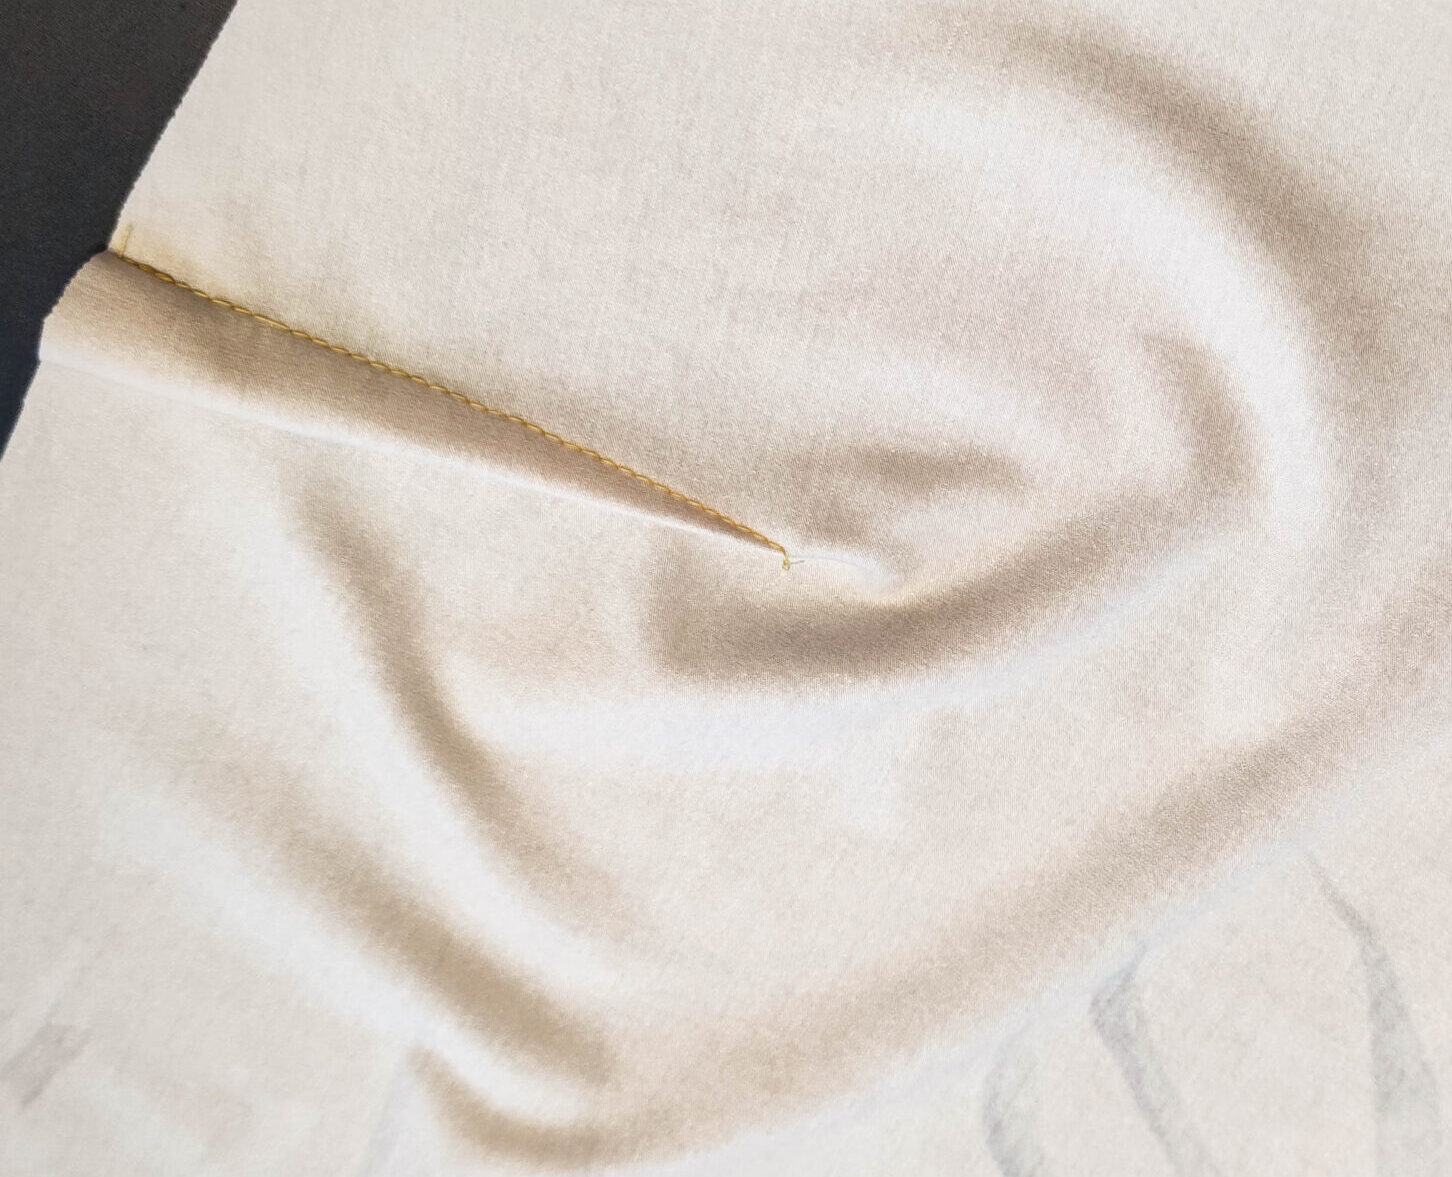
3. Träger nähen
Zum Nähen von dünnen Trägern gibt es mehrere Varianten. Wichtig ist, die Träger zu verstärken, damit sie das schwere Kleid später tragen ohne auszuleiern.
Leg den Träger rechts auf rechts zusammen und lass in der Overlocknaht ohne Zug Framilon mitlaufen. Lass eine lange Fadenkette stehen. Diese hilft dir beim wenden. Verknote das Ende der Fadenkette mit einer Sicherheitsnadel und schiebe diese durch den Träger. Durch die Fadenkette kannst du den Träger ganz einfach auf rechts ziehen.
3. Sewing the Straps
There are several variants for sewing thin straps. It is important to strengthen the straps so that they can wear the heavy dress later without stretching out.
Lay the straps right sides together and let elastic tape run along the overlock seam without pulling. Leave a long thread chain. This will help you turn. Knot the end of the thread chain to a safety pin and push it through the strap. The thread chain allows you to easily pull the strap right side out.

4. Futter nähen
Nähe Vorder- und Rückteil rechts auf rechts zusammen und versäubere optional die untere Kante mit der Overlock.
4. Sewing the lining
Sew the front and back pieces together right sides together and optionally finish the bottom edge with the serger.
5. Kleid nähen
Nähe zunächst Vorder- und Rückteil rechts auf rechts zusammen.
5. Sewing the dress
First sew the front and back pieces together, right sides together.
6. Träger annähen
Wende das Kleid auf rechts und fixiere zunächst die gewendeten Träger innerhalb der Nahtzugabe am Vorderteil.
6. Sewing the Straps
Turn the dress right side out and fix the turned straps first inside the seam allowance on the front part.
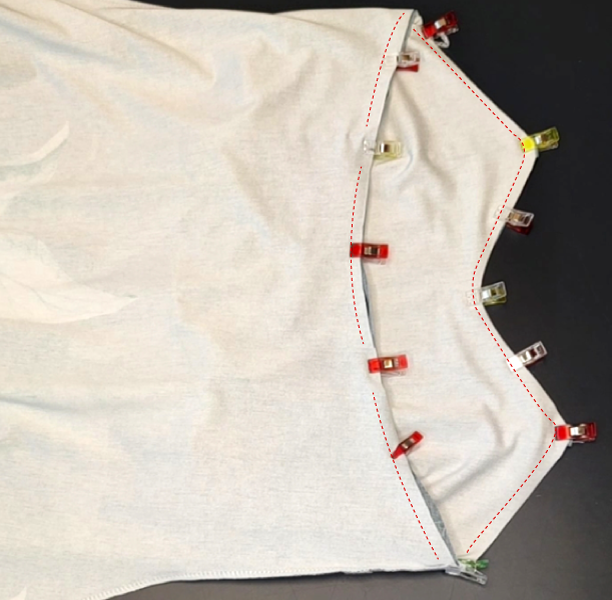
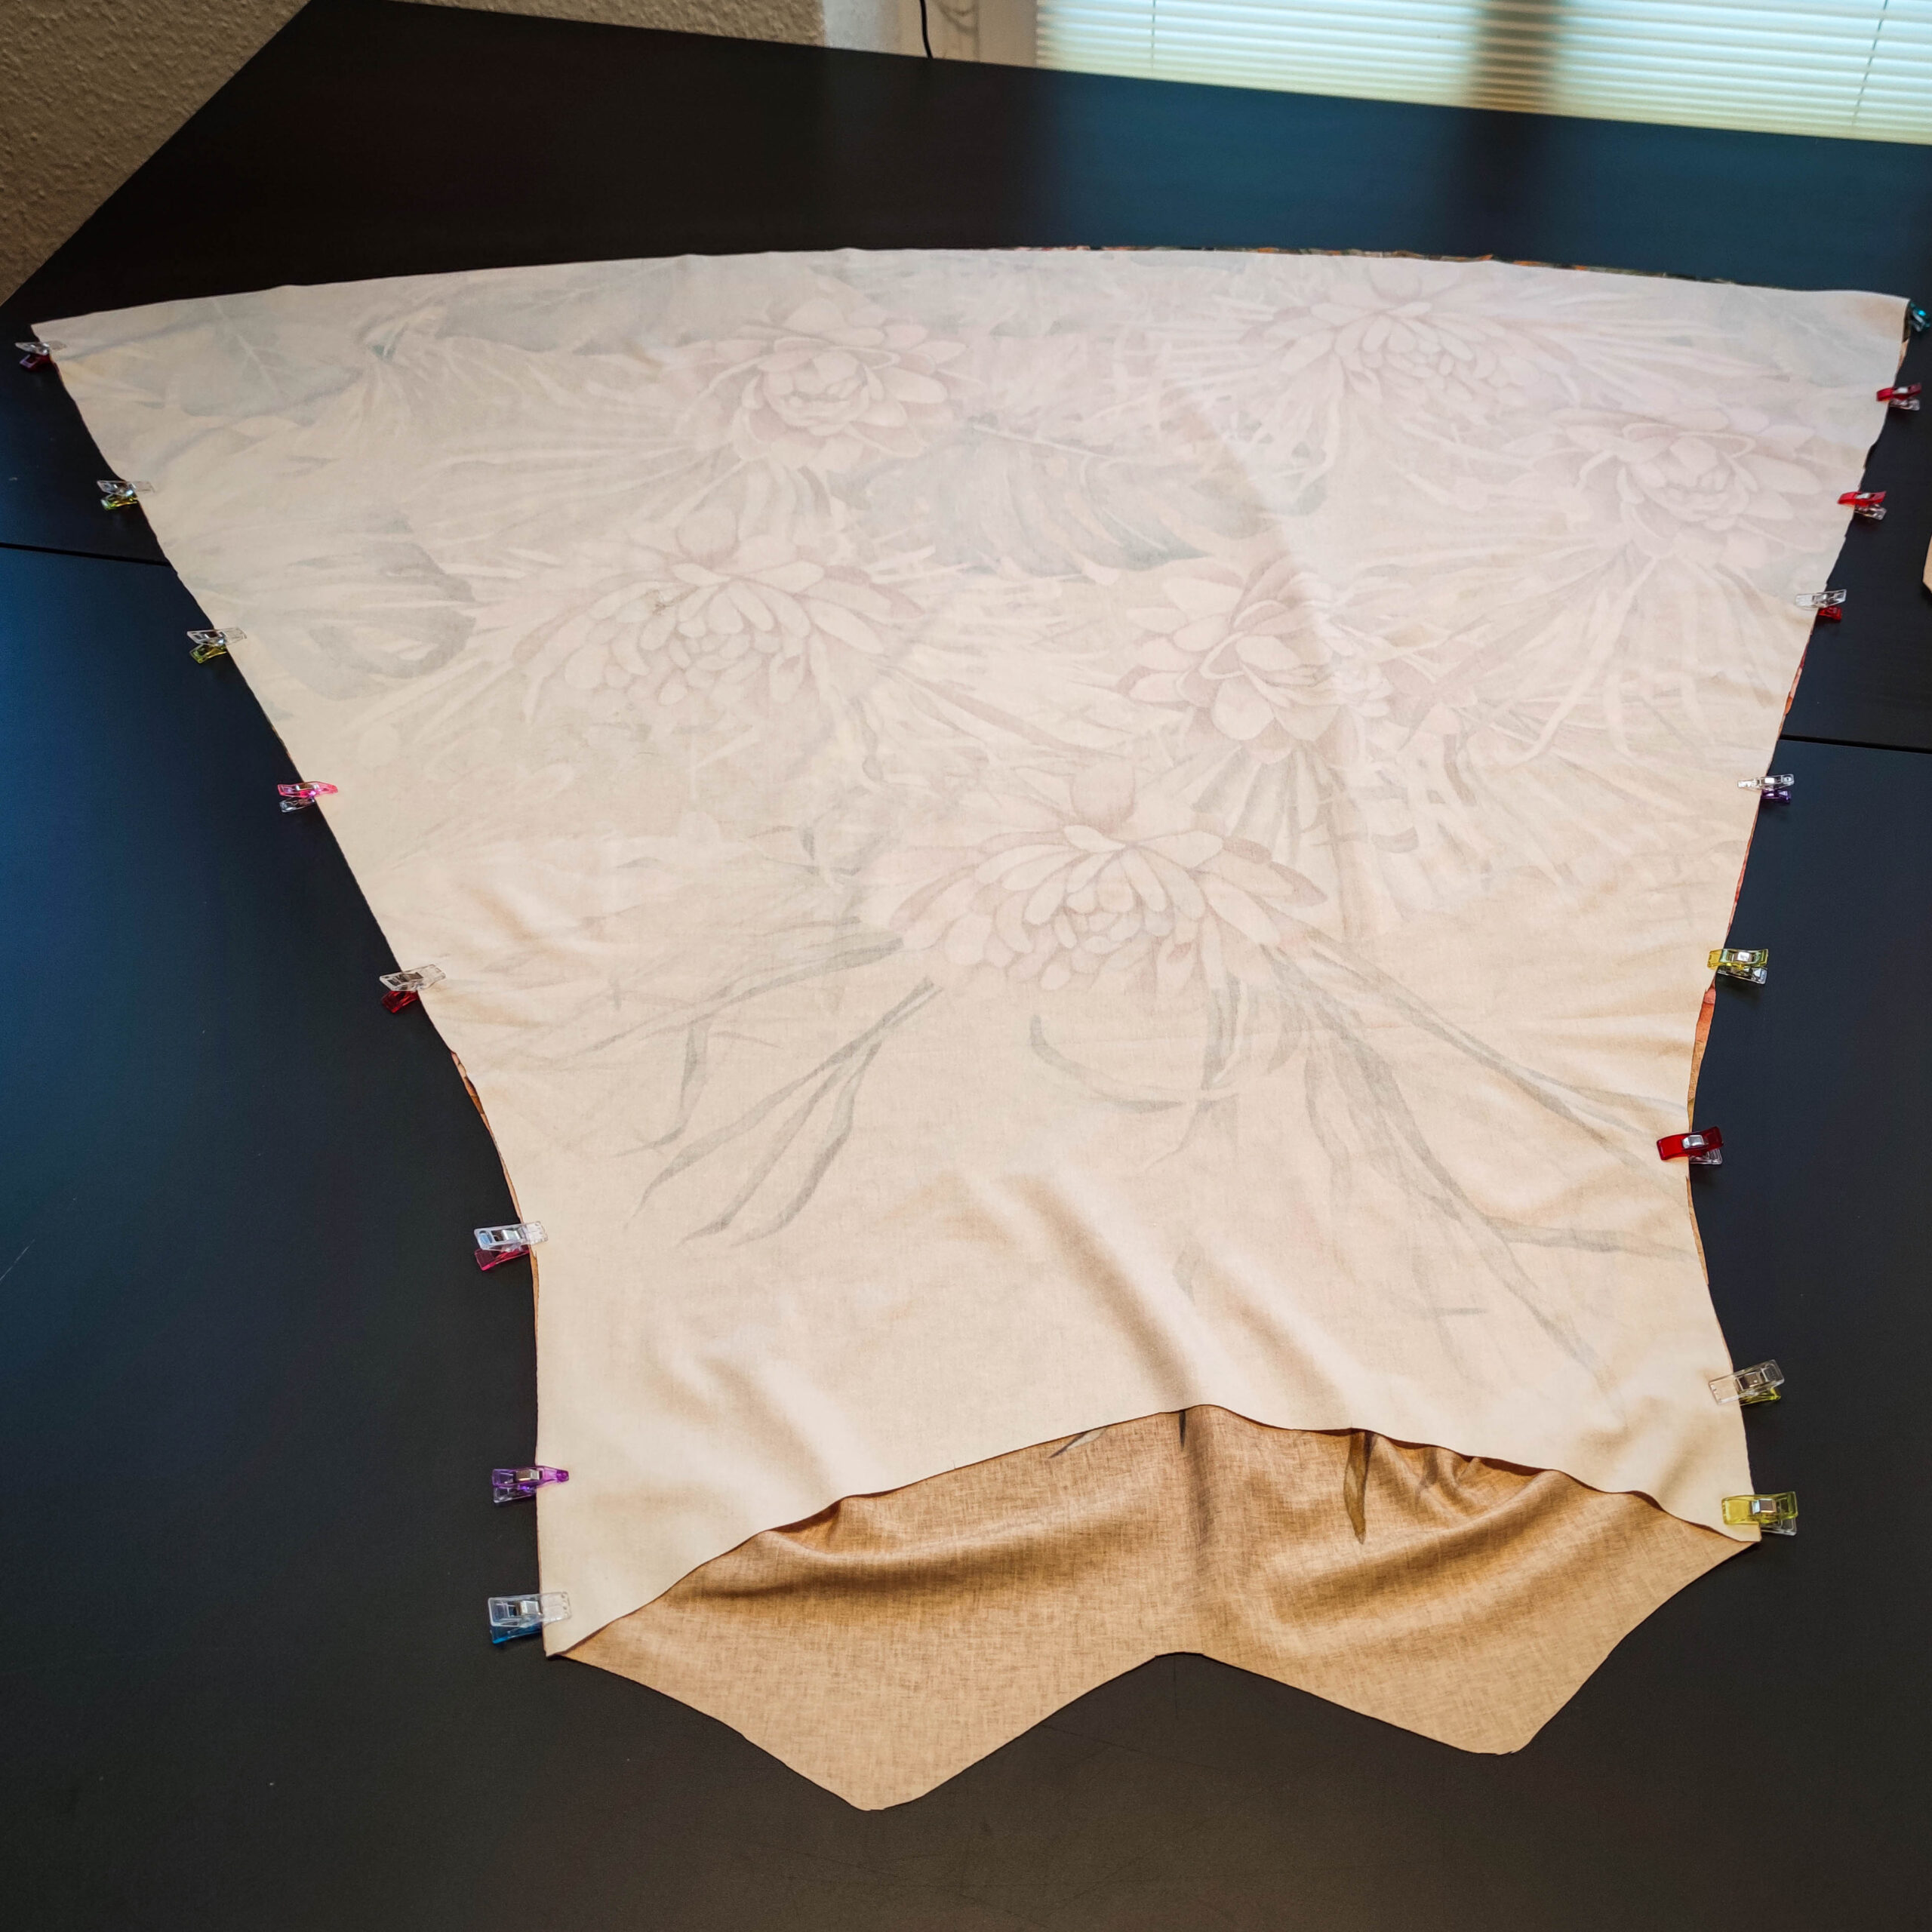
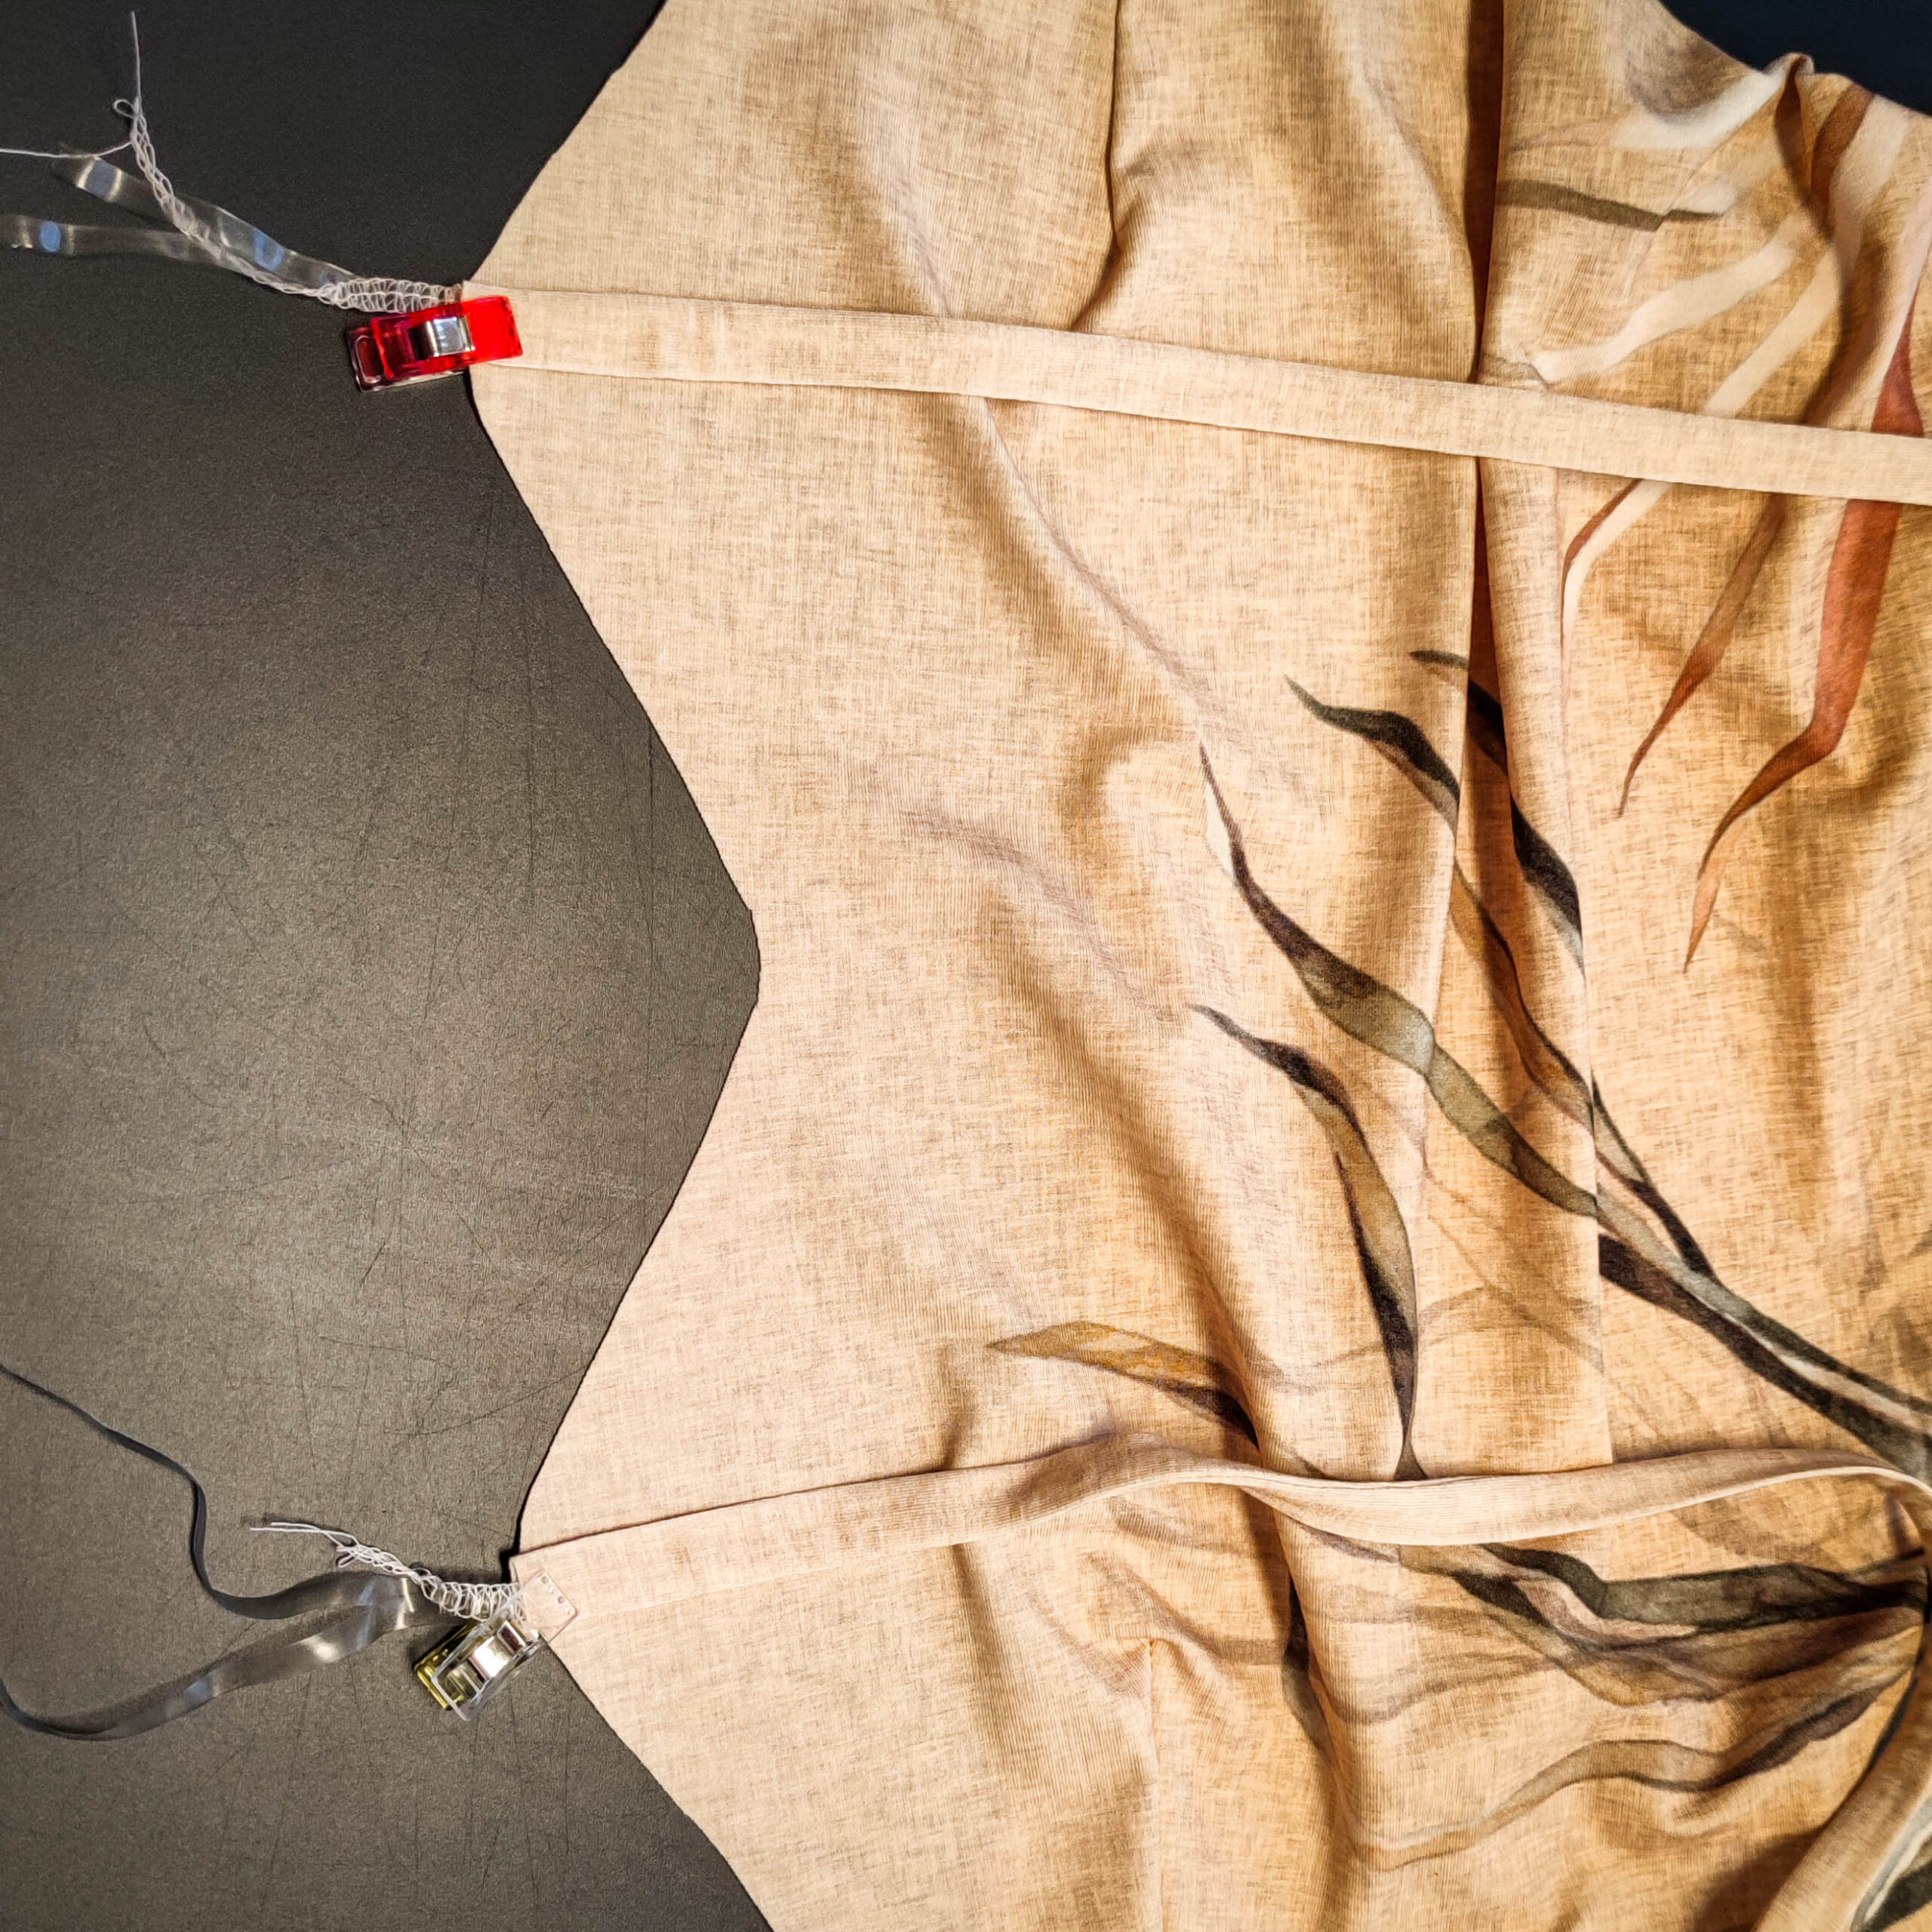
5. Kleid und Futter verbinden
Stecke nun das Futter rechts auf rechts an den Ausschnittkanten an das Kleid und nähe es mit der Nähmaschine fest. Lass im Bereich der Trägermarkierung am Rückenteil jeweils ein Stückchen offen. So kannst du die Träger bei der ersten Anprobe in der Länge anpassen.
Wende das Kleid auf rechts und stecke die Träger in die Öffnungen am Rückteil. Fixiere sie mit einer Stecknadel in der gewünschten Position.
Wende das Kleid wieder auf links, und nähe die Träger final fest.
Bügle das Kleid nun einmal gründlich. Damit von vorne später keine Naht zu sehen ist, das Futter aber nicht herausrutscht, wird der Ausschnitt optional flachgesteppt. Das bedeutet, dass die Nahtzugaben auf der Futterseite mit 2mm Abstand zur Naht einmal ringsherum festgesteppt werden.
Natürlich kannst du auch einfach klassisch von rechts absteppen.
Säume das Kleid.
5. Finish the Dress
Now pin the lining right sides together at the neckline of the dress and sew it with the sewing machine. Leave a little space open in the area of the strap markings on the back. You can adjust the length of the straps the first time you try the dress on.
Turn the dress right side out and insert the straps into the openings in the back. Secure them in the desired position with a pin.
Turn the dress inside out and sew the straps in place.
Now iron the dress thoroughly. The neckline is flat-stitched so that no seam can be seen from the front later, but the lining does not slip out. This means that the seam allowances on the lining side are stitched all the way around with a 2mm gap to the seam.
You can also simply topstitch from the right in the classic way.
Hem the dress.
6. Tunnel nähen
Der Tunnel ist optional. Du kannst das Kleid ohne Tunnel tragen oder mit einem Gürtel in der Taille.
Für den Tunnel lege zunächst das Futterschnittteil auf und markiere dir die Abstände. Nähe mit einem Geradstich ringsherum um das Futter am Kleid zu fixieren und einen Tunnel zu schaffen. Lasse in einer Naht eine Öffnung zum einziehen des Gummis. Ziehe mit Hilfe einer Sicherheitsnadel das Gummi ein, probiere das Kleid und lege die Länge des Gummis fest. Je nach Elastizität des Gummis kann die Länge stark abweichen, daher haben wir hier keine Maße angegeben. Nähe das Gummi zusammen und schließe die Öffnung.
6. Sewing the Tunnel
The tunnel is optional. You can wear the dress without a tunnel or with a belt at the waist.
For the tunnel, first lay out the lining pattern and mark the distances. Sew around with a straight stitch to secure the lining to the dress and create a tunnel. Leave an opening in one seam for the elastic to pull through. Using a safety pin, pull in the elastic, try on the dress, and determine the length of the elastic. Depending on the elasticity, the length can vary, so we have not given any dimensions here. Sew the elastic together and close the opening.