zum Warenkorb 0,00 €
0
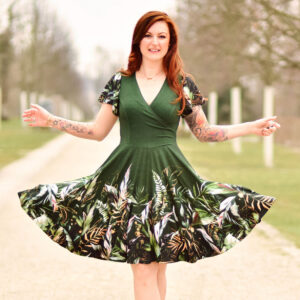
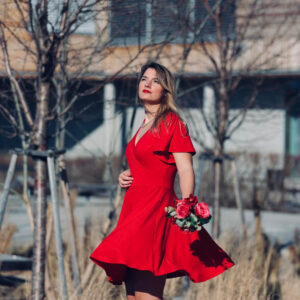
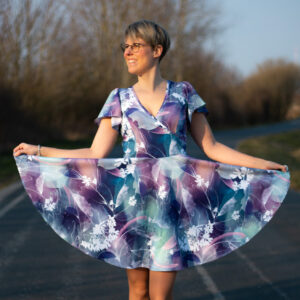
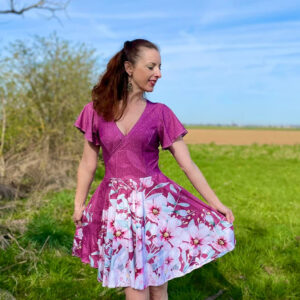
Nähanleitung /// How to sew: Sommerärmel für Nova, Luna, Aurora
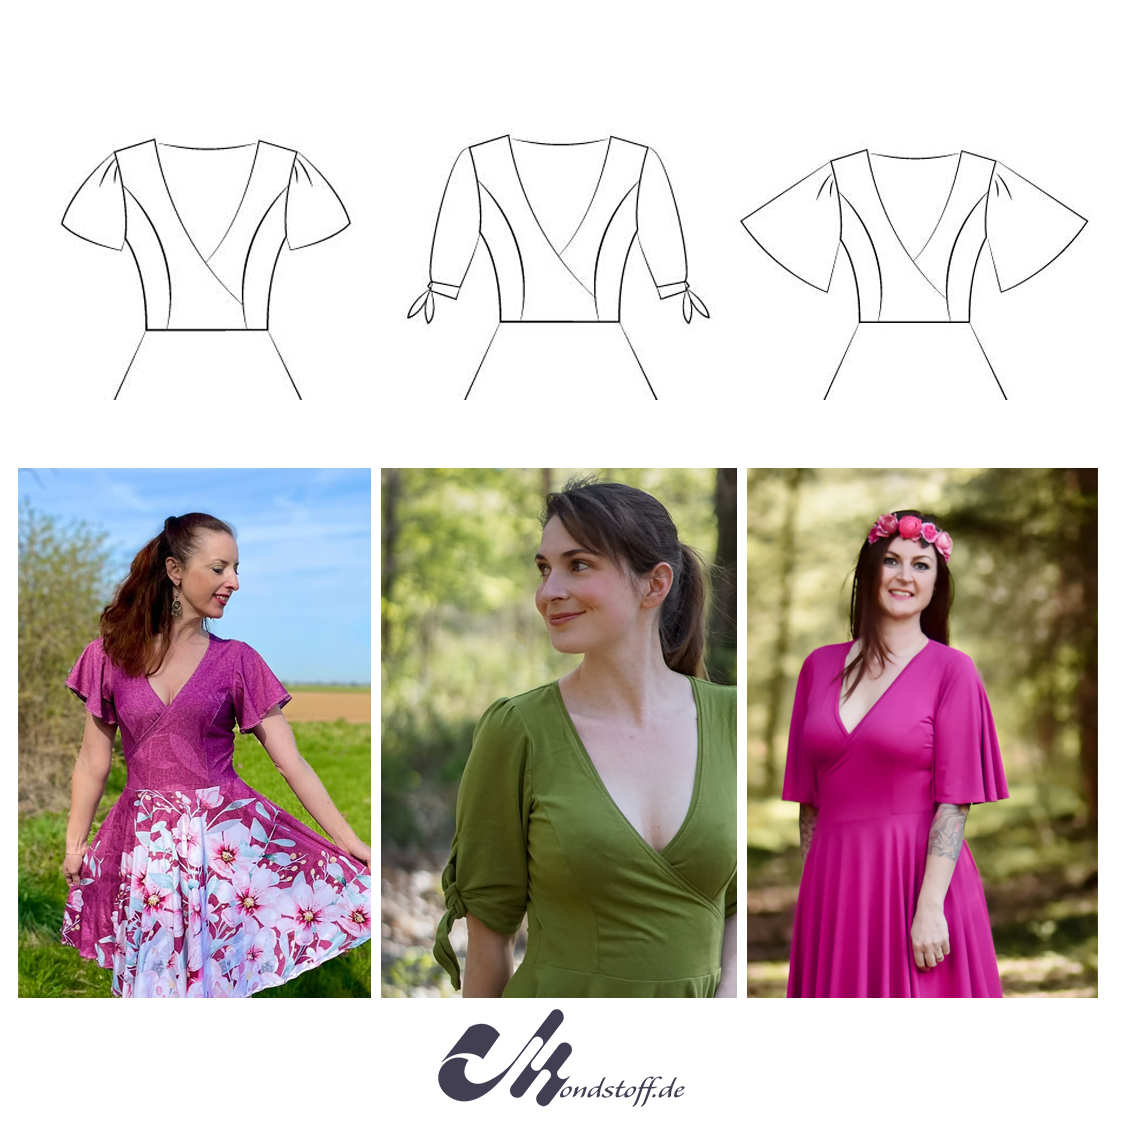
Sommerärmel Add On
Halloooooo Sommer. Unsere Schnitte Nova, Luna und Aurora bekommen hitzetaugliche Ärmel als Add on.
Neben einem Schleifenärmel im Retrolook habt ihr die Wahl zwischen einem kurzen gerafften und einem langen Flatterärmel.
Summersleeves Add On
Hellooooo summer. Our patterns Nova, Luna and Aurora get heat-suitable sleeves as an add-on.
In addition to bow sleeves in a retro look, you have the choice between short and long flutter sleeves.
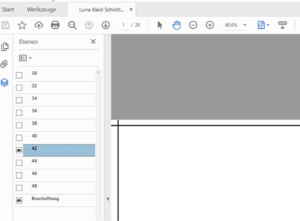
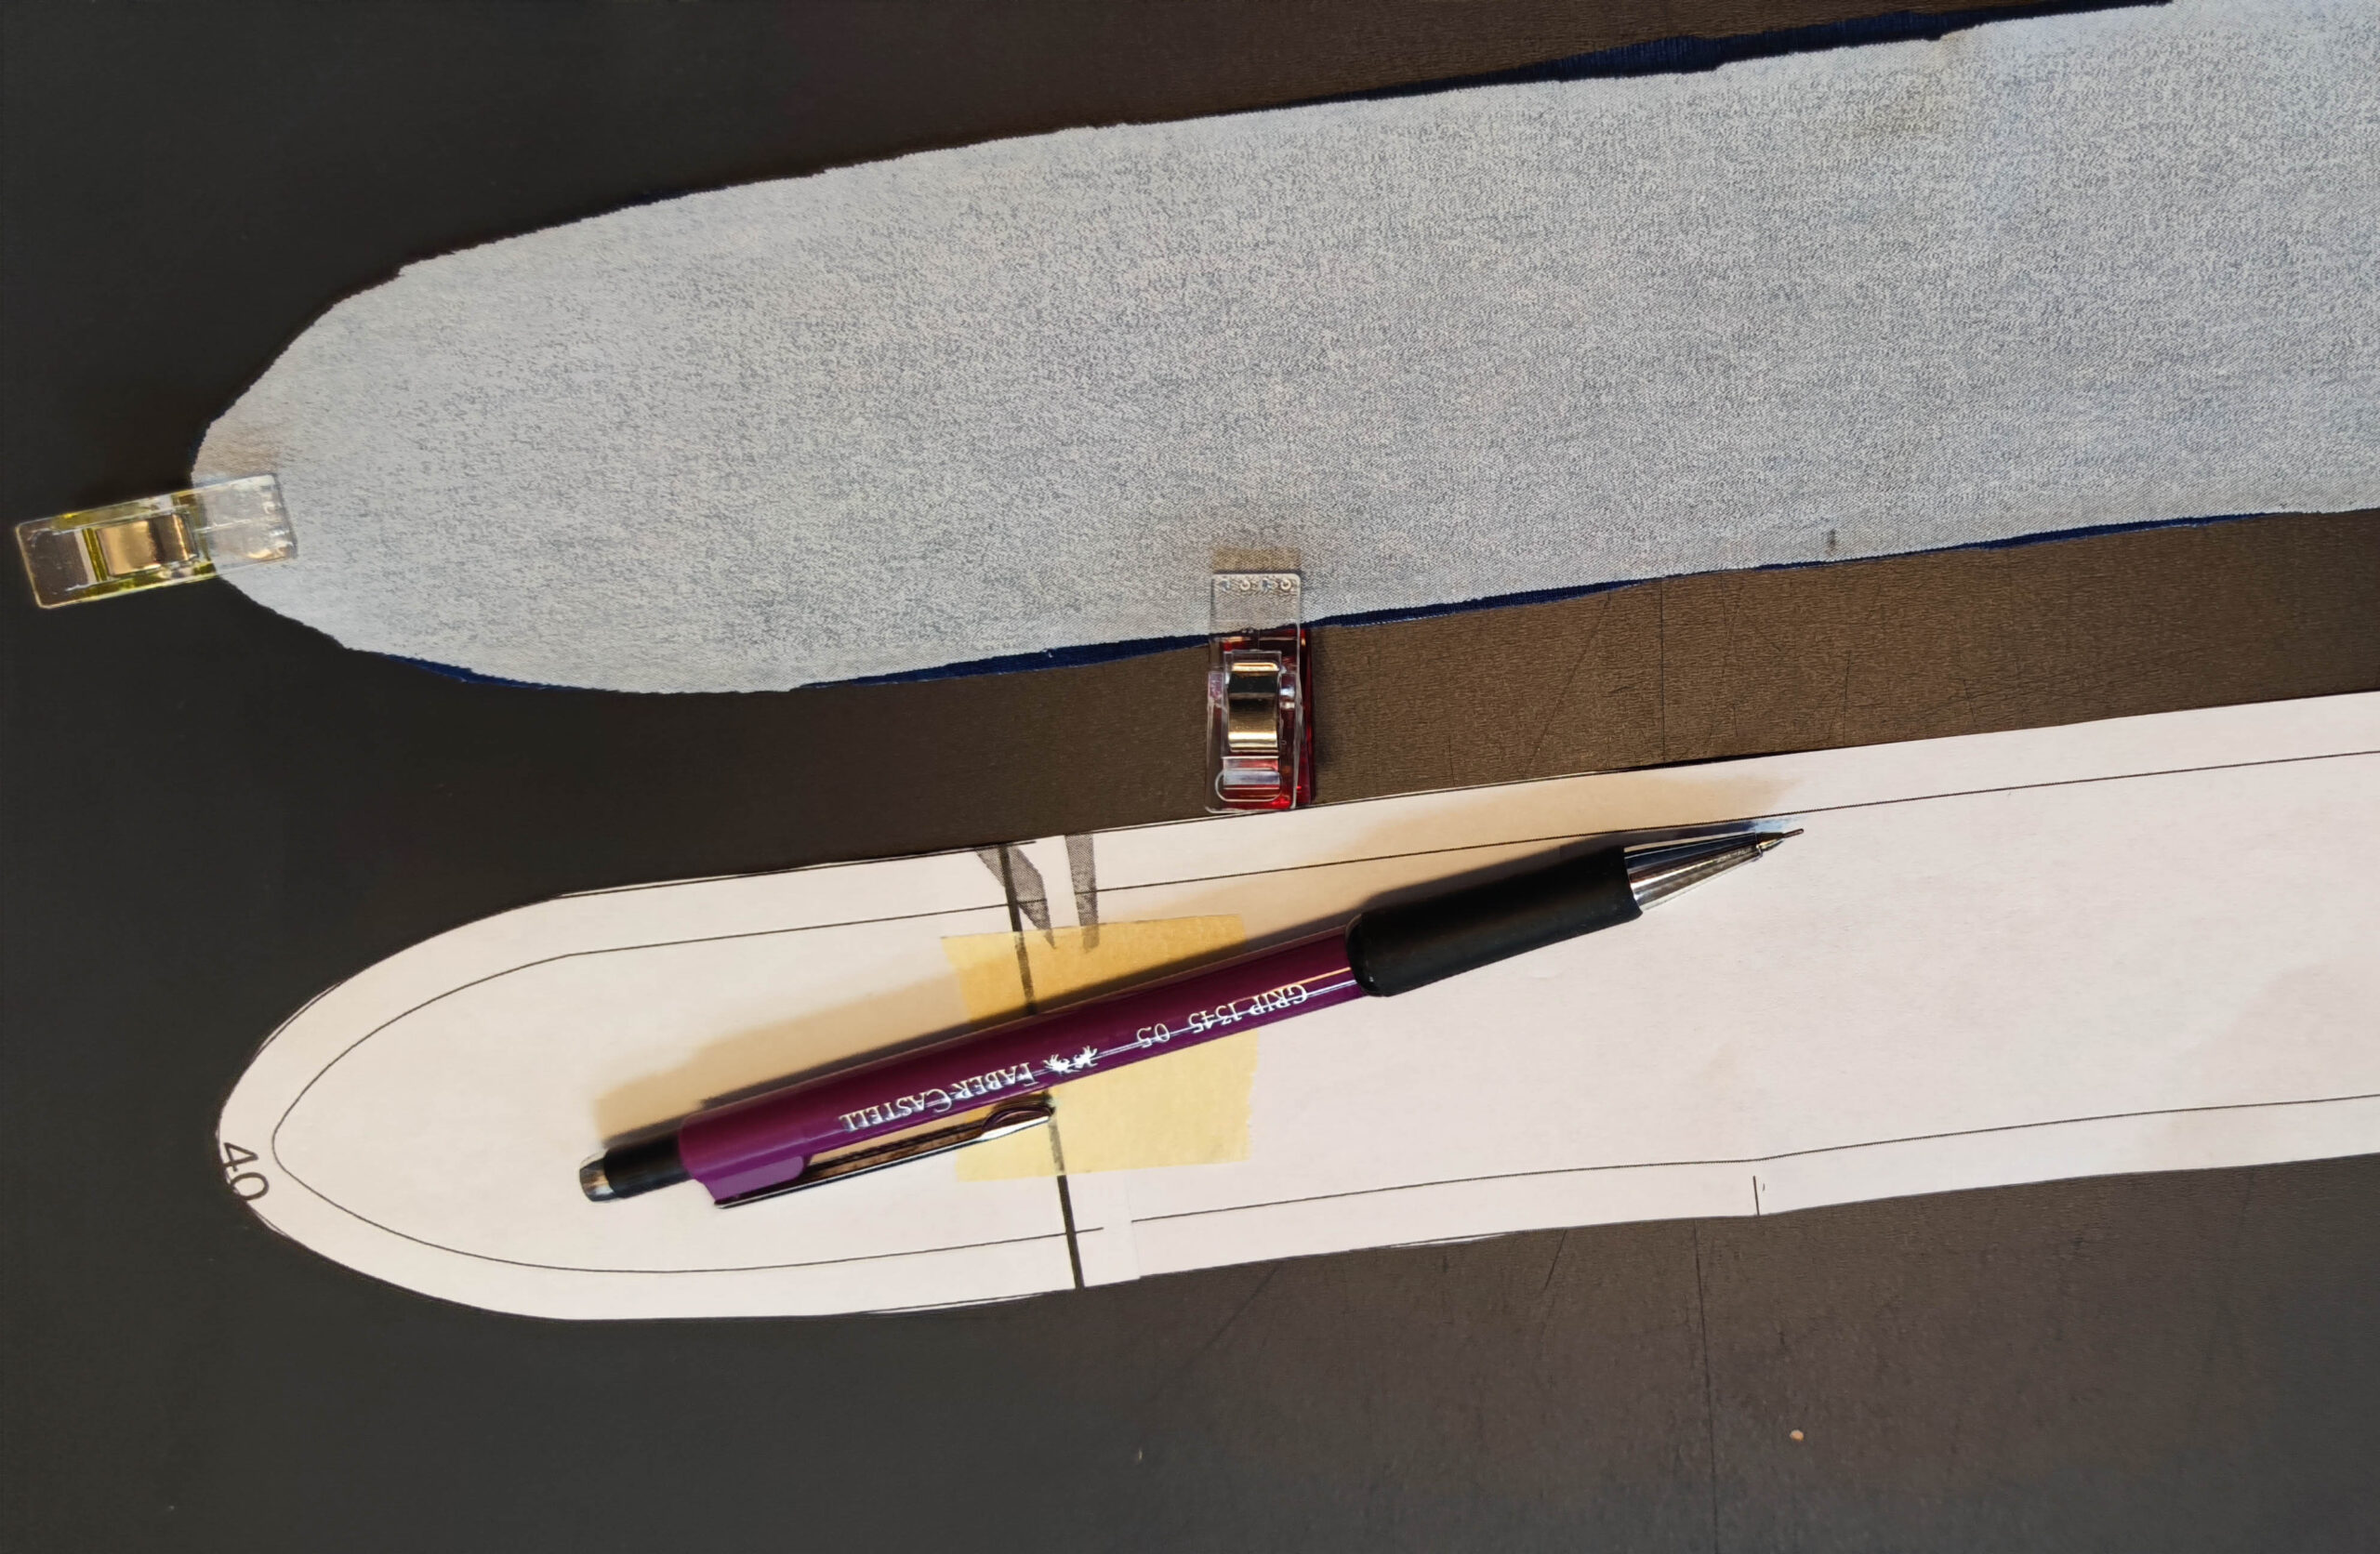
Richtige Größe drucken
Die gekauften Dateien haben zwei verschiedene Varianten: A4 und A0 Dateien. Die A0 kannst du online oder in einem Copyshop drucken lassen, A4 kann dein Drucker drucken. Bei beiden Varianten ist es dir möglich, nur die Größe zu drucken, die du tatsächlich benötigst. Oder zwei-drei Größen, falls du Anpassungen vornehmen musst.
Öffne die Datei im Acrobat Reader und klicke das Symbol in der linken Leiste am Rand an, das auf dem Bild blau dargestellt ist. Daraufhin klappt ein neues Menü auf, in dem du durch einen Klick auf das Auge die Größen ein- und ausblenden kannst. Die Ebene „Beschriftung“ sollte immer an bleiben. Beim oben gezeigten Beispiel würdest du Gr. 42 drucken.
Blende nun alle unnötigen Größen aus und drucke das Schnittmuster wie gewohnt. Auf dem Beispielbild ist es die Größe 42, die gedruckt wird.
Print the correct size
The purchased files come in two different variants: A4 and A0 files. You can have the A0 printed online or in a copy shop. Your printer can print A4. With both variants it is possible for you to print only the size that you actually need. Or two to three sizes in case you need to make adjustments.
Open the file in Acrobat Reader and click on the symbol in the left bar at the edge, which is shown in blue on the picture. A new menu then opens in which you can show and hide sizes by clicking on the eye. The „labeling“ layer should always remain on.
Now hide all unnecessary sizes and print the pattern as usual. Using the example above, you would print size 42 only.
Maßtabelle /// Size chart (cm)

Der Schleifenärmel
The Bow Sleeve
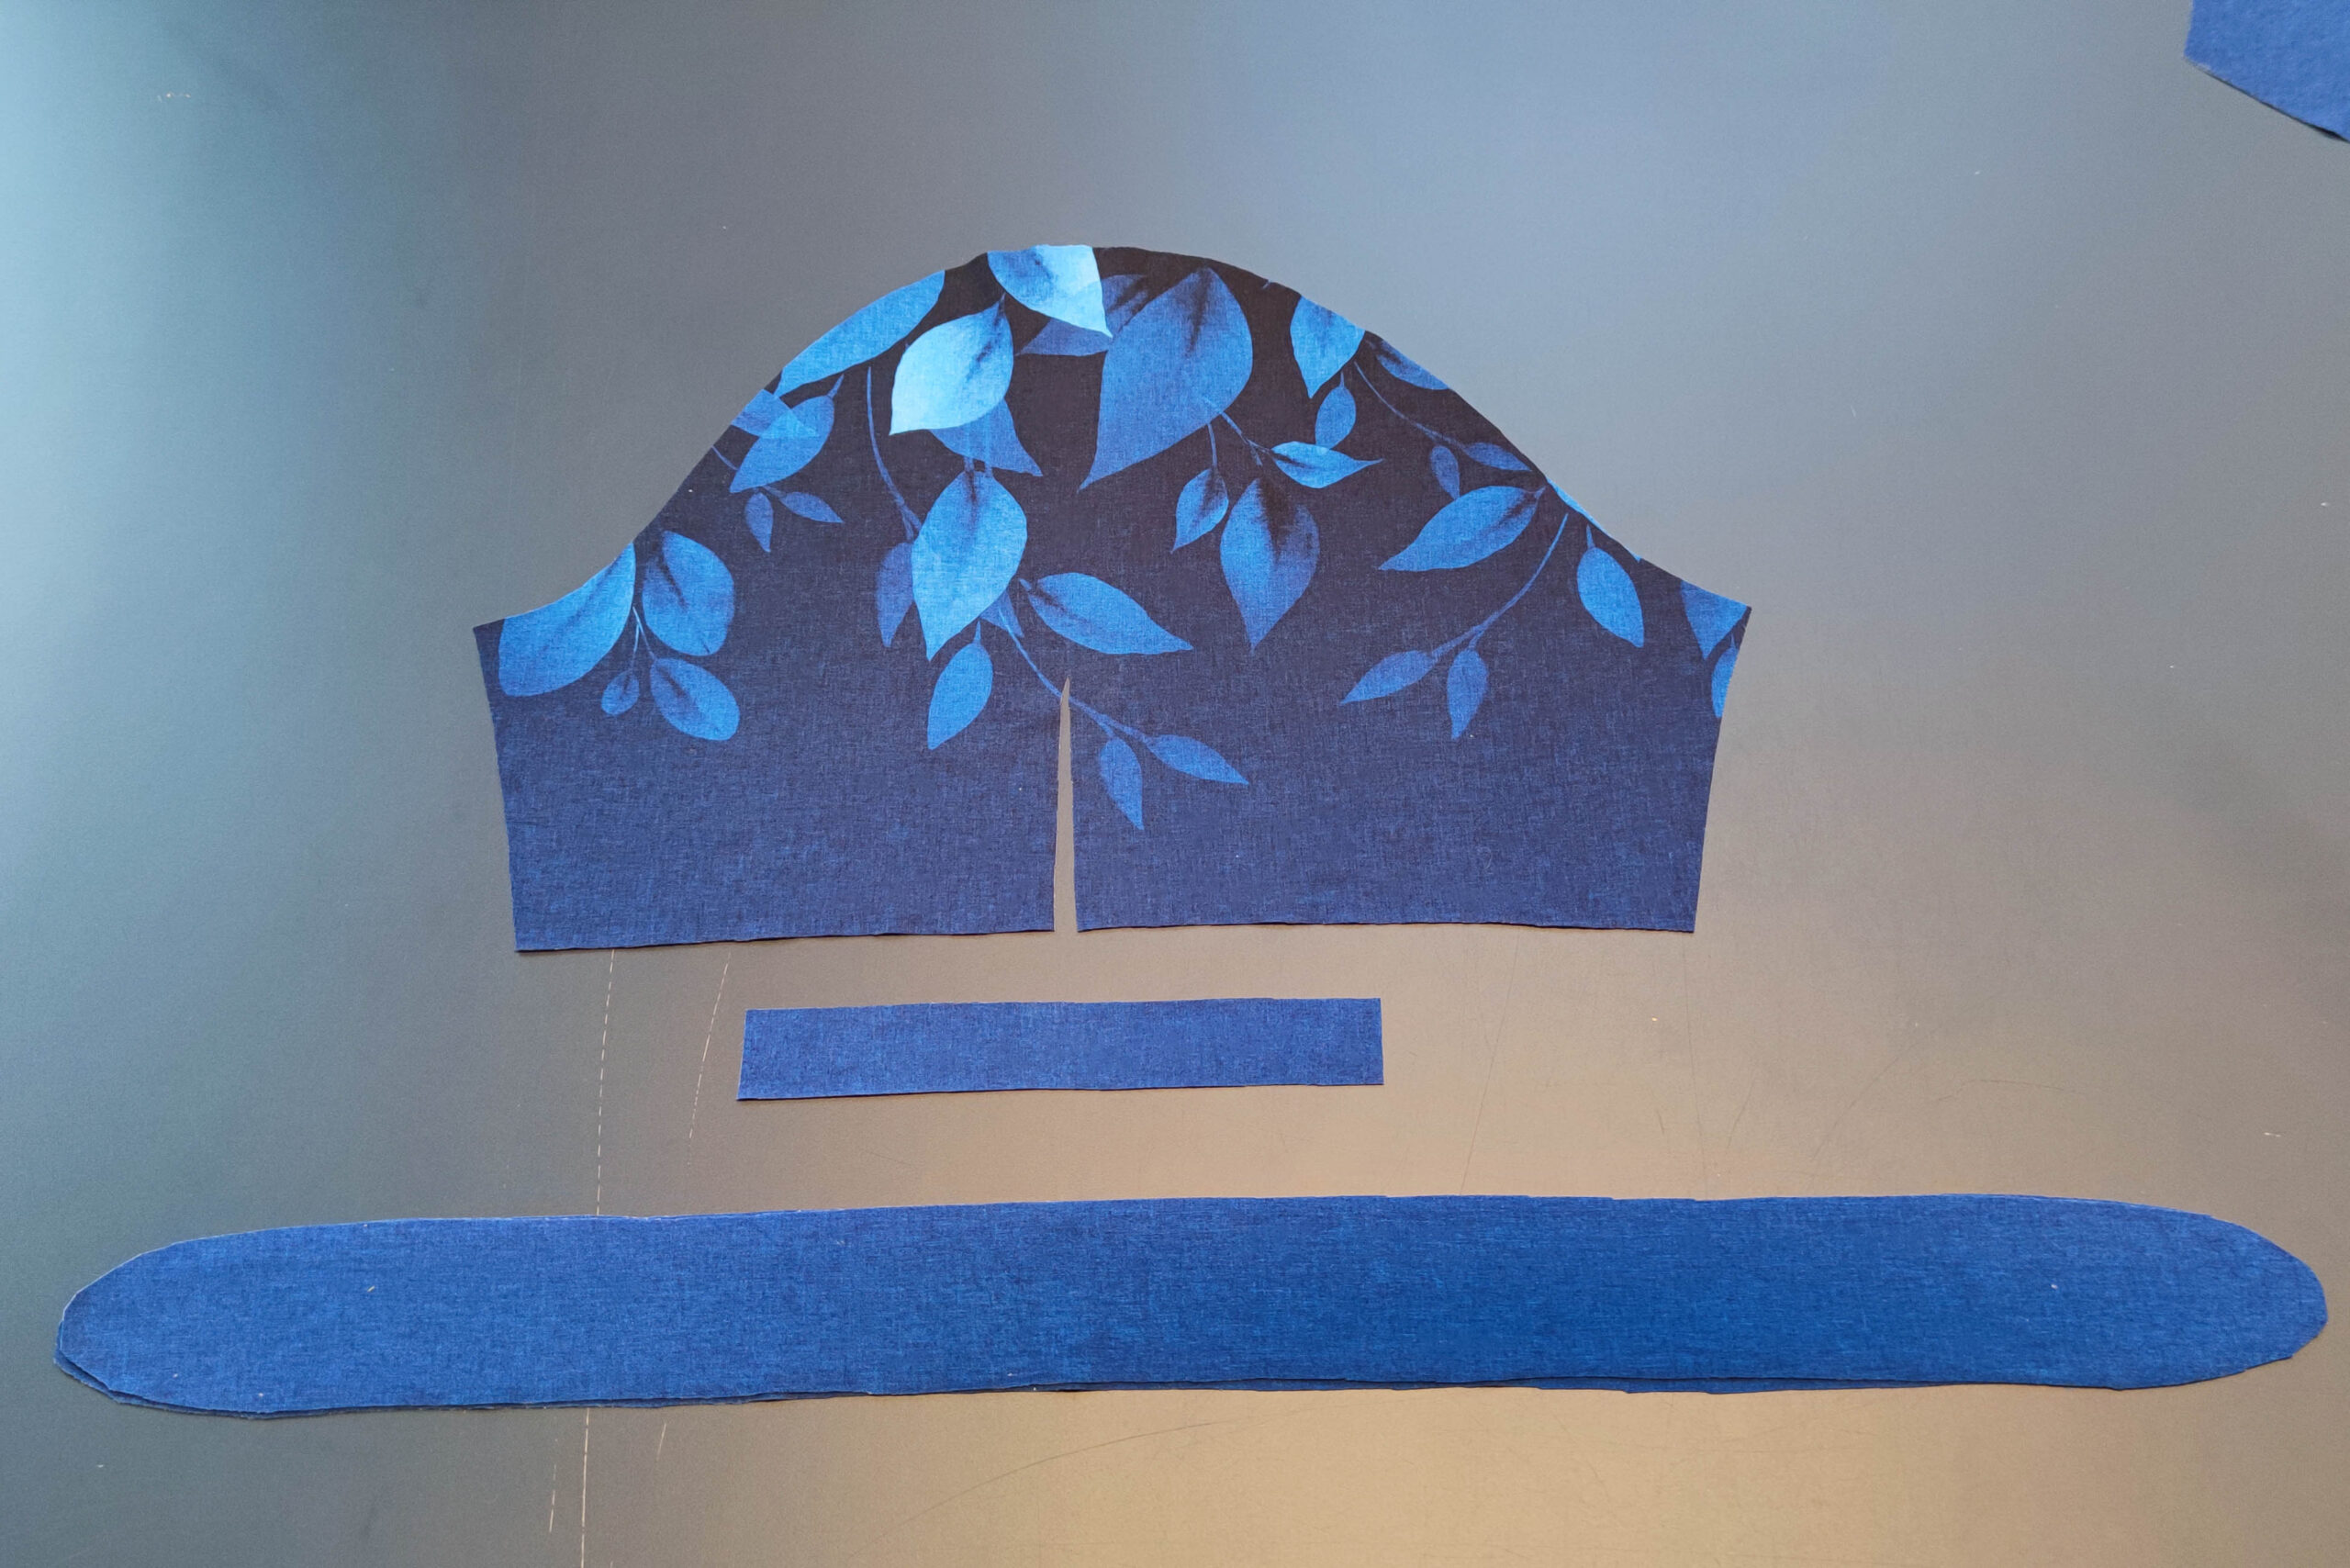
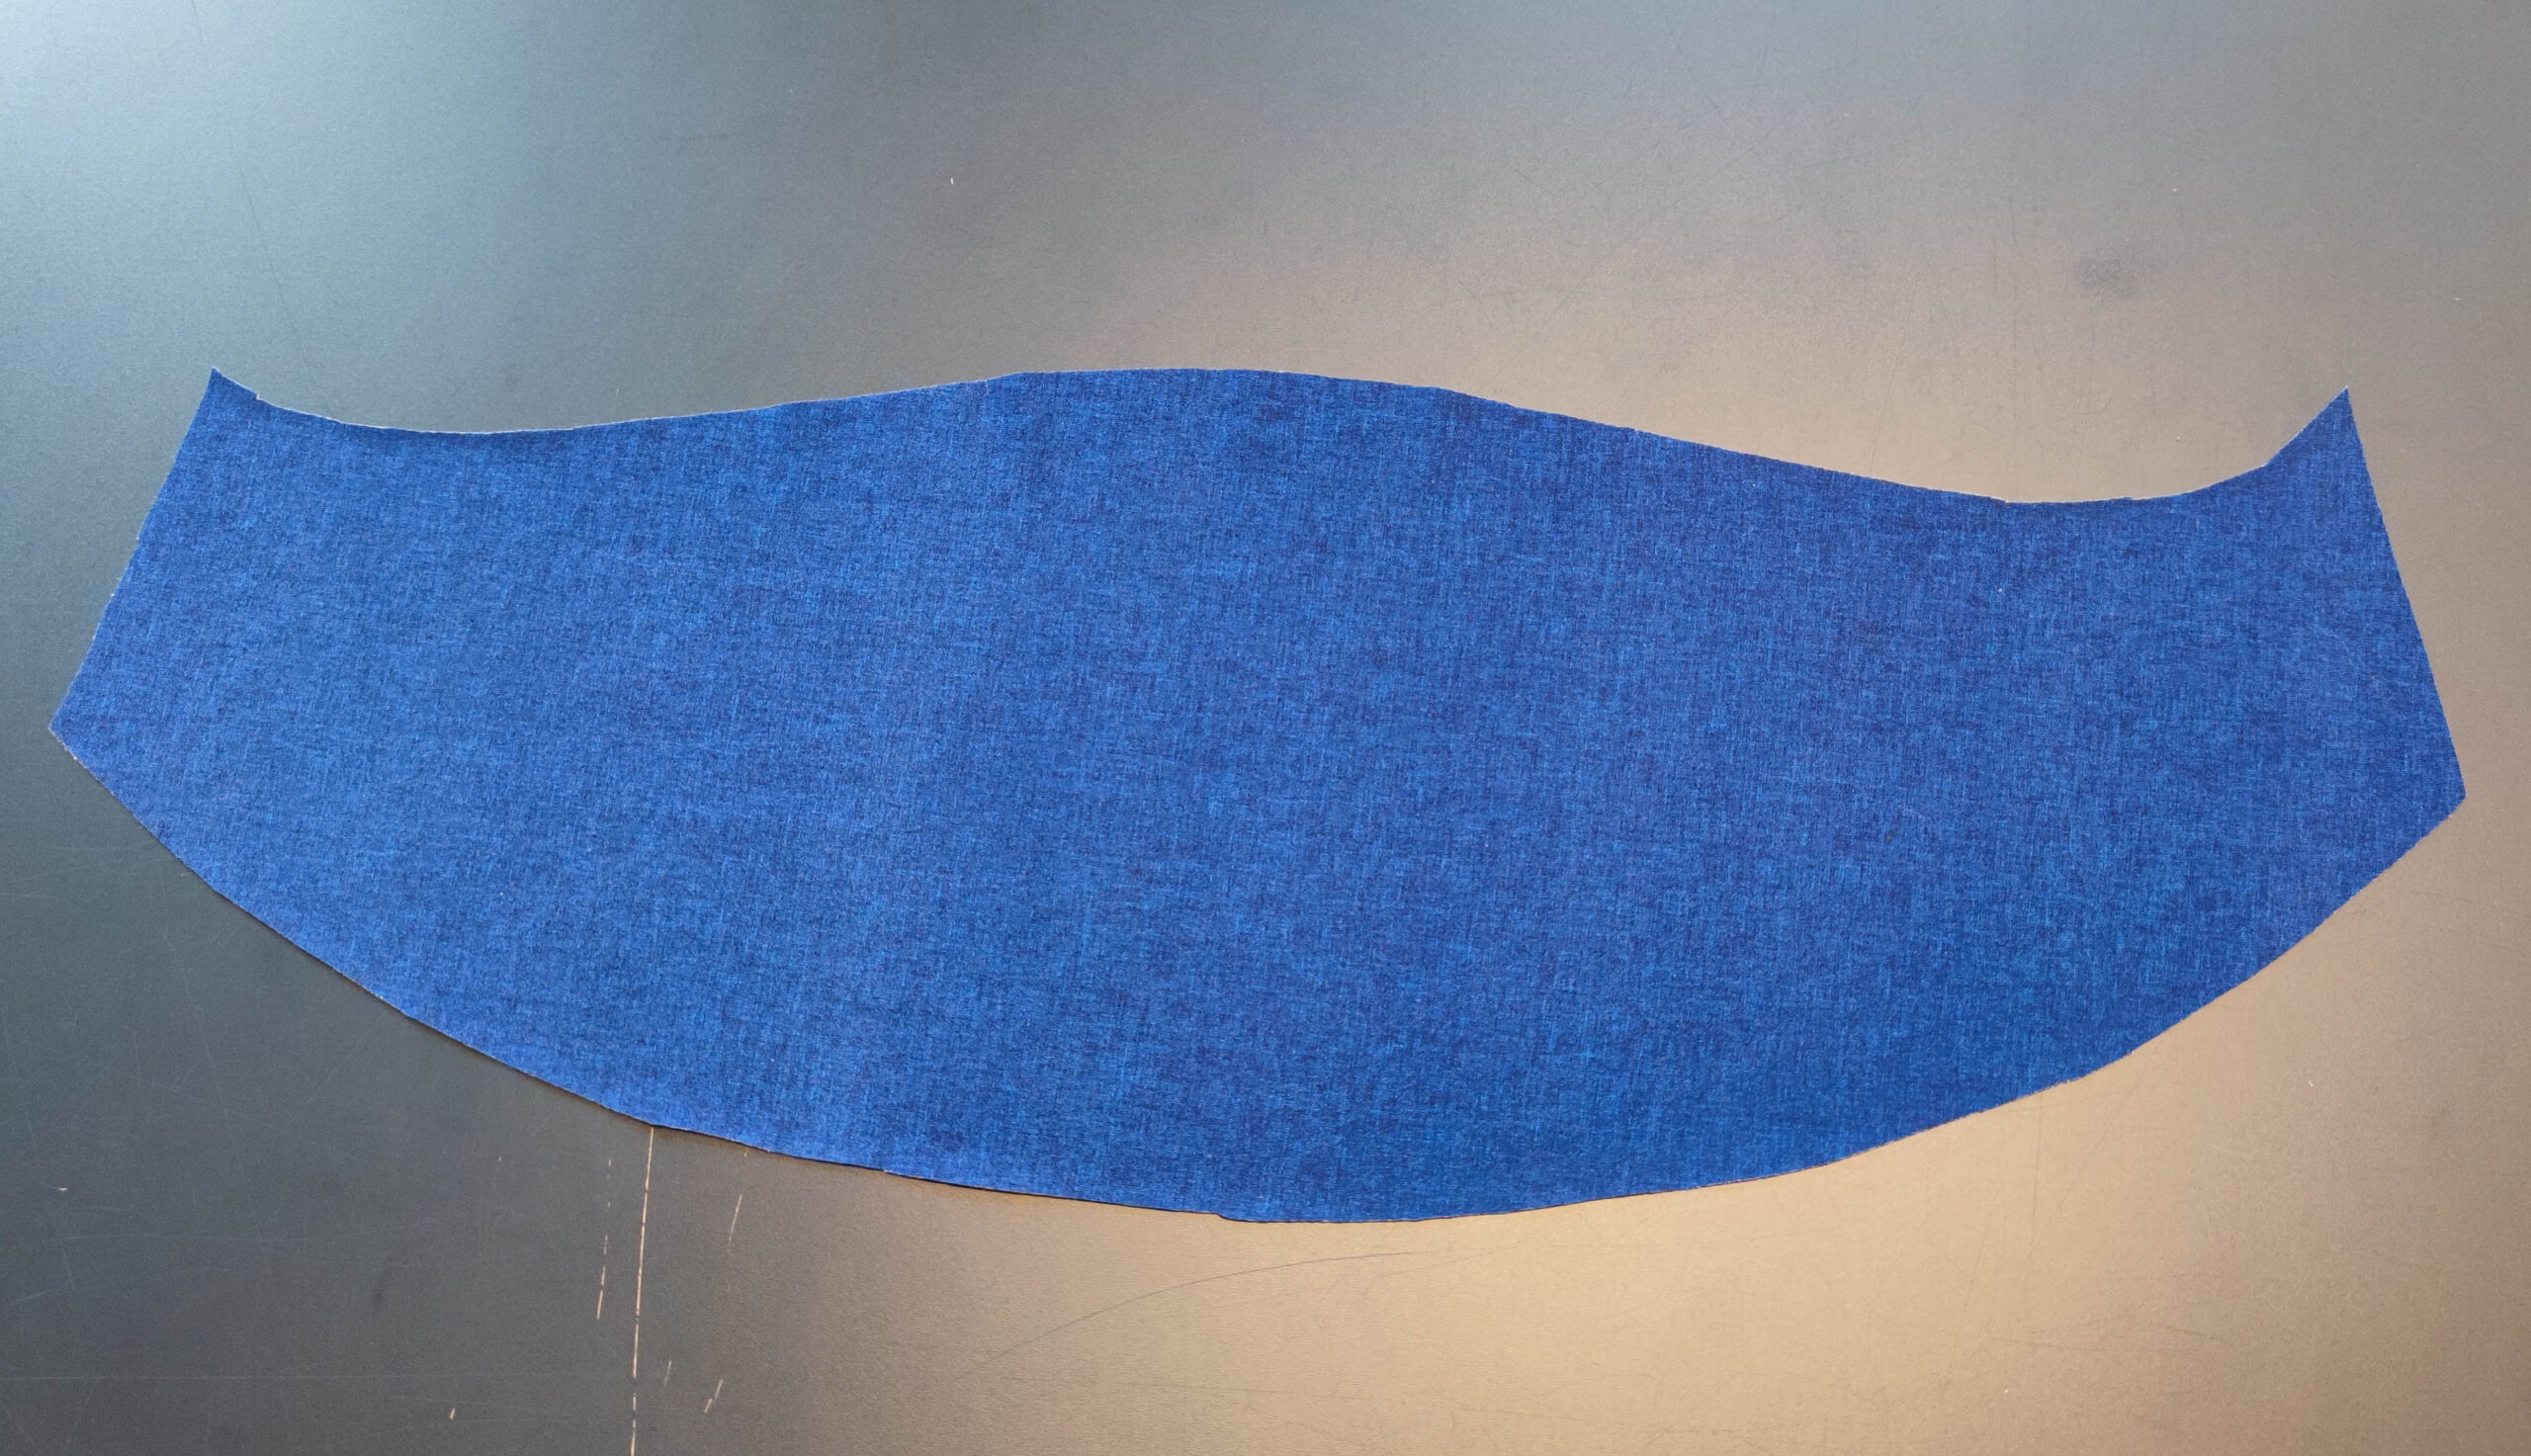
1. Zuschnitt
2x Ärmel gegengleich
4x Schleifenband
2x Versäuberungsstreifen (Höhe: 3 cm, Länge: 21 cm)
Übertrage alle Passzeichen.
1. Cutting
2x sleeves in opposite directions
4x ribbon
2x strips (height: 3 cm, length: 21 cm)
Transfer all marks.
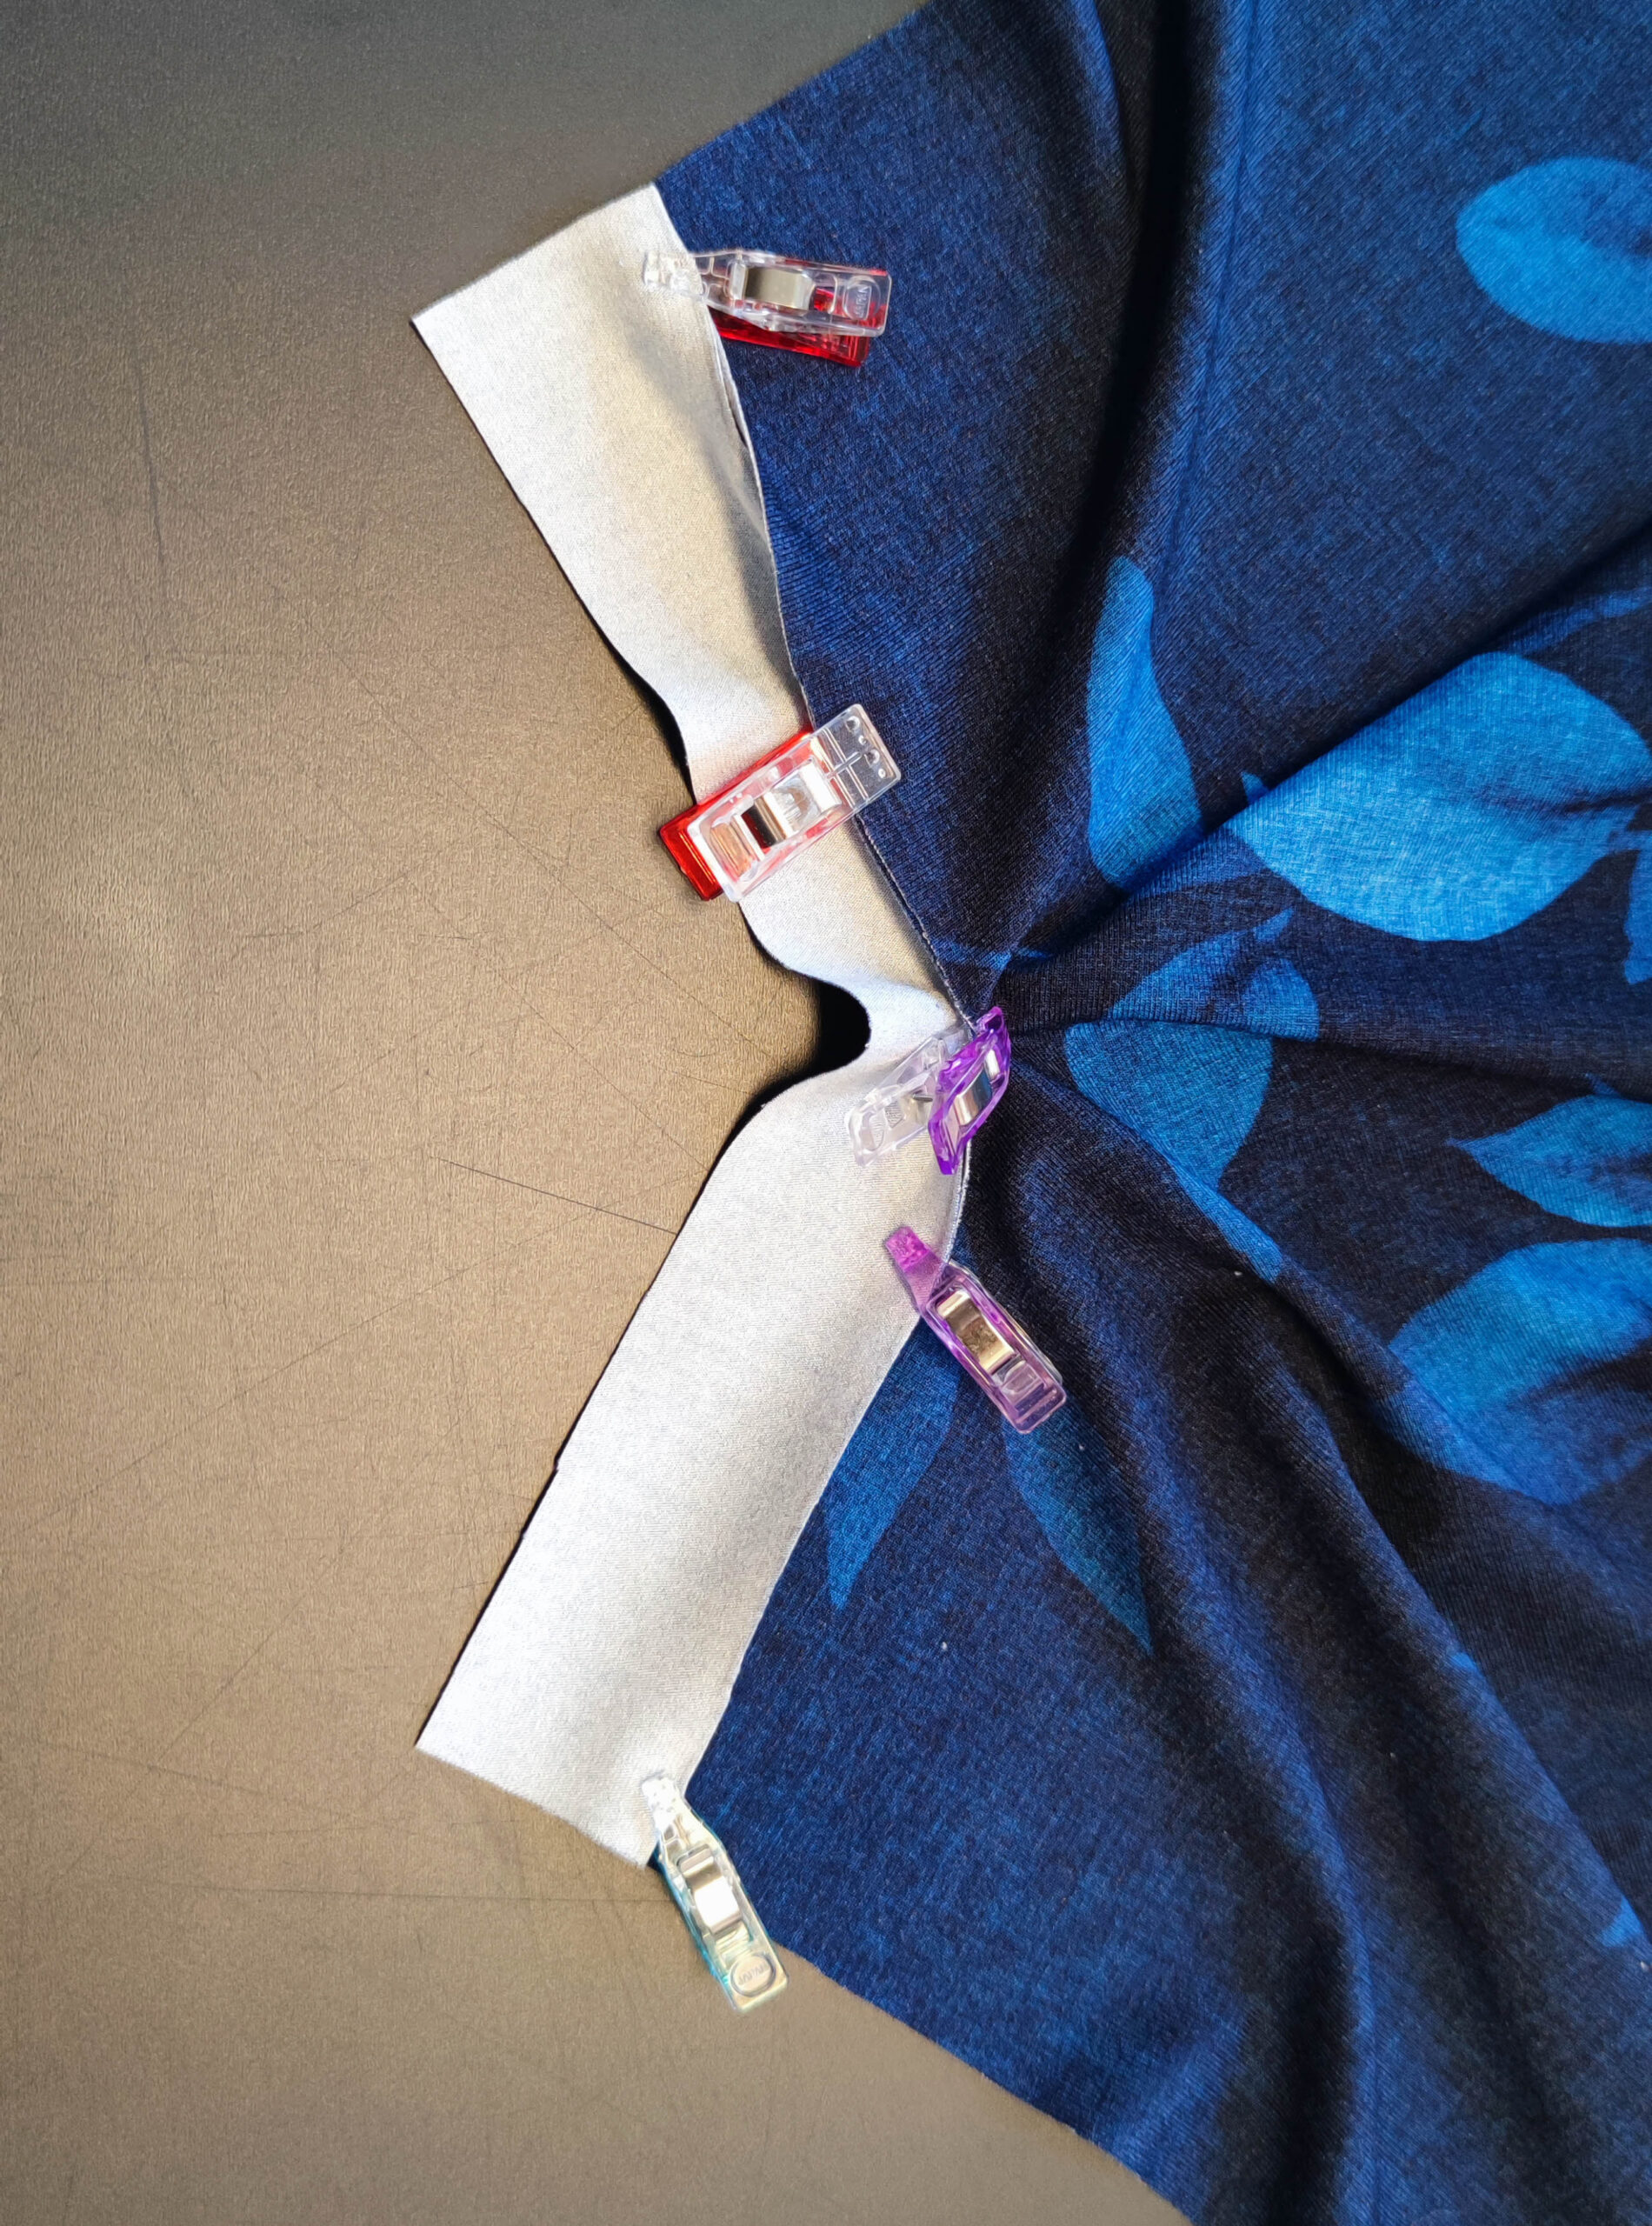
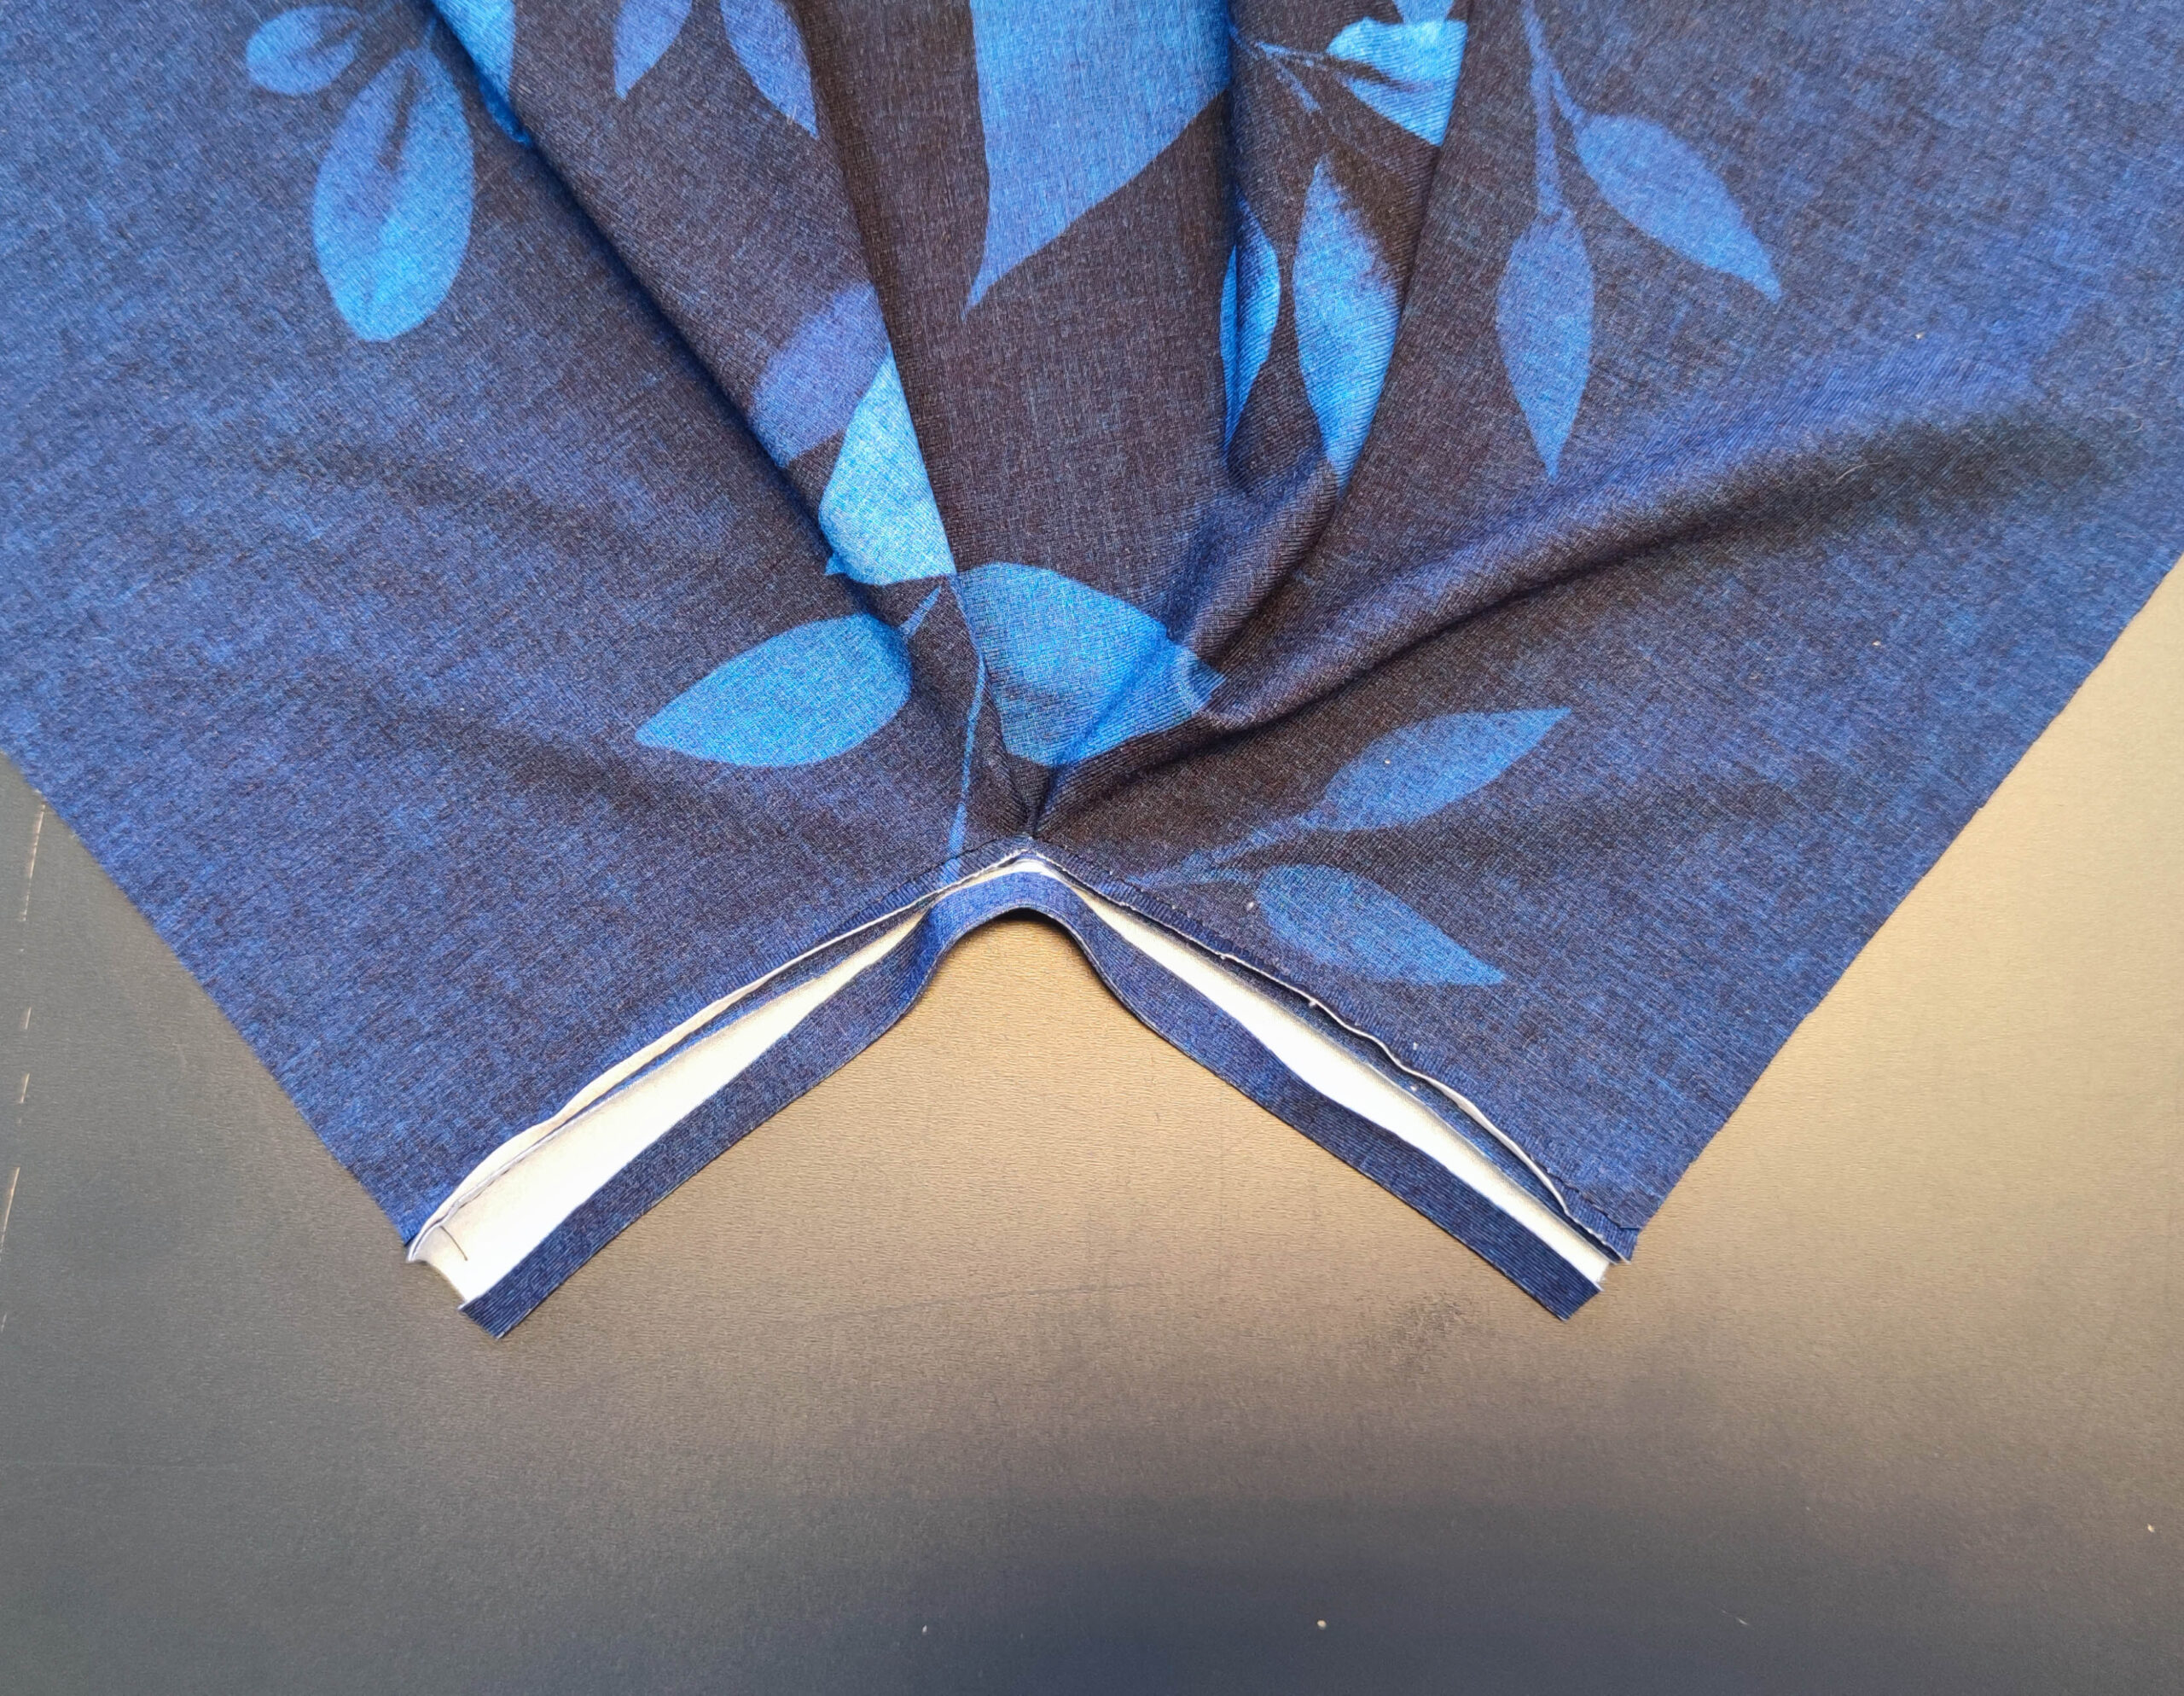
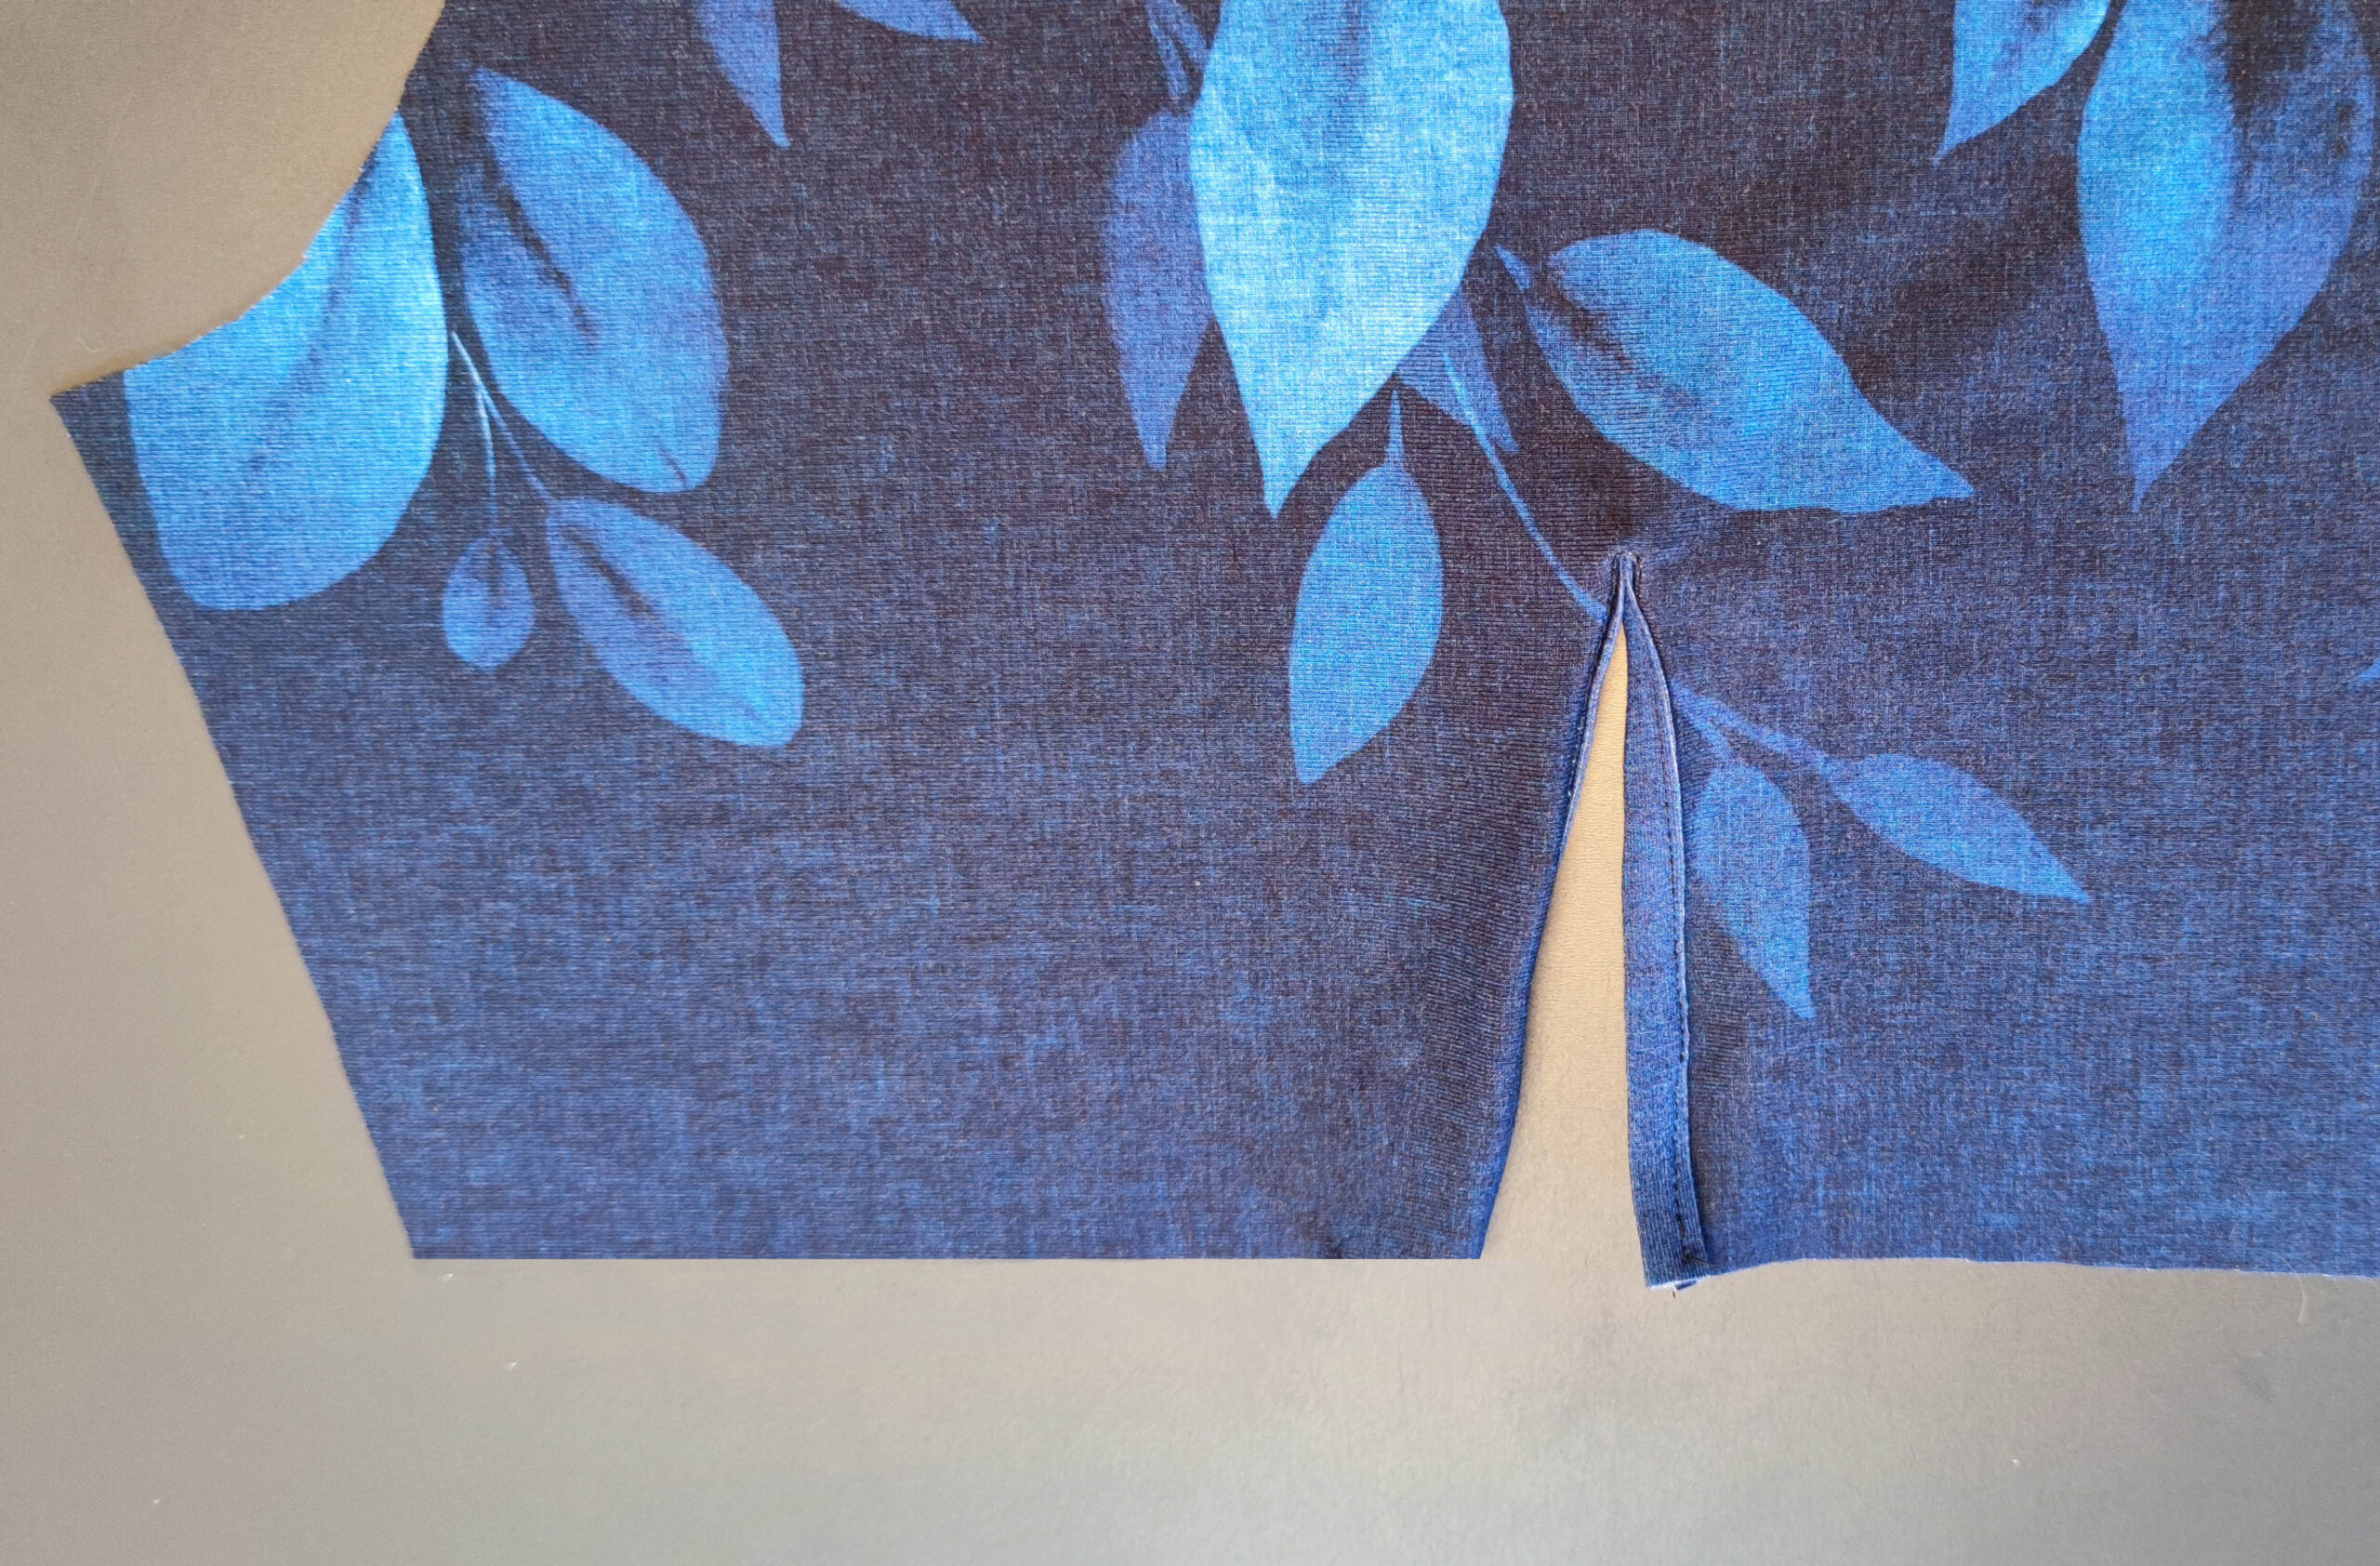
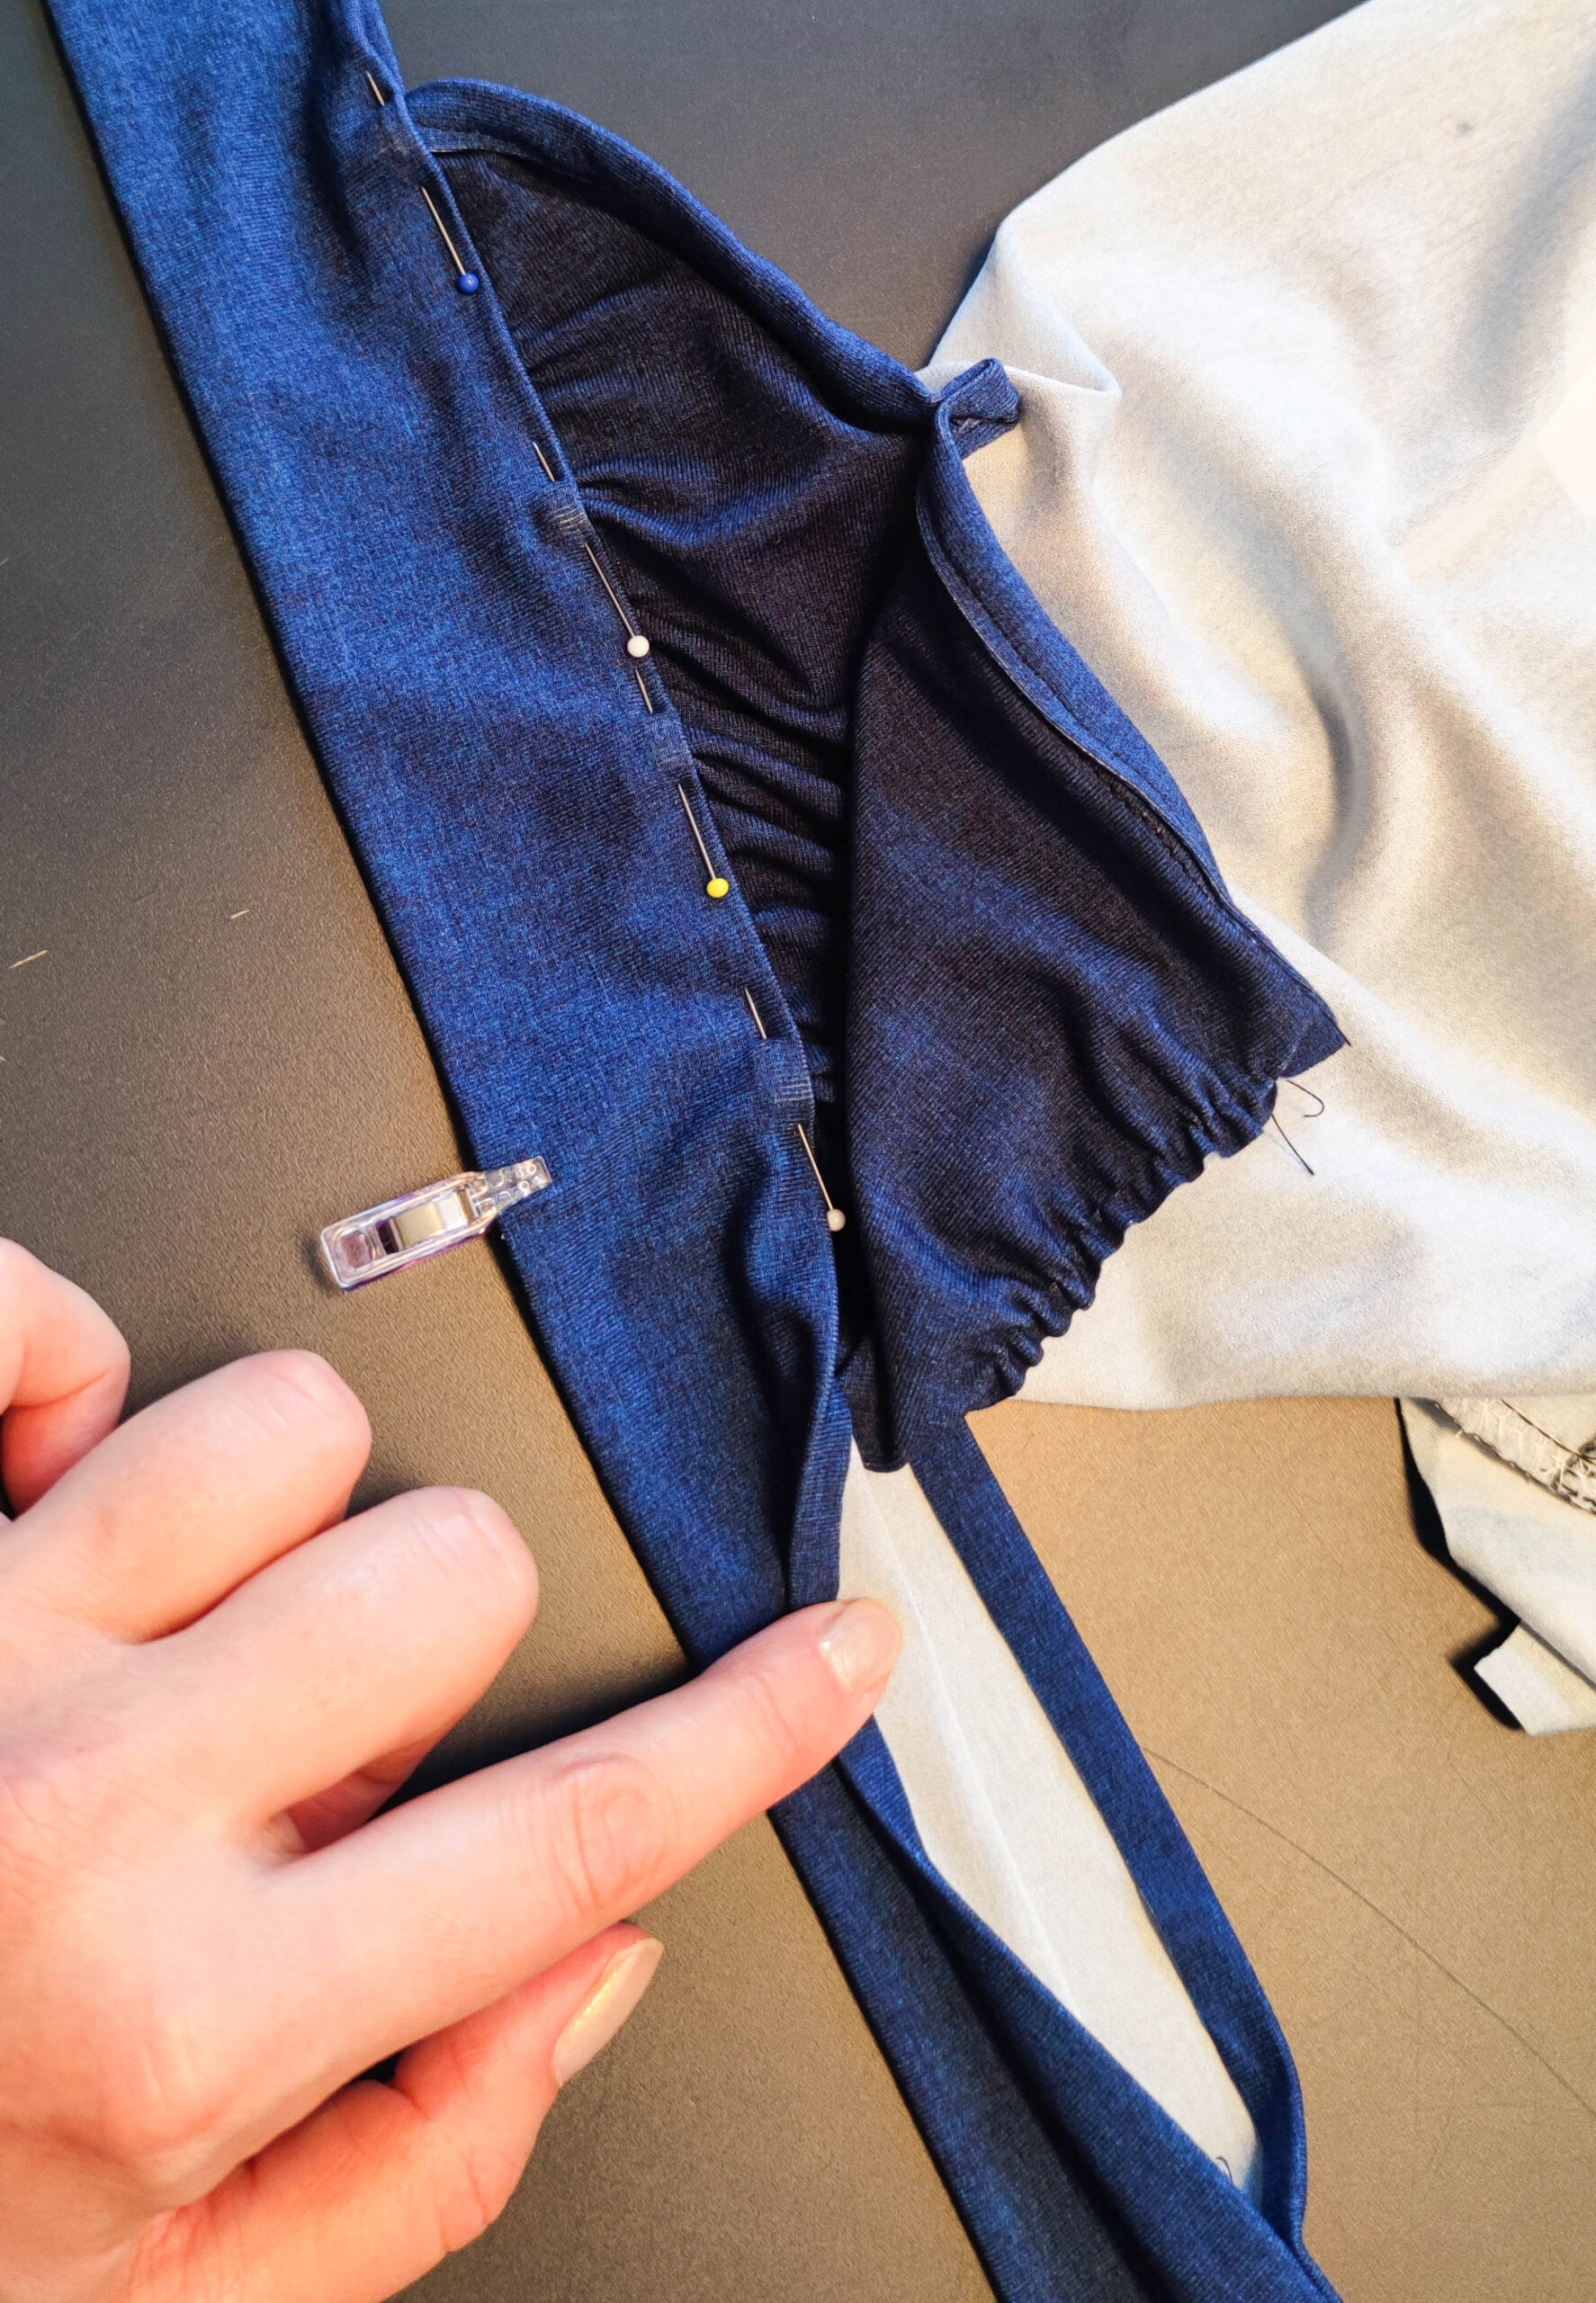
2. Schlitz versäubern
Schneide den Ärmel mittig bis zur Markierung ein.
Ziehe den Einschnitt zu einer Geraden und stecke den Streifen rechts auf links fest (nicht rechts auf rechts, da der Streifen nachher gefaltet wird).
2. Sewing the fly
Cut the sleeve down the middle to the mark.
Pin the strip left to the right (not right sides together as the strip will be folded later)
3. Streifen umbügeln
Bügele die offene Kante des Streifens 0,7 cm um.
3. Iron
Iron the open edge of the strip 0.7 cm.
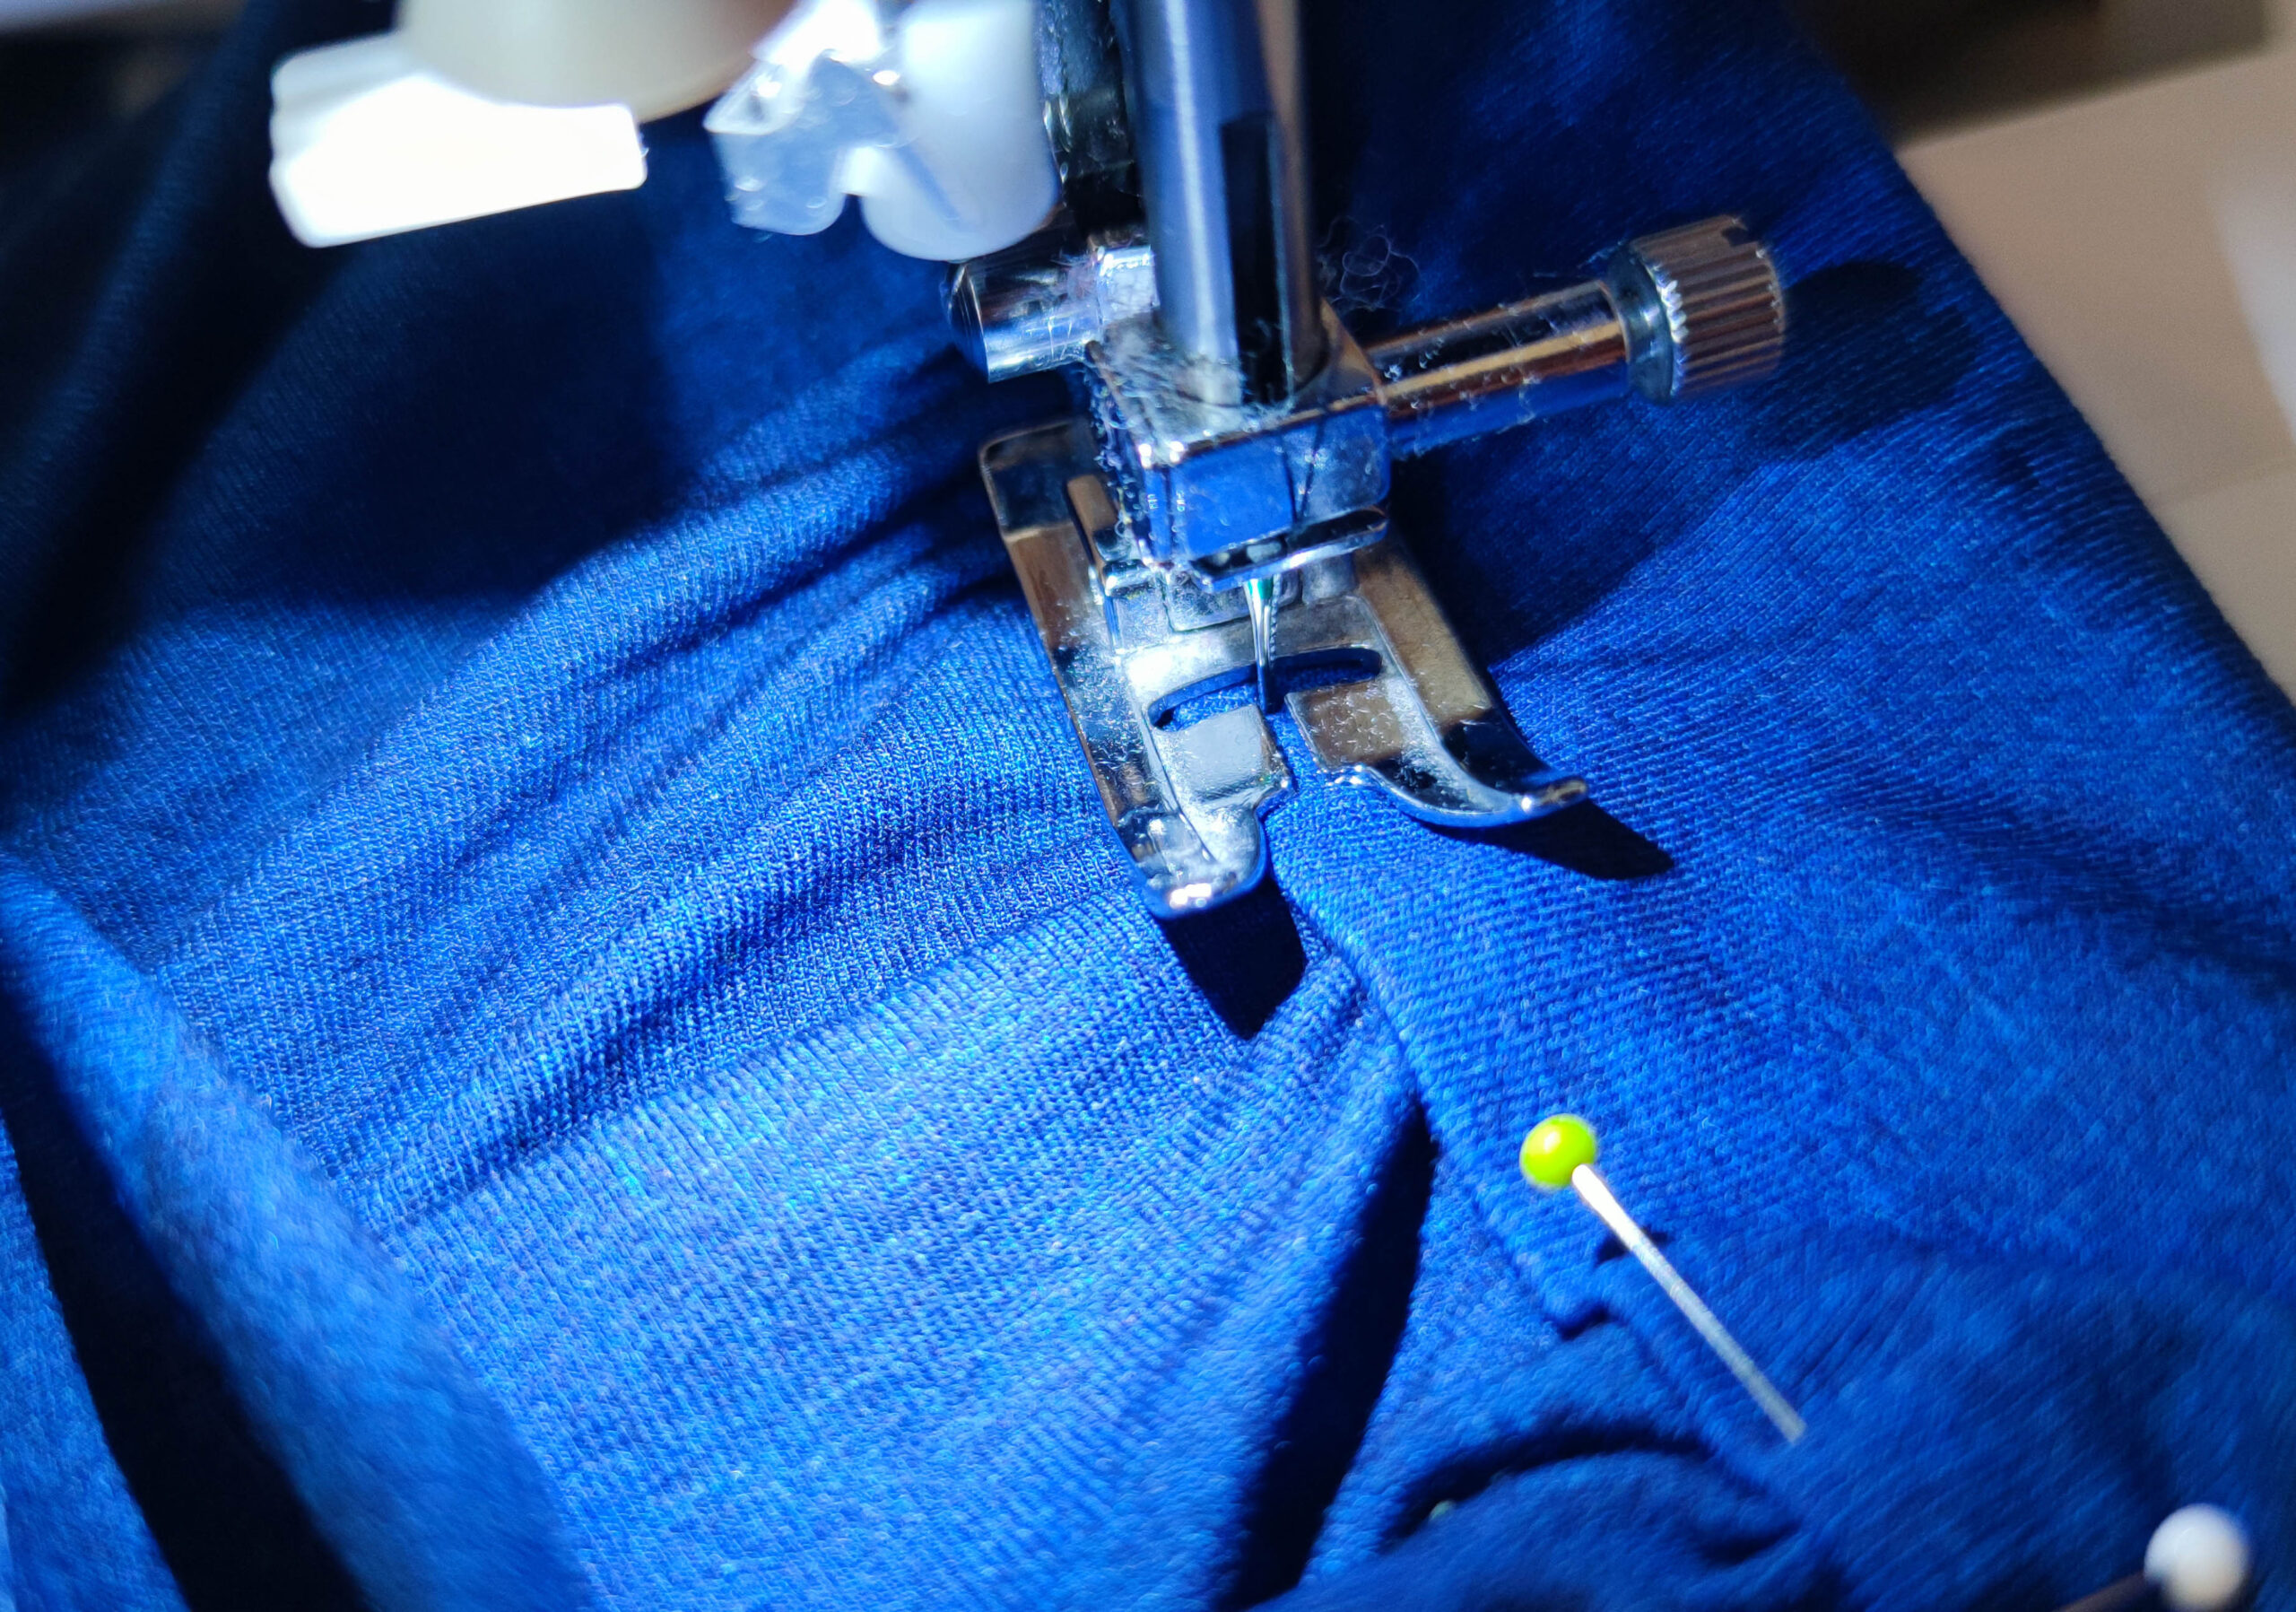
4. Versäuberungsstreifen fixieren
Klappe den Streifen über die Ärmelnaht und steppe ihn knappkantig ab.
4. Topstitch
Fold the strip over the sleeve seam and topstitch it.
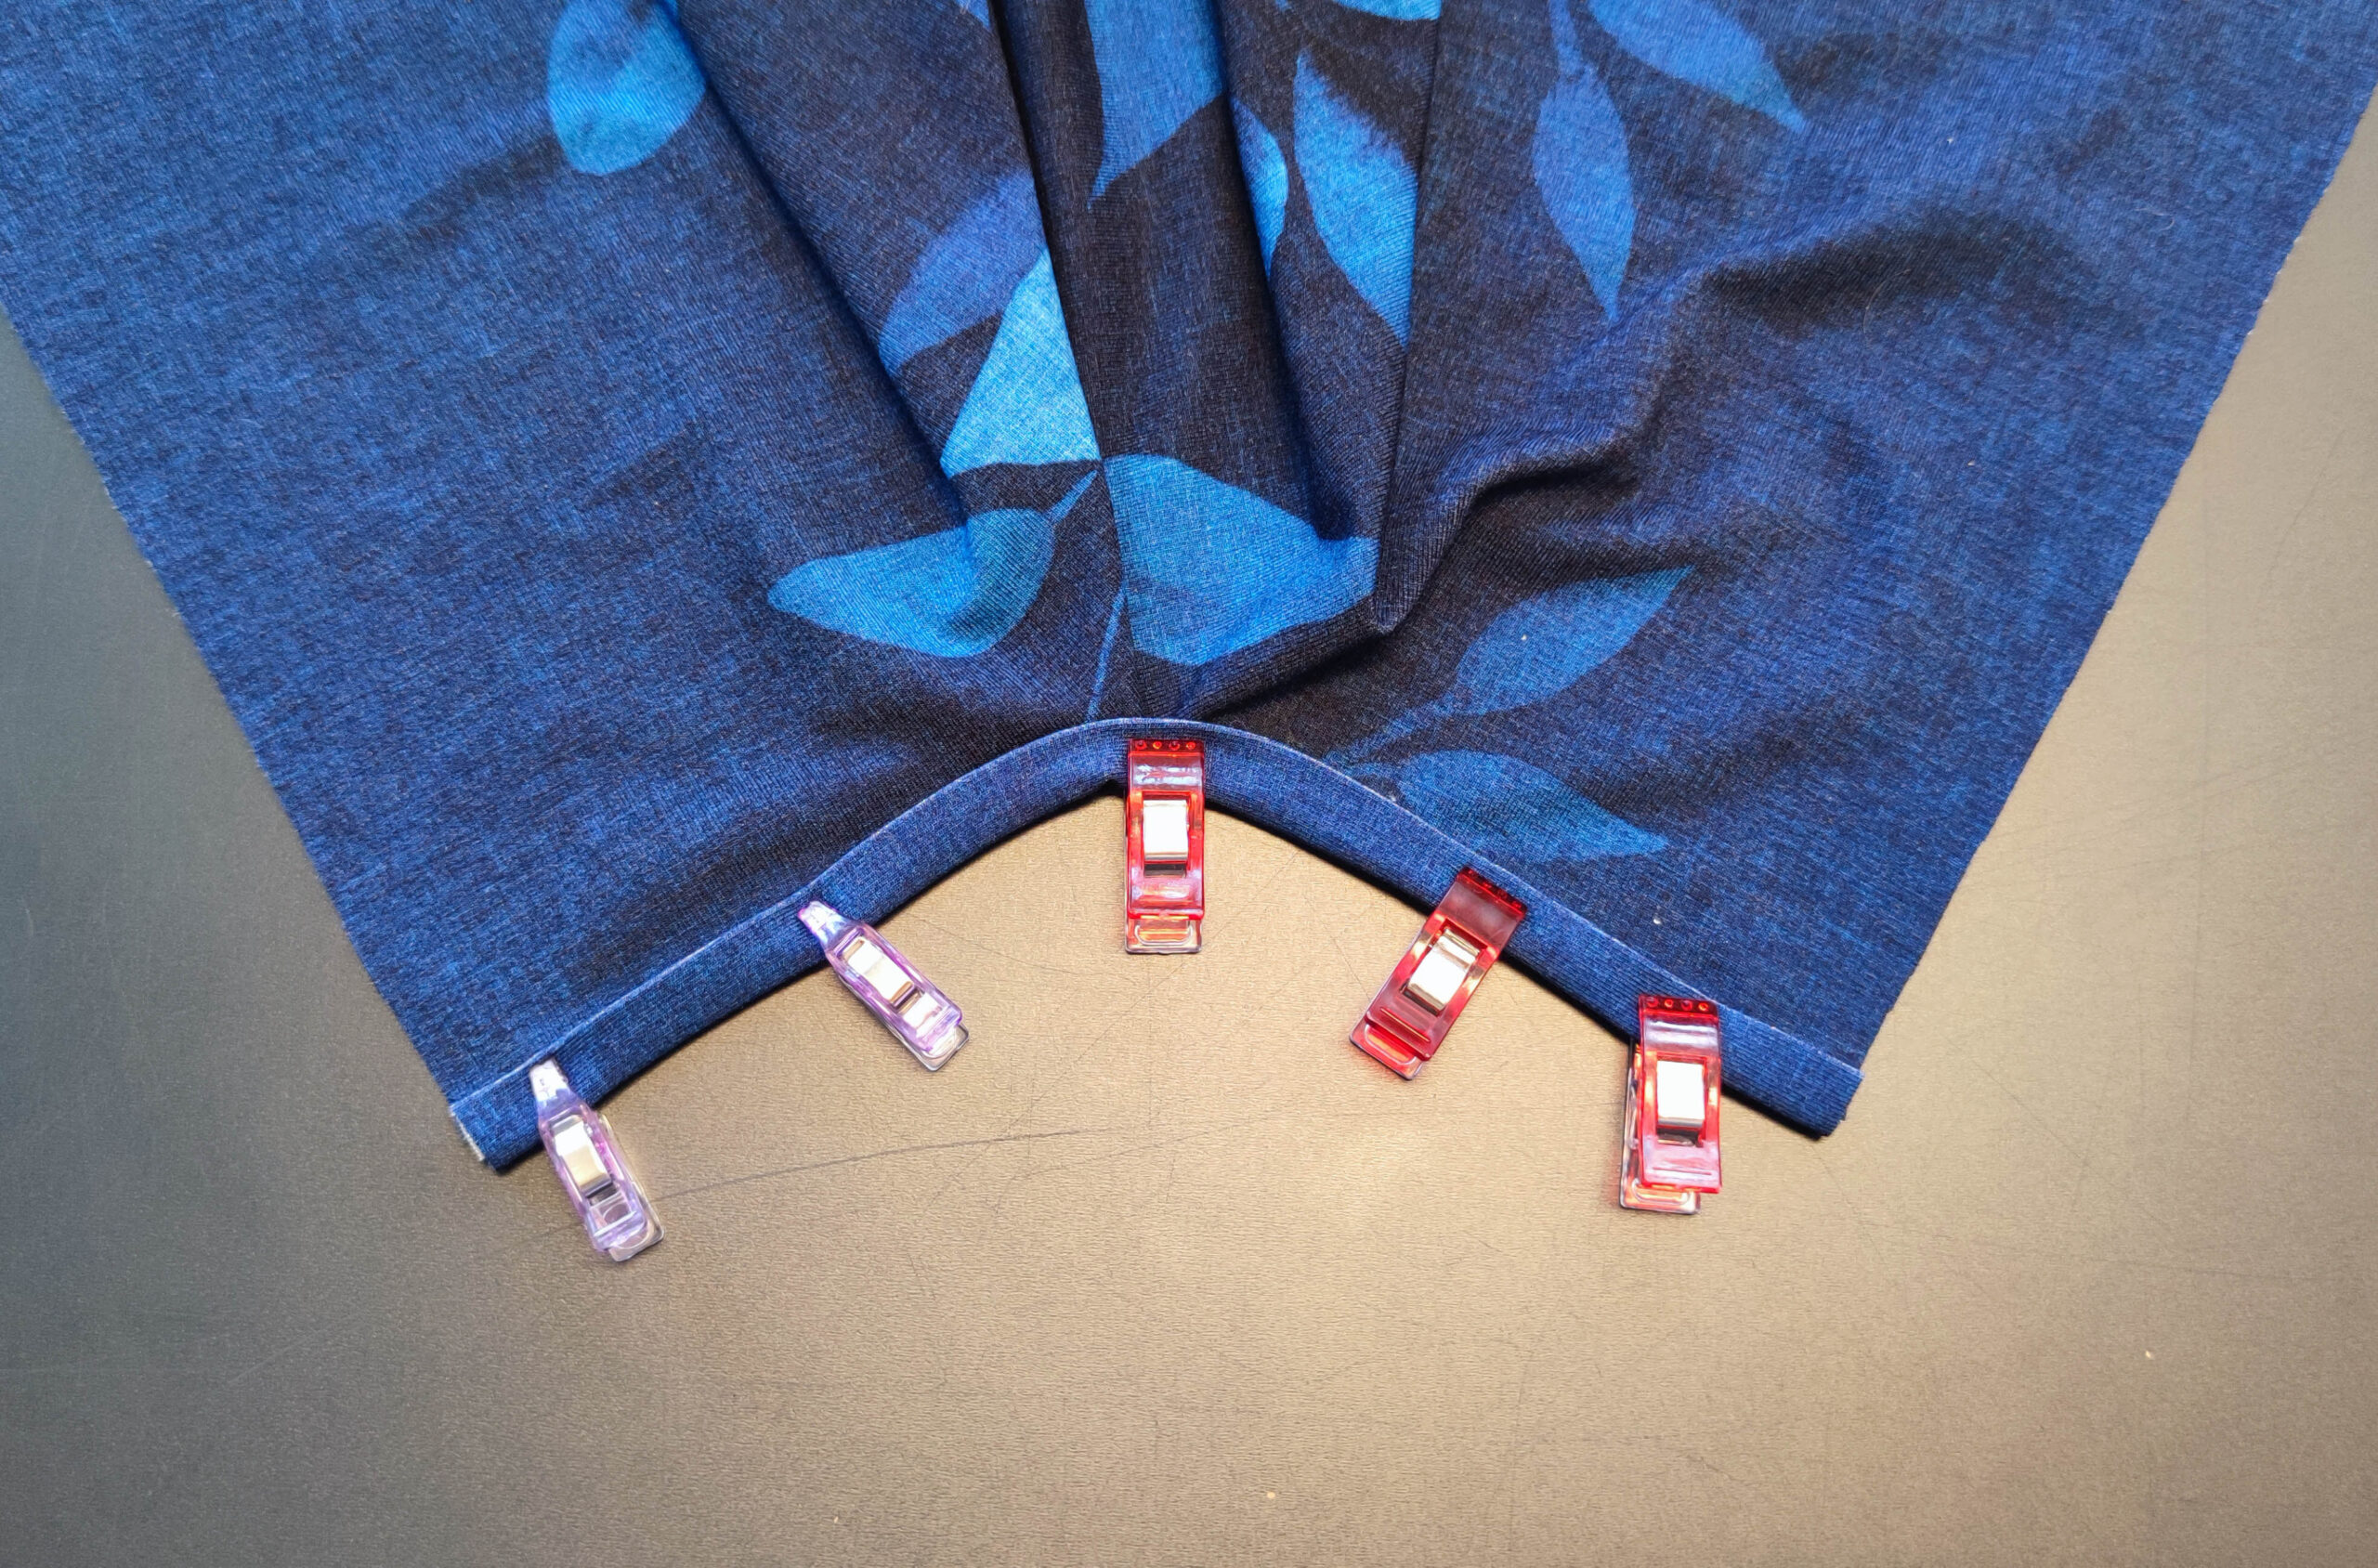
5. Ecke nähen
Lege den Ärmel mit der linken Stoffseite nach oben vor dich und nähe die Ecke am Schlitz mit einem kurzen Gradstich schräg ab.
5. Sewing the corner
Lay the sleeve in front of you with the wrong side of the fabric facing up and sew the corner at the fly diagonally with a short straight stitch.
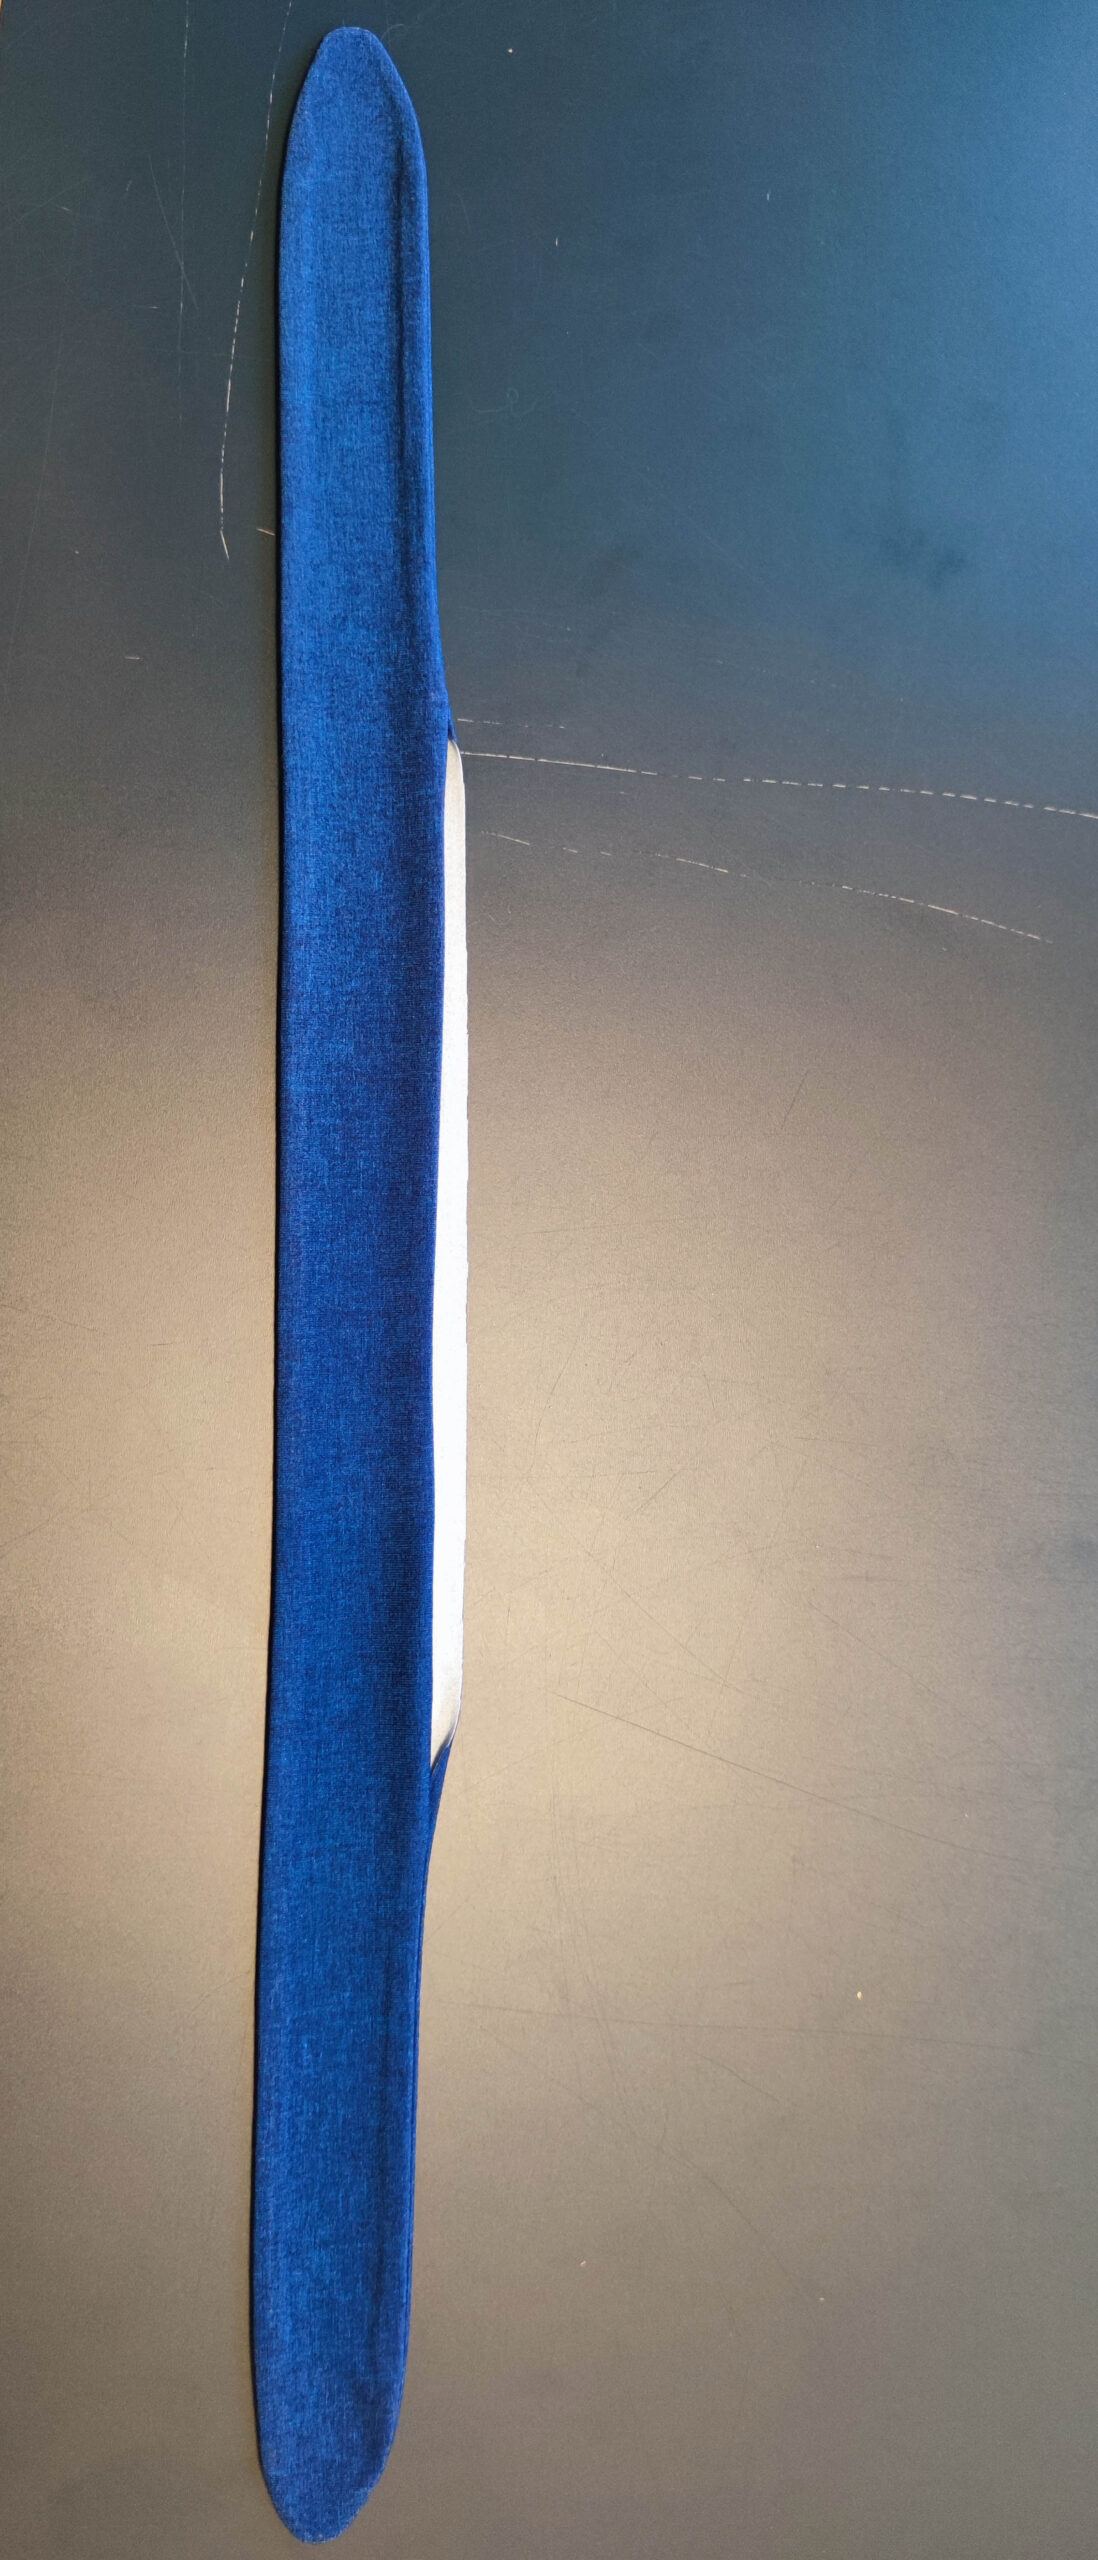
6. So soll es aussehen
So sieht der Ärmel von rechts aus. Der Schlitz ist versäubert die obere Ecke liegt sauber an.
6. It should look like this
This is how the sleeve looks from the right. The fly is neatened, the upper corner fits neatly.
7. Kräuselung nähen
Nähe im Bereich der Markierung eine Kräuselnaht mit langem Gradstich und verringerter Fadenspannung und kräusel den Ärmel so weit ein, dass er an das aufgeklappte Oberteil passt. Achtung: es ist nur eine ganz leichte Kräuselung nötig.
7. Gather
In the marked area sew a gathering seam with a long straight stitch and reduced thread tension and gather the sleeve so that it fits the unfolded bodice.
Attention: only a very light gathering is necessary.
8. Ärmel annähen
Nähe den Ärmel rechts auf rechts an das aufgeklappte Oberteil und schließe die Seitennähte.
8. Sewing the sleeves to the top
Sew the sleeves to the unfolded bodice, right sides together, and close the side seams.
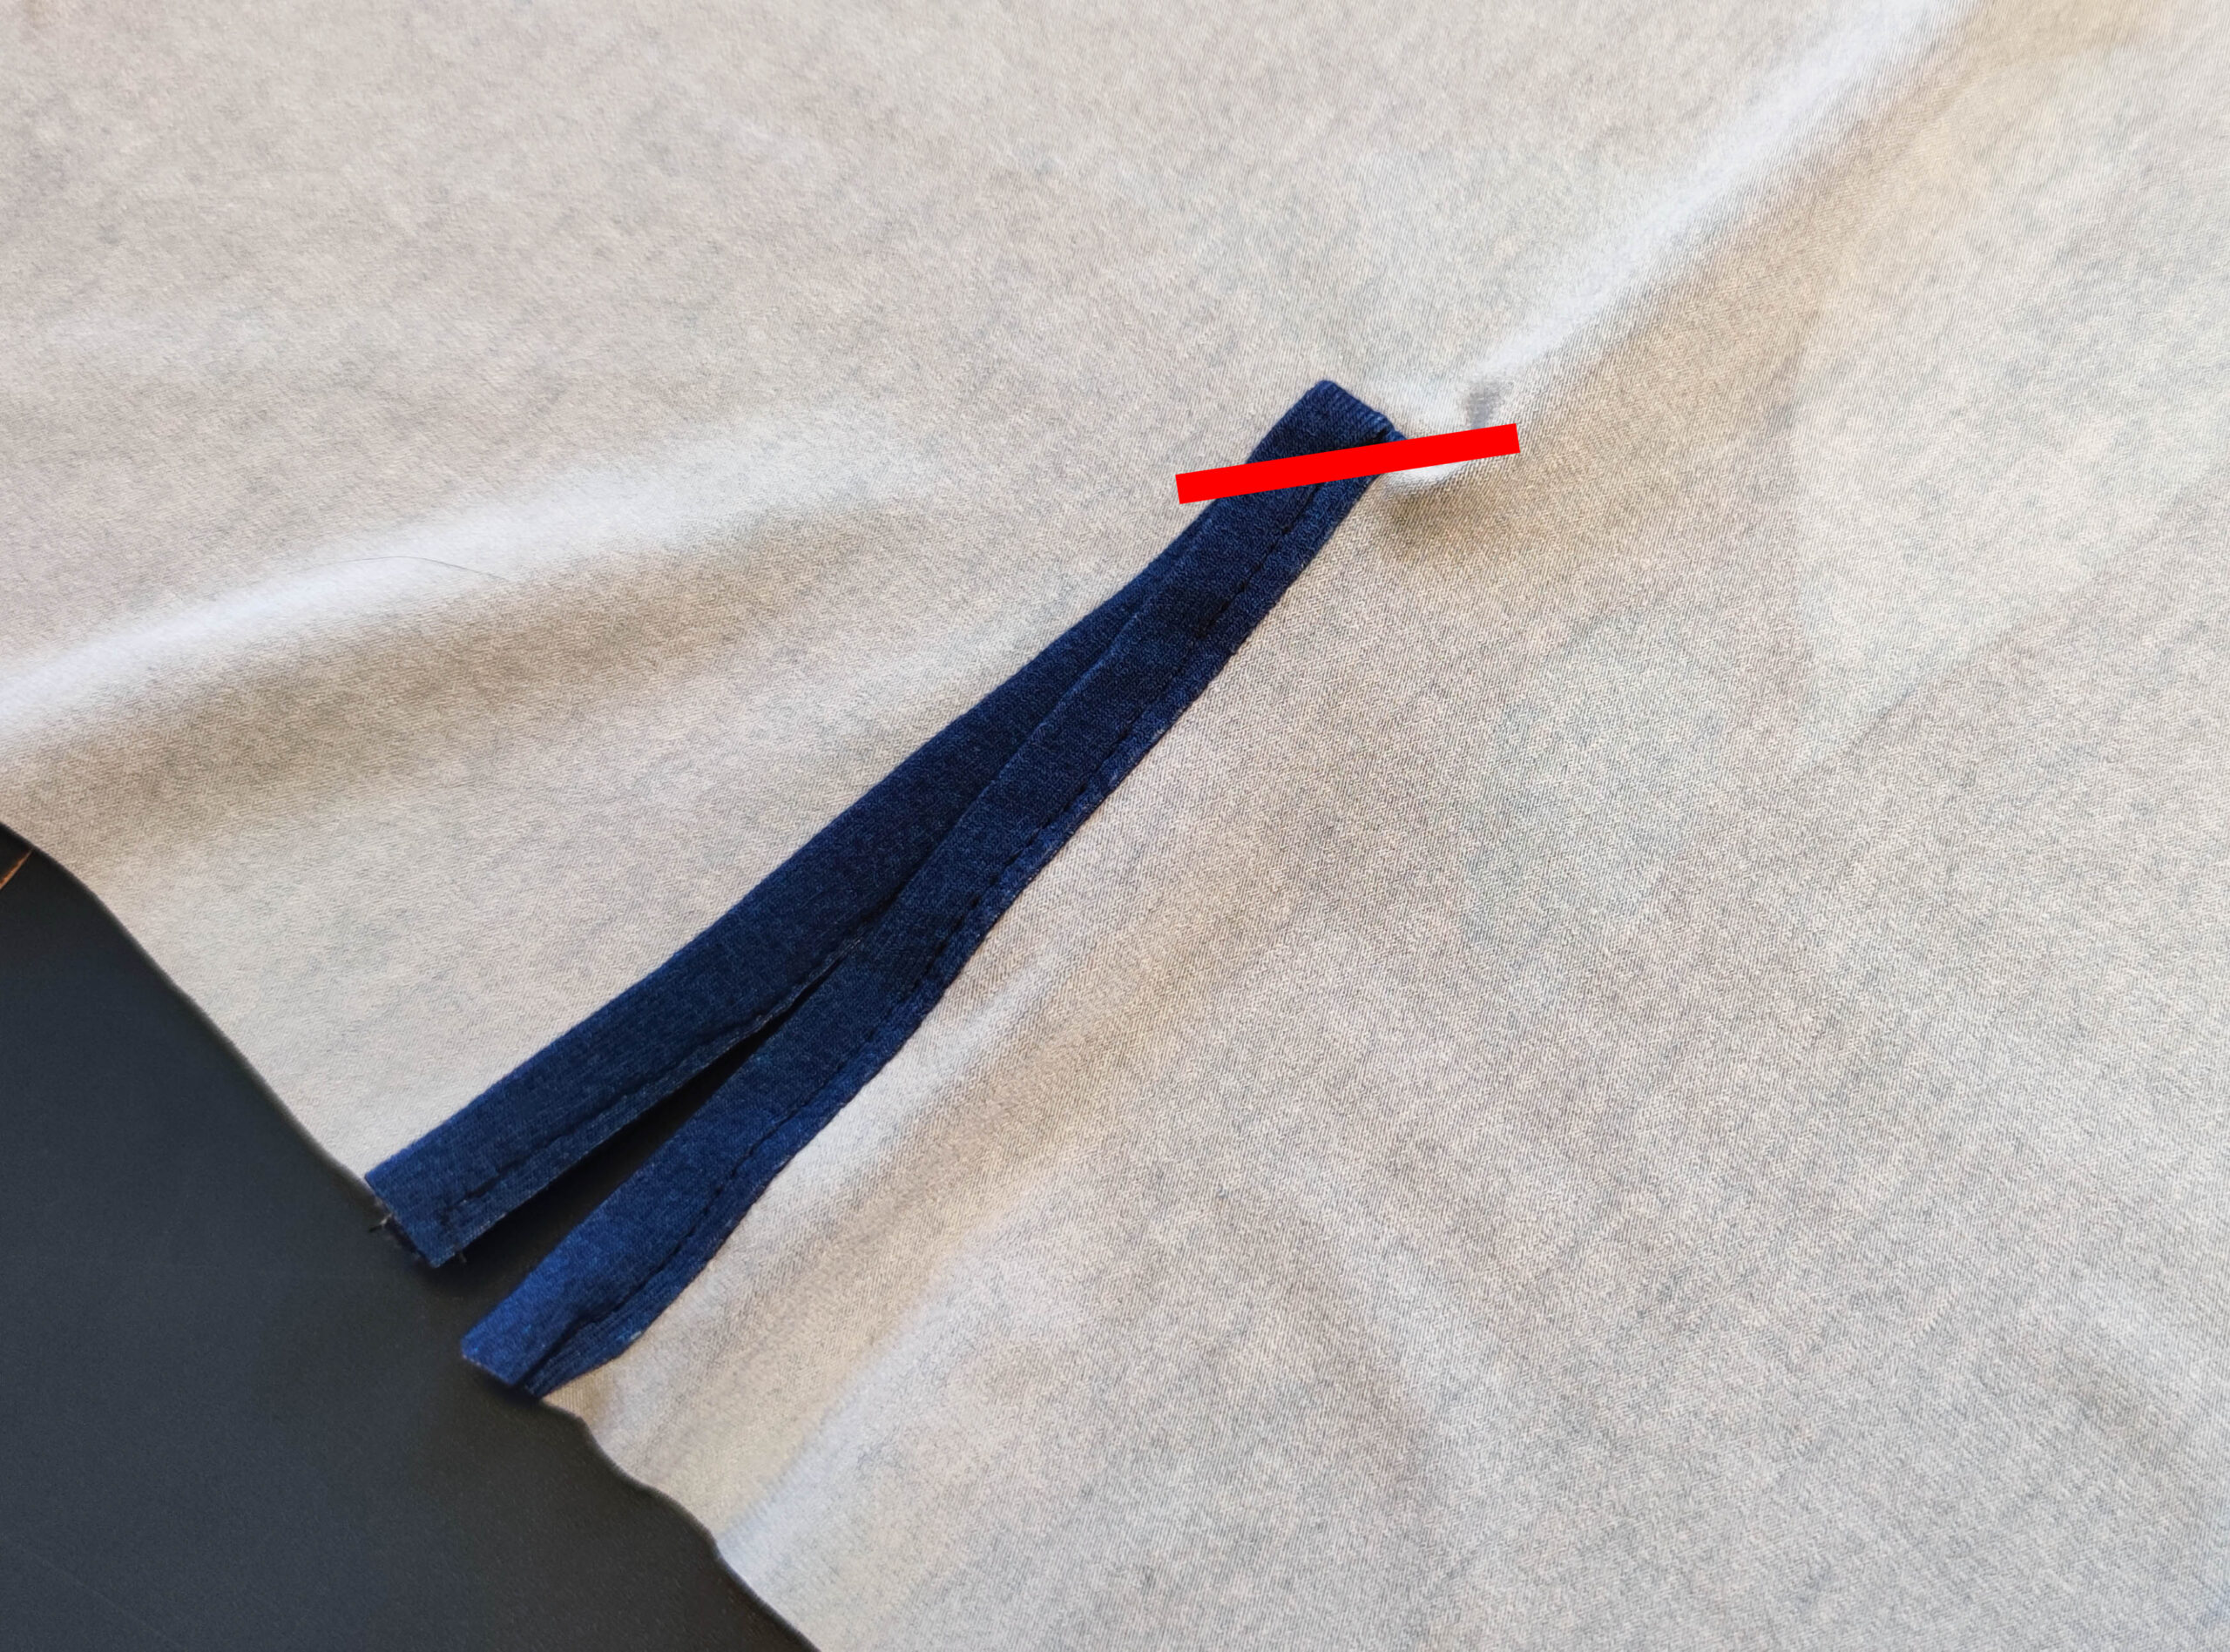
9. Die Schleifenbänder vorbereiten
Übertrage auf den Schleifenbändern die Markierung für die Öffnung.
9. Prepare the ribbon
Transfer the marking for the opening onto the ribbons.
10. Schleifenbänder nähen
Nähe jeweils 2 Schleifenbänder rechts auf rechts zusammen, lasse eine Öffnung zwischen den Markierungen.
Wende die Schleifenbänder auf rechts.
10. Sewing the ribbon
Sew 2 ribbons together, right sides together, leaving an opening between the markings.
Turn the ribbons right side out.
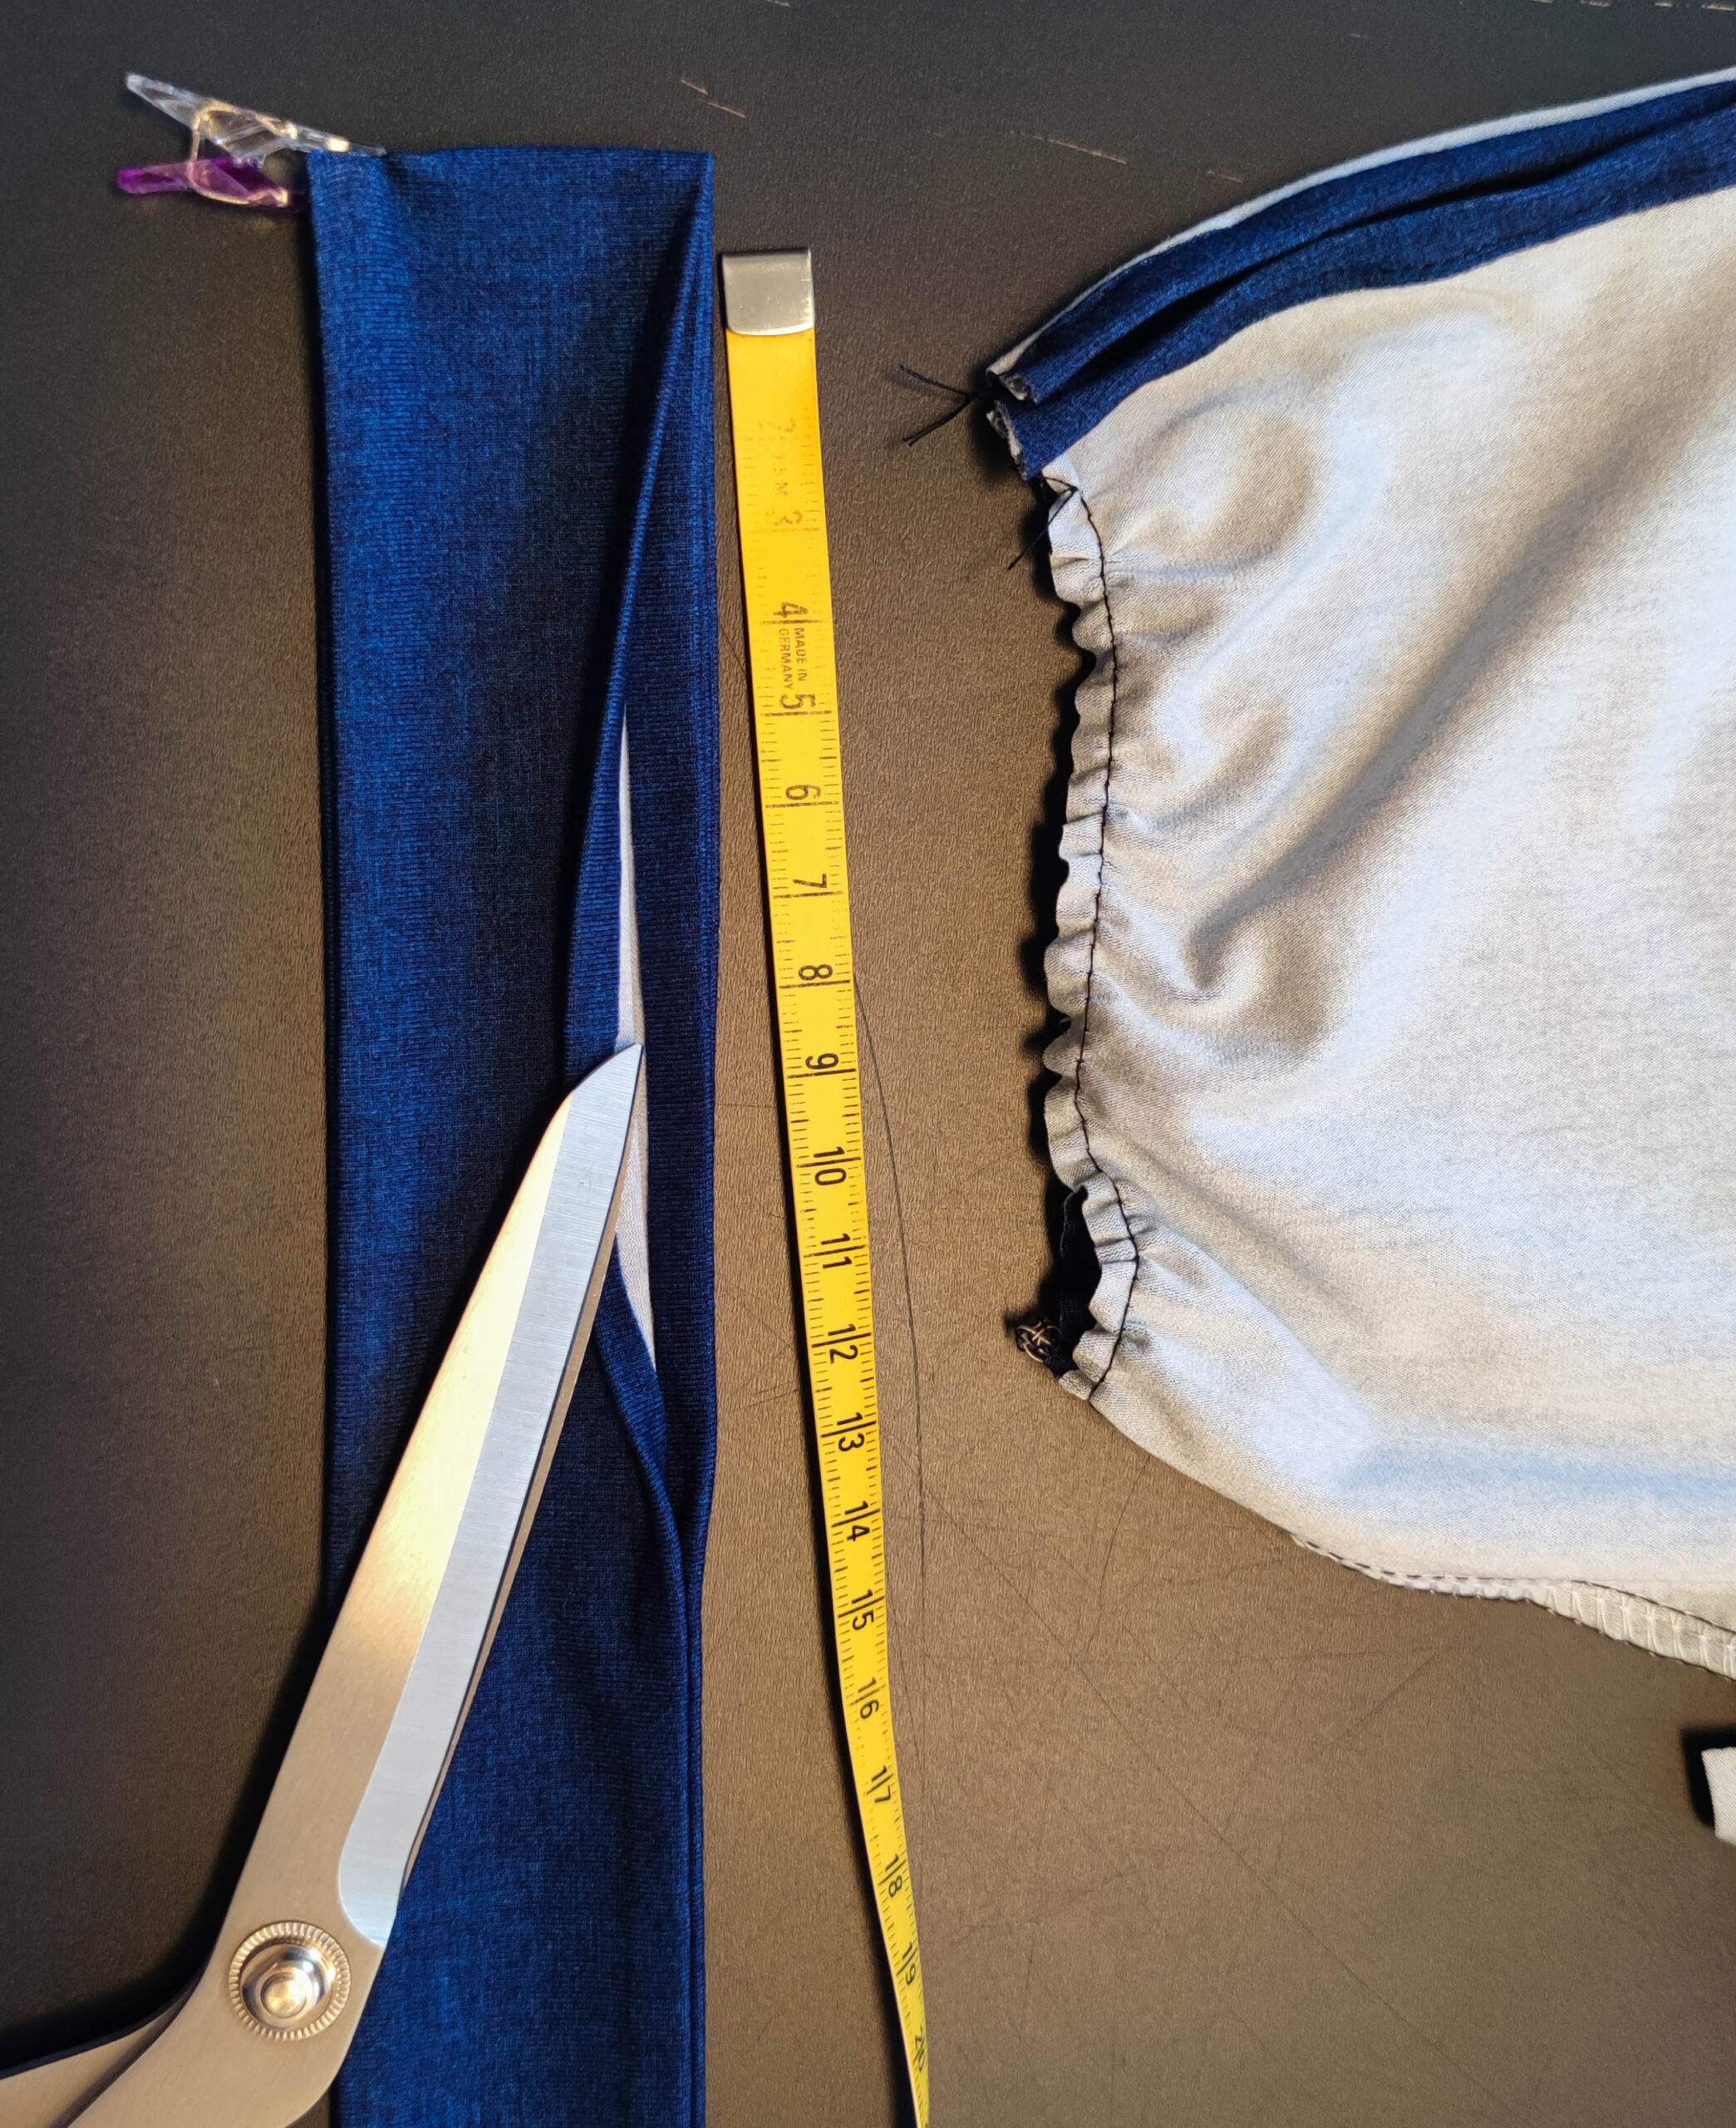
11. Ärmelsaum kräuseln
Nähe mit einem langen Gradstich bei reduzierter Fadenspannung eine Kräuselnaht innerhalb der Nahtzugabe. Ziehe an den Fäden, bis der Ärmel das gleiche Maß hat.
11. Gather the bottom of the Sleeve
Using a long straight stitch with reduced thread tension, sew a gathering seam inside the seam allowance. Pull the threads to gather.
12. Schleifenbänder an den Ärmel nähen
Stecke den Ärmel in die Öffnung des Schleifenbandes. Die Öffnung beginnt und endet an der Schlitzversäuberung.
12. Sewing the ribbon to the sleeve
Tuck the sleeve into the opening of the ribbon. The opening begins and ends at the fly seam.
13. Band fixieren
Nähe das Schleifenband einmal knappkantig an. Optional kannst du das komplette Schleifenband in einem Rutsch ringsherum absteppen.
13. Topstitch
Close the ribbon. Optionally, you can topstitch the entire ribbon all the way around in one go.
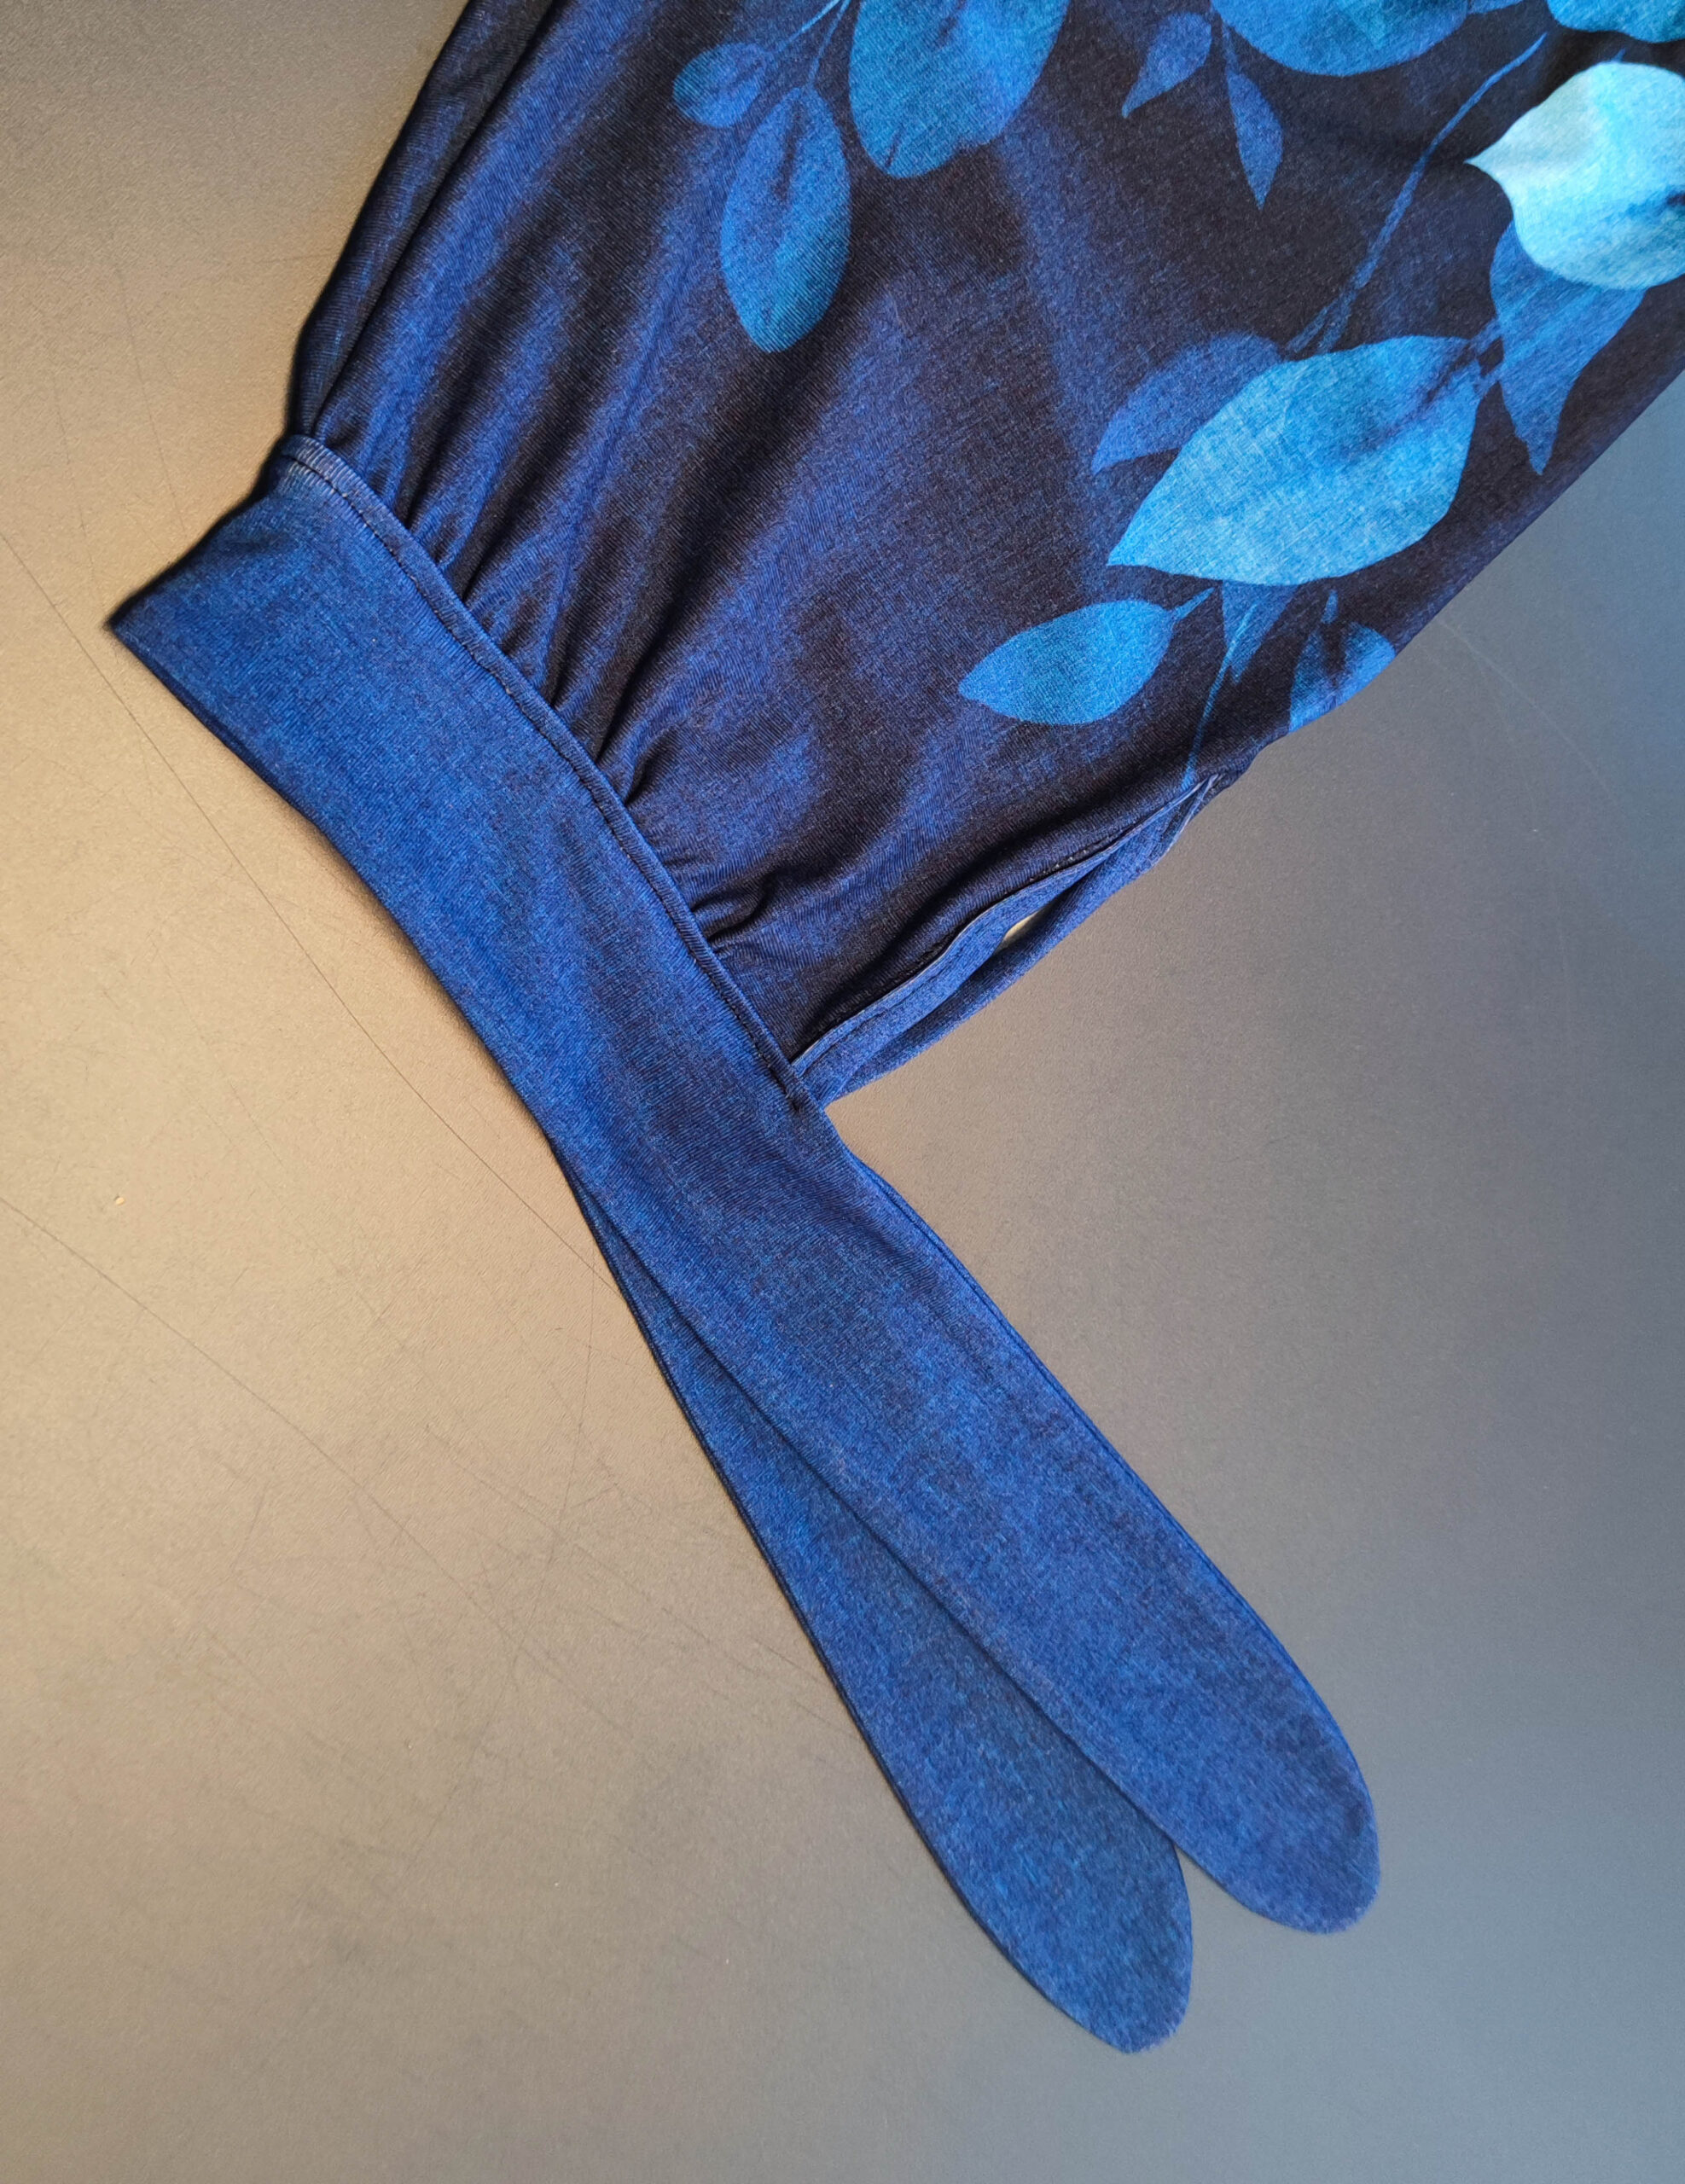
14. Anpassung
So sieht der Ärmel fertig aus, die untere Kante und der Schlitz sind sauber eingefasst.
Solltest du sehr kräftige oder sehr schmale Arme haben kannst du den Ärmel über die Kräuselweite anpassen. Für kräftige Arme kräusel etwas weniger, für schmale Arme etwas mehr.
14. Adjustment
This is how the sleeve looks finished.
If you have very strong or very narrow arms, you can adjust the sleeves using the gathering width. Gather a little less for strong arms and a little more for narrow arms.
Die Flatterärmel
The Flutter Sleeves
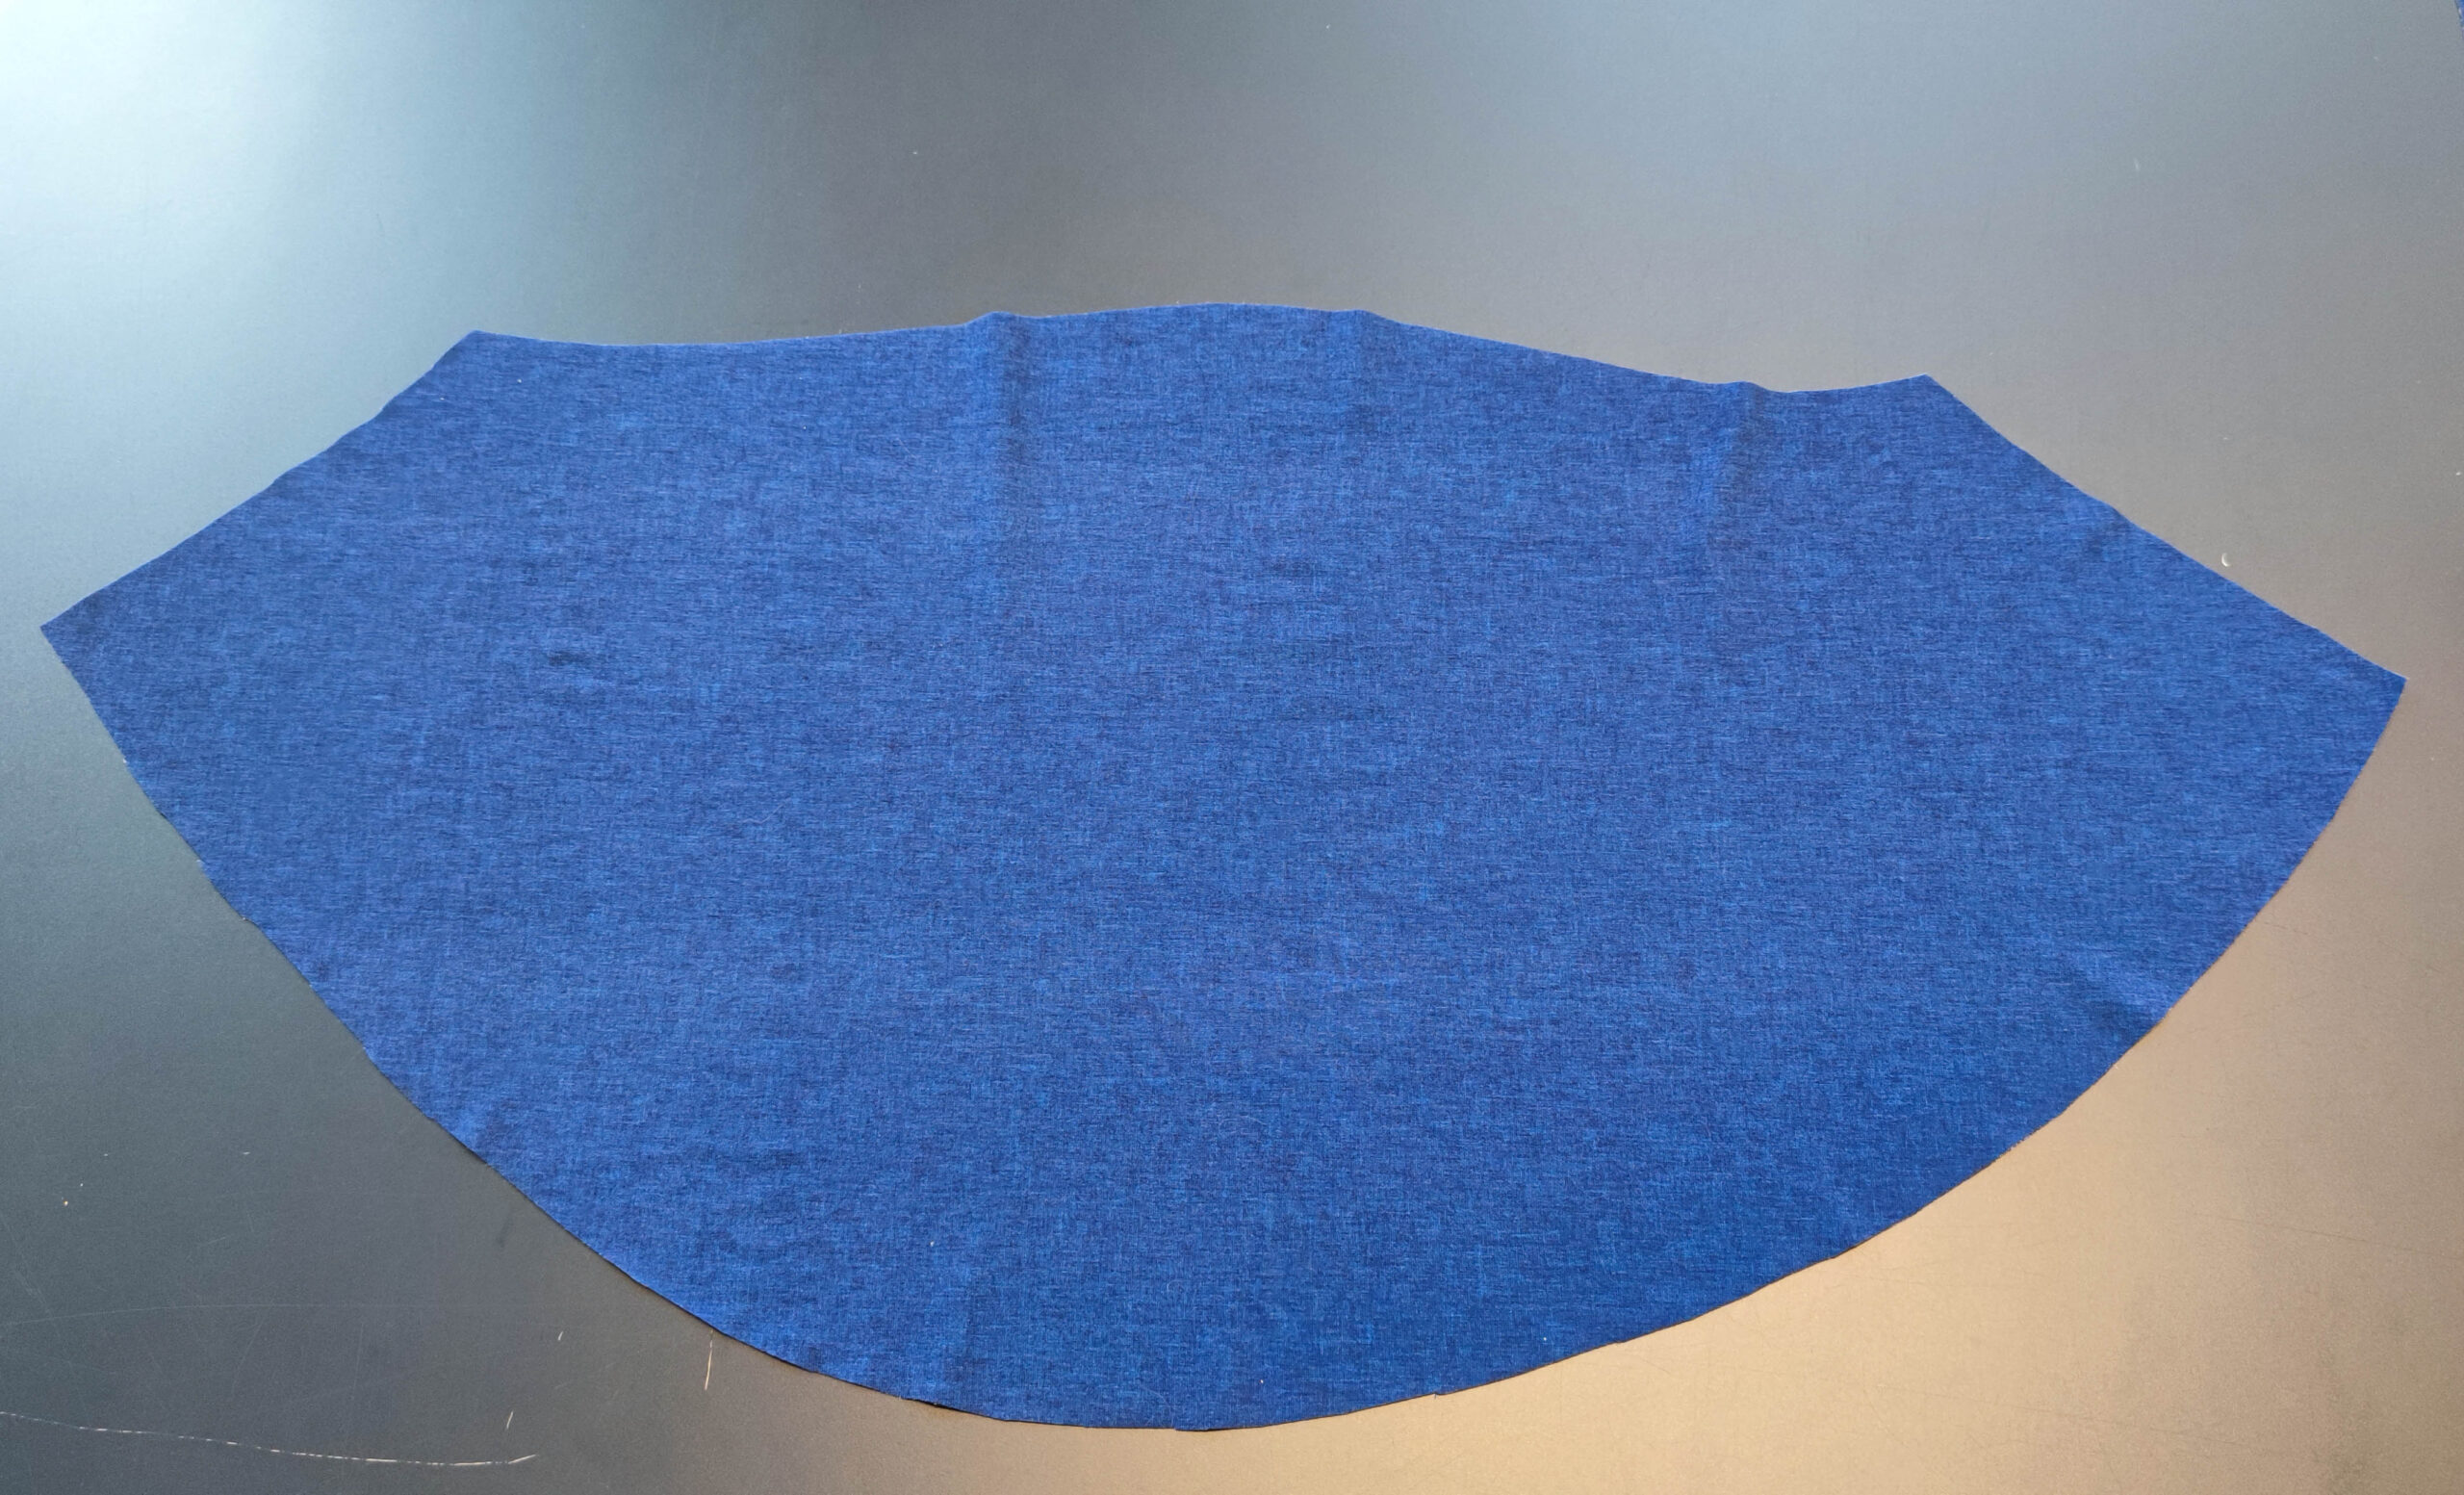
1. Zuschnitt
2x Ärmel gegengleich
Übertrage alle Passzeichen.
Unterschied langer/kurzer Flatterärmel
Achtung: der kurze Flatterärmel wird etwas eingekräuselt. Nähe dafür zwischen den Markierungen mit einem langen Gradstich bei reduzierter Fadenspannung eine Kräuselnaht innerhalb der Nahtzugabe und kräusele, bis der Ärmel an das aufgeklappte Oberteil passt.
1. Cutting
2x sleeves in opposite directions
Transfer all marks.
Difference between long/short fluttersleeve
Attention: the short flutter sleeves are slightly gathered. To do this, sew a gathering seam inside the seam allowance between the markings with a long straight stitch with reduced thread tension and gather until the sleeve fits the unfolded bodice.
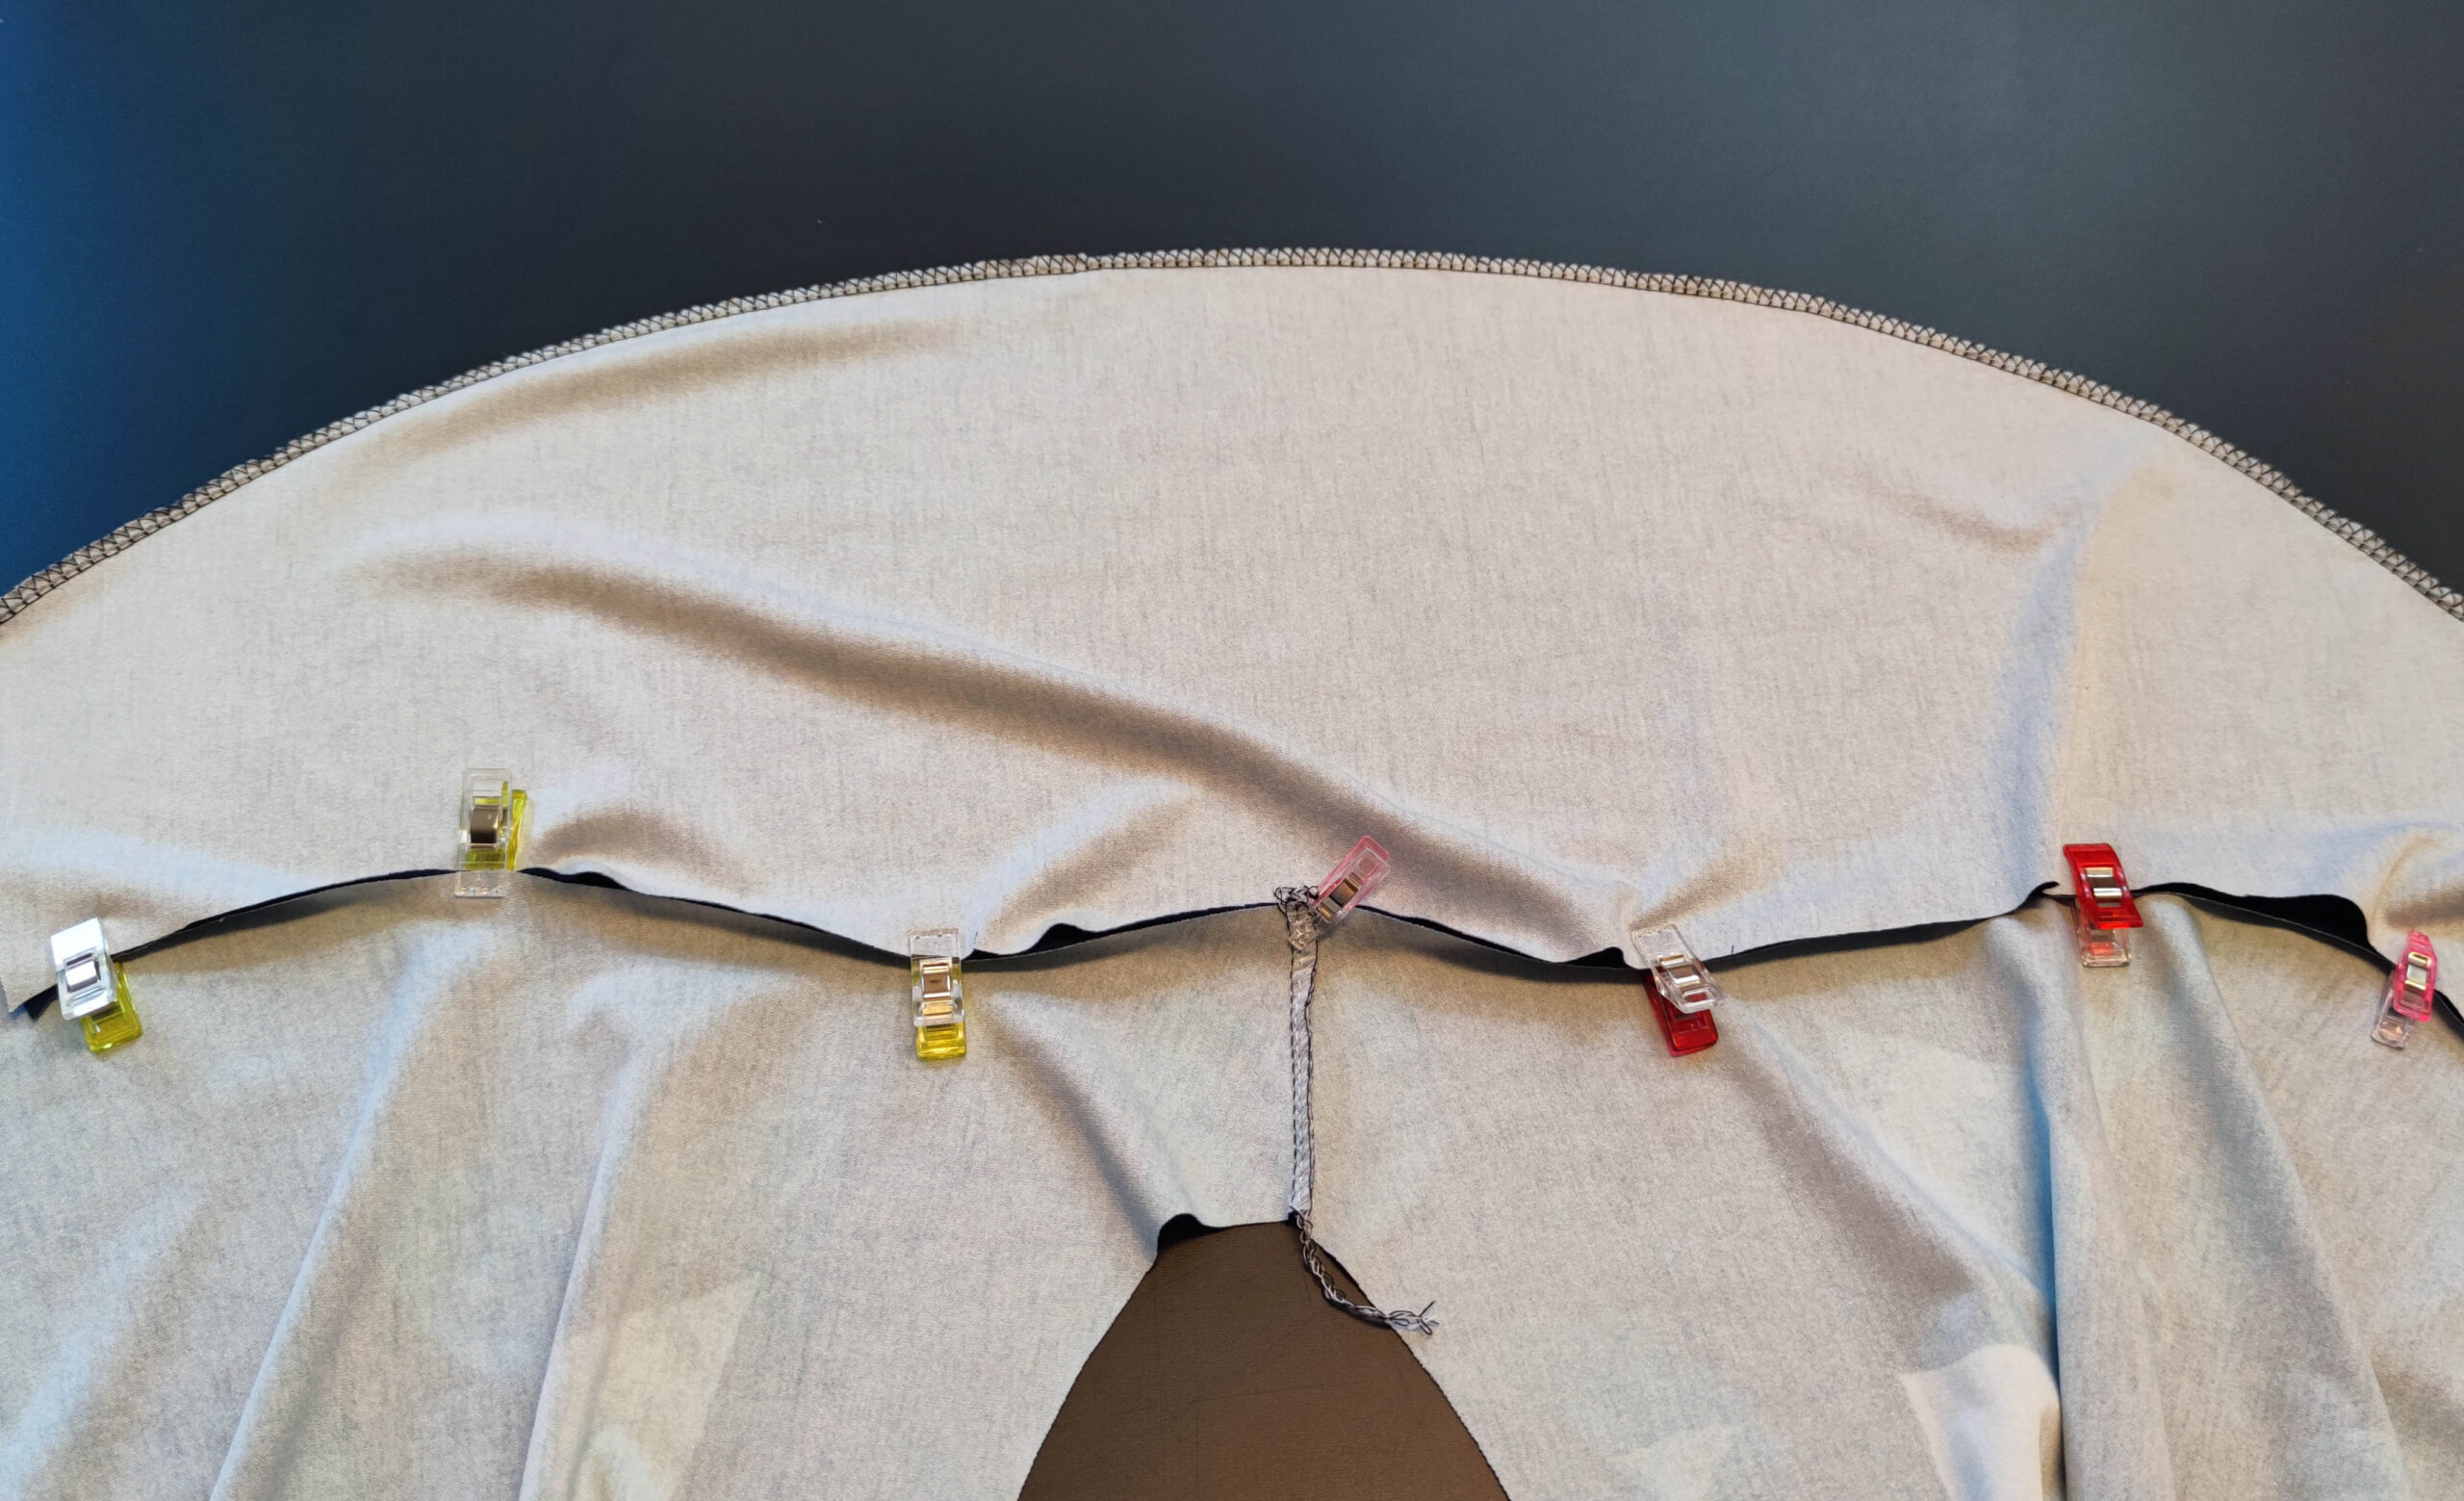
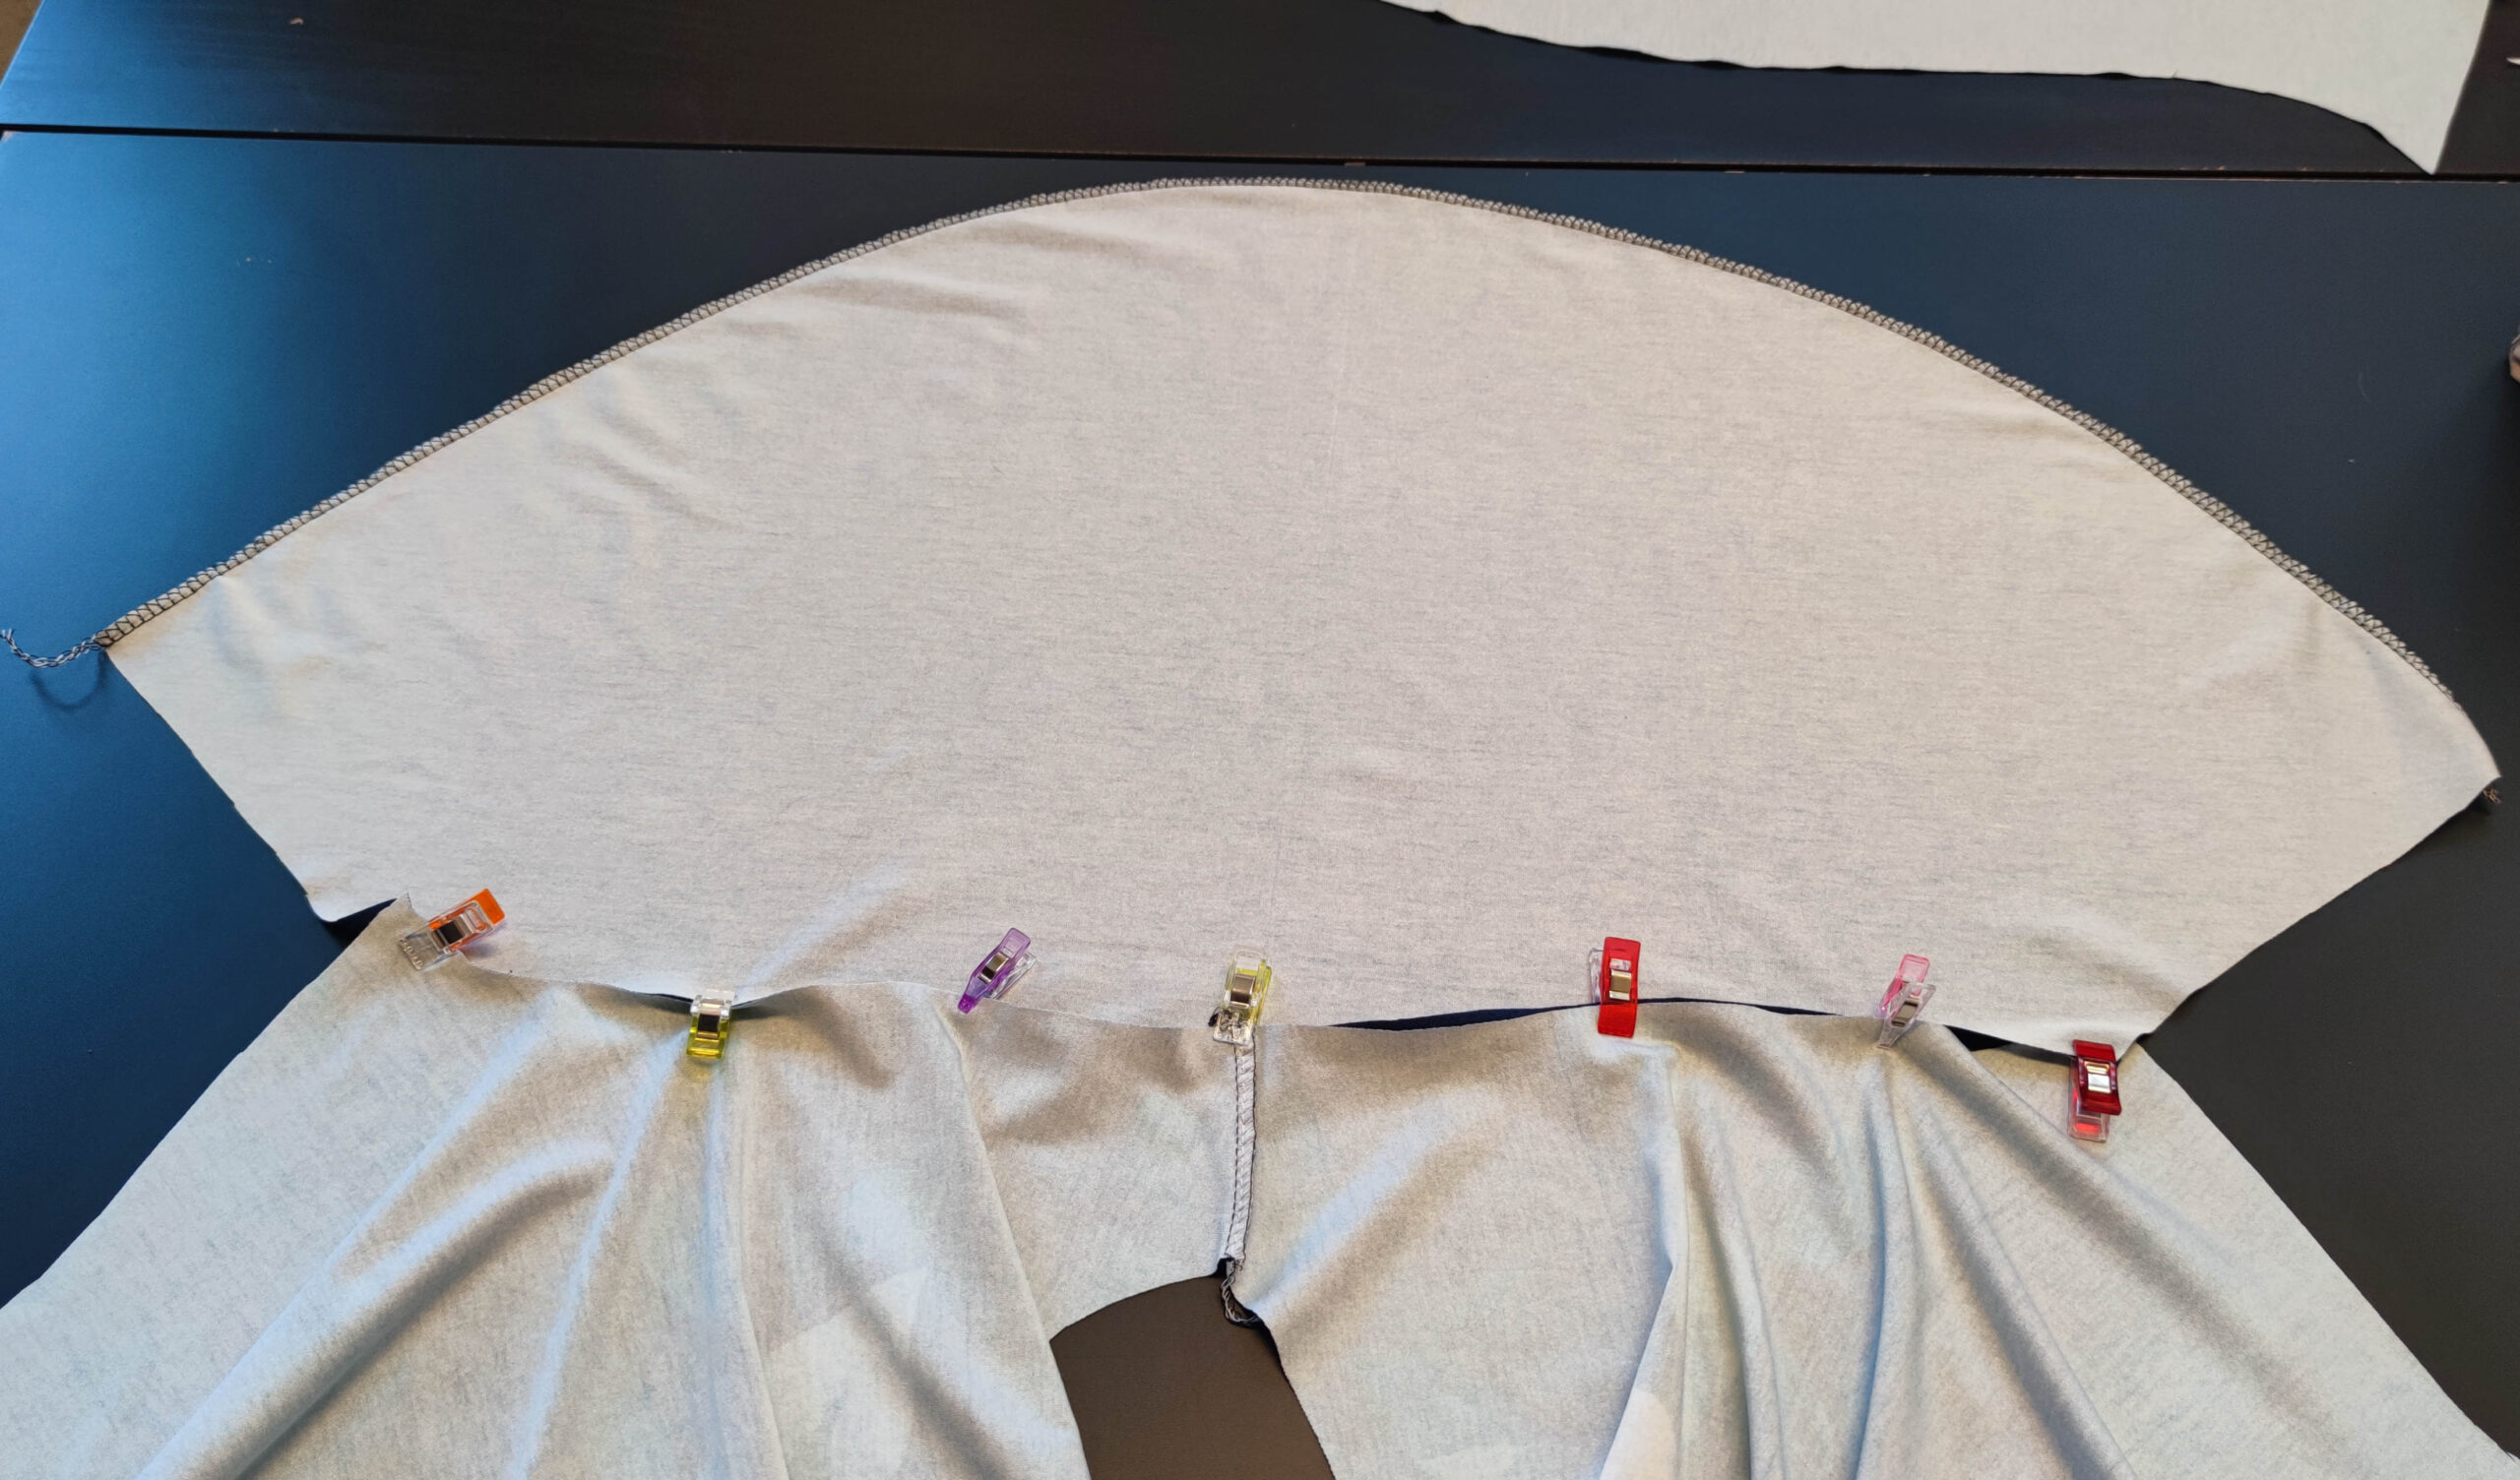
2. Ärmel annähen
Lege das Oberteil geöffnet vor dich und stecke den Ärmel jeweils rechts auf rechts an das Oberteil. Orientiere dich dabei an den Knipsen. Der mittlere Knips trifft auf die Schulternaht, der andere Knips markiert das Vorderteil.
Nähe den Ärmel mit einem elastischen Stich an.
2. Sewing the sleeves
Lay the top open in front of you and pin the sleeves to the top, right sides together. Use the snaps as a guide. The middle snap meets the shoulder seam, the other snap marks the front piece.
Sew on the sleeve with an elastic stitch.
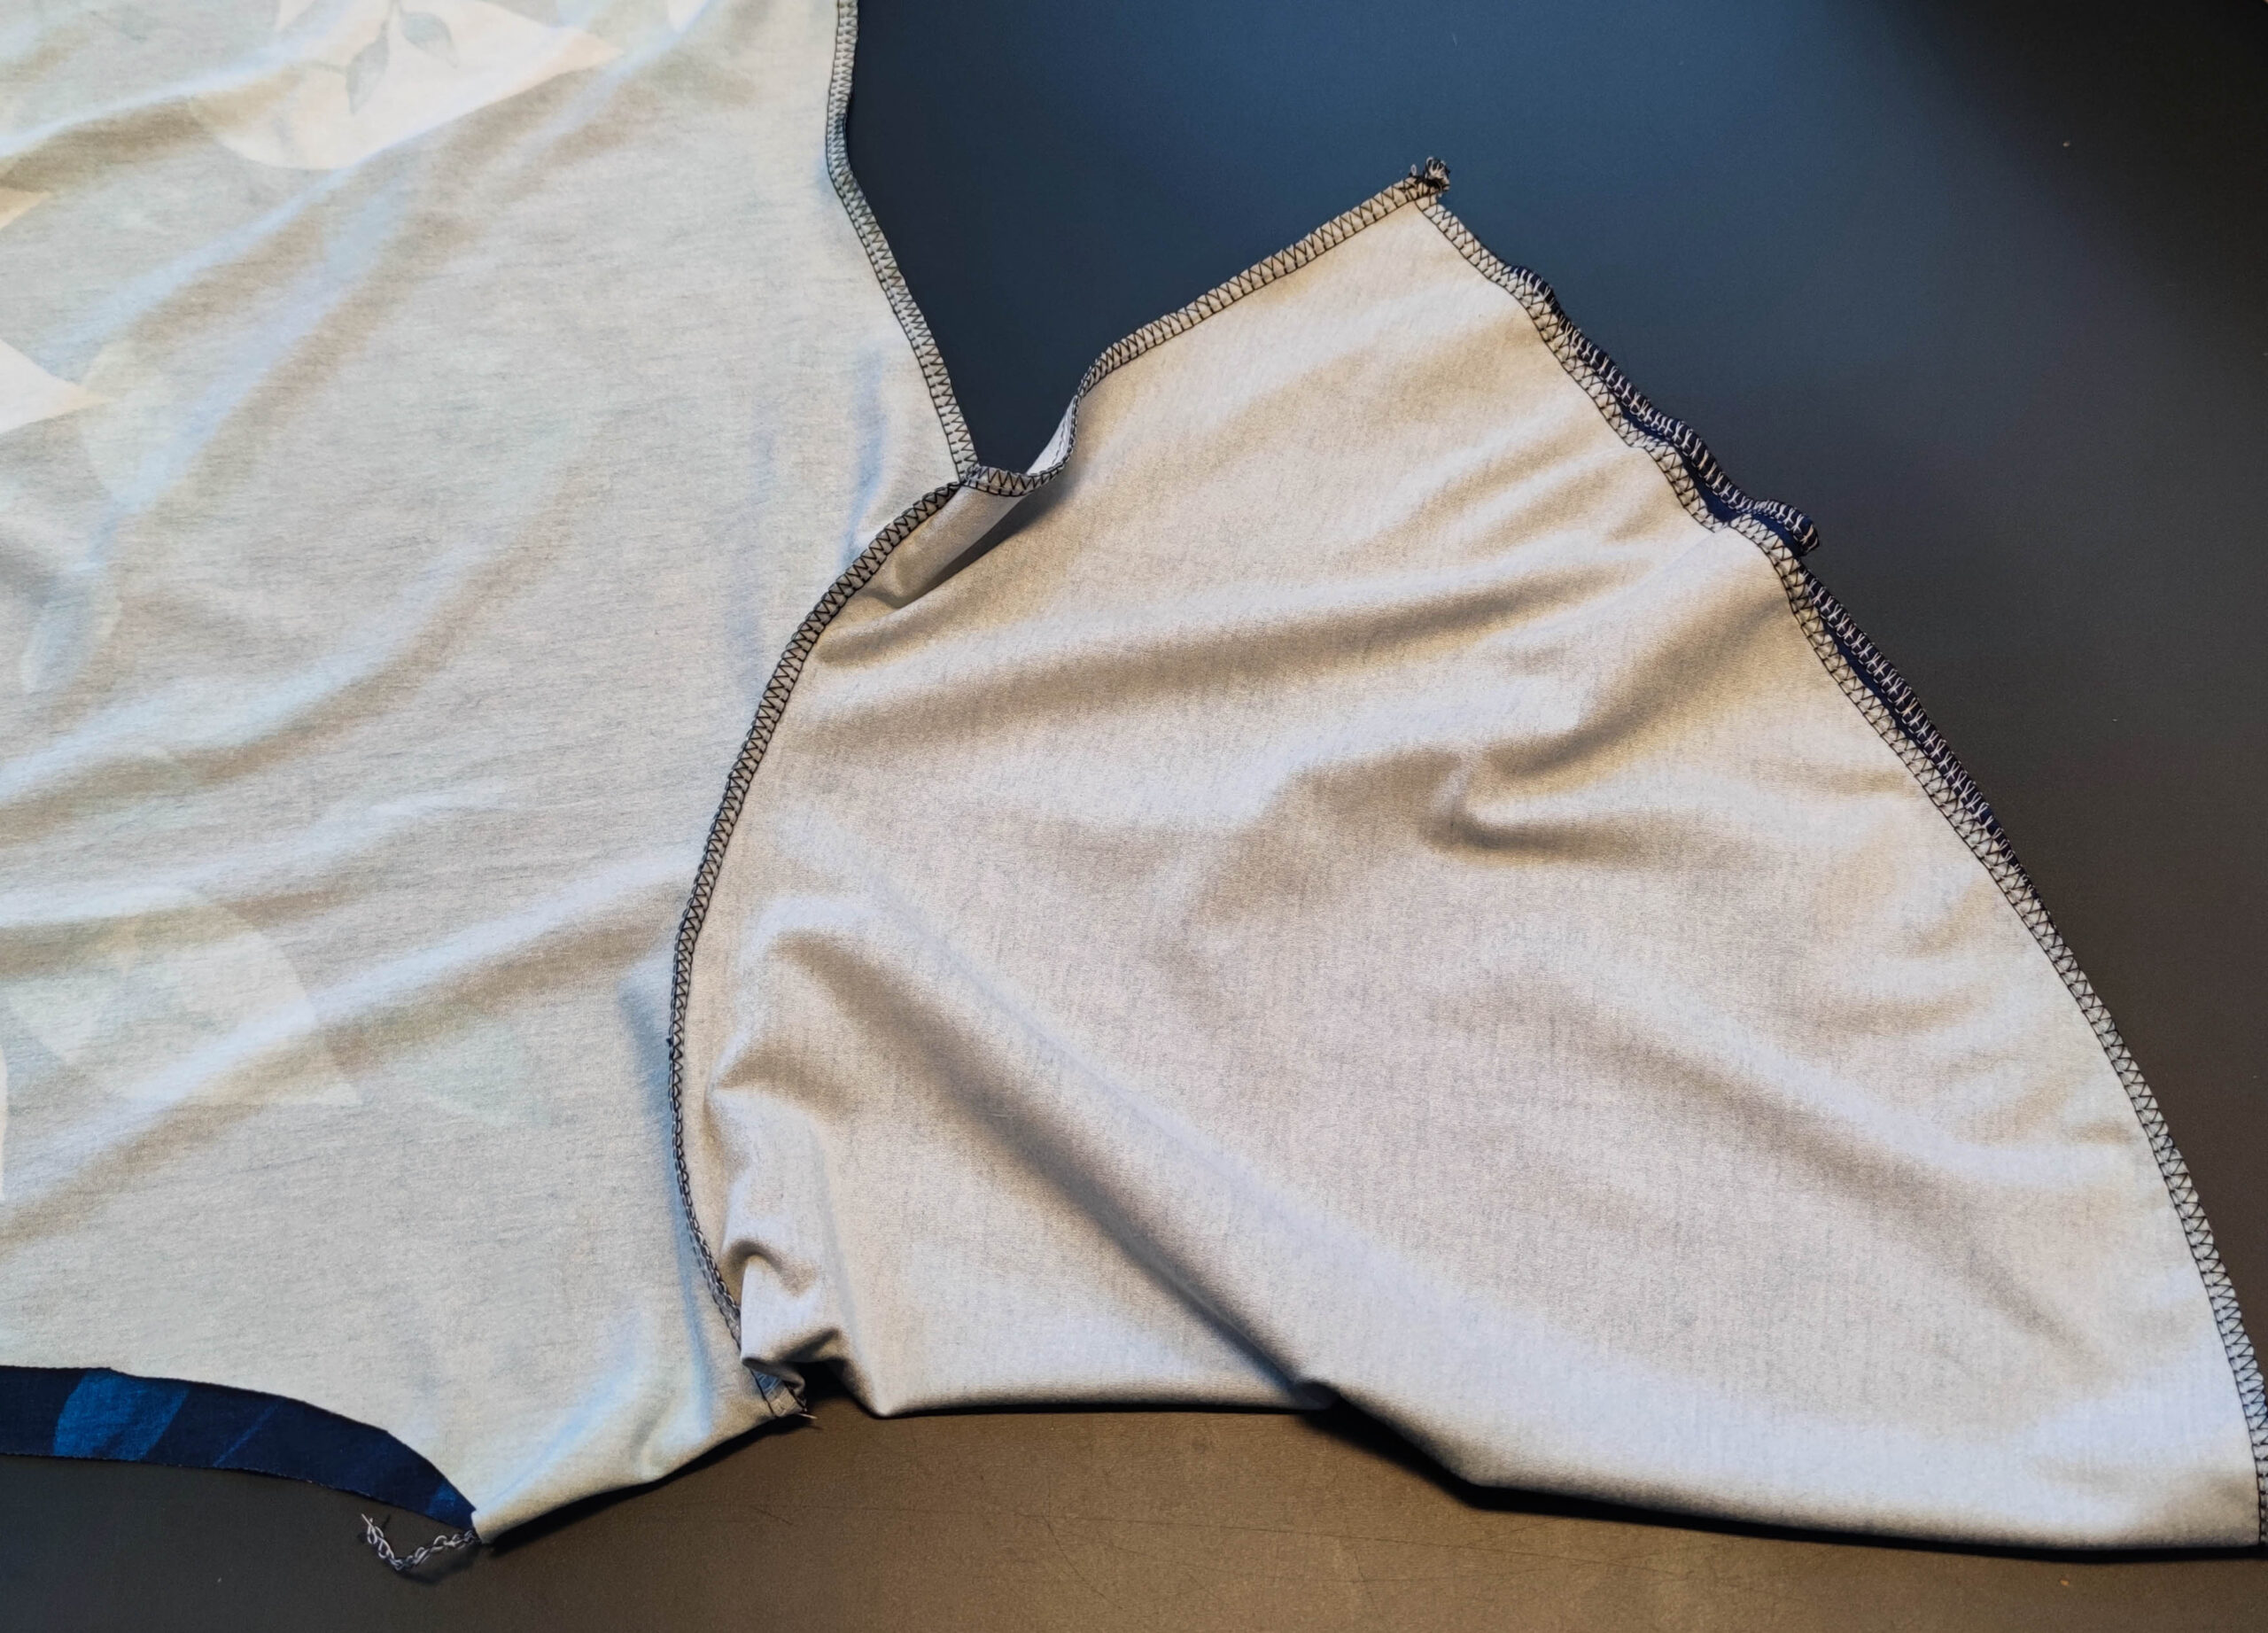
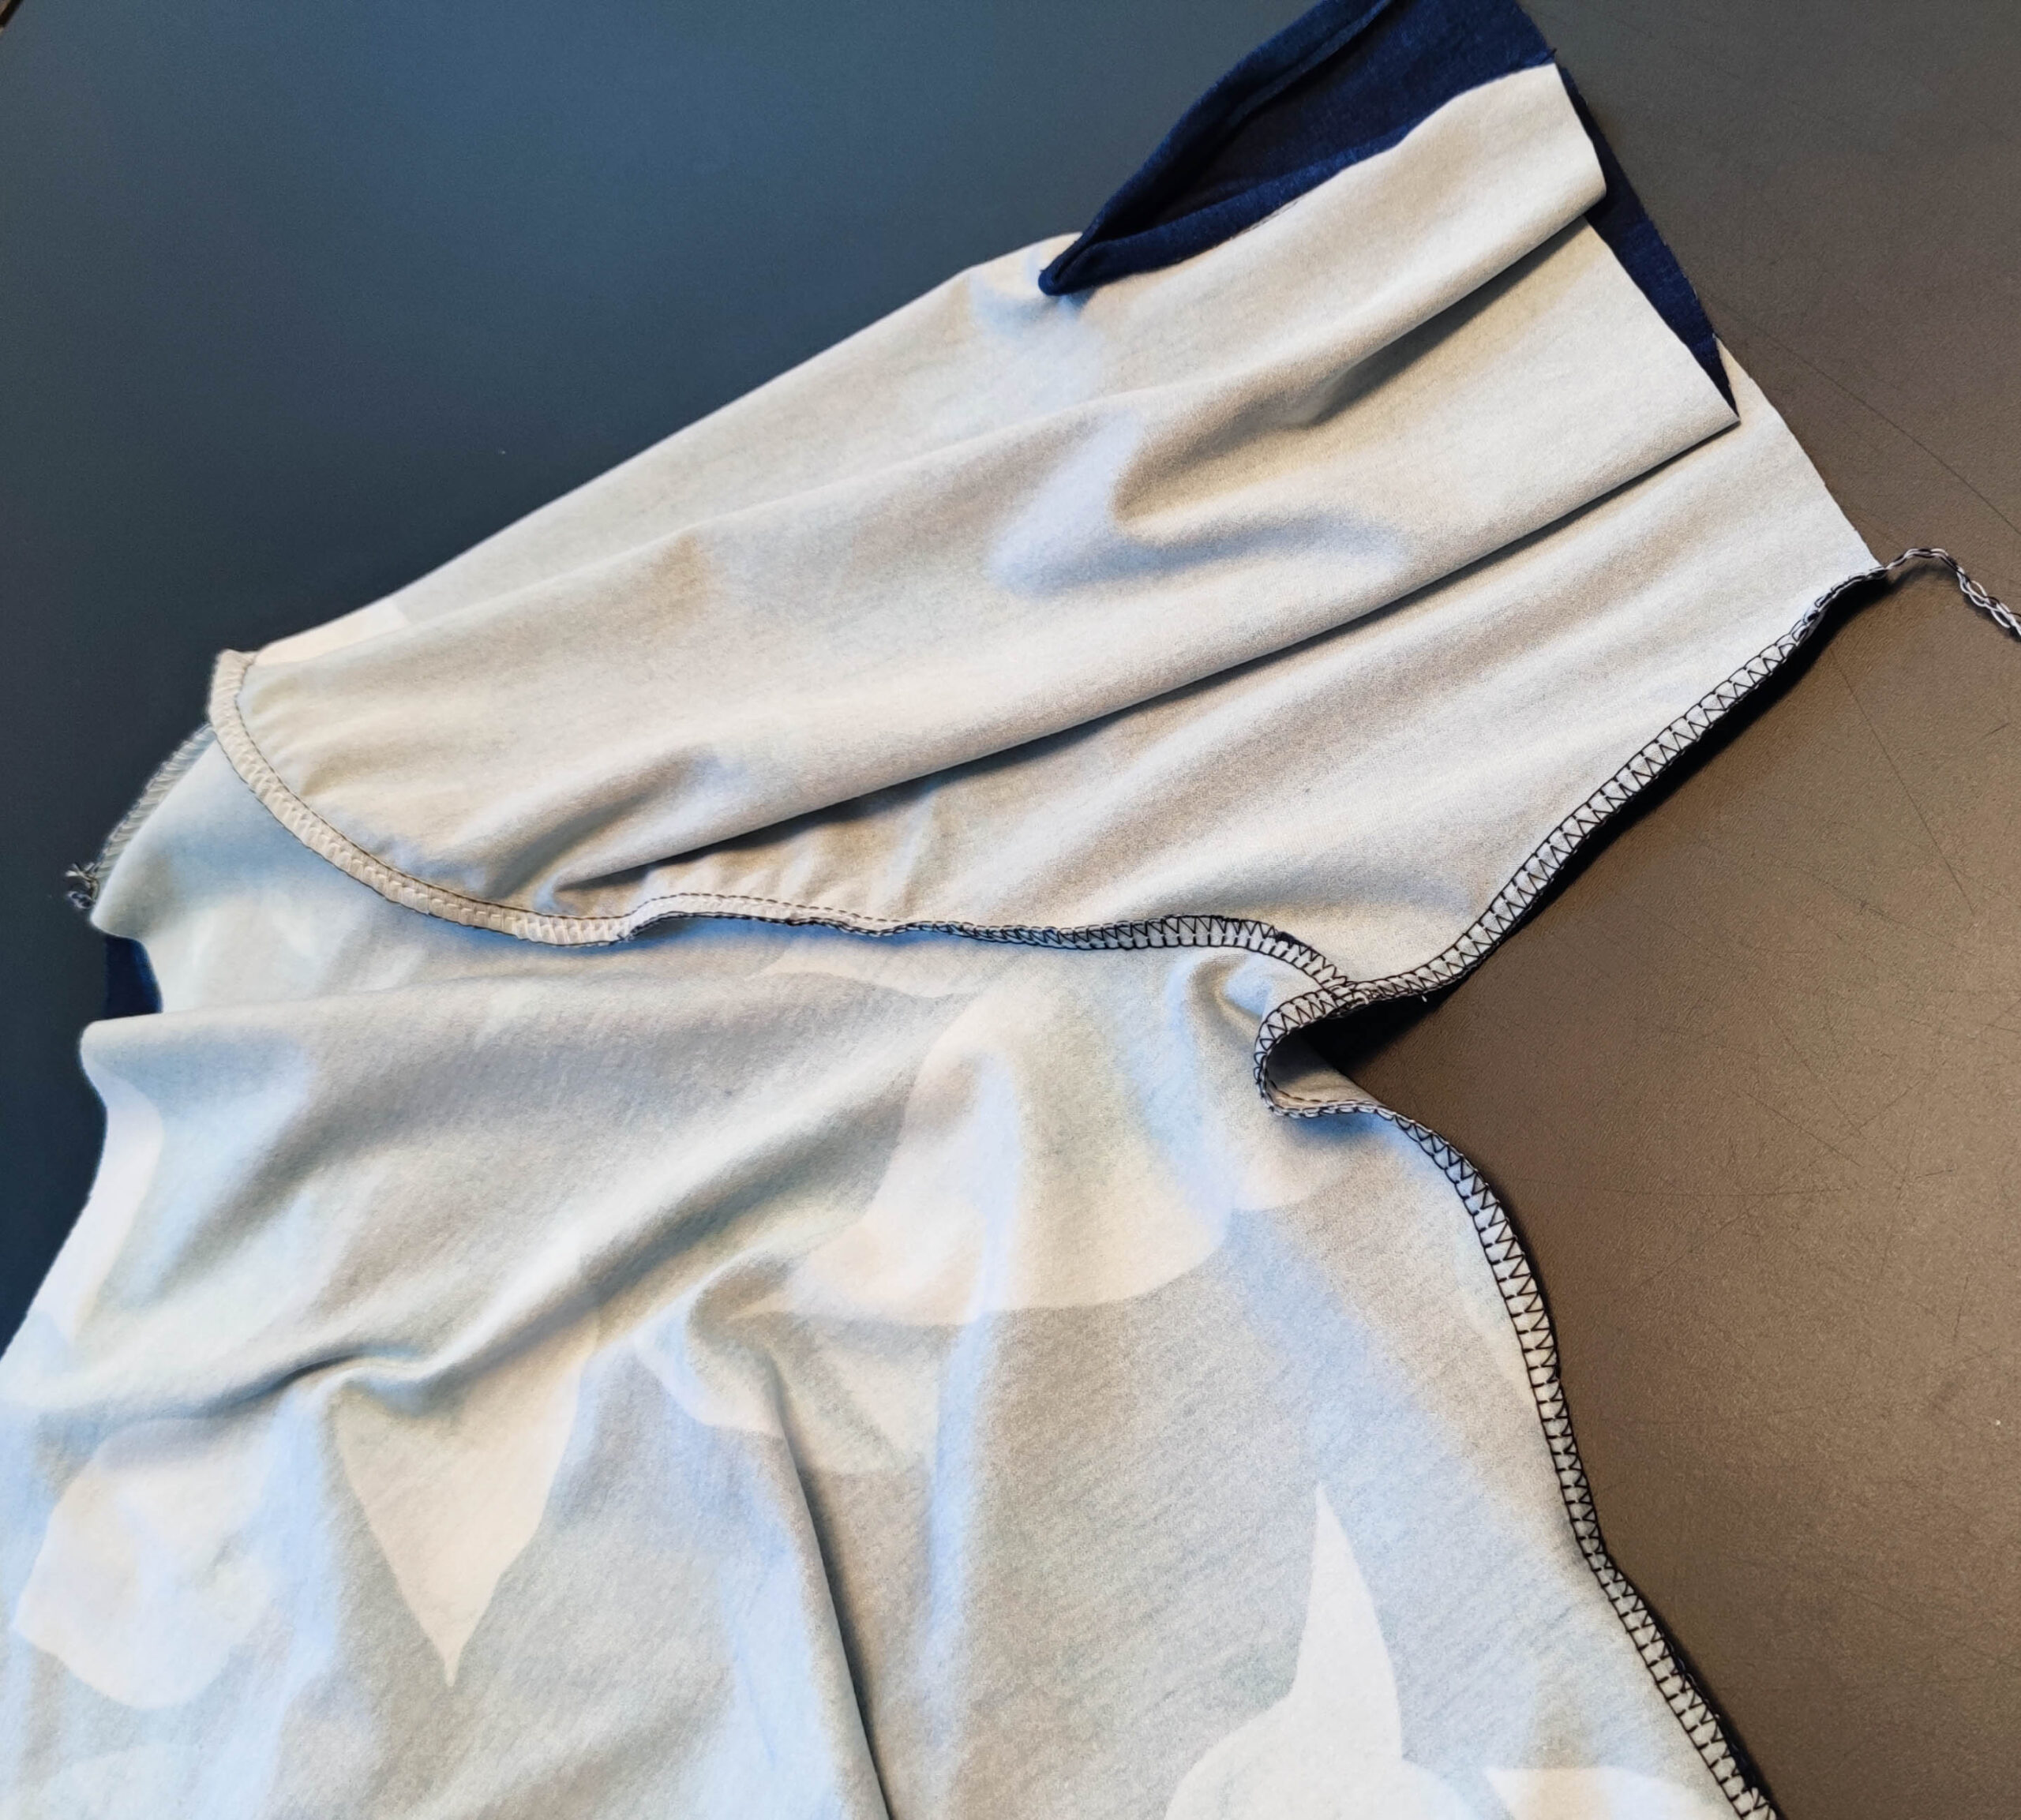
3. Seitennaht schließen und säumen
Schließe die Seitennaht in einem Rutsch. Der Ärmelsaum hat eine leichte Rundung, daher wird er knappkantig gesäumt. Versäubere optional die gesamte Kante mit der Overlock und erhöhtem Differential. So kräuselt sich die Mehrweite etwas ein. Säume mit 0,7 cm.
3. Closing the sideseams and hem
Close the side seam in one go. Hem with 0,7 cm.