zum Warenkorb 0,00 €
0Nähanleitung /// How to sew: Pluto
Das schnelle Traumkleid mit der asymmetrischen Schulter
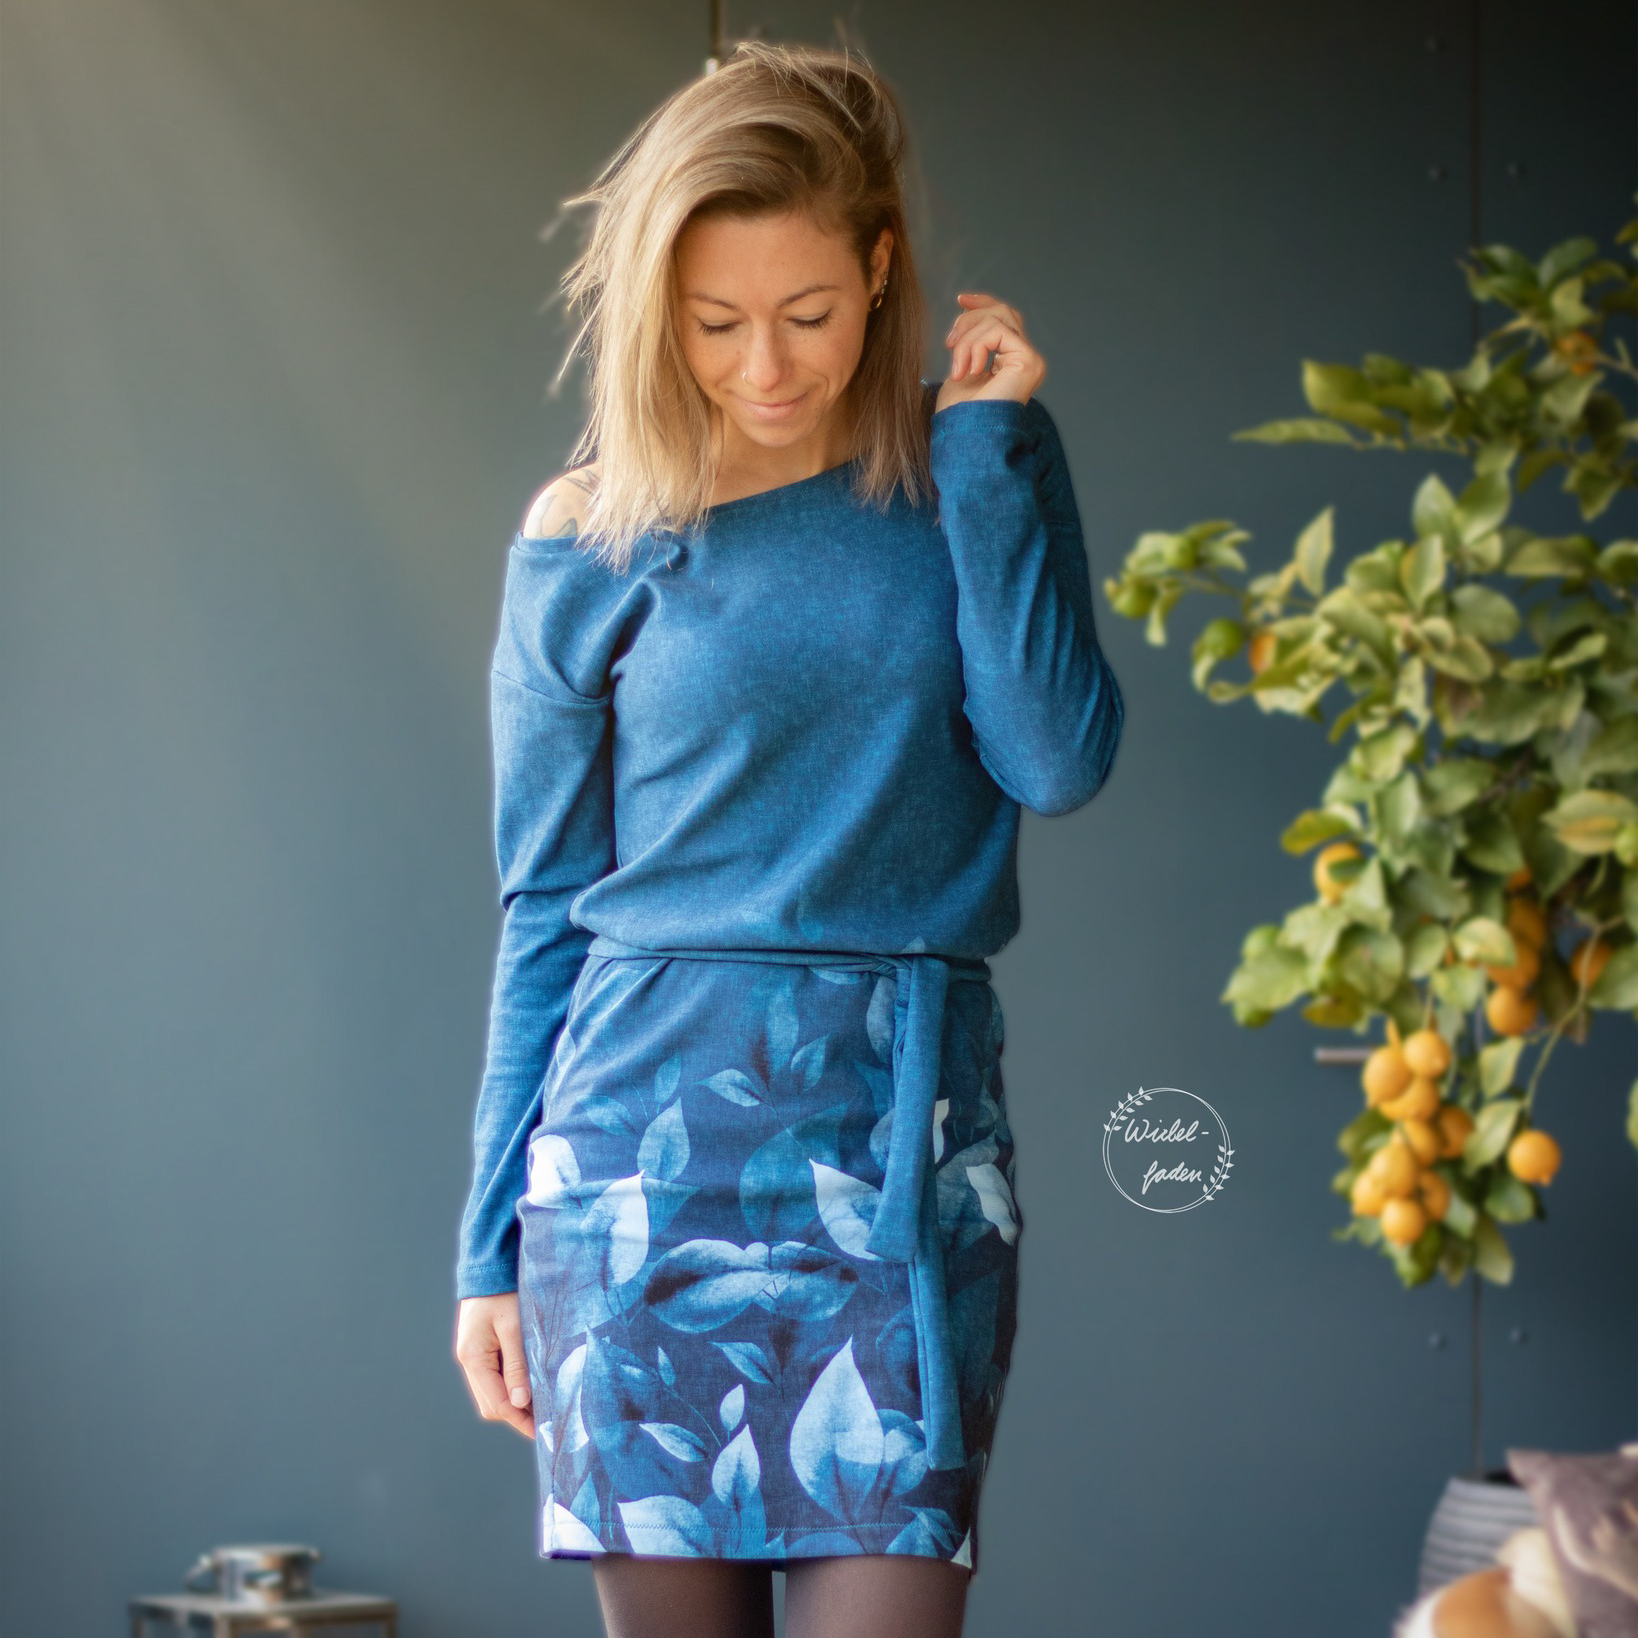
„Pluto“ ist ein schnell genähtes, bequemes Kleid, das in den warmen und kalten Jahreszeiten getragen werden kann. Das besondere Extra ist die Asymmetrie, das Kleid kann einseitig schulterfrei getragen werden. Zudem hast du die Wahl zwischen langen und 3/4 Ärmeln.
The quick dream dress with the asymmetrical shoulder
“Pluto” is a quickly sewn, comfortable dress that can be worn in the warm and cold seasons. The special extra is the asymmetry, the dress can be worn off the shoulder on one side. You also have the choice between long and 3/4 sleeves.
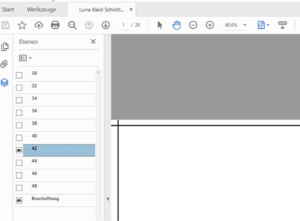
Richtige Größe drucken
Print the correct size
Maßtabelle /// Size chart (cm)

Gürtelbreite 10 cm inkl. Nahtzugabe, Länge gemäß Tabelle /// Belt width 10 cm including seam allowance, length according to table

Stoffbedarf Bordürenstoffe/// fabric requirement border fabrics

Stoffempfehlung
Für Pluto eignen sich am besten Stoffe mit etwas Stand, wie unser Modal Frenchterry oder andere Frenchterrys und Sweatstoffe mit mindestens 5% Elasthananteil und Viskosejerseys mit einem Flächengewicht von mindestens 200g/qm.
Fabric recommendation
Fabrics with a little body are best suited for Pluto, such as our modal French terry or other French terry and sweat fabrics with at least 5% elastane and viscose jerseys with weight 200g/sqm.
Anpassung
Für Pluto sind alle 3 Maße entscheidend. Wähle deine Größe entsprechend der Maßtabelle. Der Gürtel sollte in der Taille liegen.
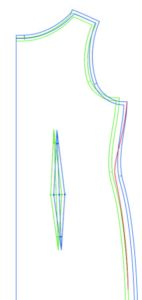
Wenn du den Schnitt anpassen musst, drucke nur die Größen, die du zum Verbinden benötigest. Zum Beispiel Brust 40, Hüfte 36.
Verwende die Ebenenfunktion und drucke nur 40 und 36 aus.
Die Größen werden dann mit einer Linie verbunden, im Beispielbild ist es die rote Linie.
Solltest du Hilfe benötigen, schau gern in der Mondstoff-Gruppe auf Facebook vorbei: Mondstoff-Gruppe
Adjustment
All 3 measurements are important for Pluto. Choose your size according to the measurement table. The belt should be at the waist.
If you need to adjust the pattern, you can only print the sizes you need to connect. For example, top chest 40, hips 36.
Use the layers function and only print out 40 and 36.
The sizes are then connected with a line, in the example image it is the red line. Use the back dart that corresponds to your waist measurement.
If you need help, feel free to join the Mondstoff group on Facebook: Mondstoff Group
Zuschnitt
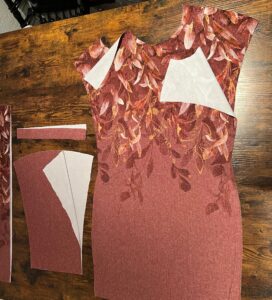
1x Vorderteil
1x Rückteil
2x Ärmel gegengleich (entscheide dich für lange oder 3/4-Ärmel)
1x Bündchen
1x Gürtel nach Tabelle
Cutting
1x front
1x back
2x mirrored sleeves (choose long or 3/4 sleeves)
1x neck cuff
1x belt
Passzeichen übertragen
Übertrage alle Passzeichen mit Hilfe eines Trickmarkers oder einem Einschnitt innerhalb der Nahtzugabe auf die linke Stoffseite.
Transfer the marks
Transfer all marks to the wrong side of the fabric using a trick marker or a snap inside the seamallowance.
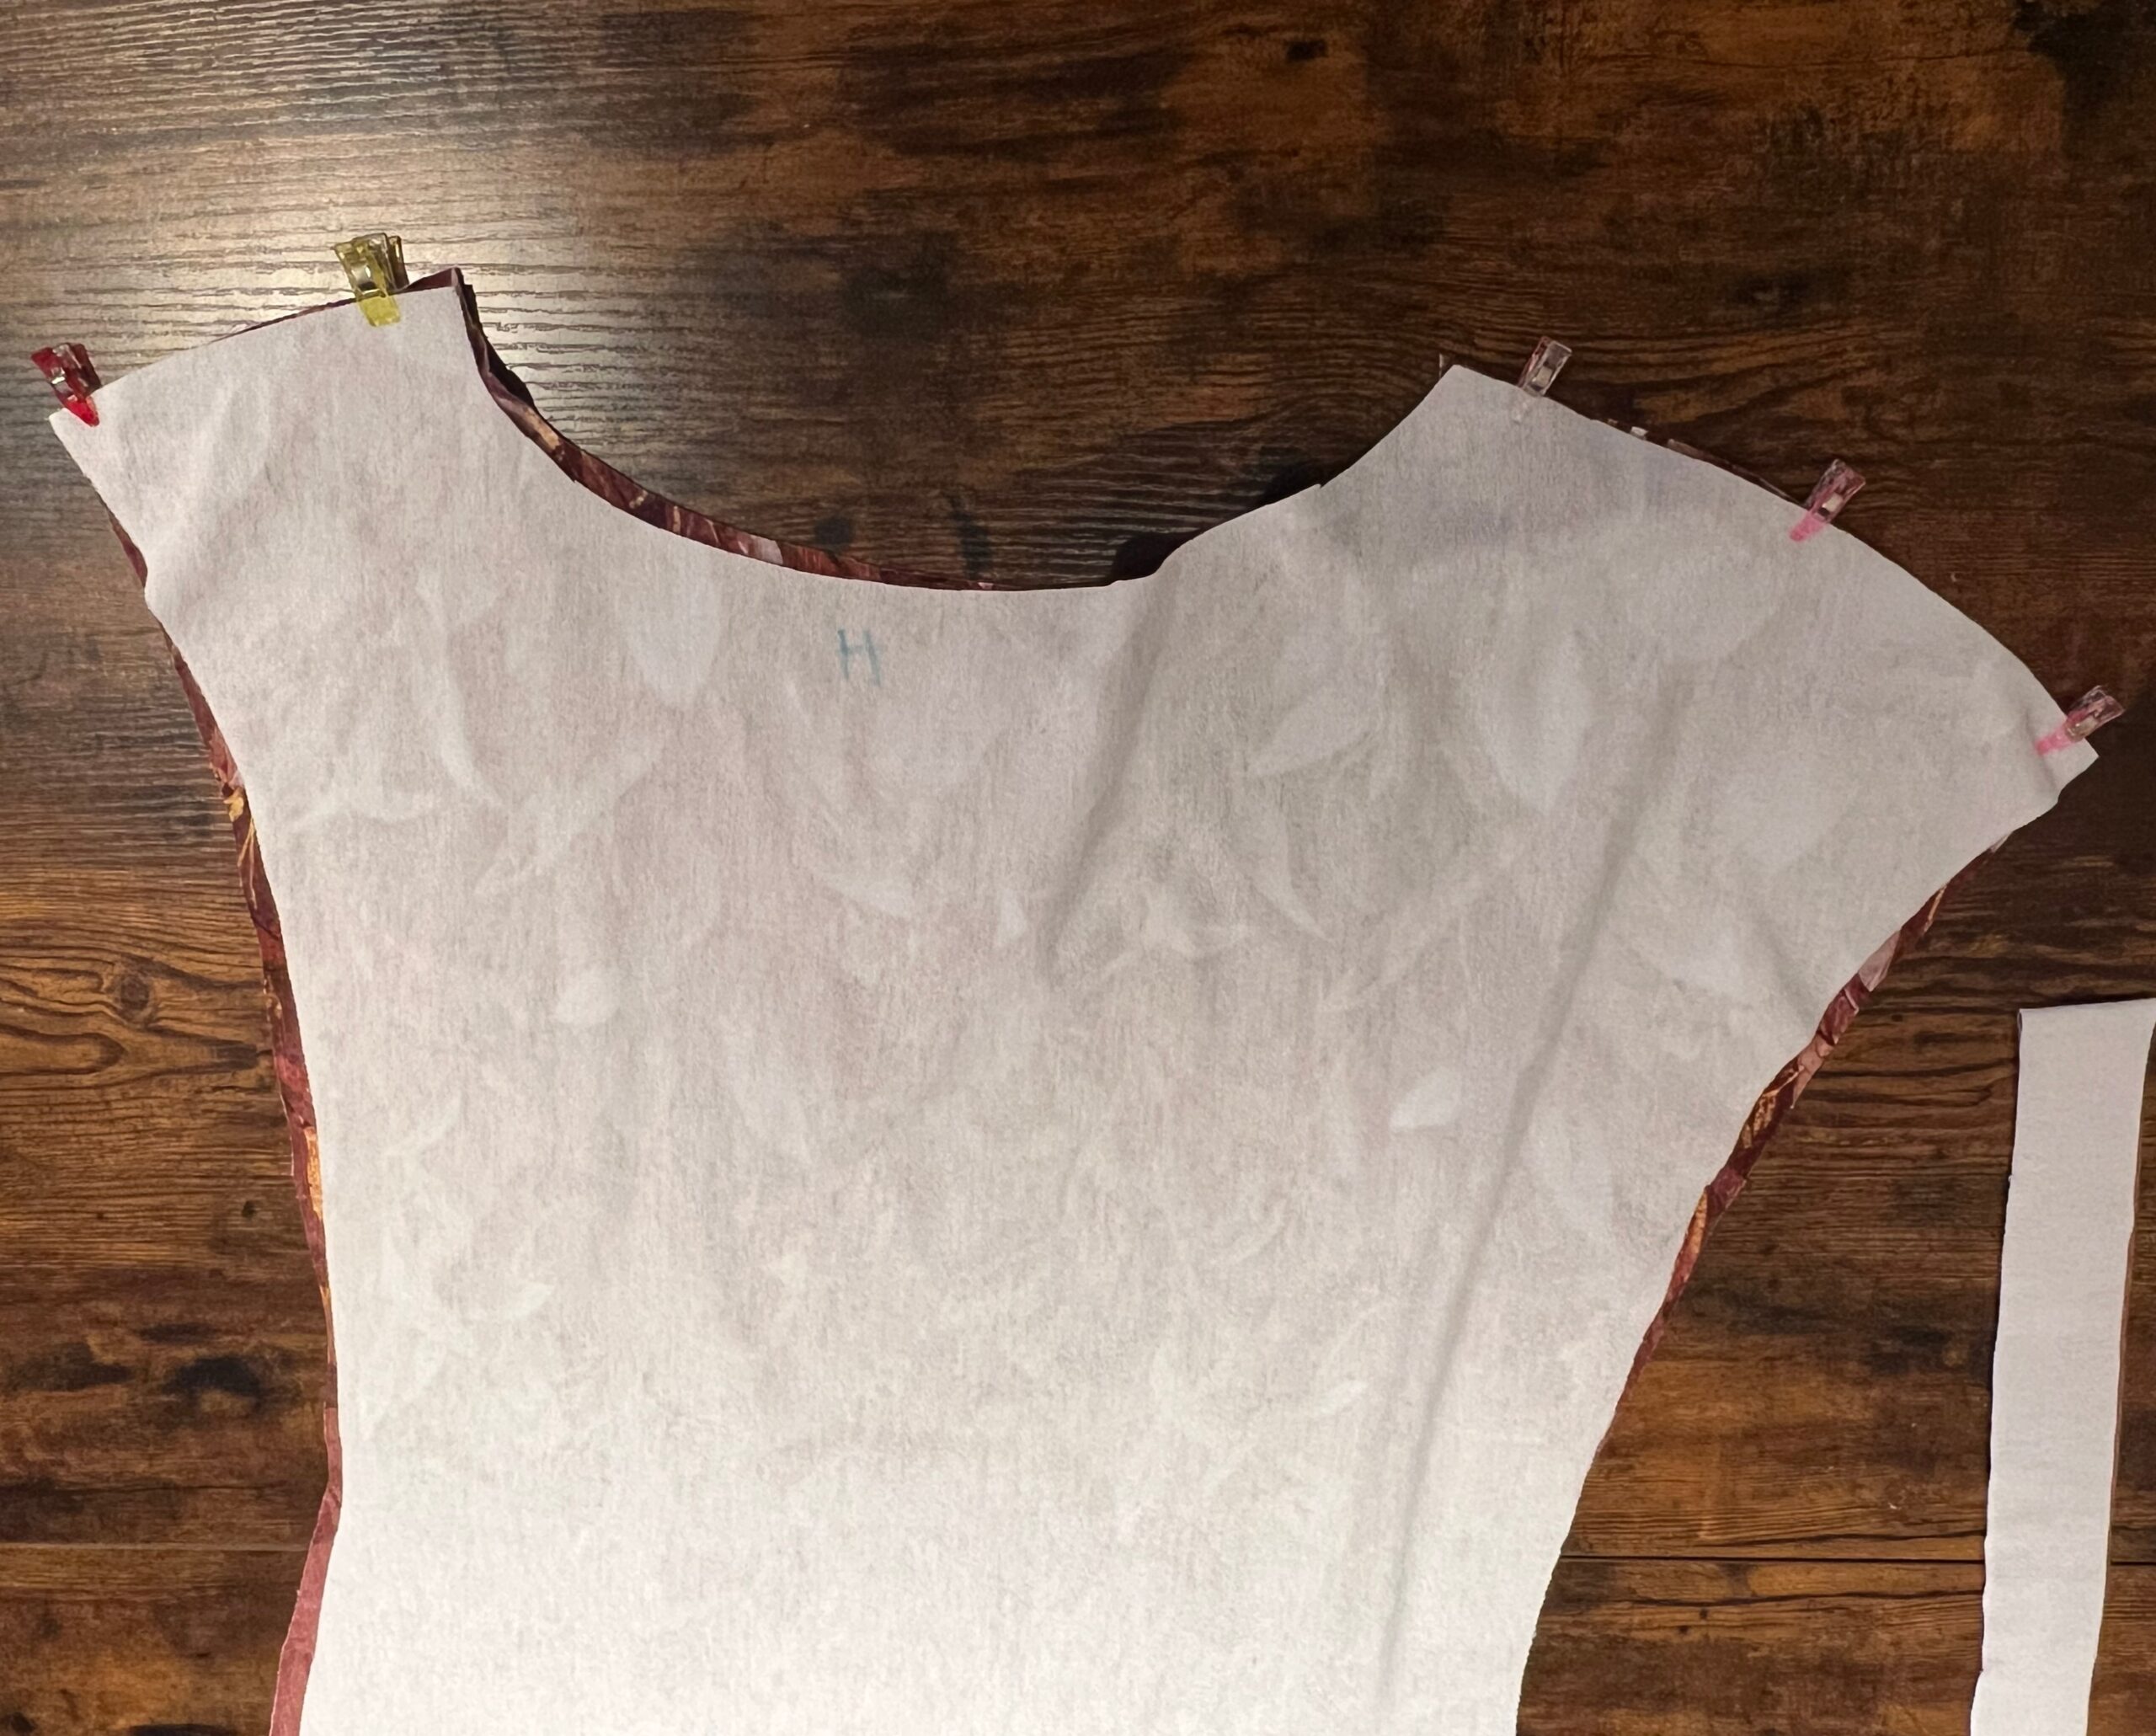
Schulternähte schließen
Lege Vorder- und Rückteil rechts auf rechts aufeinander und schließe zunächst beide Schulternähte mit einem elastischen Stich.
Closing the shoulder seams
Place the front and back pieces on top of each other, right sides together, and first sew both shoulder seams with an elastic stitch.
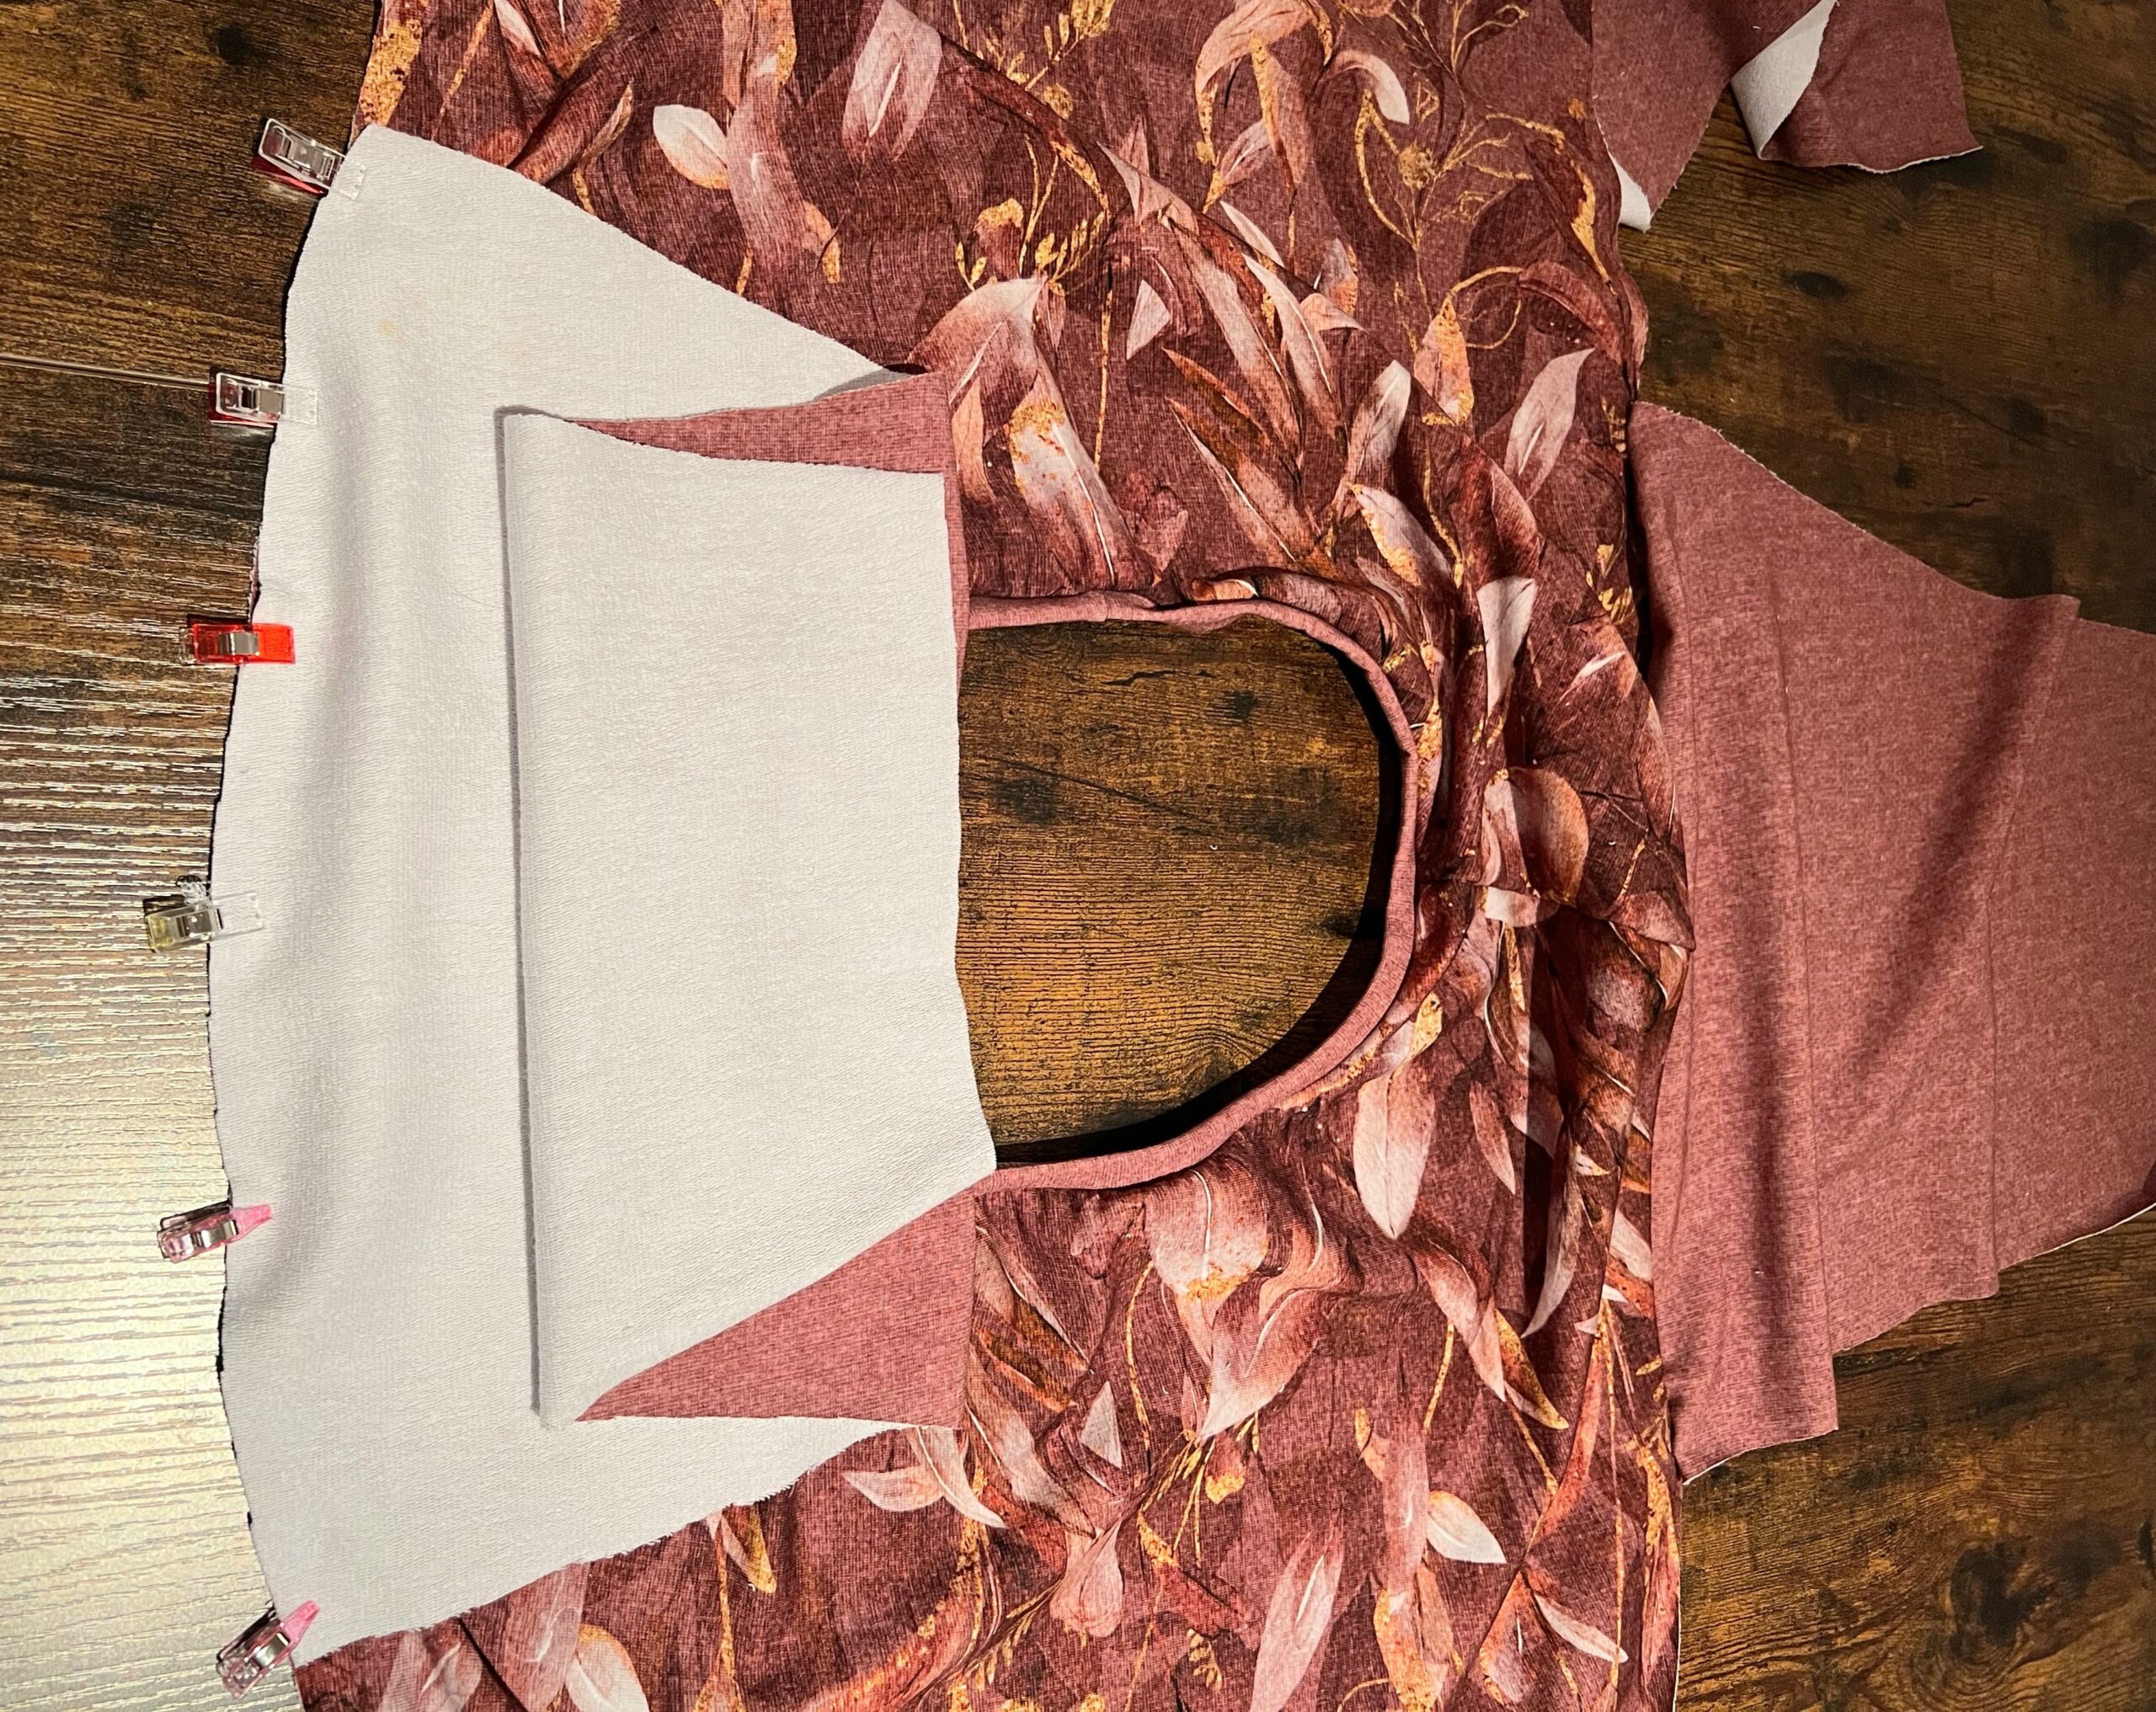
Ärmel annähen
Lege das Kleid aufgeklappt vor dich und stecke die Ärmel jeweils rechts auf rechts fest. Orientiere dich dabei an den Knipsen für die Schulter am Ärmel und an den Knipsen am Kleid für Beginn und Ende des Ärmels. Achte darauf, dass der Ärmel eine hintere und eine vordere Seite hat. Nähe die Ärmel mit einem elastischen Stich.
Sewing the sleeves
Lay the dress unfolded in front of you and pin the sleeves right sides together. Use the notches for the shoulder on the sleeve and the notches on the dress for the beginning and end of the sleeve as a guide. Make sure the sleeve has a back and a front. Sew the sleeves with an elastic stitch.
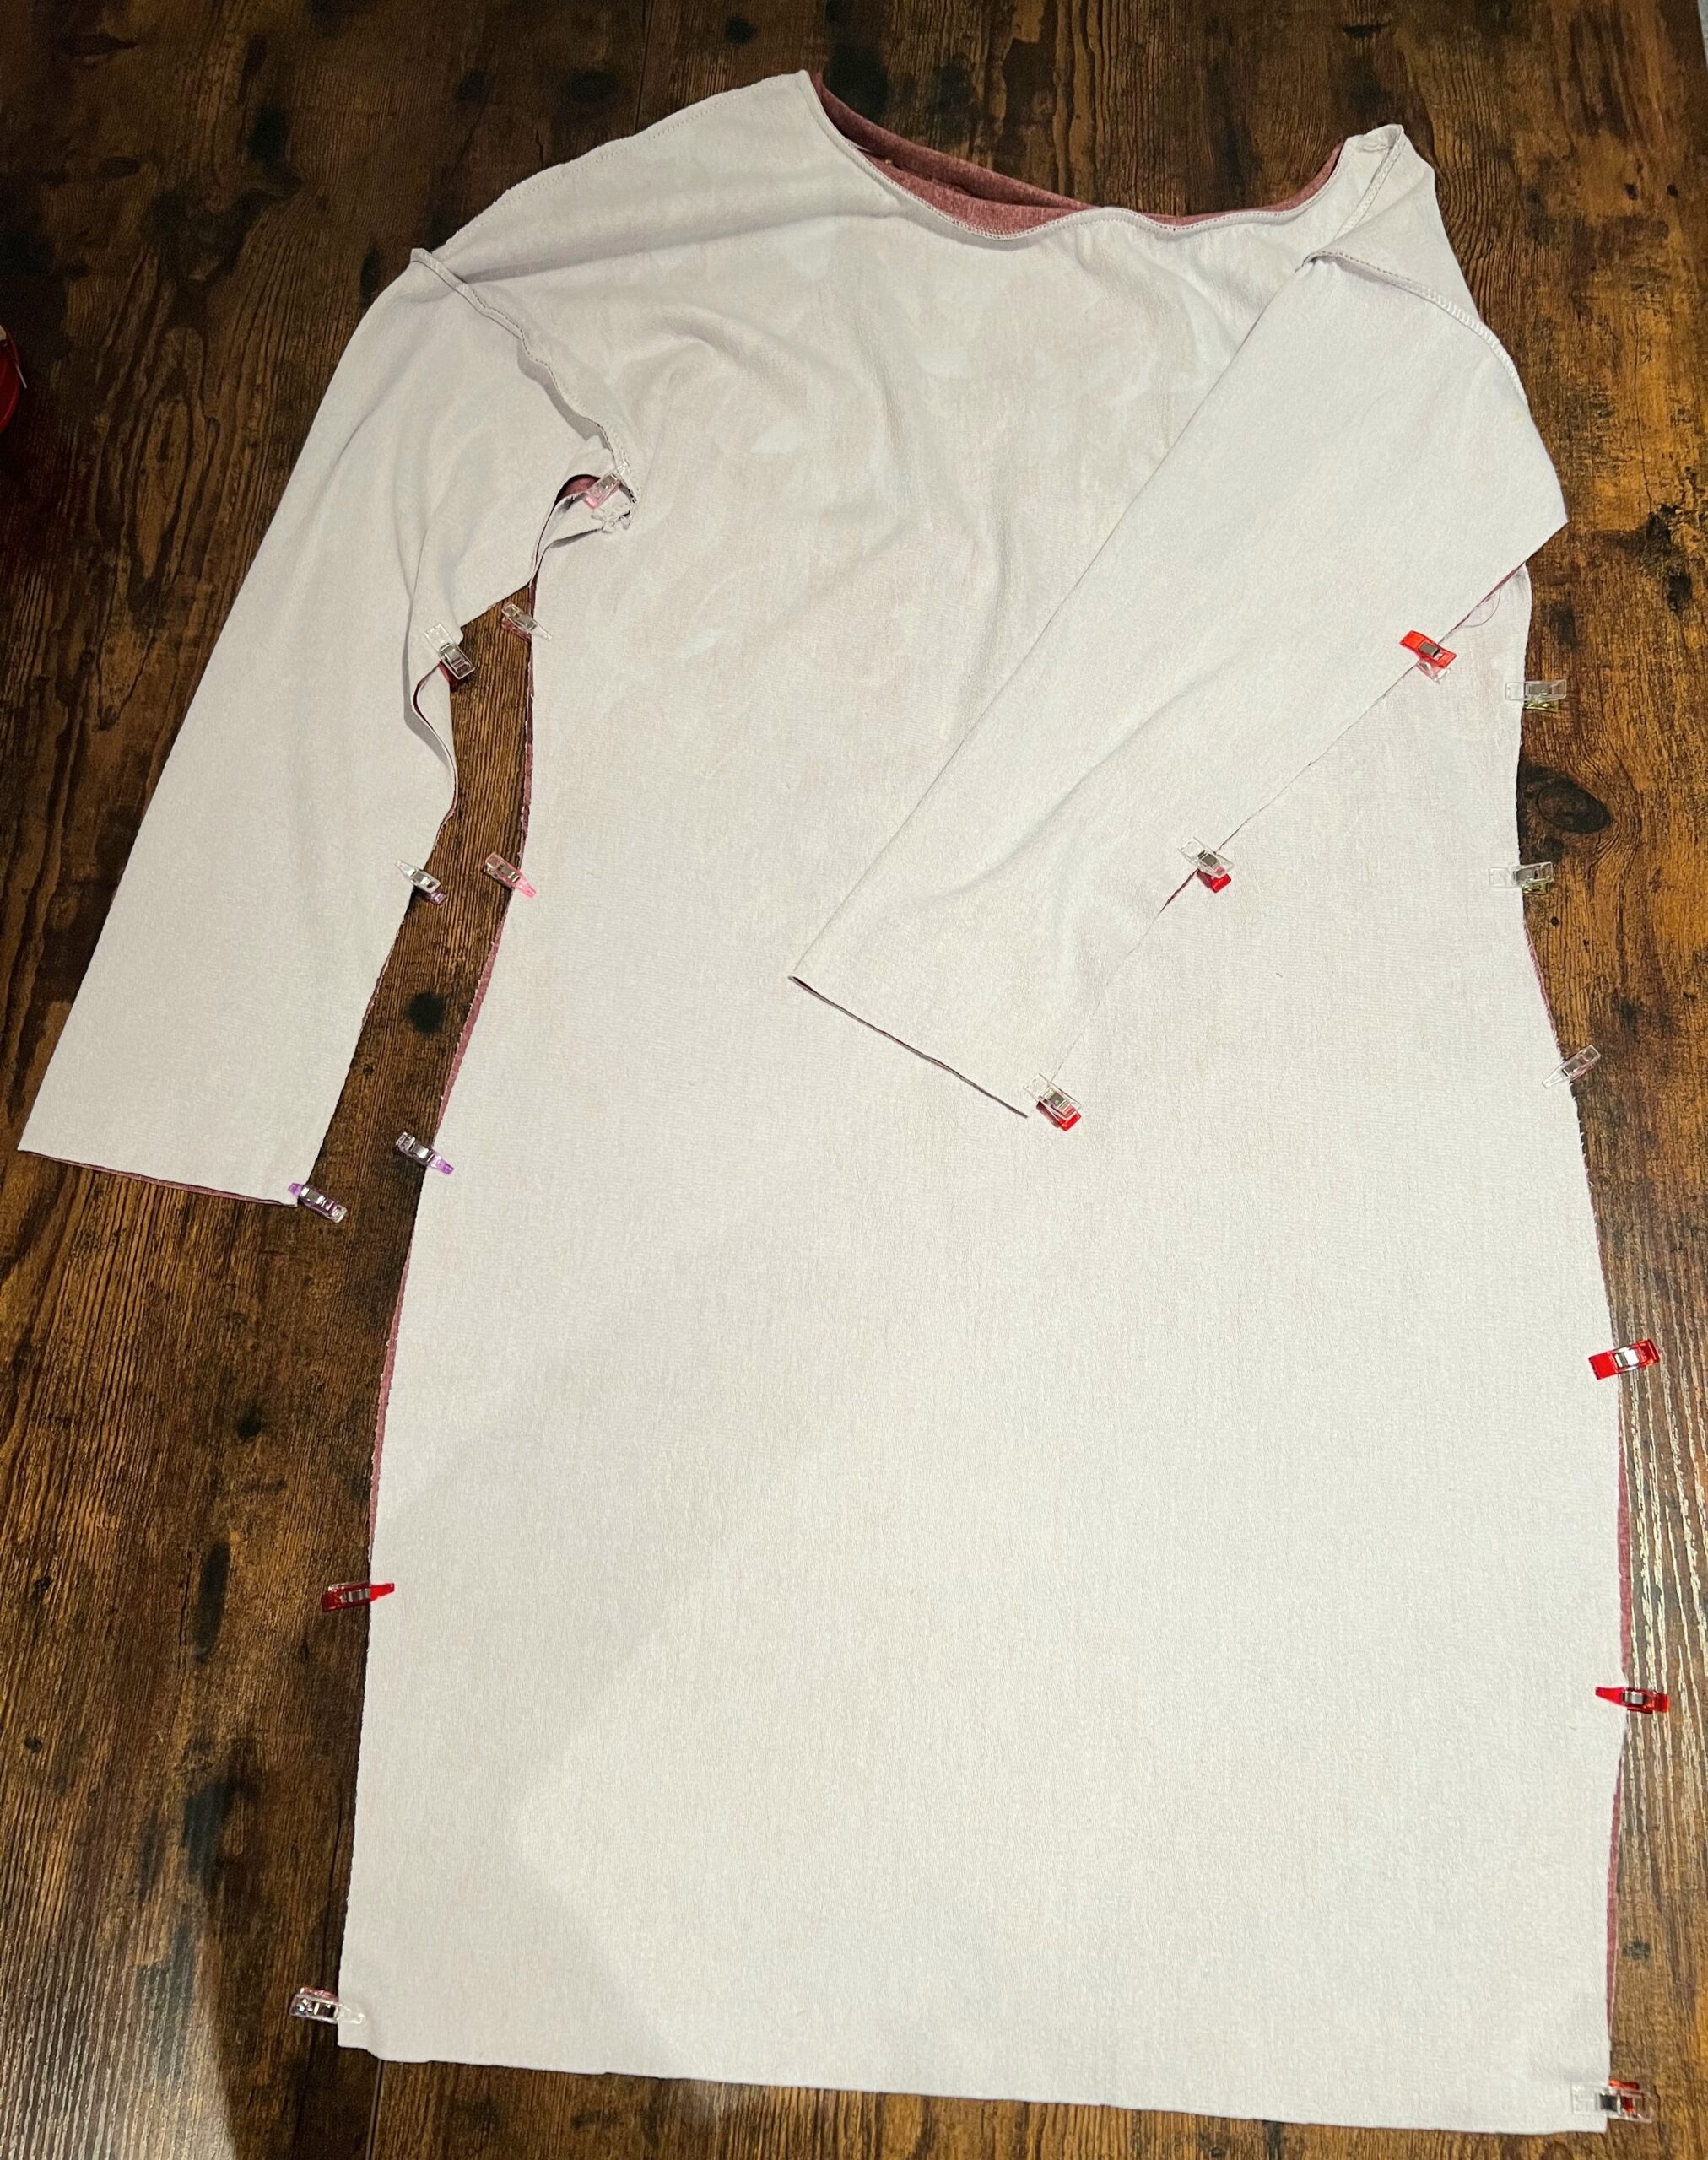
Seitennähte schließen
Lege das Kleid rechts auf rechts und schließe die Seitennähte in einem Rutsch.
Closing the sideseams
Place the dress right sides together and sew the side seams in one go.
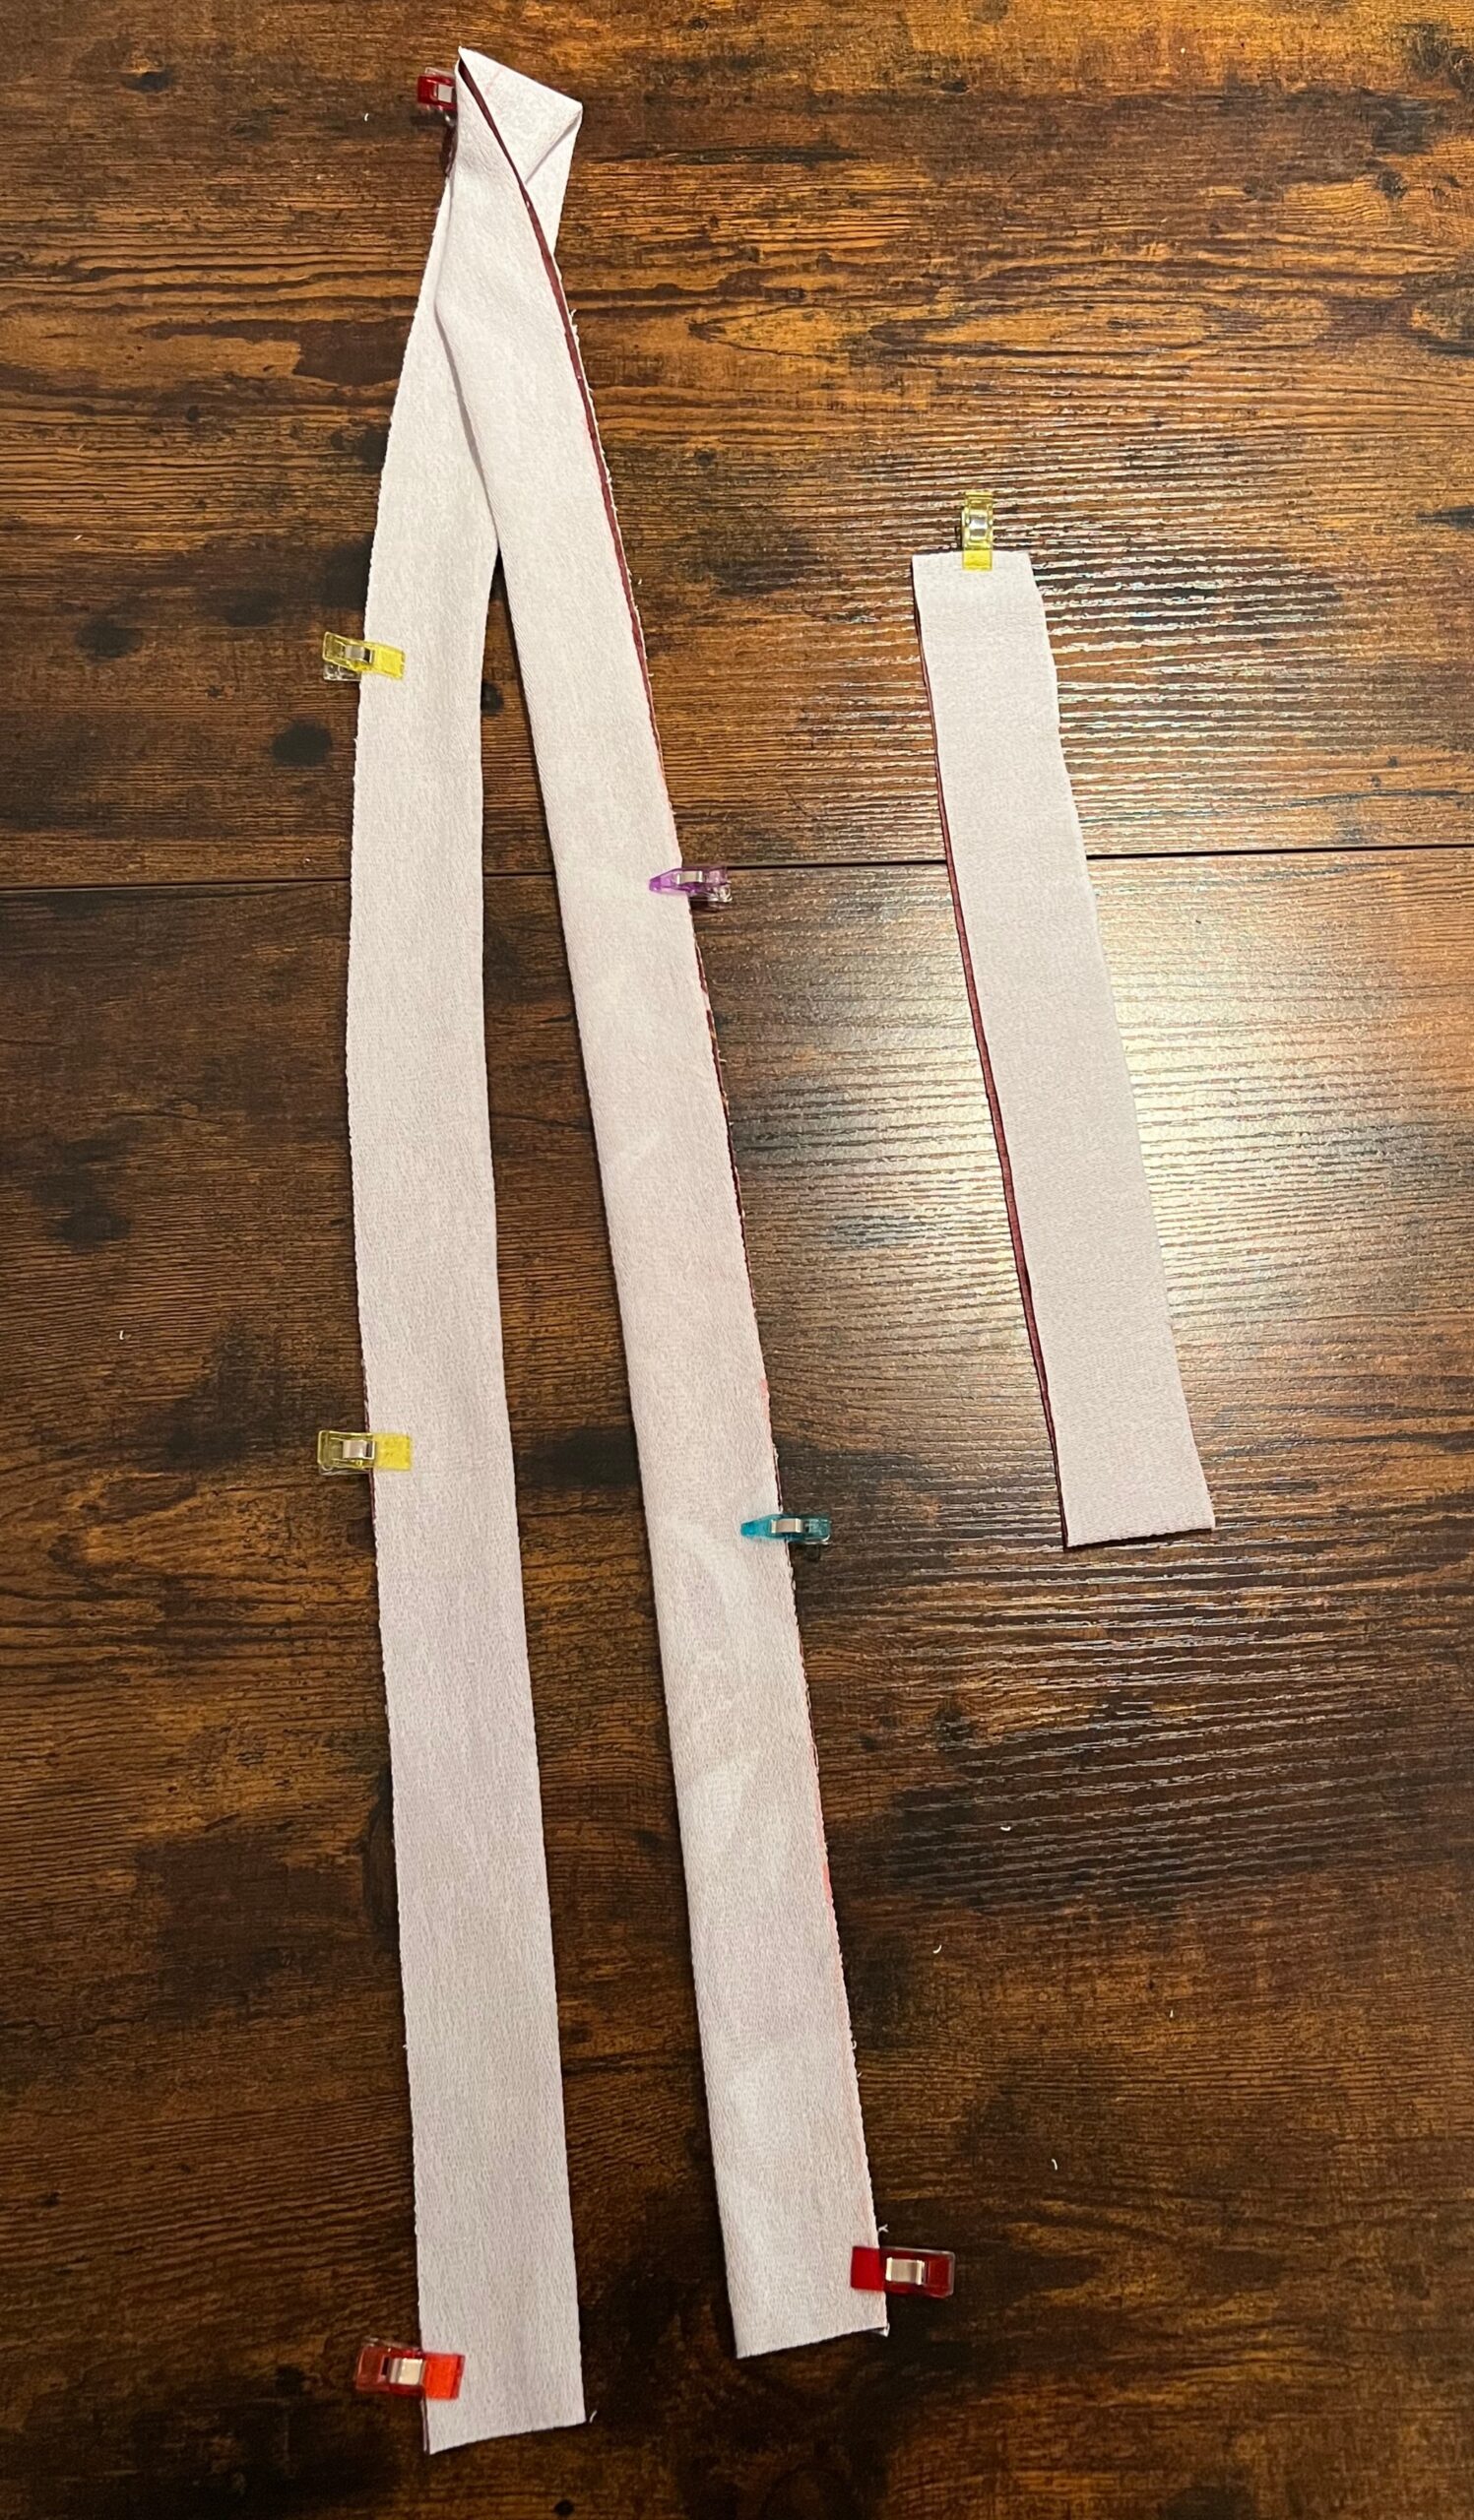
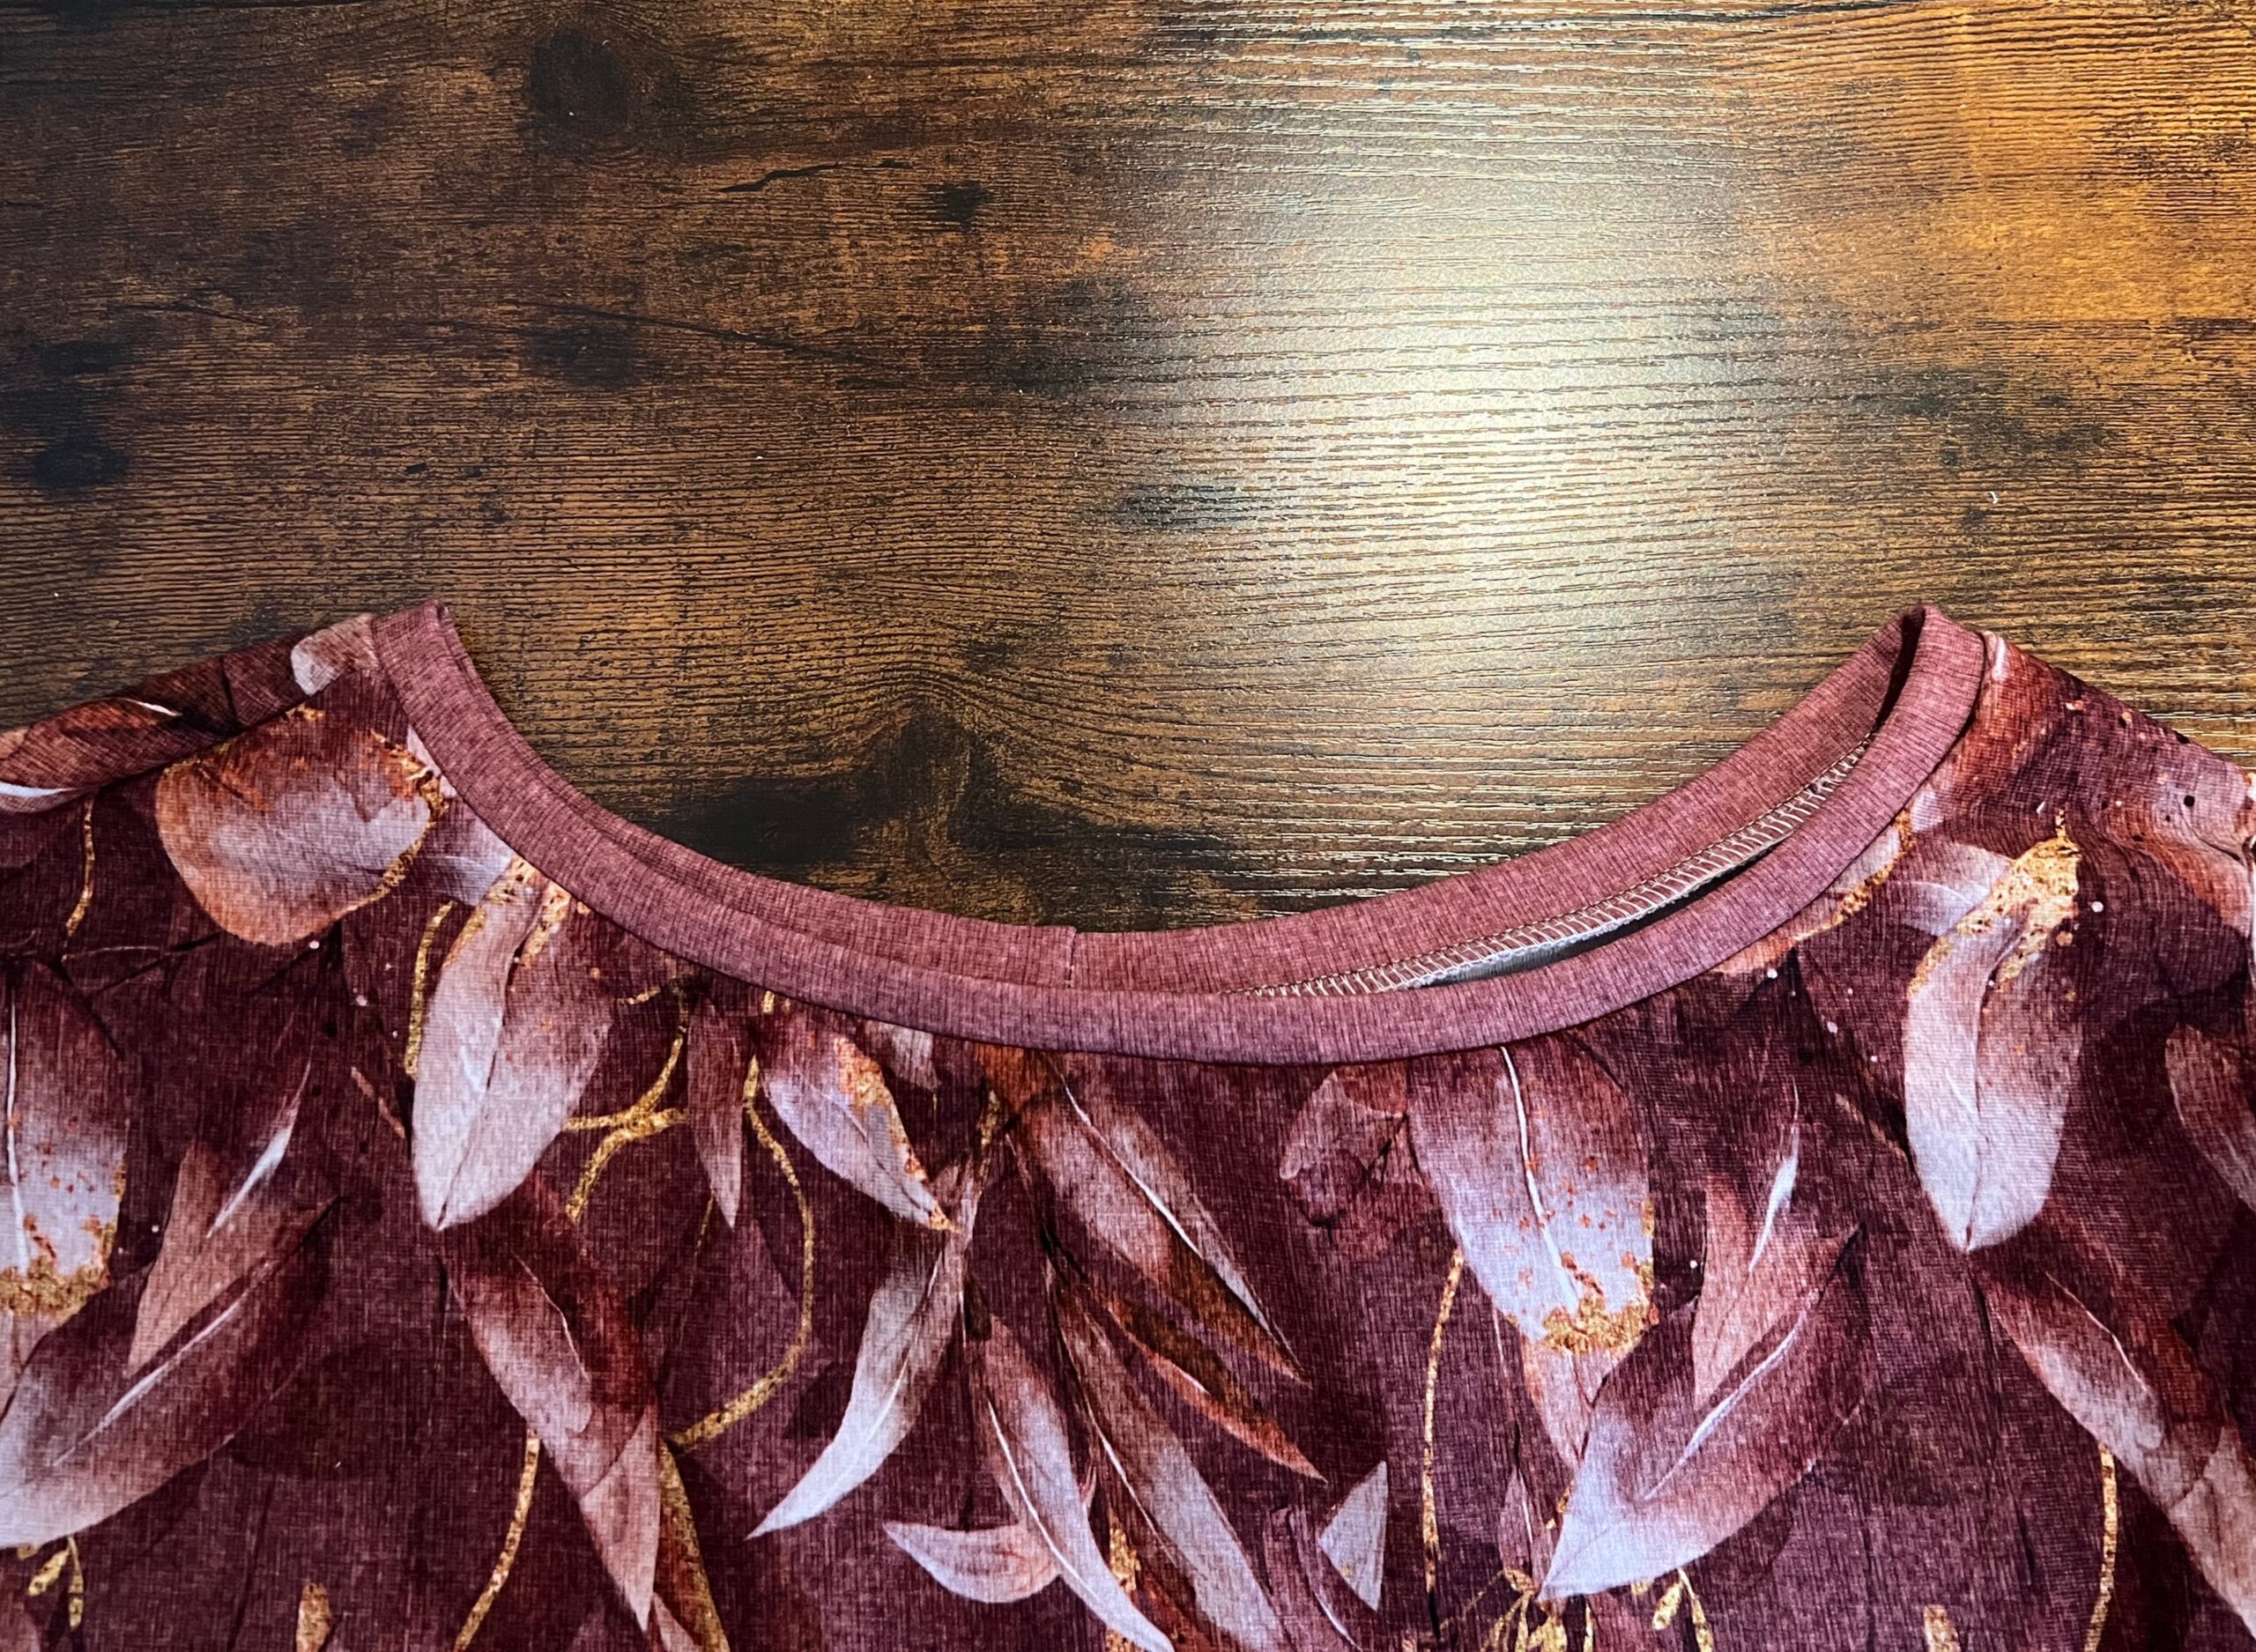
Bündchen annähen und Gürtel vorbereiten
Schließe das Bündchen zum Ring, indem du die kurzen Seiten rechts auf rechts mit einem elastischen Stich zusammennähst. Stecke das Bündchen rechts auf rechts an die Halsausschnittkante, orientiere dich hierbei an den Knipsen. Nähe das Bündchen mit einem elastischen Stich. Optional kannst du den Ausschnitt von rechts knappkantig absteppen.
Orientiere dich für den Gürtel an den Maßen der Tabelle. Falte den Gürtel rechts auf rechts zur Hälfte und schließe ihn mit einer elastischen Naht. Lasse eine Wendeöffnung. Wende den Gürtel, bügle ihn gründlich und schließe die Wendeöffnung. Optional kannst du den Gürtel auch einmal ringsherum knappkantig absteppen.
Sewing the neckline and the belt
Close the cuff into a ring by sewing the short sides right sides together with an elastic stitch. Pin the cuff to the edge of the neckline, right sides together, using the snaps as a guide. Sew the cuff with an elastic stitch. Optionally, you can topstitch the neckline from the right edge.
For the belt, use the dimensions in the table as a guide. Fold the belt in half, right sides together, and fasten with an elastic seam. Leave an opening for turning. Turn the belt inside out, iron it thoroughly and close the turning opening. Optionally, you can top-stitch the belt all the way around.
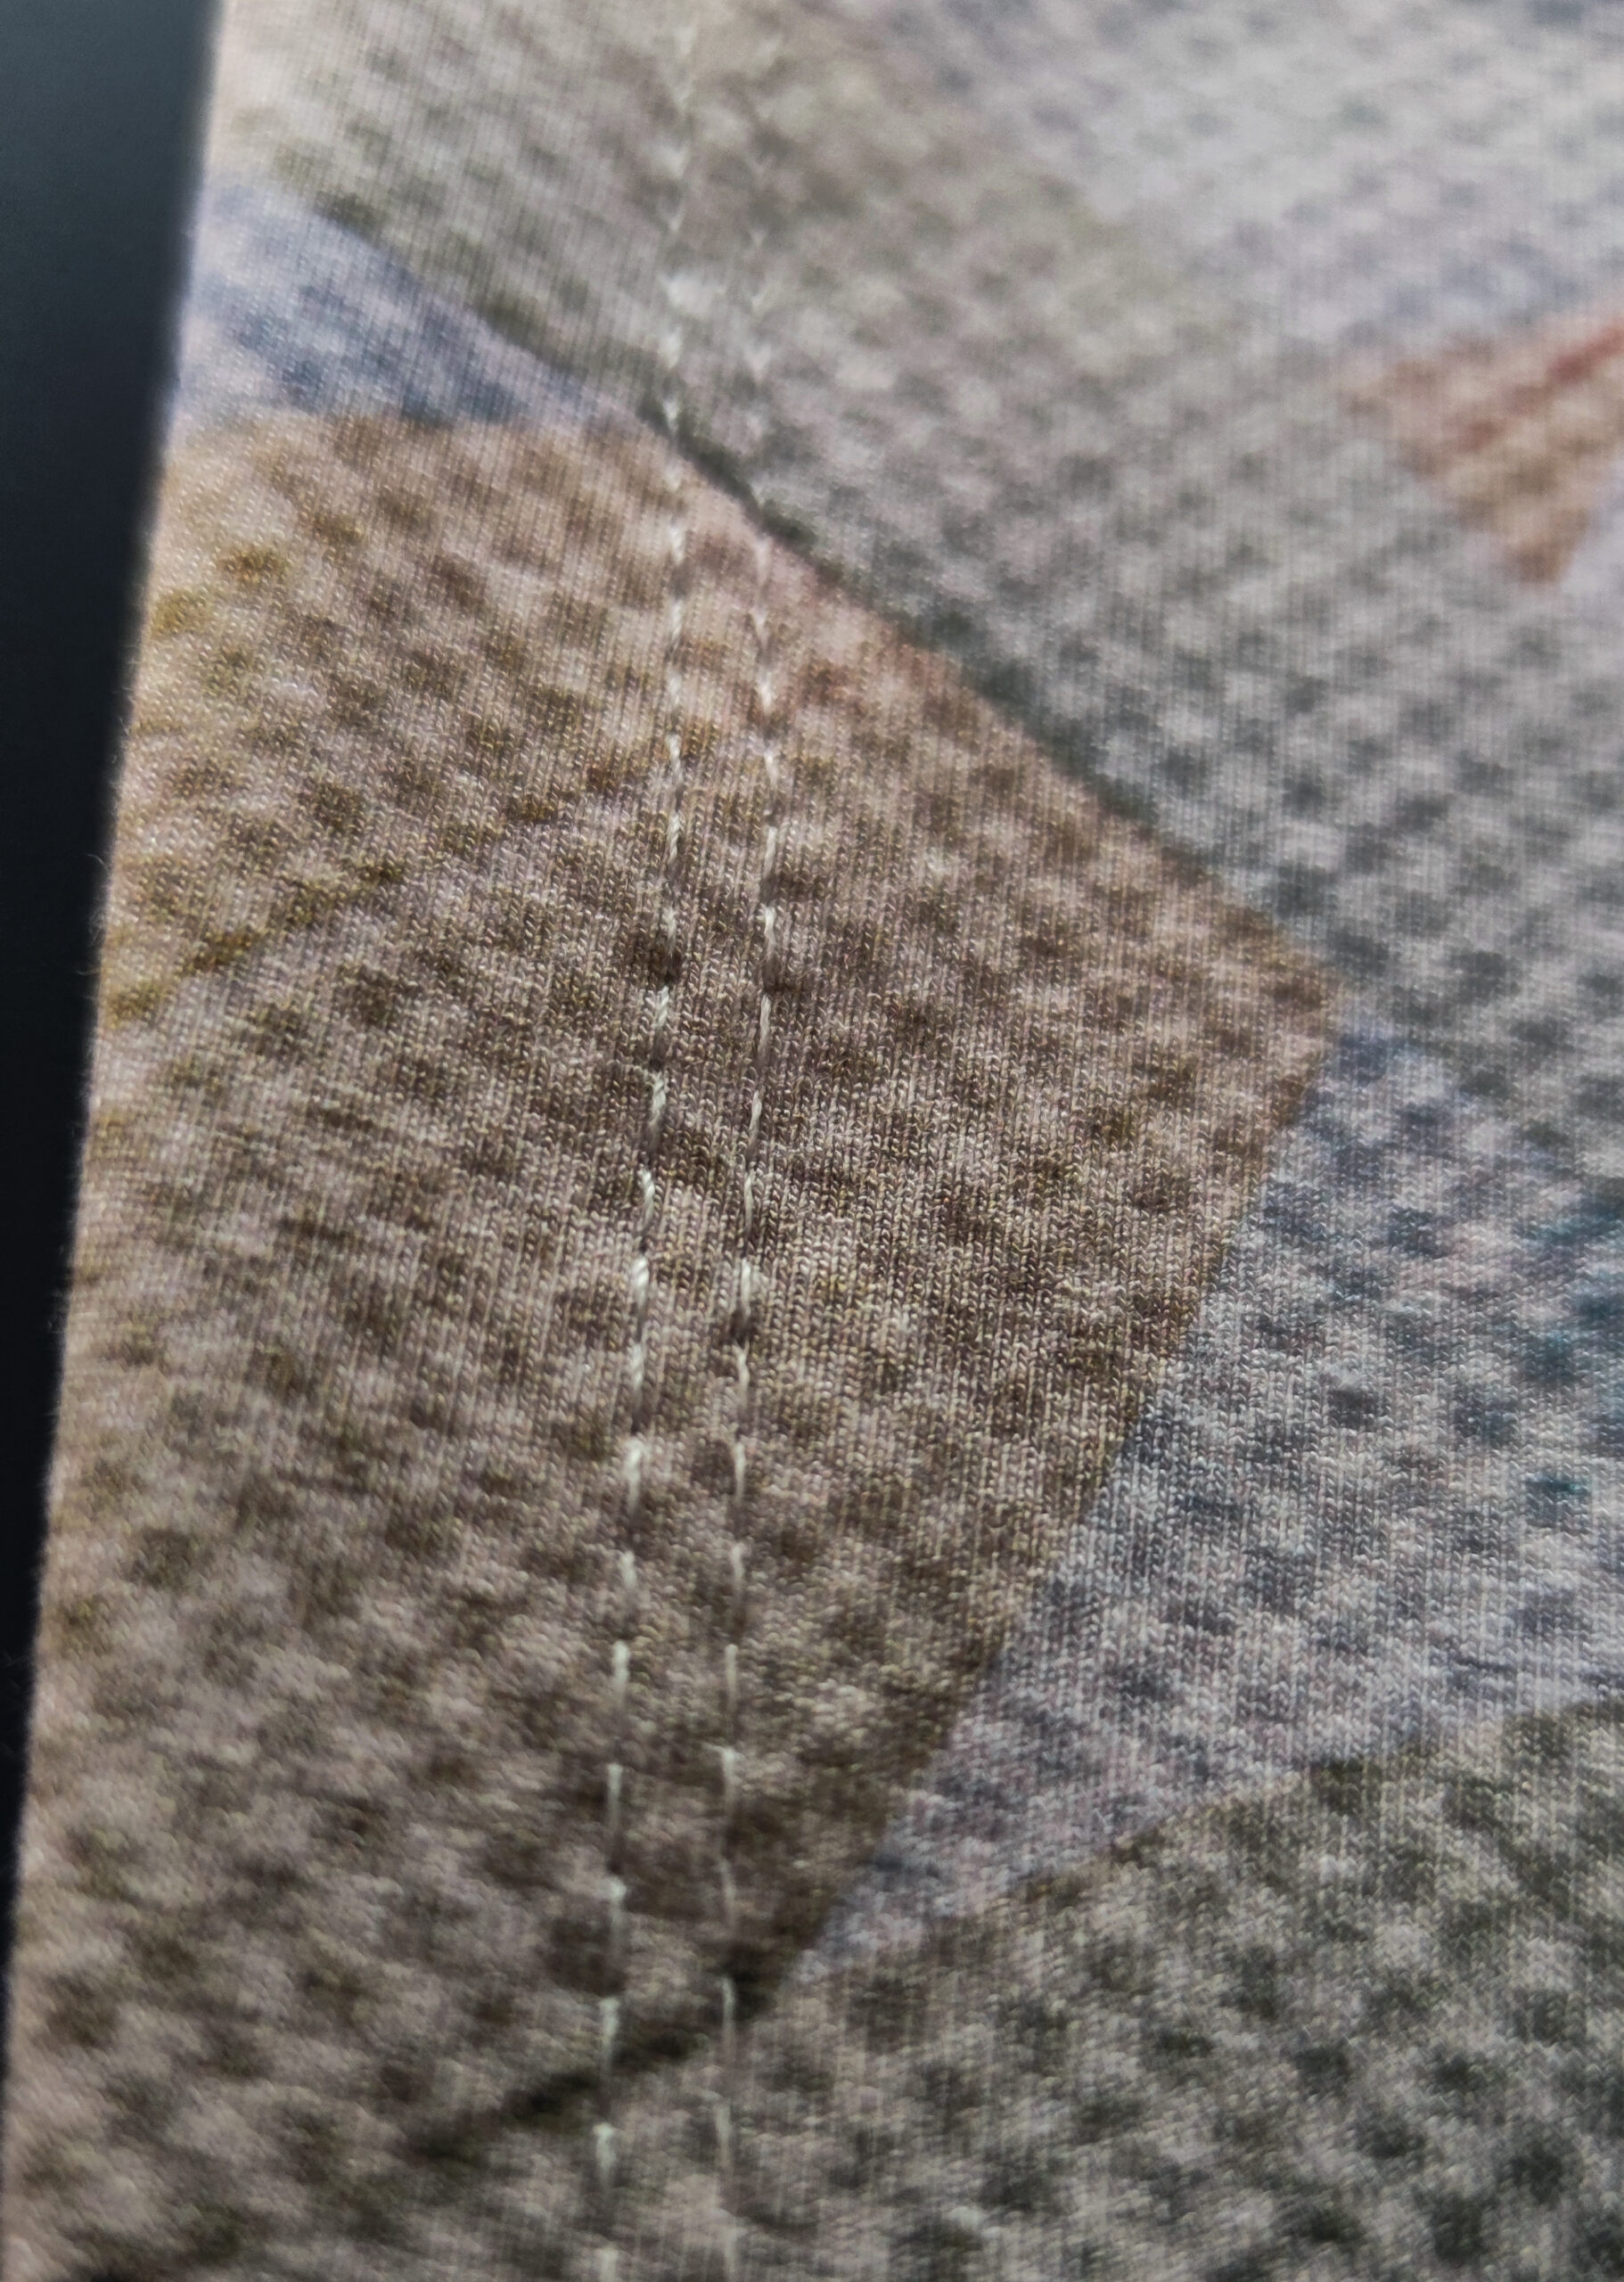
Säumen
Säume den Saum des Kleides mit 2,5 cm Saumzugabe mit einem elastischen Stich oder einer Zwillingsnadel. Säume die Ärmel.
Hem
Hem the dress with a 2.5 cm hem allowance with an elastic stitch or a twin needle. Hem the sleeves.
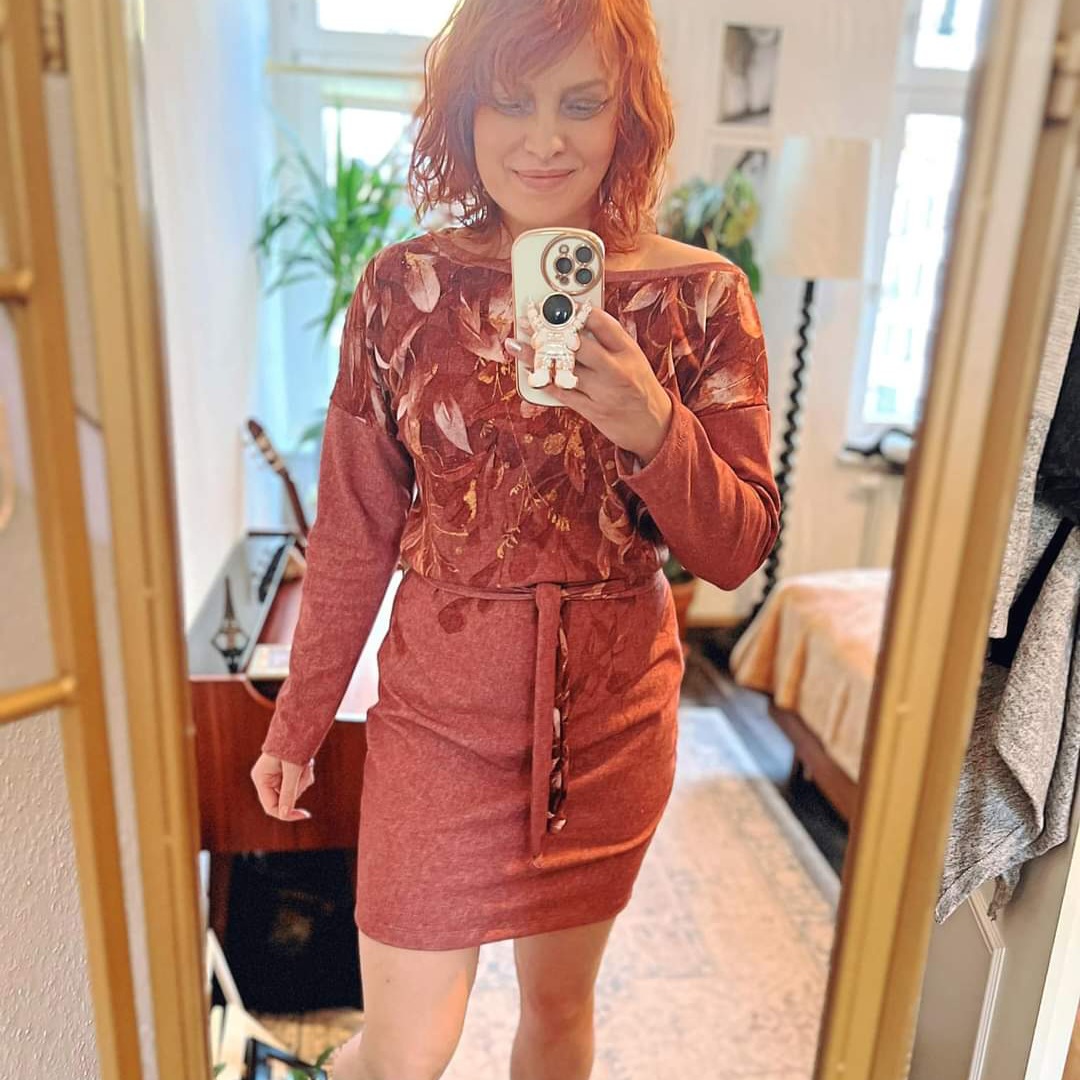
Wie Pluto getragen wird
Pluto ist am Oberkörper locker geschnitten und wird mit dem Bindegürtel in Form gebracht. Gedacht ist, dass er in der Taille getragen wird. Natürlich sind aber eurer Kreativität hier keine Grenzen gesetzt.
How to wear Pluto
Pluto has a loose cut on the upper body and is brought into shape with the tie belt. It is intended to be worn at the waist. Of course, there are no limits to your creativity here.


