zum Warenkorb 0,00 €
0
Nähanleitung /// How to sew: Terra
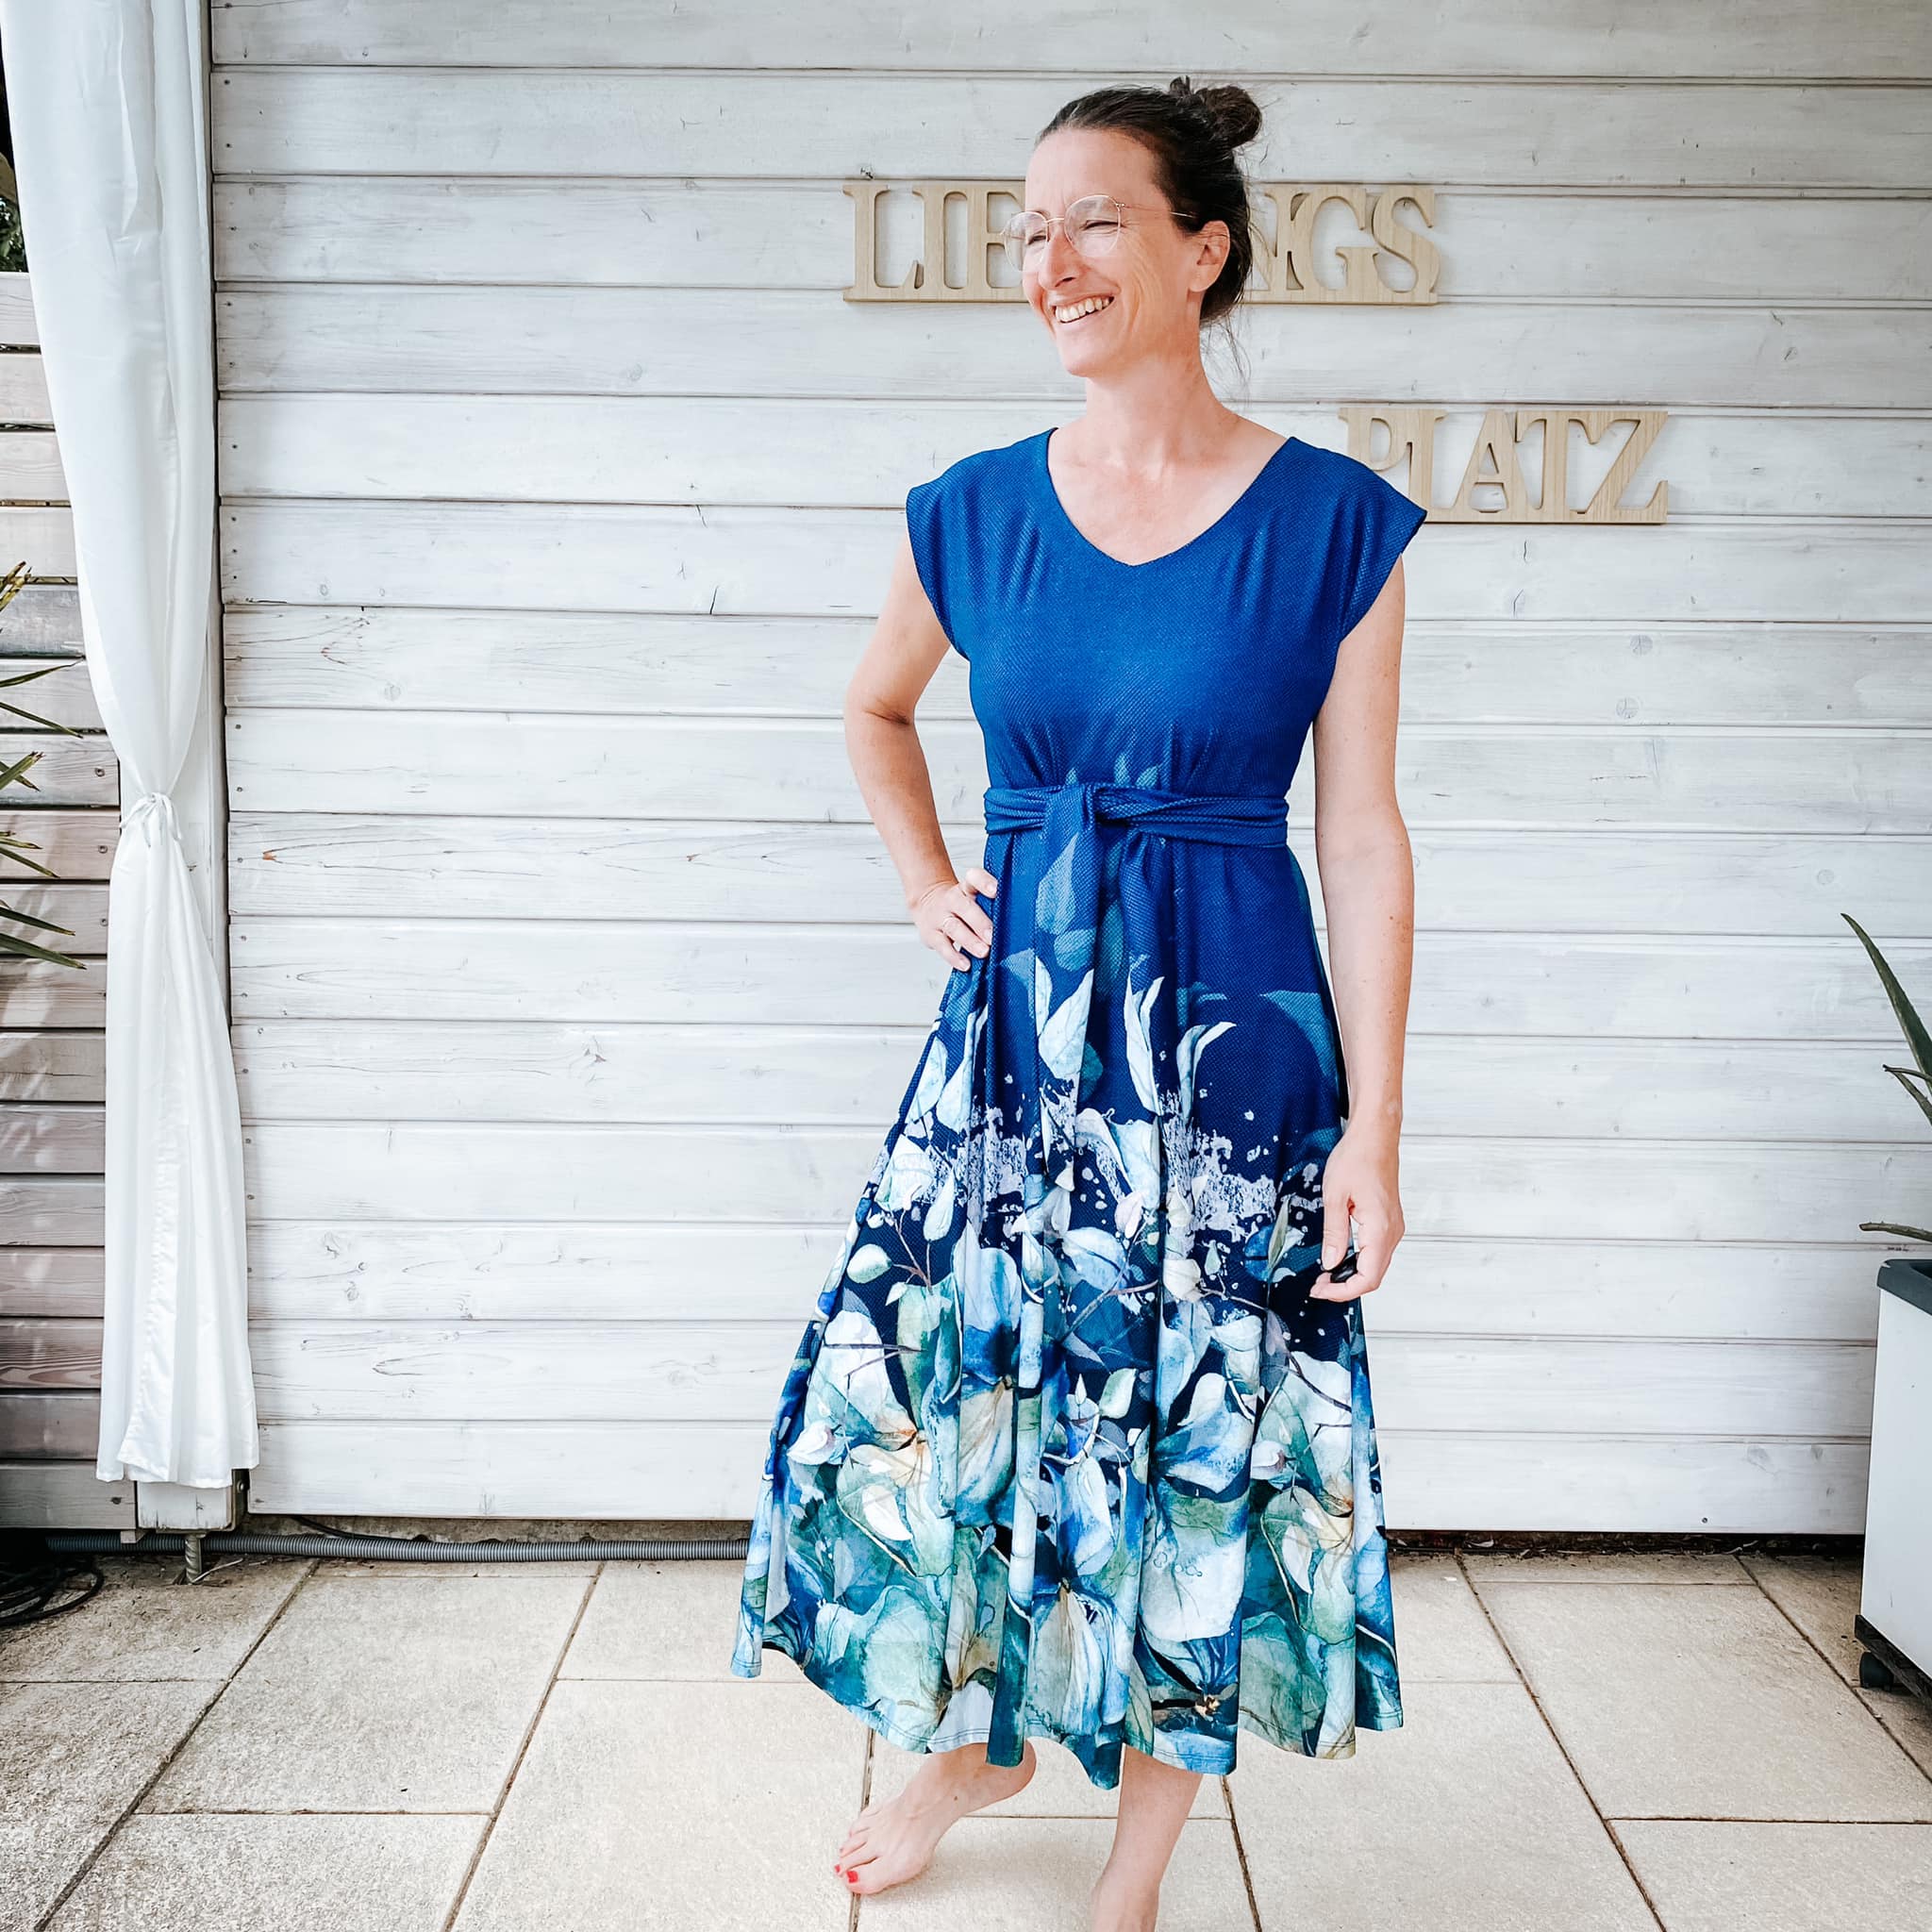
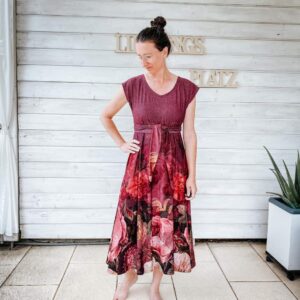
Sommerkleid Terra
Terra ist ein locker fallendes Sommerkleid mit überschnittenen Ärmeln und die perfekte Alltagsbegleiterin. Schnell gedruckt und geklebt und genauso schnell genäht ist Terra wunderbar geeignet für einen spontanen Nähabend.
Das Schnittmuster ist für eine Person entworfen, die 170 cm groß ist und Körbchengröße B hat.
Summerdress Terra
Terra is a loosely falling summer dress with oversized sleeves and the perfect everyday companion. Quickly printed and glued and sewn just as quickly, Terra is wonderfully suited for a spontaneous sewing evening.
The pattern is designed for a person who is 170 cm tall and has a B cup.
Richtige Größe drucken
Die gekauften Dateien haben zwei verschiedene Varianten: A4 und A0 Dateien. Die A0 kannst du online oder in einem Copyshop drucken lassen, A4 kann dein Drucker drucken. Bei beiden Varianten ist es dir möglich, nur die Größe zu drucken, die du tatsächlich benötigst. Oder zwei-drei Größen, falls du Anpassungen vornehmen musst.
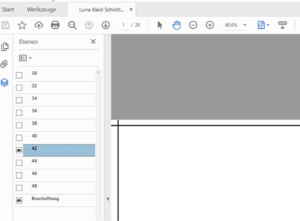
Öffne die Datei im Acrobat Reader und klicke das Symbol in der linken Leiste am Rand an, das auf dem Bild blau dargestellt ist. Daraufhin klappt ein neues Menü auf, in dem du durch einen Klick auf das Auge die Größen ein- und ausblenden kannst. Die Ebene „Beschriftung“ sollte immer an bleiben. Beim oben gezeigten Beispiel würdest du Gr. 42 drucken.
Blende nun alle unnötigen Größen aus und drucke das Schnittmuster wie gewohnt. Auf dem Beispielbild ist es die Größe 42, die gedruckt wird.
Print the correct size
The purchased files come in two different variants: A4 and A0 files. You can have the A0 printed online or in a copy shop. Your printer can print A4. With both variants it is possible for you to print only the size that you actually need. Or two to three sizes in case you need to make adjustments.
Open the file in Acrobat Reader and click on the symbol in the left bar at the edge, which is shown in blue on the picture. A new menu then opens in which you can show and hide sizes by clicking on the eye. The „labeling“ layer should always remain on.
Now hide all unnecessary sizes and print the pattern as usual. Using the example above, you would print size 42 only.
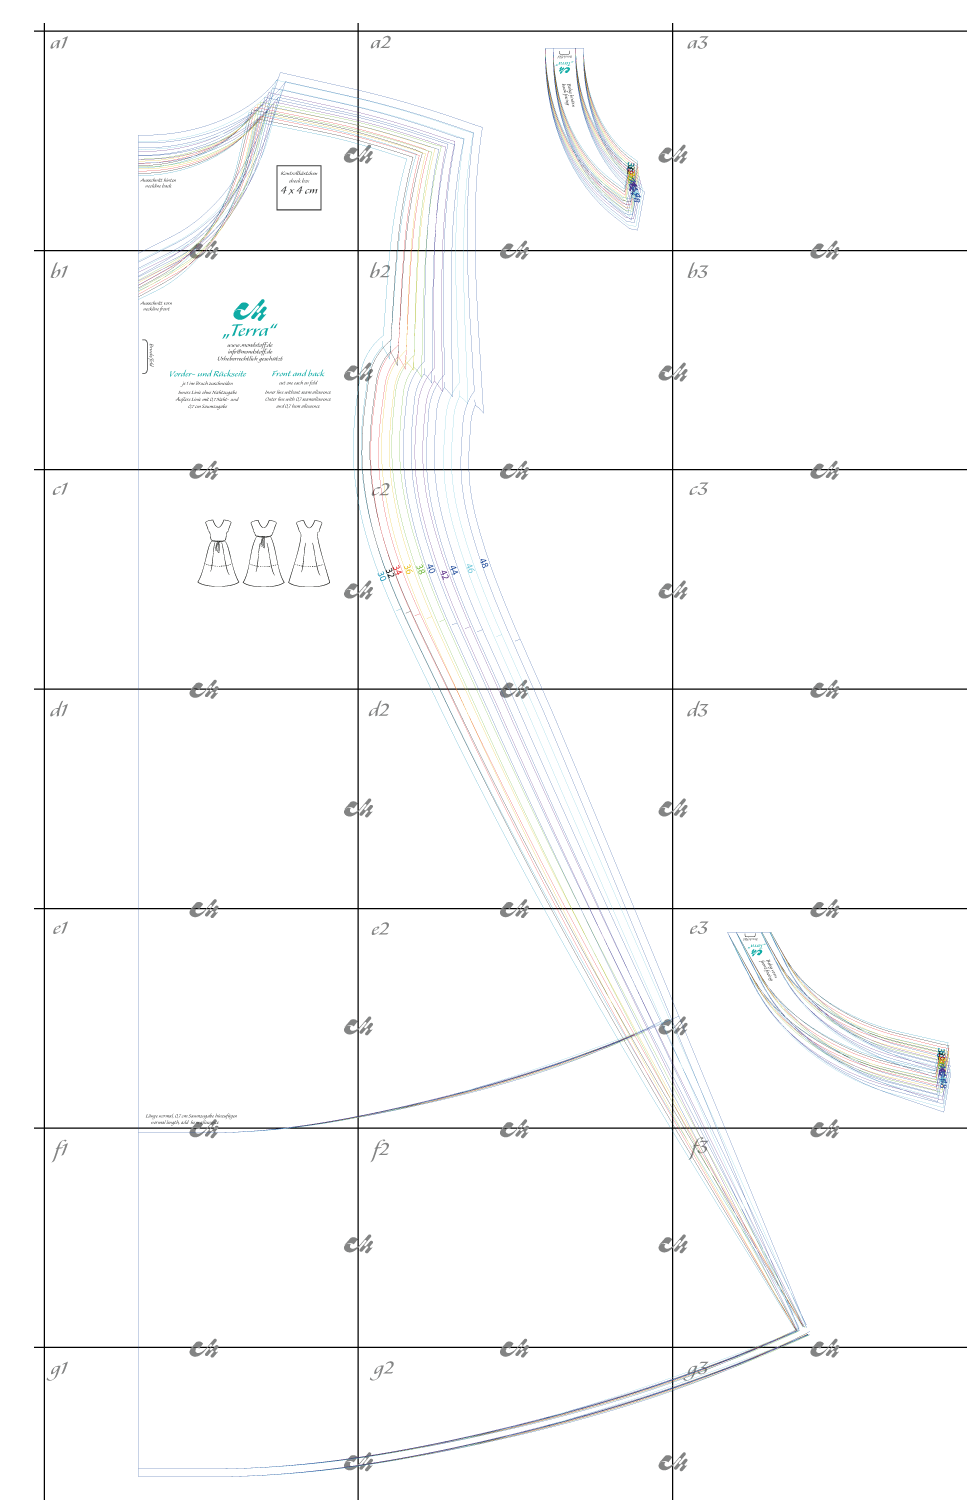
Klebeplan
Unsere Schnittmuster sind wie Schiffe versenken – Die Zeilen sind mit Buchstaben kodiert, die Spalten mit Zahlen.
Maßtabelle /// Size chart (cm)

Stoffbedarf alle Größen lange Version /// Fabric requirements all Sizes: 2,5 m
Stoffbedarf alle Größen kurze Version /// Fabric requirements all Sizes: 2 m
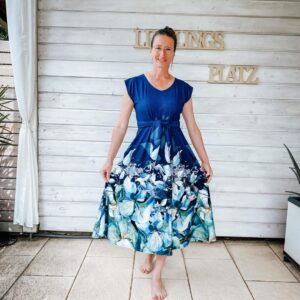
Stoffempfehlung
Für Terra eignen sich am besten Stoffe mit weichem Fall und etwas Stand, wie unser Viskosejersey und Modal Frenchterry. Der Stoff sollte mindestens 5% Elasthananteil haben.
Fabric recommendation
Fabrics with a soft drape and some body, such as our viscose jersey and modal french terry, are best suited for Terra. The fabric should have at least 5% elastane.
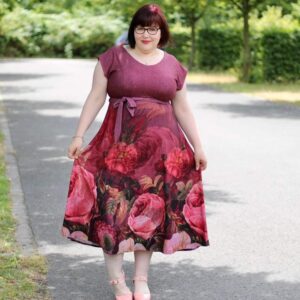
Anpassung
Das Kleid ist sehr leger geschnitten. Orientiere dich bei der Wahl der Größe an deinem Brustmaß.
Solltest du Hilfe benötigen, schau gern in der Mondstoff-Gruppe auf Facebook vorbei: Mondstoff-Gruppe
Adjustment
The dress has a very casual cut. Use your chest measurement as a guide when choosing the size.
If you need help, feel free to join the Mondstoff group on Facebook: Mondstoff Group
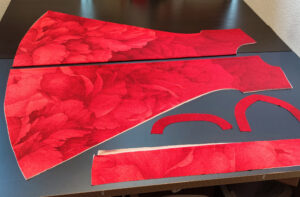
1. Zuschnitt
Schneide je ein Vorder- und ein Rückteil des Kleides im Bruch zu und je einen vorderen und hinteren Beleg im Bruch.
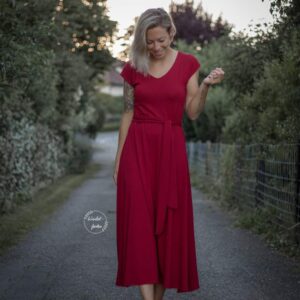
Der Gürtel ist optional. Nimm dazu deinen Taillenumfang, rechne 80 cm dazu für die Gesamtlänge. Die Breite kannst du ganz nach deinem Geschmack bestimmen (wir nutzen als finale Höhe 5 cm).
Beispiel: Taillenumfang 76 cm + 80 cm = 154 cm Länge
1. Cutting
Cut a front and a back piece of the dress on fold, and a front and back facing on fold.
The belt is optional. Take your waist circumference, add 80 cm for the total length. You can determine the height according to your taste (we use 5 cm as the final height).
Example: waist circumference 76 cm + 80 cm = 154 cm length
2. Schulternähte schließen
Schließe zunächst die Schulternähte mit einem elastischen Stich.
2. Shoulder seams
First, close the shoulder seams with an elastic stitch.
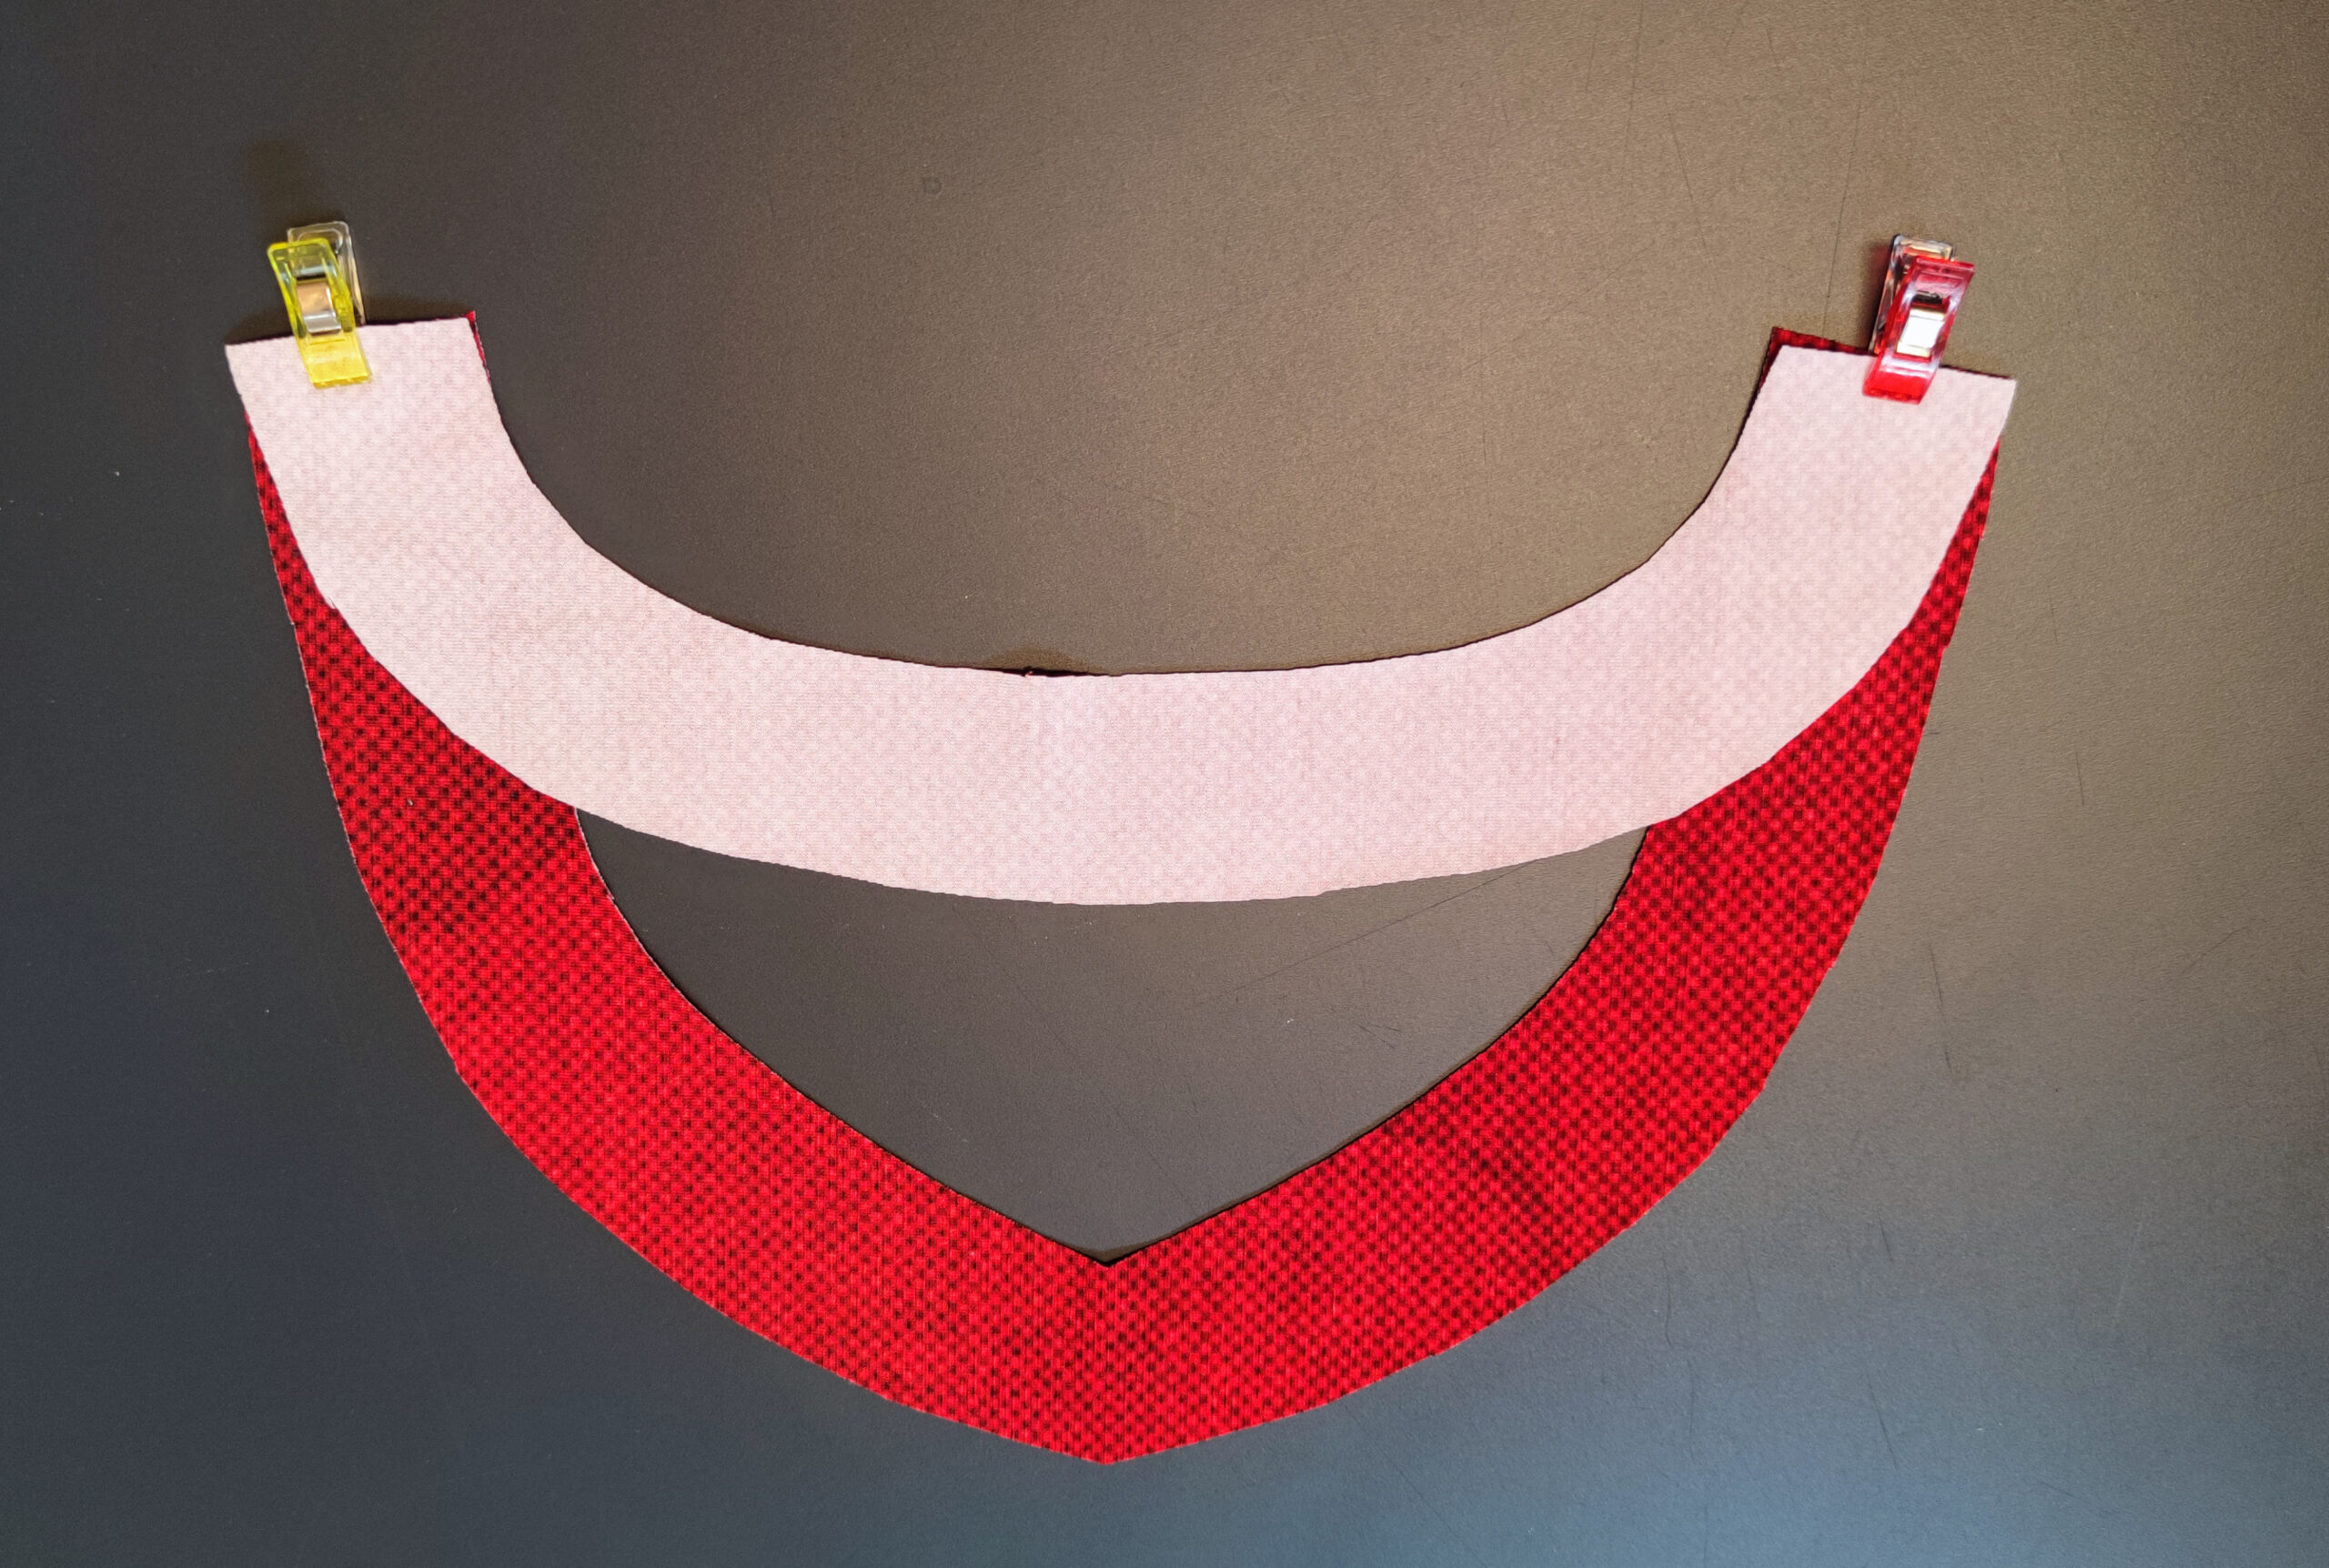
3. Beleg nähen
Lege den vorderen und hinteren Beleg rechts auf rechts und schließe die kurzen Nähte mit einem elastischen Stich. Wenn dein Stoff sehr dünn ist und die Kanten sich einrollen solltest du die Belegteile mit einer leichten Bügeleinlage verstärken (zum Beispiel H180).
3. The Facing
Place the front and back facing right sides together and close the short seams with an elastic stitch. If your fabric is very thin and the edges curl up, you should iron on a light interfacing.
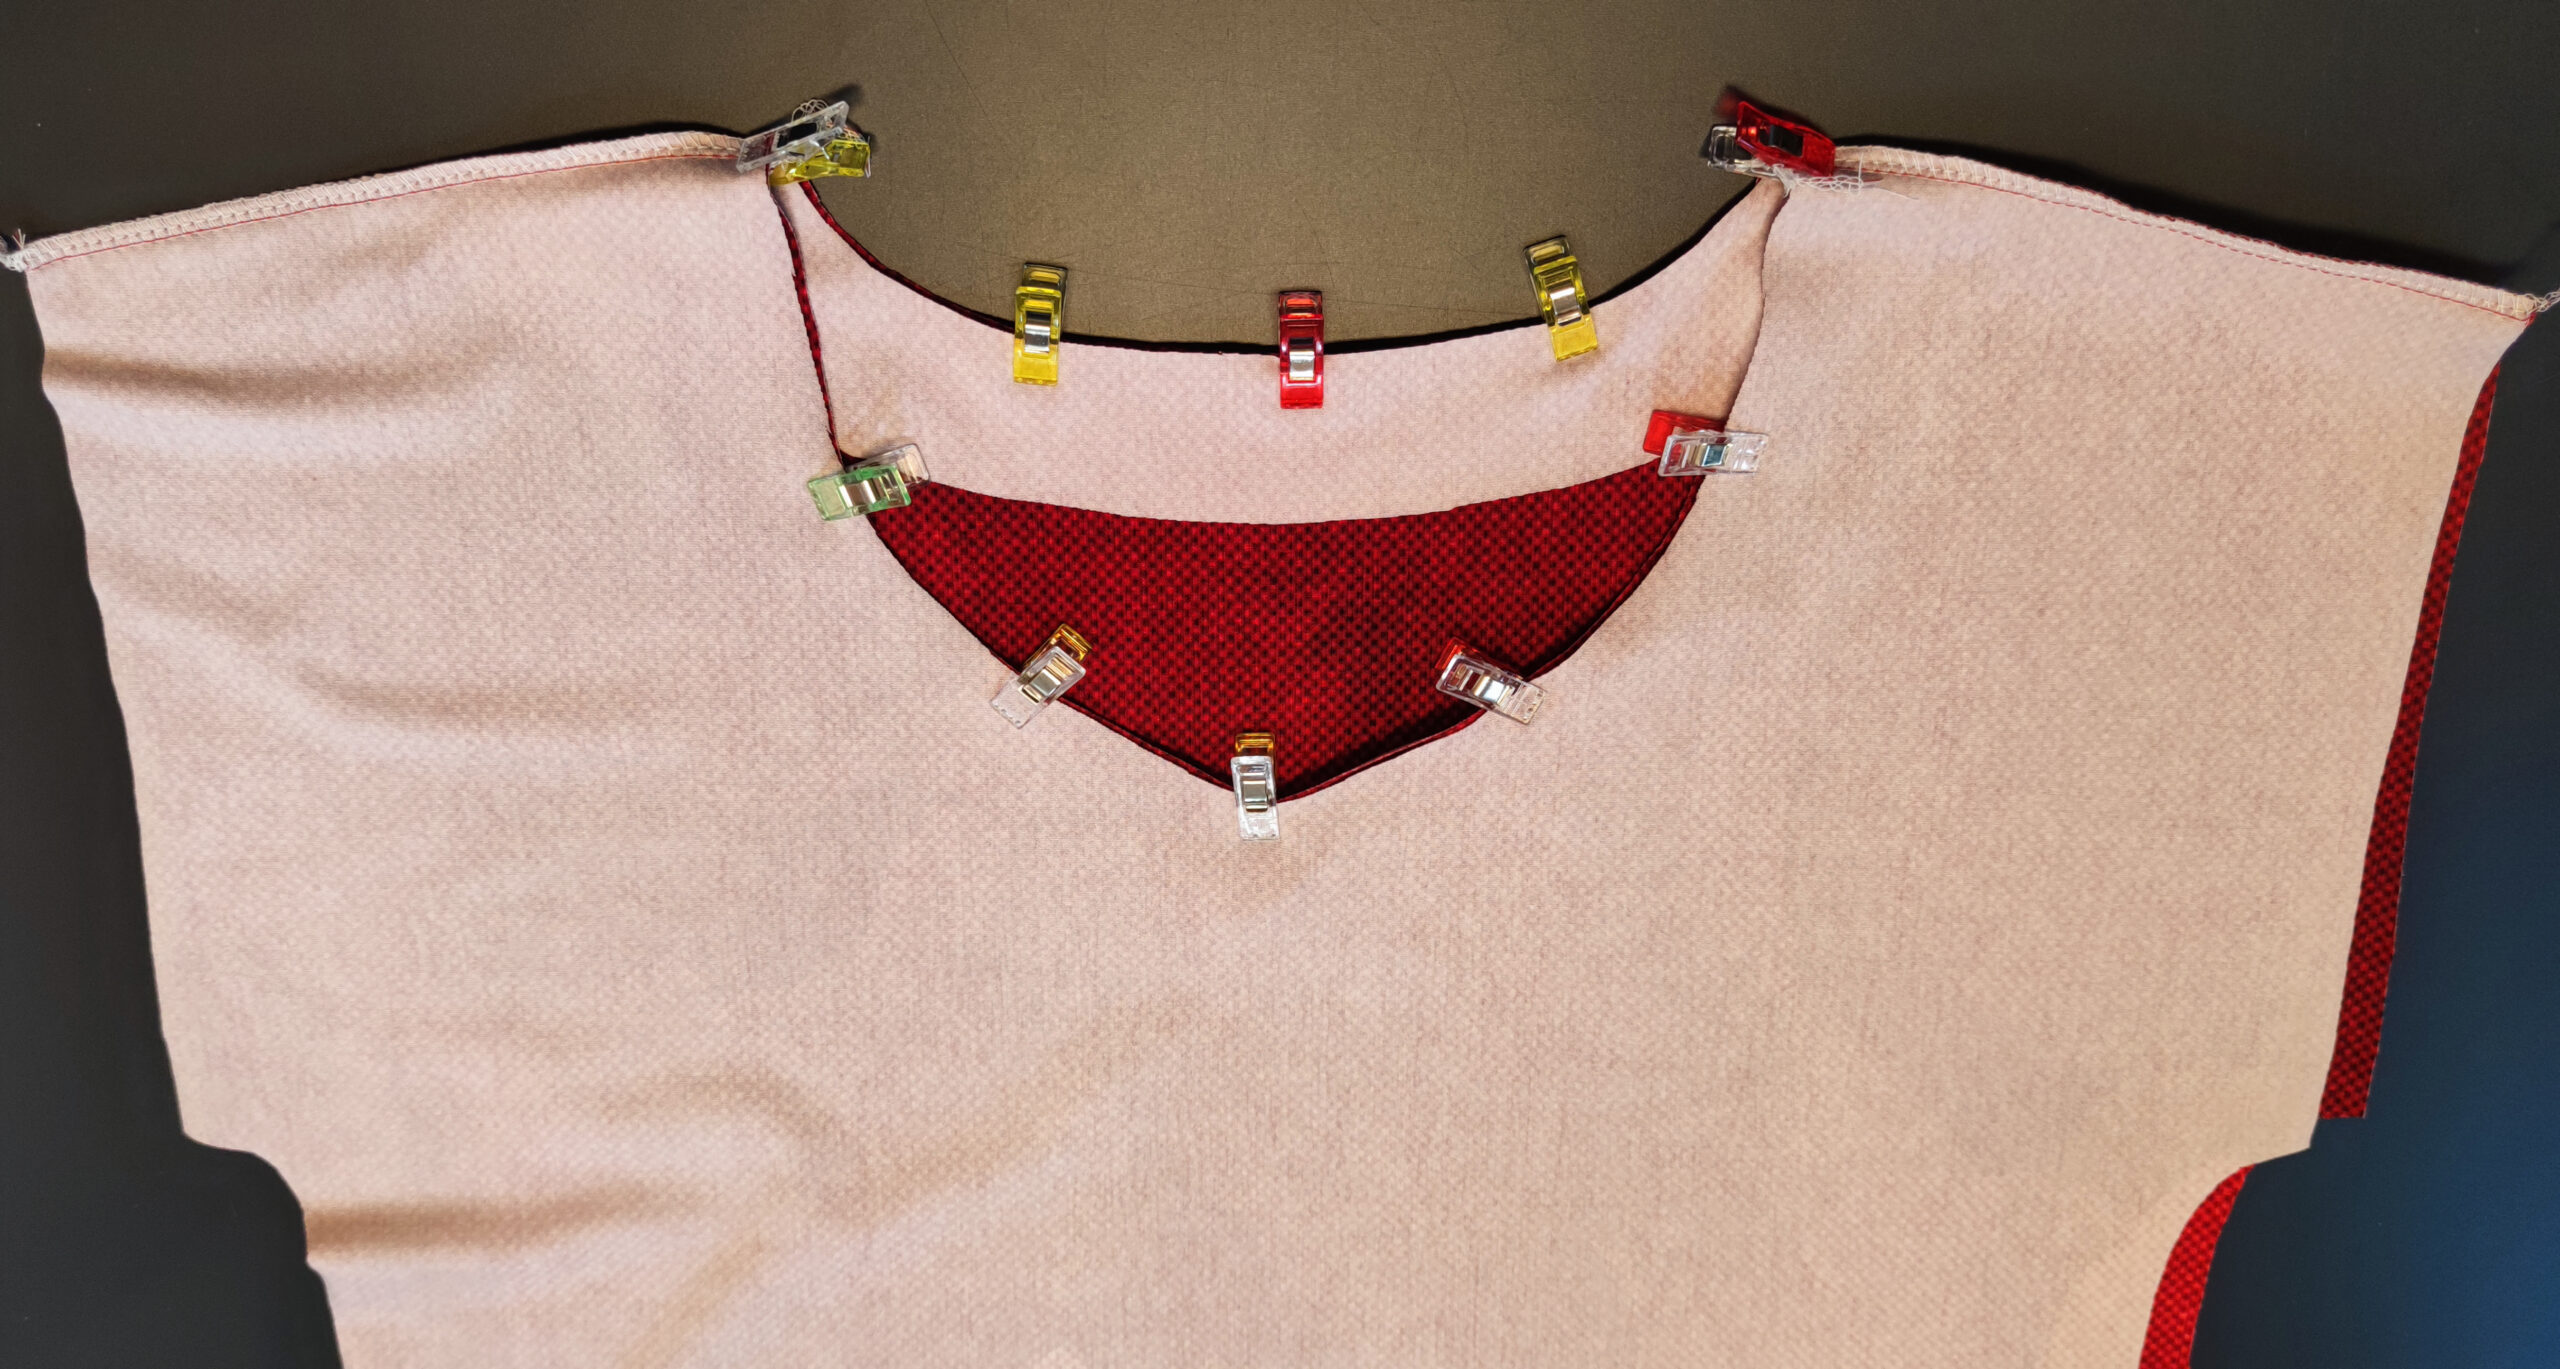
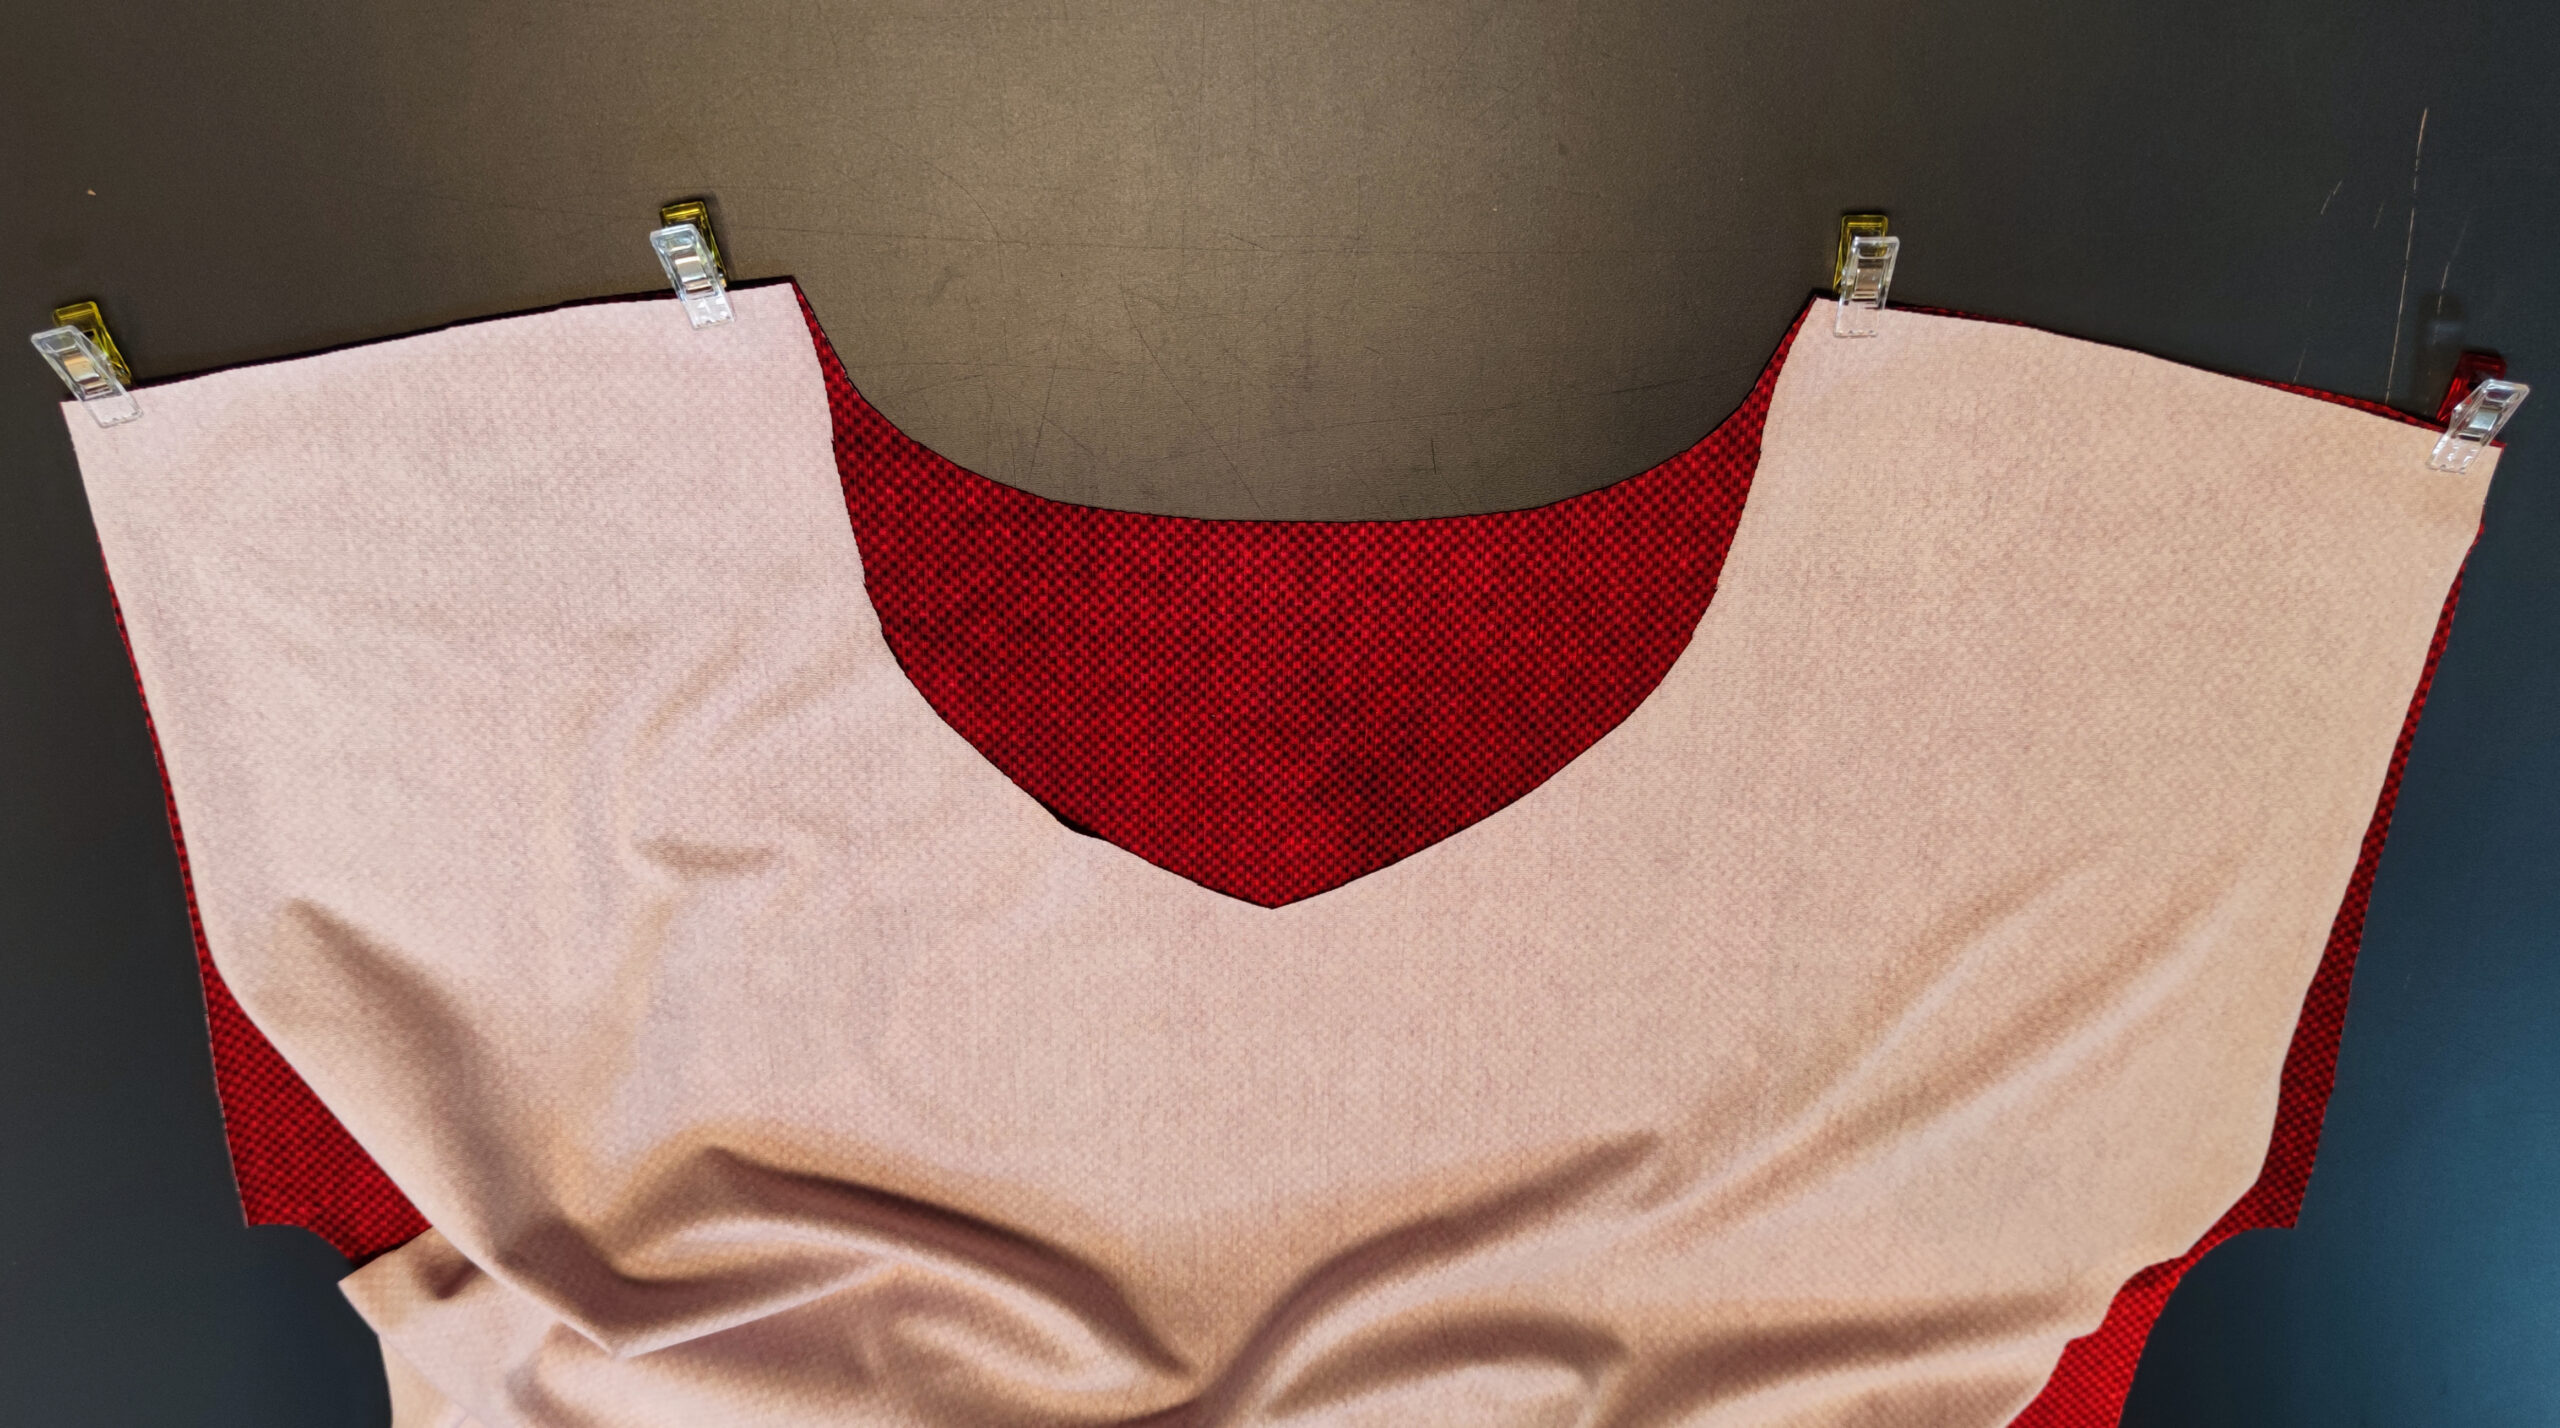
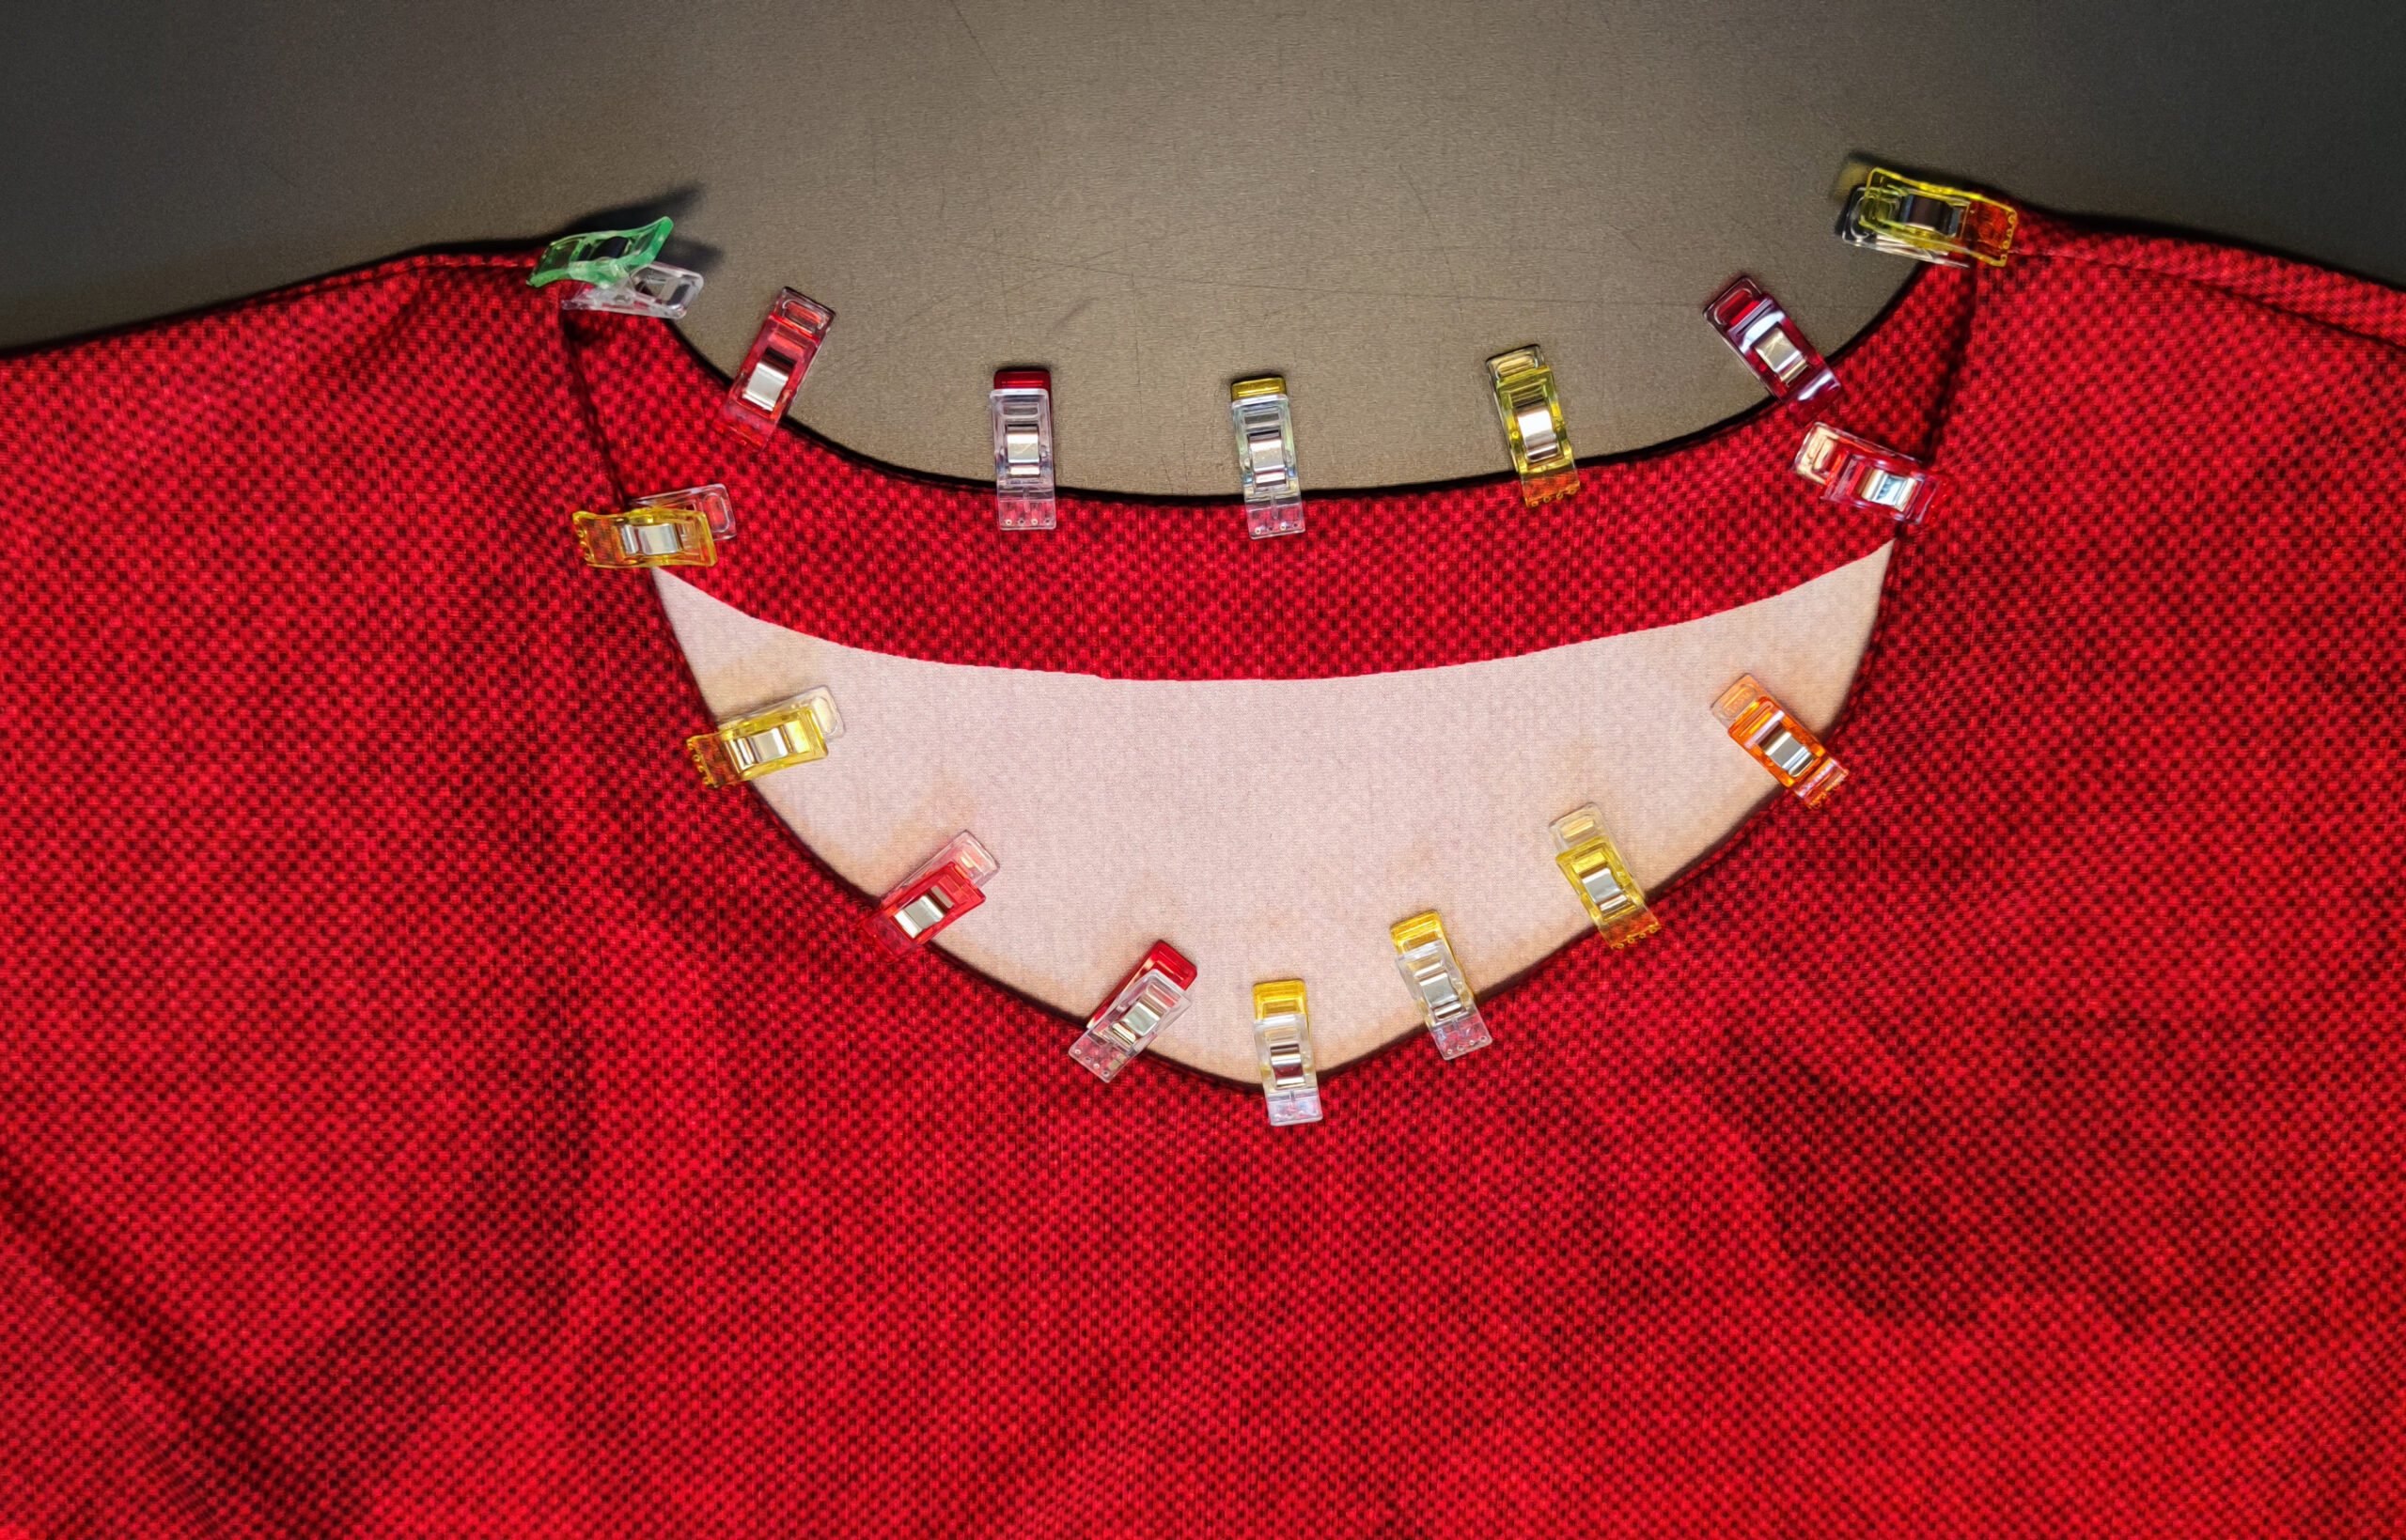
4. Beleg annähen
Stecke den Beleg rechts auf rechts auf das aufgeklappte Kleid. Nähe ihn im Bereich des vorderen Ausschnittes mit einem kurzen Gradstich an. Den Rest der Strecke kannst du mit der Overlock nähen.
4. Sew the facing
Pin the facing to the unfolded dress, right sides together. Sew it on in the area of the front neckline with a short straight stitch. You can sew the rest of the way with the serger.
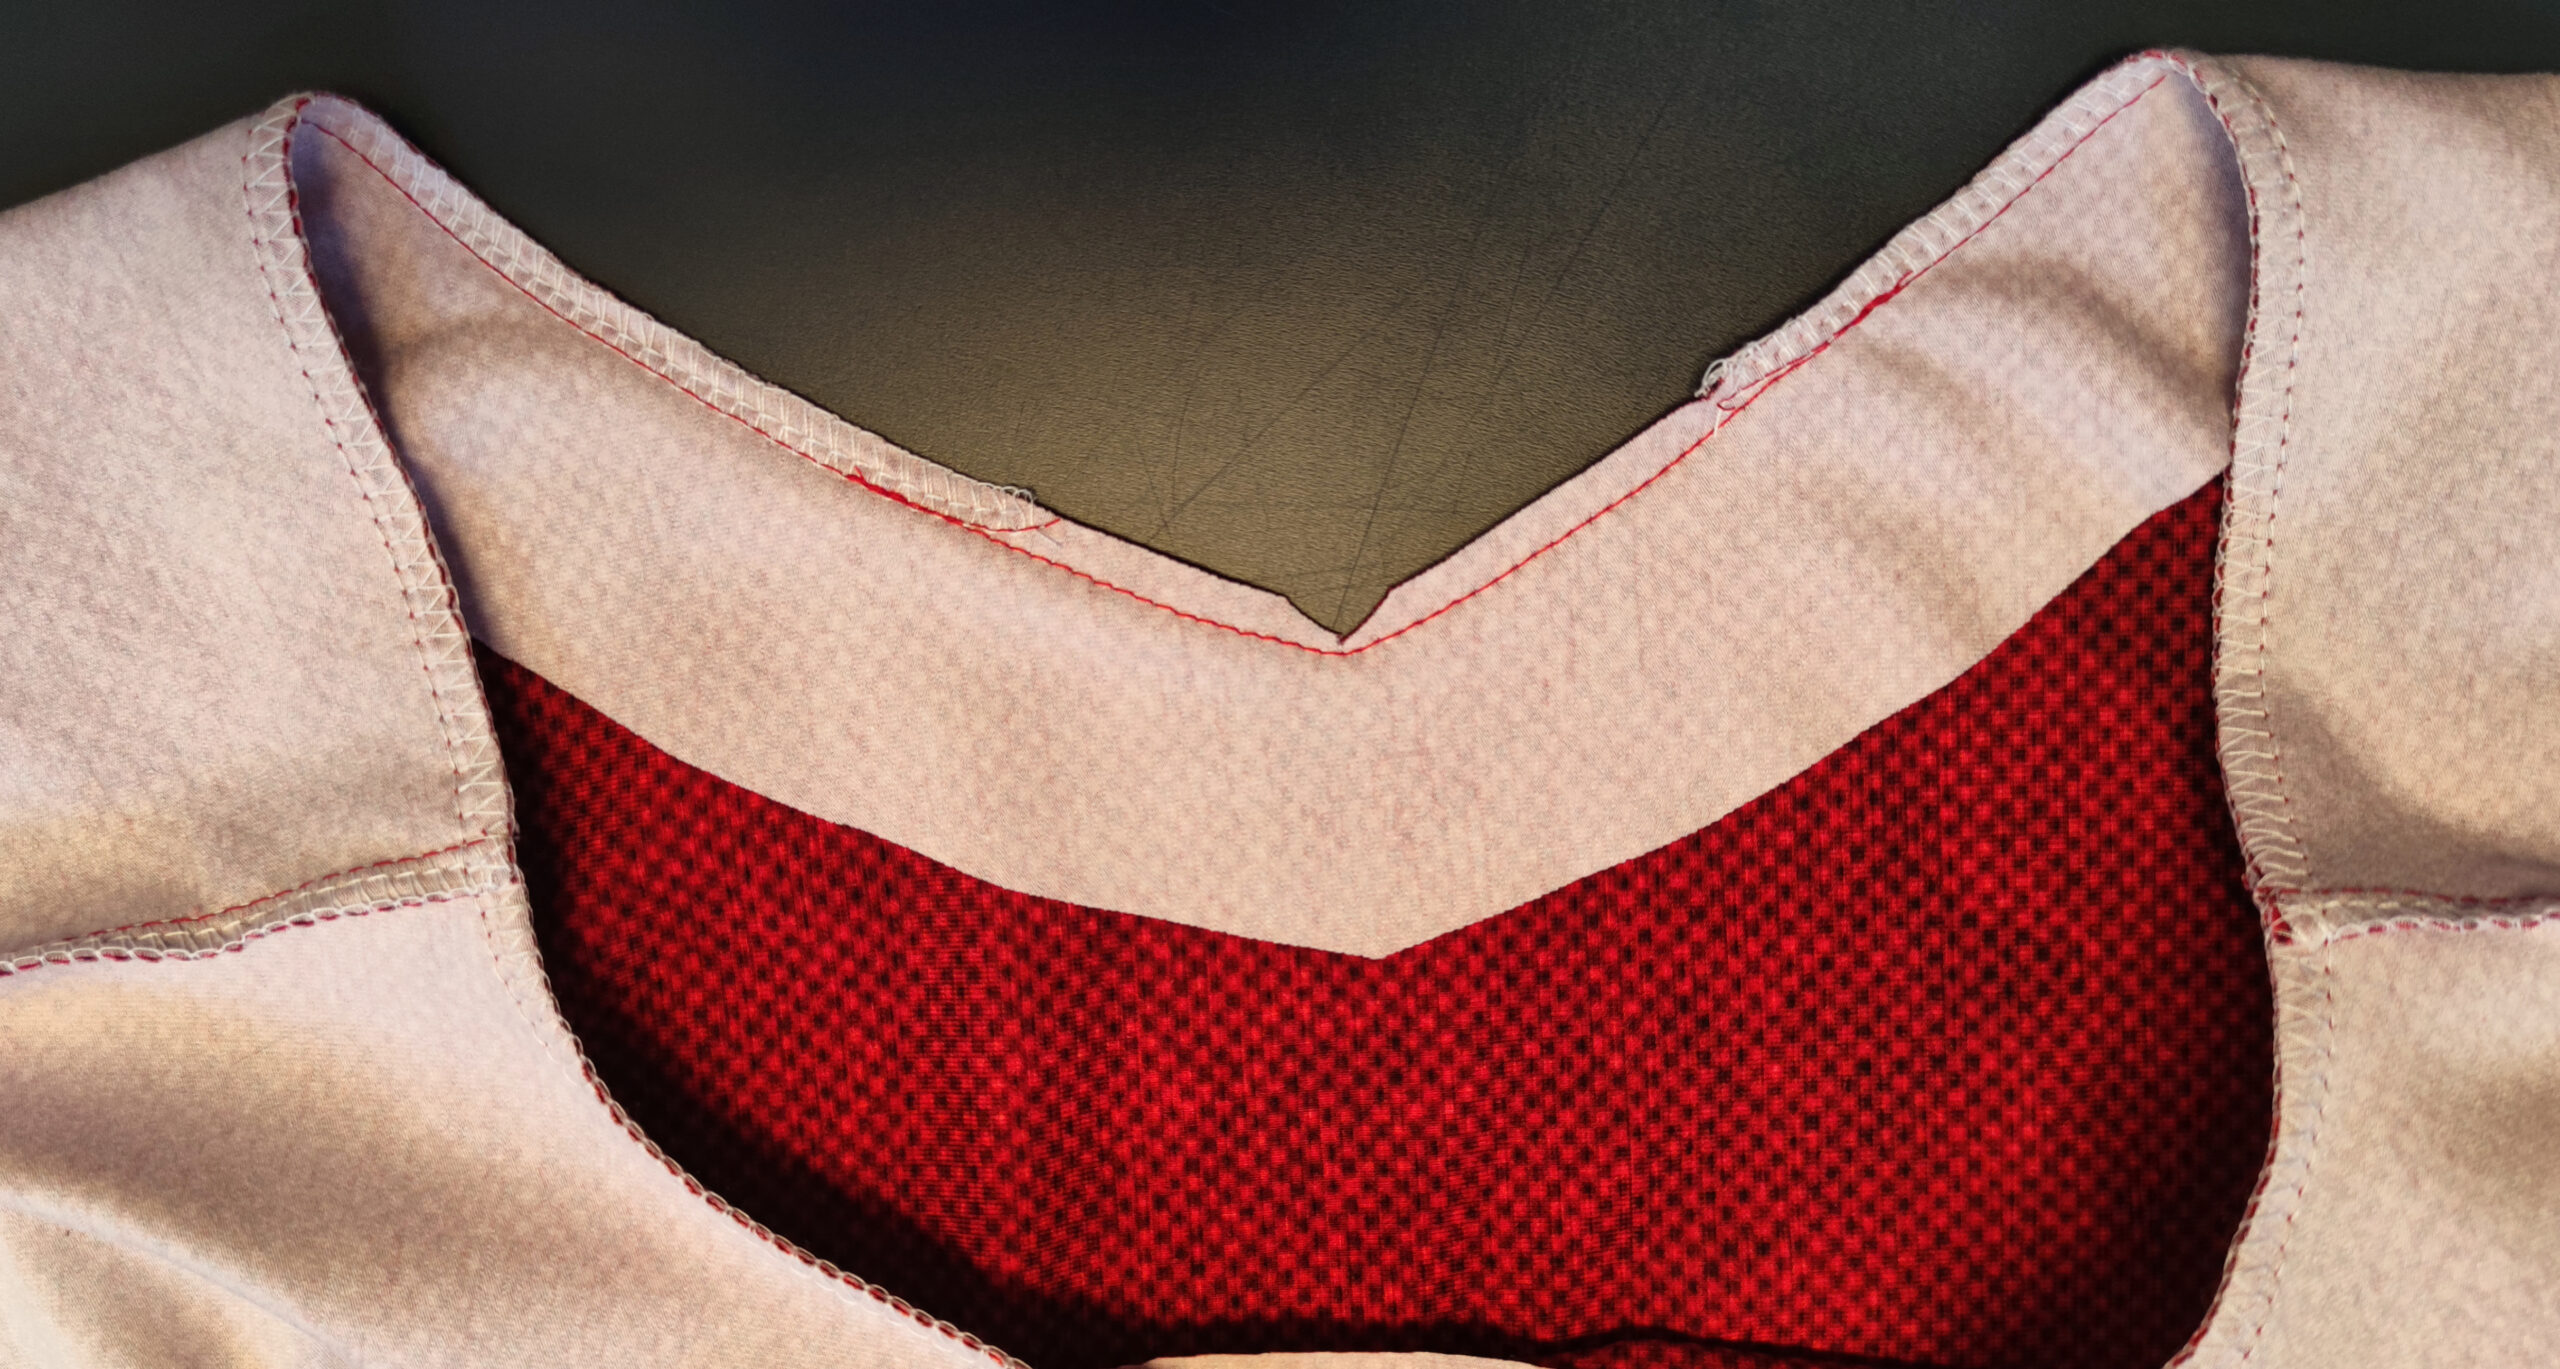
5. Spitze einschneiden
Schneide den Beleg am Vorderteil etwas zurück und schneide eine kleine Ecke aus. Der Beleg legt sich dann später besser an.
5. Cut back the corner
Cut back the seam allowence a little at the front and cut out a small corner. The facing is better laid out later.
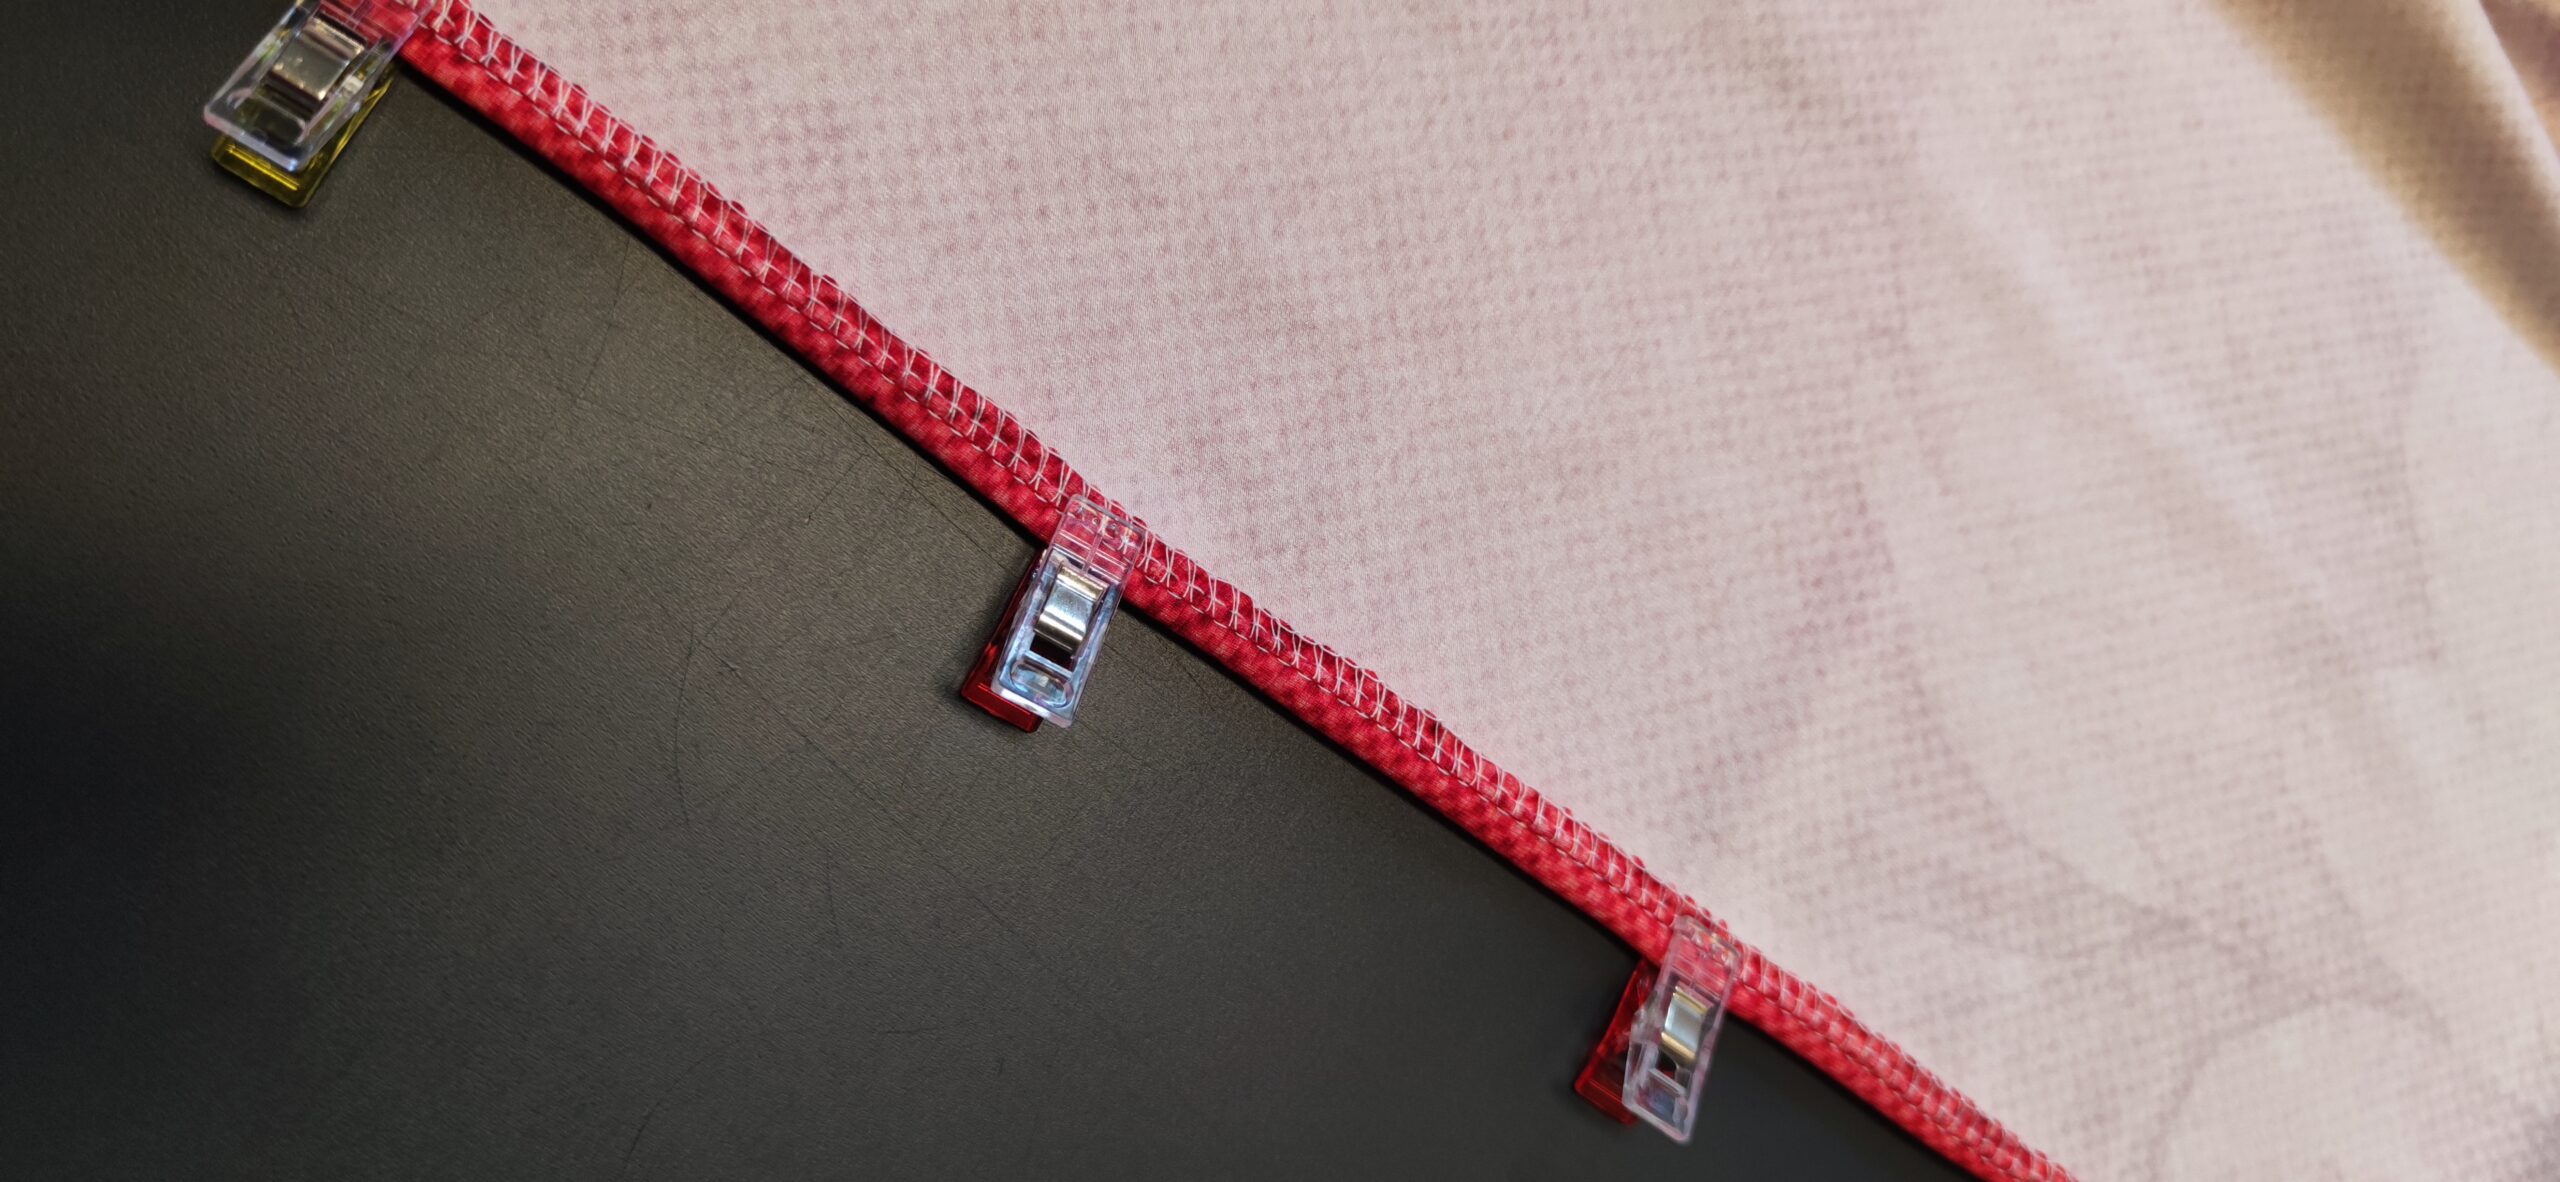
6. Beleg fertigstellen
Bügle den Beleg gründlich. Optional kannst du ihn flachsteppen, damit er sich perfekt anlegt. Zum flachsteppen nähst du knapp am Rand die gesamte Nahtzugabe auf den Beleg.
Wenn du den Beleg komplett feststeppen möchtest nähe mit einem langen Gradstich (3,5) einmal komplett knapp am Rande des Beleges.
6. Finish the facing
Iron the facing thoroughly. Optionally, you can flat-stitch it so that it fits perfectly. For flat topstitching, sew the entire seam allowance onto the facing just below the edge.
If you want to completely sew the facing in place, use a long straight stitch (3.5) to sew all the way to the edge of the facing.

7. Seitennähte schließen
Schließe nun in einem Rutsch die Seitennähte und versäubere optional alle Säume mit der Overlock.
7. Closing the side seams
Now close the side seams in one go and optionally finish all hems with the serger.
8. Säumen
Säume die Ärmel mit und untere Saumkante mit 0,7 cm und bügle alles noch einmal gründlich.
8. Hem
Hem the sleeves with 0.7 cm, the lower hem edge with 0.7 cm and iron everything again thoroughly.